How to Install Microsoft Edge on Mac
If you’re a Mac user looking to enhance your browsing experience, Microsoft Edge offers a powerful and feature-rich option. Installing Microsoft Edge on your Mac is a straightforward process that can be completed in just a few steps. Here’s a step-by-step guide to help you get started:
Step 1: Check System Requirements
Before installing Microsoft Edge, ensure that your Mac meets the minimum system requirements. It should be running macOS 10.12 Sierra or later versions. Additionally, make sure that your Mac has enough available storage space to accommodate the installation.
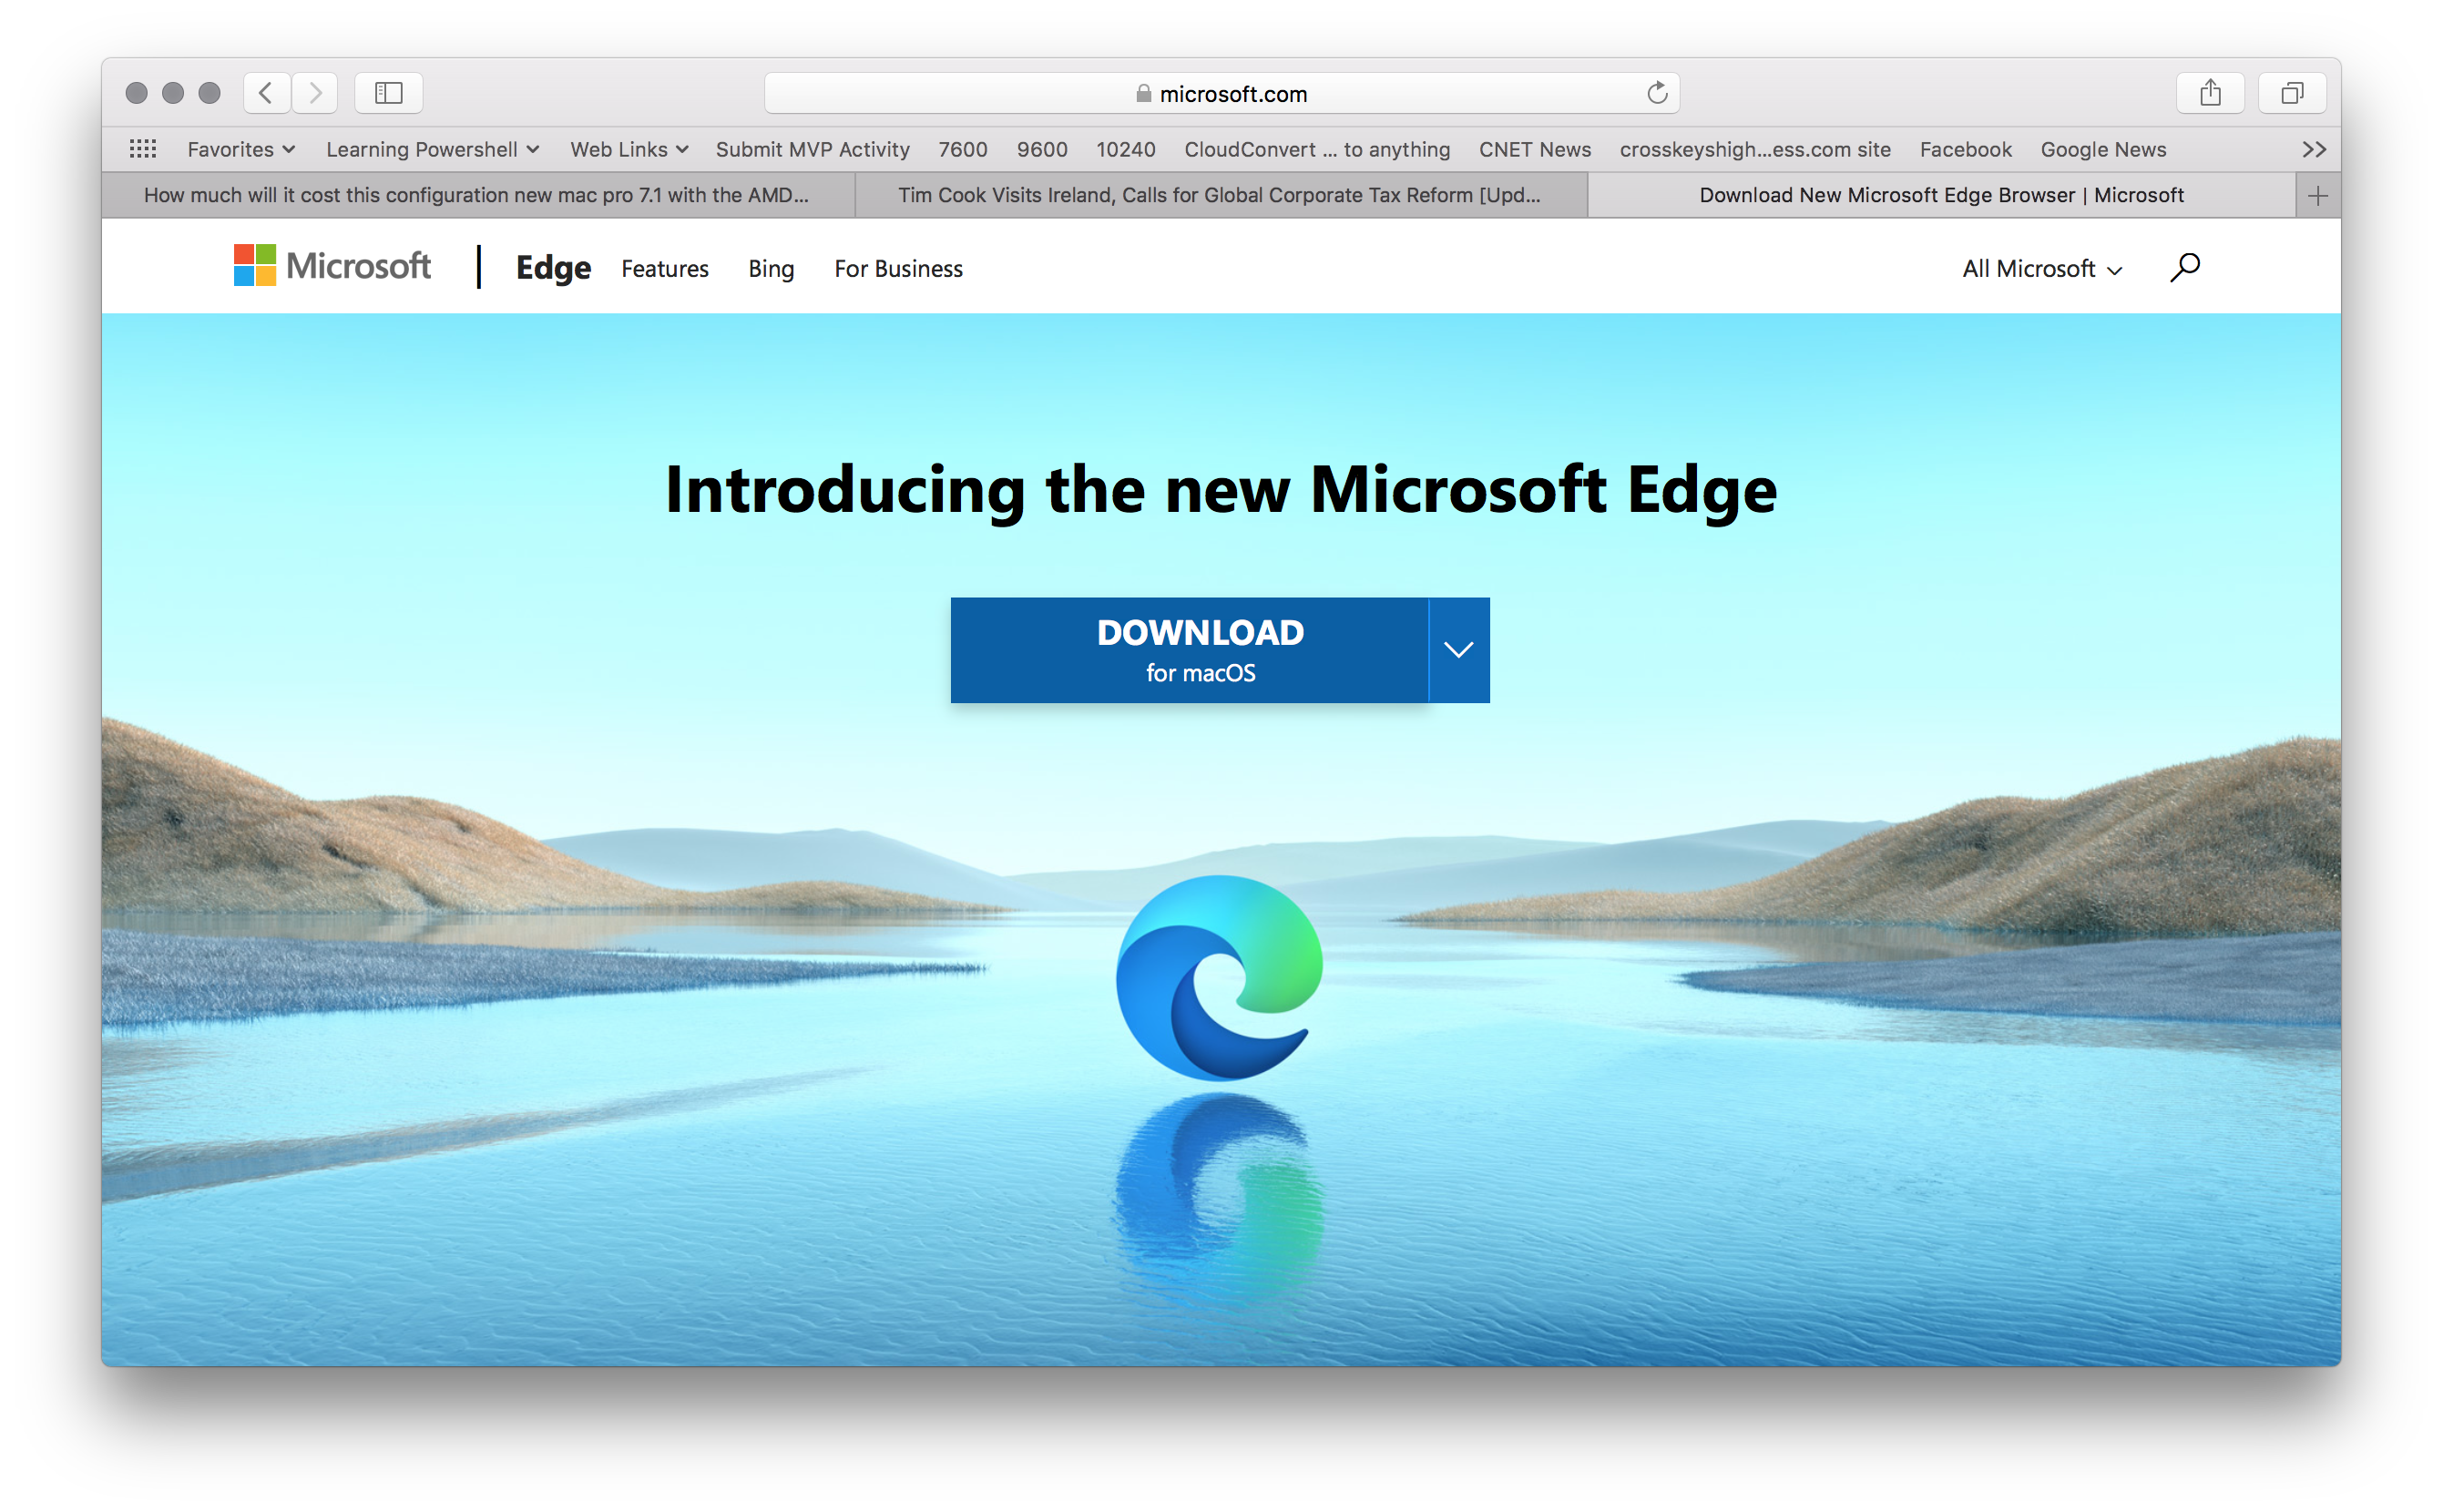
Step 2: Download Microsoft Edge for Mac
Visit the official Microsoft Edge website or search for “Microsoft Edge for Mac” in your preferred search engine. Locate the download page and click on the “Download for macOS” button to start the download process.
Step 3: Open the Installer Package
Once the download is complete, locate the downloaded file in your “Downloads” folder or wherever you have saved it. Double-click on the installer package to begin the installation process.
Step 4: Agree to the License Terms and Install
Read through the license terms and agreements presented to you during the installation process, then click on the “Agree” button to proceed. Depending on your security settings, you may need to enter your administrator password to authorize the installation.
Step 5: Launch Microsoft Edge on Mac
After the installation is complete, you can find the Microsoft Edge icon in your Applications folder or on the Dock. Click on the icon to launch Microsoft Edge and start exploring the wealth of features it offers.
With Microsoft Edge successfully installed on your Mac, you can now enjoy its seamless browsing experience and take advantage of its built-in features like cross-device syncing, privacy controls, and extensions support. It’s a great alternative for web browsing, especially for those who have been using other browsers on their Mac.
Now that you know how to install Microsoft Edge on your Mac, let’s move on to installing it on another popular platform, iOS.
Step 1: Check System Requirements
Before you begin installing Microsoft Edge on your Mac, it’s important to ensure that your system meets the minimum requirements. Checking system requirements helps guarantee a smooth installation process and optimal performance of the browser.
To check the system requirements, follow these steps:
- Verify macOS version: Microsoft Edge requires macOS 10.12 Sierra or later. To check your macOS version, click on the Apple menu in the top-left corner of your screen and select “About This Mac.” A window will appear displaying your macOS version.
- Ensure sufficient storage space: Make sure your Mac has enough available storage space to accommodate the installation. Insufficient space can cause issues during installation or lead to performance problems later on. To check your available storage, click on the Apple menu, select “About This Mac,” and then click on the “Storage” tab.
- Check for software updates: Before installing Microsoft Edge, it’s a good idea to ensure your Mac has all the latest software updates installed. Updates often include important security enhancements and bug fixes that can optimize your system’s performance. To check for updates, click on the Apple menu, select “System Preferences,” and then click on “Software Update.”
If your Mac meets these system requirements, you can proceed with the installation of Microsoft Edge. However, if your system does not meet the minimum requirements, you may need to consider upgrading your macOS version or freeing up storage space.
By taking the time to verify that your Mac meets the necessary system requirements, you can ensure a smooth installation process and enjoy all the features and benefits that Microsoft Edge has to offer on your Mac.
Step 2: Download Microsoft Edge for Mac
Once you have confirmed that your Mac meets the system requirements, you can proceed with downloading Microsoft Edge. Follow these simple steps to download the browser:
- Visit the official Microsoft Edge website: Open your preferred web browser and navigate to the official Microsoft Edge website. You can do this by typing “Microsoft Edge for Mac” into the search bar of your browser or by visiting www.microsoft.com/en-us/edge.
- Locate the download page: Once you’re on the Microsoft Edge website, locate the download page. Look for a prominent download button or a section dedicated to downloading Microsoft Edge for Mac.
- Click on the download button: On the download page, you will find a button specifically for downloading Microsoft Edge for Mac. Click on this button to initiate the download process.
- Wait for the download to complete: The download process may take a few moments, depending on the speed of your internet connection. During the download, it’s essential not to interrupt the process to ensure a successful installation.
- Access the downloaded file: Once the download is complete, locate the downloaded file. By default, it should be in your “Downloads” folder. If you have chosen a different location, navigate to that folder to find the downloaded file.
Following these steps will allow you to download the Microsoft Edge installation package onto your Mac. With the download completed, you’re one step closer to enjoying the features and benefits of Microsoft Edge on your Mac.
Step 3: Open the Installer Package
Once you have successfully downloaded the Microsoft Edge installation package on your Mac, you can proceed with opening it to begin the installation process. Follow these steps to open the installer package:
- Locate the downloaded file: Find the downloaded Microsoft Edge installer package on your Mac. Typically, it is located in your “Downloads” folder unless you specified a different location during the download.
- Double-click on the installer package: To open the installer package, simply double-click on it. This action will launch the installer and begin the installation process.
- Grant permission to open: Depending on your Mac’s security settings, you may encounter a notification asking for permission to open the installer package. Click on “Open” or enter your administrator password to authorize the process.
- Wait for the installer to launch: After granting permission, the installer package will launch, and you will see a setup window on your screen.
Opening the installer package is an important step in the installation process, as it allows you to access the necessary files and configurations required to install Microsoft Edge on your Mac. Once you have successfully opened the installer, you’re ready to proceed with the installation by agreeing to the license terms and completing the installation process.
Step 4: Agree to the License Terms and Install
After opening the Microsoft Edge installer package, you will be prompted to agree to the license terms and begin the installation process. Follow these steps to proceed with the installation:
- Read the license terms: Take the time to carefully read through the license terms presented on the setup window. It’s important to understand the terms and conditions before proceeding with the installation.
- Agree to the license terms: Once you have reviewed the license terms, you will typically find a checkbox or button that asks you to indicate your agreement. Check the box or click the button to signify that you accept the license terms.
- Begin the installation: After agreeing to the license terms, you can start the installation process by clicking on the “Install,” “Continue,” or similar button on the setup window. Depending on your Mac’s security settings, you might need to enter your administrator password to authorize the installation.
- Wait for the installation to complete: Once you have initiated the installation, you will see a progress bar indicating the installation process. The length of the installation may vary depending on your Mac’s performance and internet connection speed.
- Complete the installation: After the installation process is finished, you will receive a notification or see a completion message indicating that Microsoft Edge has been successfully installed on your Mac.
Agreeing to the license terms is a crucial step in the installation process, as it ensures that you understand and comply with the terms set by Microsoft. By following these steps, you can smoothly install Microsoft Edge on your Mac and proceed to the final step of launching the browser.
Step 5: Launch Microsoft Edge on Mac
Once the installation of Microsoft Edge is complete on your Mac, you’re just a few clicks away from accessing its powerful features and seamless browsing experience. To launch Microsoft Edge on your Mac, follow these steps:
- Locate the Microsoft Edge icon: After the installation, you can find the Microsoft Edge icon in the Applications folder on your Mac. You can access the Applications folder by clicking on the Finder icon in the Dock and selecting “Applications” from the sidebar.
- Click on the Microsoft Edge icon: Once you have located the Microsoft Edge icon, simply click on it to launch the browser. Alternatively, you can also drag the icon to your Dock for easy access in the future.
- Wait for Microsoft Edge to open: After clicking on the icon, give Microsoft Edge a moment to launch. The browser will open in a new window, and you will be greeted with the Microsoft Edge start page.
With Microsoft Edge successfully launched on your Mac, you can now take full advantage of its comprehensive features, including seamless cross-device syncing, built-in privacy controls, extensions support, and more. Customize your browsing experience, import your bookmarks, and explore the different options available in the browser to make it your own.
It’s worth noting that as you continue using Microsoft Edge, you will receive regular updates to ensure you have access to the latest features, security enhancements, and performance improvements. Make sure to keep your browser up to date by allowing automatic updates or manually checking for updates in the settings menu.
With Microsoft Edge now running on your Mac, you’re ready to explore the web with a fast, reliable, and feature-rich browsing experience at your fingertips.
How to Install Microsoft Edge on iOS
If you’re an iOS user looking to experience the power of Microsoft Edge on your iPhone or iPad, you can easily install the browser through the App Store. Follow these steps to get Microsoft Edge on your iOS device:
- Ensure iOS Compatibility: Before installing Microsoft Edge, make sure your iOS device meets the compatibility requirements. Microsoft Edge requires iOS 12.0 or later. To check your iOS version, go to “Settings,” tap on “General,” and select “About.”
- Visit the App Store: On your iOS device, locate the App Store application. This app is pre-installed on your device and can usually be found on your home screen. Tap on the App Store icon to open it.
- Search for Microsoft Edge: In the App Store, tap on the search icon located at the bottom of the screen. Type “Microsoft Edge” in the search bar and tap the search button.
- Tap on Install: From the search results, locate the official Microsoft Edge app and tap on it. On the app’s page, you will see an “Install” button. Tap on this button to begin the installation process.
- Authenticate and Wait: If required, provide your Apple ID password, Face ID, or Touch ID to authenticate the installation. After authentication, the installation process will begin. Wait for the app to download and install on your device, which may take a few moments depending on your internet connection speed.
- Launch Microsoft Edge on iOS: Once the installation is complete, you will see the Microsoft Edge app icon on your home screen. Tap on the icon to launch Microsoft Edge.
With Microsoft Edge successfully installed on your iOS device, you can benefit from its seamless synchronization with other devices and enjoy features such as integrated Bing search, data syncing, personalized news, and secure browsing in the palm of your hand.
Keep in mind that Microsoft regularly updates the iOS app to enhance performance, security, and add new features. It is recommended to regularly update the Microsoft Edge app by going to the App Store, tapping on the “Updates” tab, and locating Microsoft Edge to update it if an update is available.
Now that you have Microsoft Edge on your iOS device, you can elevate your browsing experience and explore the internet with confidence and convenience.
Step 1: Ensure iOS Compatibility
Before you begin installing Microsoft Edge on your iOS device, it is important to ensure that your device meets the compatibility requirements. Checking compatibility ensures a smooth installation process and optimal performance of the browser. Follow these steps to ensure compatibility:
- Check your iOS version: Microsoft Edge for iOS requires iOS 12.0 or later. To check your iOS version, go to the “Settings” app on your device, tap on “General,” and then select “About.” You will find the iOS version listed next to “Software Version.”
- Verify compatibility: Compare your iOS version with the minimum requirement of iOS 12.0. If your iOS version is equal to or higher than 12.0, your device is compatible with Microsoft Edge.
- Consider updating your iOS: If your iOS version is below iOS 12.0, you can consider updating your device to a compatible version. To update your iOS, go to the “Settings” app, tap on “General,” then select “Software Update.” If an update is available, follow the on-screen instructions to install it.
- Assess device storage: Ensure that you have sufficient storage space on your device to accommodate the installation of Microsoft Edge. Insufficient storage space can cause issues during installation or restrict the browser’s functionality. To check your available storage, go to the “Settings” app, tap on “General,” then select “iPhone Storage.”
By following these steps and confirming that your iOS device meets the compatibility requirements, you can ensure a successful installation of Microsoft Edge. Having a compatible device ensures that you can enjoy the features and benefits of Microsoft Edge, such as its seamless integration with other devices, data syncing, and innovative browsing capabilities.
If your iOS device is not compatible with Microsoft Edge, you may need to consider alternative browsers that are compatible with your specific iOS version. It’s also important to note that keeping your iOS up to date with the latest software updates can not only ensure compatibility with a wide range of applications but also provide enhanced security and performance improvements for your device.
Step 2: Visit the App Store
Installing Microsoft Edge on your iOS device is a breeze when you utilize the convenient and user-friendly App Store. Follow these steps to visit the App Store and access the Microsoft Edge app:
- Locate the App Store: On your iOS device’s home screen, look for the App Store icon. It is represented by a blue icon with a white letter “A” on it. Tap on the App Store icon to open the application.
- Navigate to the search tab: Once you are inside the App Store, you will see several navigation tabs located at the bottom of the screen. Tap on the “Search” tab, which is typically represented by a magnifying glass icon.
- Search for Microsoft Edge: At the top of the screen, you will see a search bar. Tap on the search bar and type “Microsoft Edge” (without quotation marks) using the on-screen keyboard. As you type, the App Store will automatically suggest search results based on what you have entered so far.
- Find the Microsoft Edge app: In the search results, look for the official Microsoft Edge app. You can identify it by its app icon and the name “Microsoft Edge” displayed next to it. The app should be listed towards the top of the search results.
- Select the Microsoft Edge app: Tap on the Microsoft Edge app to view its details and download options. This will take you to the app’s dedicated page, where you can find additional information, screenshots, and user reviews.
Visiting the App Store is an essential step in downloading Microsoft Edge onto your iOS device. By following these steps, you can conveniently access the Microsoft Edge app and get ready to experience a seamless and feature-rich browsing experience on your iPhone or iPad.
Make sure to keep your iOS device connected to Wi-Fi or mobile data during the download process. This ensures a smooth and uninterrupted downloading experience, allowing you to quickly install Microsoft Edge and begin exploring its impressive range of features and capabilities.
Step 3: Search for Microsoft Edge
Once you have accessed the App Store on your iOS device, the next step in installing Microsoft Edge is to search for the app. Follow these steps to find and locate the Microsoft Edge app:
- Tap on the search bar: At the top of the App Store screen, you will see a search bar. Tap on the search bar to activate it and bring up the keyboard.
- Type “Microsoft Edge”: Using the on-screen keyboard, type “Microsoft Edge” (without quotation marks) in the search bar. As you start typing, the App Store will suggest search results based on what you have entered so far.
- Review the search results: Look through the search results and find the listing for the Microsoft Edge app. It should appear near the top of the list. You can identify it by the app icon and the name “Microsoft Edge” displayed next to it.
- Select the Microsoft Edge app: Tap on the listing for the Microsoft Edge app to view its details and download options. This will take you to the app’s dedicated page, where you can find additional information, screenshots, and user reviews.
Searching for the Microsoft Edge app is a crucial step in installing it on your iOS device. By following these steps, you can easily locate the app in the App Store search results and proceed with downloading and installing it.
Take your time to read through the app details, view screenshots, and consider user reviews to gather more information about Microsoft Edge. This will help you make an informed decision before proceeding with the download.
Once you have selected the Microsoft Edge app from the search results, you are one step closer to enjoying the features and benefits of Microsoft Edge on your iOS device. In the next step, we will cover the process of downloading and installing Microsoft Edge on your device.
Step 4: Tap on Install
After locating the Microsoft Edge app in the App Store and reviewing its details, the next step is to tap on the “Install” button to initiate the download and installation process. Here’s what to do:
- Open the Microsoft Edge app page: Tap on the listing for the Microsoft Edge app in the search results. This will take you to the app’s dedicated page with additional information and download options.
- Review the app details: On the app page, take a moment to review the information provided. This includes the app’s description, screenshots, ratings, and user reviews. Understanding the app’s features and functionality can help you make an informed decision.
- Tap on the “Install” button: Look for the “Install” button on the app page. It is usually located near the top right or bottom right corner of the screen. Tap on this button to initiate the download and installation process.
- Authenticate if prompted: Depending on your device’s settings, you may be prompted to authenticate the installation using your Apple ID, Face ID, or Touch ID. Follow the on-screen instructions to complete the authentication process and proceed with the installation.
- Wait for the download to complete: Once you tap on “Install,” the app will start downloading onto your device. The download time can vary depending on your internet connection speed. Ensure that you stay connected to a stable internet connection during the download process.
- App icon appears on your home screen: After the download is complete, the Microsoft Edge app icon will appear on your iOS device’s home screen. You are now ready to launch the app and begin using Microsoft Edge on your iOS device.
Tapping on the “Install” button marks an important milestone in the installation process as it triggers the download and installation of the Microsoft Edge app. By following these steps, you can quickly and efficiently install Microsoft Edge on your iOS device.
Once the installation is complete, you can tap on the Microsoft Edge app icon on your home screen to launch the browser and explore its powerful features, such as seamless syncing across devices, personalized news feeds, and advanced privacy controls.
With Microsoft Edge successfully installed on your device, you can now enjoy a versatile and feature-rich browsing experience on your iOS device.
Step 5: Launch Microsoft Edge on iOS
After successfully installing Microsoft Edge on your iOS device, you are just a few taps away from experiencing its powerful browsing capabilities. To launch Microsoft Edge and start exploring the web, follow these steps:
- Locate the Microsoft Edge app icon: On your iOS device’s home screen, look for the Microsoft Edge app icon, which appears as a dark blue background with a white letter “e.” It may be on your primary home screen or in a folder where you installed it.
- Tap on the Microsoft Edge app icon: Once you have located the app icon, simply tap on it to launch Microsoft Edge. The app will open, and you will find yourself on the browser’s start page.
- Navigate through Microsoft Edge: Upon launching Microsoft Edge, you will have access to a variety of features and functions. Explore the user interface, which includes the address bar, toolbar, and navigation controls. You can search the web, visit websites, bookmark pages, and customize your browsing experience using the various options available.
Launching Microsoft Edge on your iOS device allows you to take advantage of its powerful features, such as its integration with other devices, intelligent search capabilities, advanced privacy settings, and seamless syncing of browsing data. With Microsoft Edge, you can enjoy a fast, secure, and user-friendly browsing experience on your iPhone or iPad.
As you continue to use Microsoft Edge on your iOS device, you will receive regular updates from the App Store to ensure you have access to the latest features and security enhancements. It’s important to keep your app up to date by checking for updates in the App Store and installing them as they become available.
With Microsoft Edge successfully launched on your iOS device, you can now explore the web, stay productive, and seamlessly sync your browsing experience across all your devices.