
Setting up the Desktop feature
The Desktop feature on the HTC Vive headset allows users to access their computer’s desktop environment while in virtual reality (VR). This feature provides a seamless way to use desktop applications, browse the web, transfer files, and multitask without having to take off the headset. Setting up the Desktop feature is a relatively simple process that can be done in a few steps.
The first step is to make sure the HTC Vive headset is properly connected to your computer. Ensure that the headset is plugged into the computer’s HDMI and USB ports, and that the connection is secure. Once the headset is connected, turn on the VR system and put on the headset.
Next, navigate to the SteamVR menu by pressing the system button on one of the Vive controllers. This will bring up the SteamVR dashboard overlay. From the overlay, select the Desktop tab to access the Desktop feature.
If this is your first time setting up the Desktop feature, you will need to grant permission for SteamVR to access your desktop. This is an important security step to ensure that your computer and personal data are protected. Follow the prompts on the screen to grant the necessary permissions.
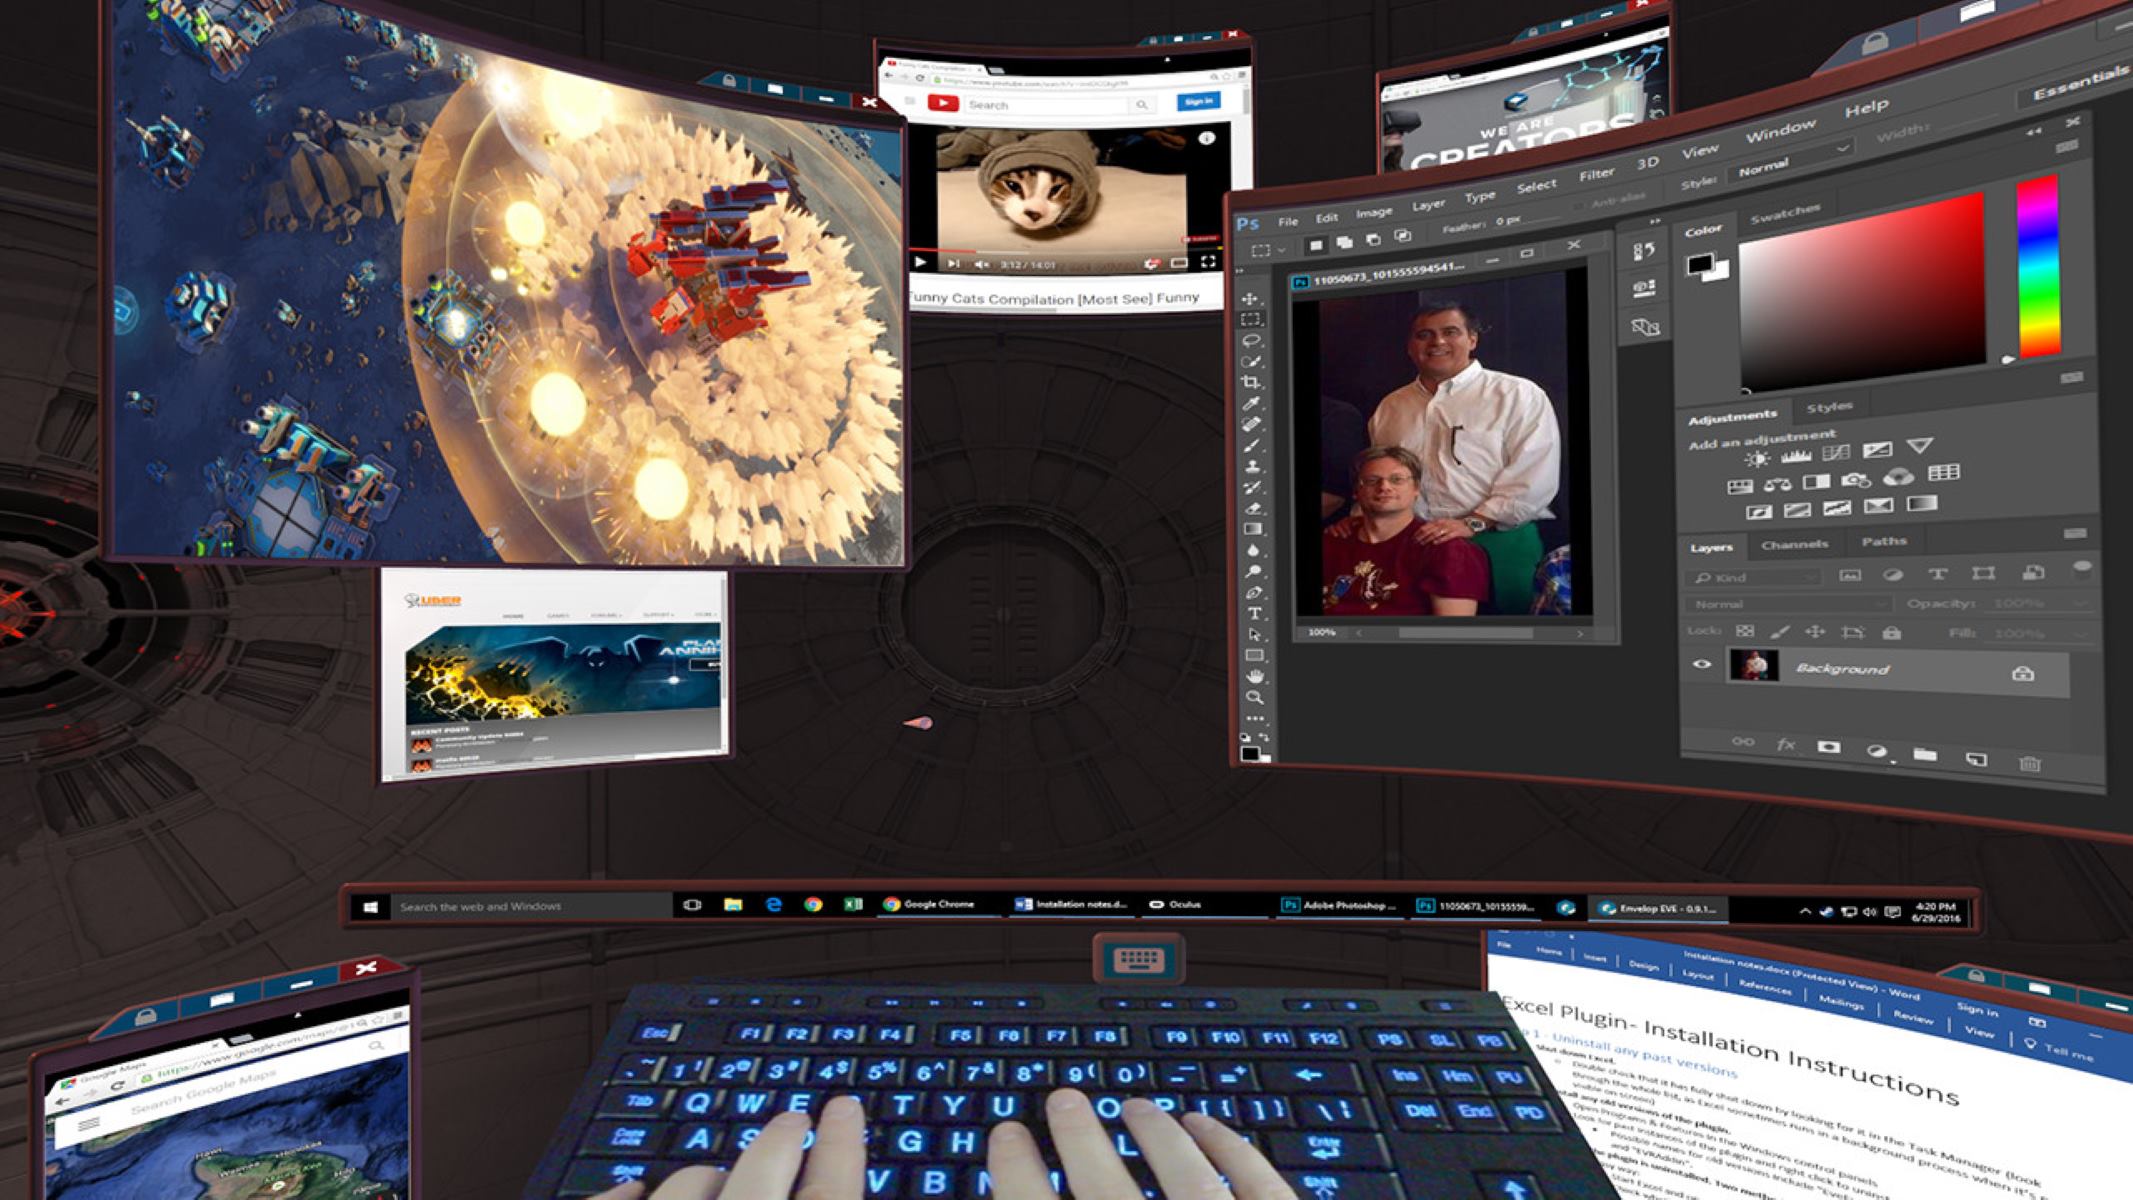
Once you have granted permission, the Desktop feature will be enabled, and you will see a mirrored view of your desktop inside the VR environment. It’s important to note that the desktop view may appear distorted or stretched due to the difference in display resolution between the Vive headset and your computer monitor.
To optimize the experience, you can adjust the Desktop screen position and size. Simply select the Desktop tab on the SteamVR dashboard, and use the provided controls to resize and reposition the desktop view until it matches your preferences. This allows you to have a comfortable viewing experience while using the Desktop feature.
Once you have set up the Desktop feature, you can now start using desktop applications, browsing the web, transferring files, and multitasking within the VR environment. This feature opens up a whole new level of productivity and convenience, allowing users to seamlessly transition between the real world and virtual reality without having to remove their headset.
Now that you have successfully set up the Desktop feature on your HTC Vive, you can fully enjoy the benefits of accessing your computer’s desktop environment within the VR space. Whether you need to work on documents, browse the internet, or transfer files, the Desktop feature provides a user-friendly and immersive experience. So put on your VR headset and start exploring the limitless possibilities of the Desktop feature on the HTC Vive.
Navigating the Desktop screen
Once you have set up the Desktop feature on your HTC Vive, you can start navigating the virtual desktop screen with ease. The Desktop feature provides a virtual representation of your computer’s desktop environment, allowing you to interact with it using the Vive controllers.
To begin, make sure you are in the VR environment and have the Desktop screen visible. You can do this by selecting the Desktop tab on the SteamVR dashboard. Once the Desktop screen is displayed, you can use the Vive controllers to navigate and interact with it.
Using the controllers, you can move the cursor around the virtual desktop screen by pointing with one of the controllers. Note that the cursor will only appear when you are holding down the trigger button on the controller. Release the trigger button to hide the cursor.
To click on an item on the Desktop screen, simply point the cursor at the desired location and press the trigger button. This will simulate a mouse click and allow you to interact with applications, folders, and files as you would on a physical computer.
To scroll through documents or web pages, use the touchpad on one of the Vive controllers. Simply slide your finger up or down on the touchpad to scroll in the respective direction. This provides a seamless way to navigate long documents or websites without physical mouse input.
Additionally, you can use the grip buttons on the controllers to drag and move windows around the virtual desktop screen. Hold down the grip buttons and point the controller at the title bar of a window to grab it. You can then move the window around the screen by physically moving your hand holding the Vive controller.
For more precise control, you can adjust the sensitivity of the controller movements in the SteamVR settings. This allows you to customize the navigation experience based on your preferences and level of comfort.
By familiarizing yourself with the navigation controls, you can easily move around the virtual desktop screen and interact with applications, files, and folders. Whether you need to open a document, launch an application, or organize files, the Desktop feature on the HTC Vive provides a seamless extension of your computer’s functionality within the VR environment.
Now that you know how to navigate the Desktop screen, you can fully immerse yourself in the virtual desktop experience. Explore different applications, browse the web, and interact with documents and files without leaving the VR environment. The Desktop feature on the HTC Vive offers a unique and immersive way to interact with your computer, enhancing both productivity and enjoyment.
Opening and using applications
With the Desktop feature on the HTC Vive, you can seamlessly open and use applications within the virtual reality (VR) environment. This feature allows you to access and interact with your favorite desktop applications without having to remove the headset. Whether you need to work on documents, edit images, or play games, opening and using applications in VR is a breeze.
To open an application, navigate to the Desktop screen by selecting the Desktop tab on the SteamVR dashboard. Once you are on the Desktop screen, use the Vive controllers to move the cursor to the desired application icon and click on it by pressing the trigger button. This will launch the application and display it within the VR environment.
When using applications in VR, the Vive controllers can be utilized as a virtual mouse and keyboard. The trigger button can be used as the left mouse button for clicking on buttons or selecting options within the application. The touchpad on the controller can function as a virtual keyboard, allowing you to type and input text as needed.
To interact with the application’s user interface, simply move the Vive controllers in a similar manner to how you would move a physical mouse. Point the controller at buttons, menus, or other interactive elements and press the trigger button to interact with them. This provides a familiar and intuitive way to navigate through different options and features within the application.
For applications that require more precise control or support for VR-specific interactions, developers can implement support for the Vive controllers’ additional features. This can include using the grip buttons for grabbing objects, utilizing the touchpad for scrolling or zooming, or incorporating room-scale tracking for immersive experiences.
Depending on the specific application you are using, be aware that performance and compatibility may vary. Some applications may not be optimized for VR, which can result in suboptimal display quality or reduced functionality. It is recommended to check with the application developers or online forums to see if there are any VR-specific settings or updates available to enhance the experience.
By opening and using applications within the VR environment, you can benefit from an enhanced level of immersion and productivity. Whether you are working on creative designs, collaborating on projects, or simply enjoying your favorite games, the Desktop feature on the HTC Vive provides a unique and enjoyable way to interact with desktop applications.
Now that you know how to open and use applications in VR, you can dive into a world of possibilities. Experiment with different applications, explore new creative tools, and enjoy the convenience of accessing your desktop software without leaving the virtual reality experience.
Customizing the Desktop screen
The Desktop feature on the HTC Vive not only allows you to access your computer’s desktop environment in virtual reality, but also provides options for customizing the appearance and layout of the virtual desktop screen. This allows you to personalize your VR desktop and optimize it for your needs and preferences.
To begin customizing the Desktop screen, navigate to the Desktop tab on the SteamVR dashboard and ensure that the Desktop screen is visible. From there, you can access the various customization options available.
One of the customization options is the ability to resize and reposition the virtual desktop screen. This is particularly useful if you find that the default size and position of the Desktop screen is not optimal for your VR experience. Simply click and drag the corner or edge of the Desktop window to resize it, or click and drag the title bar to reposition it on your VR display.
Furthermore, you can adjust the resolution of the Desktop screen to optimize the clarity and readability of the content. This can be done through the SteamVR settings by selecting the Display tab and adjusting the resolution slider. Higher resolutions may provide a sharper image, but it may also require more computational resources from your computer.
Another way to customize the Desktop screen is by modifying the virtual environment surrounding it. SteamVR offers a variety of VR environments to choose from, ranging from realistic locations to whimsical and abstract settings. You can access these environments through the SteamVR settings and select your preferred background to enhance your virtual desktop experience.
Additionally, you can customize the virtual desktop screen by changing the virtual monitors and their positioning. In the SteamVR settings, you can add multiple virtual monitors to the Desktop screen and position them according to your desired layout. This can be beneficial for multitasking and organizing your workspace within the VR environment.
For users who are more technically inclined, you may also have the option to customize the Desktop screen through advanced settings and modifications. This could involve tweaking operating system settings, adjusting virtual display properties, or integrating third-party applications and tools to enhance the desktop experience within VR.
By customizing the Desktop screen, you can personalize your VR desktop to suit your unique preferences and optimize your productivity. Whether it’s adjusting the size and position of the virtual screen, selecting a preferred virtual environment, or configuring multiple monitors for multitasking, the Desktop feature on the HTC Vive offers flexibility and control over your virtual desktop experience.
Now that you know how to customize the Desktop screen, you can fully tailor your VR desktop to your liking. Experiment with different settings, find the perfect layout and environment, and create a personalized and immersive virtual workspace.
Multitasking with the Desktop feature
The Desktop feature on the HTC Vive not only allows you to access your computer’s desktop environment in virtual reality but also enables you to multitask seamlessly within the VR space. This feature empowers you to work on multiple applications, browse the web, and manage files efficiently, all without having to leave the immersive VR experience.
One of the key benefits of multitasking with the Desktop feature is the ability to have multiple windows open simultaneously. By utilizing the virtual desktop screen, you can open different applications side by side, making it easier to switch between tasks and work on various projects concurrently. This is particularly useful for professionals who rely on multitasking to enhance productivity.
To open multiple windows on the Desktop screen, simply launch the desired applications as described earlier. You can then use the Vive controllers to resize and reposition the windows according to your preference. This allows you to create a customized workspace within the VR environment, similar to the layout you would have on a physical computer.
In addition to multitasking with applications, the Desktop feature also enables you to browse the web within the VR space. By using a virtual web browser, you can open websites, search for information, and interact with web-based applications, all without leaving the immersive VR environment. This opens up endless possibilities for creative research, online collaboration, and immersive web experiences.
Another aspect of multitasking with the Desktop feature is the ability to manage files seamlessly. Whether you need to access documents, organize files, or transfer files between the VR environment and your physical computer, the Desktop feature provides a user-friendly interface to perform these tasks efficiently. Simply navigate to the desired file manager application or use the built-in file explorer on the Desktop screen to manage your files effortlessly.
Furthermore, the Desktop feature allows for advanced multitasking capabilities, such as utilizing third-party tools, widgets, or plugins to enhance productivity. You may be able to integrate task managers, note-taking applications, or other productivity tools directly into the VR desktop, enabling you to stay organized and focused on your work.
By leveraging the multitasking capabilities of the Desktop feature, you can boost your productivity and efficiency within the VR environment. Whether you’re working on multiple projects, conducting research, or managing files, the ability to seamlessly switch between applications and tasks within virtual reality can streamline your workflow and enhance your overall experience.
Now that you understand how to multitask with the Desktop feature, you can optimize your productivity and make the most of your time in the VR space. Experiment with different multitasking techniques, find the workflow that suits you best, and enjoy the convenience of managing multiple tasks within the immersive virtual environment.
Using the web browser in Desktop mode
One of the key features of the Desktop mode on the HTC Vive is the ability to browse the web within the virtual reality (VR) environment. The built-in web browser allows users to access websites, search for information, and interact with online content seamlessly, without the need to remove the VR headset.
To launch the web browser in Desktop mode, navigate to the Desktop tab on the SteamVR dashboard. From there, select the web browser icon to open the virtual browser window. The window will appear on the virtual desktop screen, allowing you to interact with web content as if you were using a physical computer.
Using the web browser in Desktop mode is similar to using a desktop browser. You can type the URL of a website using the virtual keyboard or use voice recognition to perform a search. The Vive controllers can be used as a mouse, allowing you to navigate through web pages, click on links, and interact with web elements.
While the VR web browsing experience is similar to traditional browsing, there are a few unique features to enhance the VR experience. For example, some VR browsers offer a theater mode that allows you to view web content on a large virtual screen, simulating the experience of sitting in a theater. This can create a more immersive and enjoyable browsing experience for media consumption.
Additionally, VR browsers may provide features such as bookmarks, tabbed browsing, and private browsing mode. You can access these features through the browser’s interface, usually located at the top or side of the virtual window. These features ensure that you have a familiar browsing experience while enjoying the benefits of VR technology.
Another advantage of using the web browser in Desktop mode is the ability to incorporate web-based applications and services within the VR environment. For example, you can access web-based productivity tools, collaborate on cloud-based documents, or even participate in virtual meetings and conferences within the VR browser. This integration enhances productivity and enables seamless transitions between different tasks.
As with any web browser, it’s important to consider security and privacy while using the VR browser. Make sure to use trusted sources for websites and be cautious when entering personal information online. It is also recommended to keep the browser updated to benefit from the latest security features and improvements.
By using the web browser in Desktop mode on the HTC Vive, you can browse the web, search for information, and interact with online content without leaving the immersive VR environment. This feature provides convenience, productivity, and an enhanced web experience within the VR space.
Now that you understand how to use the web browser in Desktop mode, you can explore the vastness of the internet while immersed in virtual reality. Discover new websites, engage with online content, and make the most of your time in the VR environment with the powerful web browsing capabilities of the HTC Vive.
Transferring files between the Desktop and VR environment
The Desktop feature on the HTC Vive not only allows users to access their computer’s desktop environment within virtual reality (VR), but it also provides a convenient way to transfer files between the VR environment and the physical desktop. Whether you need to bring in documents, images, or other files from your computer to the VR space or vice versa, the Desktop feature offers seamless file transfer capabilities.
To transfer files between the Desktop and VR environment, you can use various methods depending on your specific needs and preferences. One of the simplest ways is to use file manager applications available within the VR desktop. These applications allow you to browse and navigate the file system just like you would on a physical computer, making it easy to locate and transfer files.
When using a file manager application in the Desktop environment, you can access your computer’s storage devices and folders. Simply open the file manager, navigate to the desired file or folder, and use the file manager’s interface to transfer the files. You can typically use drag and drop or copy and paste functionality to move files between the VR environment and your computer’s storage.
Another method for file transfer is utilizing cloud storage services. If you have cloud storage applications installed on both your computer and within the VR environment, you can upload files from your computer to the cloud and then access them within the VR space. This approach offers convenience and ensures that your files are accessible from any device with an internet connection.
In addition to file manager and cloud storage apps, some VR applications specifically designed for file transfer may also be available. These apps provide a dedicated interface for transferring files, allowing you to easily move documents, images, and other file types between the Desktop and VR environments.
It’s worth noting that the transfer speed and efficiency may vary depending on the size of the files, the network connection, and the performance of your computer. Large files or a slower network connection may result in longer transfer times, so it’s important to consider these factors when transferring files between the Desktop and VR environment.
By utilizing the file transfer capabilities of the Desktop feature, you can seamlessly move files between the VR environment and your computer’s storage. This allows you to access and work with your important documents, images, and other files without interrupting your immersive VR experience.
Now that you know how to transfer files between the Desktop and VR environments, you can easily bring in files from your computer or share files with others within the VR space. Enjoy the convenience of having access to your files while immersed in the virtual reality experience.
Troubleshooting common issues with the Desktop feature
While the Desktop feature on the HTC Vive offers a seamless way to access your computer’s desktop environment within virtual reality (VR), there may be occasional issues that can arise. By understanding and troubleshooting these common issues, you can resolve any problems and continue enjoying the full functionality of the Desktop feature.
One common issue is the distortion or stretching of the desktop view within the VR environment. This can occur due to the difference in display resolutions between the Vive headset and your computer monitor. To address this issue, make sure that your computer’s display settings are correctly configured. Adjusting the resolution and aspect ratio settings in your computer’s display settings may help alleviate the distortion or stretching of the virtual desktop screen.
Another issue that users may encounter is the performance impact on the computer when running CPU or GPU-intensive applications simultaneously within the VR environment and the desktop environment. This can result in lag, stuttering, or lower frame rates, affecting the overall VR experience. To minimize this performance impact, consider closing any unnecessary applications or processes running in the background. Additionally, optimizing the computer’s CPU and GPU settings, such as adjusting power settings or updating graphics drivers, may help improve performance.
Some users may experience tracking errors or a loss of head or controller tracking when using the Desktop feature. This issue can be caused by a variety of factors, including poor lighting conditions, reflective surfaces, or obstructions in the room. To minimize tracking issues, ensure that the VR environment has adequate lighting and minimal reflective surfaces. Clearing any potential obstructions and properly calibrating the VR system can also help improve tracking accuracy.
If you encounter connection issues between the HTC Vive headset and your computer while using the Desktop feature, there are a few troubleshooting steps to consider. First, ensure that the headset’s HDMI and USB cables are securely connected to the computer’s ports. If the issue persists, try using different USB ports or cables to rule out any hardware problems. Updating the headset and SteamVR software to the latest version can also resolve connectivity issues.
Additionally, make sure that your computer meets the minimum system requirements for running the HTC Vive and the Desktop feature. Outdated or incompatible hardware may lead to performance issues or function limitations. Refer to the hardware specifications provided by HTC and compare them to your computer’s specifications to ensure compatibility.
If you encounter any other issues or errors while using the Desktop feature, it is recommended to consult the official HTC Vive support resources, such as the online knowledge base or user forums. These resources often provide solutions to common problems, and you can also seek assistance from the VR community for troubleshooting guidance.
By addressing and troubleshooting common issues with the Desktop feature, you can ensure a smooth and enjoyable VR experience with full access to your computer’s desktop environment. With patience and a systematic approach to problem-solving, you can overcome any challenges and make the most of the HTC Vive’s Desktop feature.