
What are Photoshop Tool Presets?
Photoshop tool presets are preconfigured settings that allow you to apply specific tools and options with just a click, saving you time and effort in your editing workflow. They serve as a convenient way to streamline your design process and ensure consistency in your projects.
Tool presets encompass a wide range of settings, including brush presets, shape presets, pattern presets, and more. Essentially, they bundle together various tool parameters such as size, opacity, blend mode, shape dynamics, and spacing, allowing you to quickly access and apply these settings to your artwork.
By using tool presets, you can easily switch between different styles, effects, or settings without having to manually adjust each individual parameter. For example, if you frequently use a specific brush with certain properties, you can save it as a tool preset and access it instantly whenever you need it, eliminating the need to manually recreate the settings each time.
Tool presets are not only limited to brushes or shapes; they can also be applied to other tools like the healing brush, dodge and burn tools, and even adjustment layers. This versatility allows you to save and reuse complex configurations, making it a versatile feature for various design tasks.
Moreover, Photoshop provides a range of built-in presets, but you can also create your own custom tool presets to match your unique editing style or project requirements. This customization empowers you to tailor the presets to your specific needs, whether you’re retouching photos, creating digital paintings, or designing graphics.
How to Access and Manage Tool Presets
Accessing and managing tool presets in Photoshop is a straightforward process that can significantly enhance your editing efficiency. Here’s a step-by-step guide on how to do it:
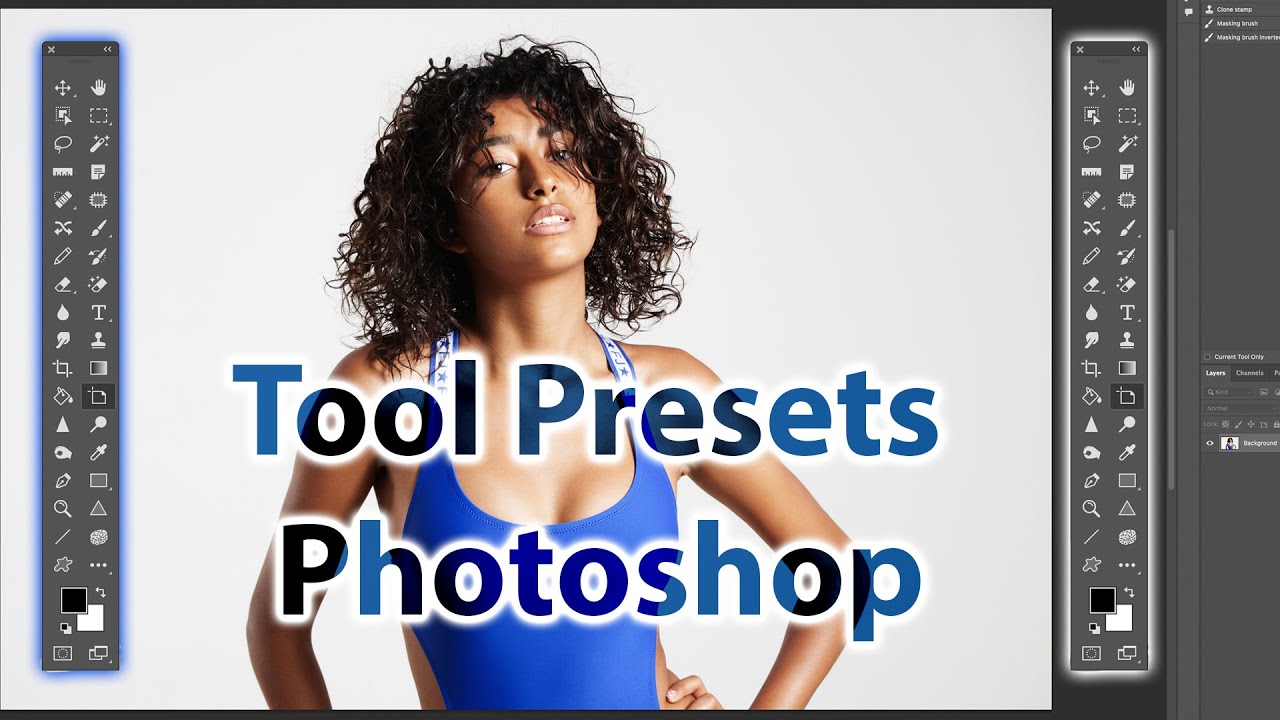
- Open Photoshop and navigate to the toolbar on the left side of the screen.
- Click on the tool icon for which you want to access or apply a preset. For example, if you want to access brush presets, select the Brush tool.
- In the top options bar, you’ll find a dropdown menu next to the tool’s settings. Click on this menu to reveal the available presets.
- From the presets dropdown menu, you can either select one of the built-in presets or click on the “Preset Manager” option to manage and organize your presets.
- If you choose to access the Preset Manager, a dialog box will open displaying all the available presets for the selected tool. Here, you can select, delete, rename, or organize your presets using the provided options.
- To create a new custom tool preset, adjust the tool options to your desired settings, and then click on the “New Preset” button in the Preset Manager. Give your preset a name and click “OK.” Your new preset will now be available in the dropdown menu.
- To delete or rename a preset, select it in the Preset Manager and use the corresponding buttons to make your desired changes.
- If you want to import or export tool presets, click on the dropdown menu icon in the Preset Manager dialog box and choose the “Import” or “Export” option. This allows you to share your presets with others or transfer them between different devices.
- Once you’ve accessed or created the desired preset, simply click on it in the dropdown menu to apply it to your active tool.
By familiarizing yourself with the process of accessing and managing tool presets in Photoshop, you can efficiently organize your presets, create custom settings, and quickly apply them to your artwork, saving valuable time and ensuring consistency in your edits.
Using Tool Presets to Save Time
One of the most significant advantages of using tool presets in Photoshop is the ability to save time in your editing workflow. Here are some ways you can leverage tool presets to streamline your design process:
1. Quick access to frequently used settings: By creating presets for your commonly used tools and settings, you can swiftly access them with just a click. This eliminates the need to manually adjust parameters each time, allowing you to work more efficiently and focus on the creative aspects of your project.
2. Consistent application of styles and effects: Tool presets ensure consistency in your designs by applying the same settings and effects across multiple elements. Whether you’re working on a series of images or creating a cohesive design, tool presets enable you to maintain uniformity and save time by instantly applying the desired styles to various elements.
3. Batch editing: If you have similar editing requirements for a batch of images, tool presets can be a lifesaver. By applying a preset to one image, you can then synchronize or copy and paste the settings to the rest of the images, significantly reducing the time spent on repetitive tasks.
4. Non-destructive editing: Tool presets can be combined with adjustment layers to achieve non-destructive editing. By using presets on adjustment layers, you can experiment with different looks, easily make changes, and revert back to the original settings without affecting the underlying image. This flexibility saves time and enables you to fine-tune your edits with ease.
5. Streamlining complex configurations: Photoshop gives you the flexibility to customize tool presets to suit your specific requirements. Whether you need a specific brush with specific settings or a combination of multiple tools and options, creating custom presets allows you to save complex configurations and easily access them whenever needed, simplifying your workflow.
6. Collaboration and sharing: Tool presets can also be shared and imported, making them valuable in collaborative projects or when switching devices. You can export your presets and share them with team members or import presets created by others, ensuring consistency across the project and saving time by avoiding the need to recreate presets on different devices.
By harnessing the power of tool presets in Photoshop, you can maximize your productivity, maintain consistency in your designs, and speed up repetitive tasks. Embrace this time-saving feature and enjoy a more efficient editing experience.
Creating Custom Tool Presets
In addition to the built-in tool presets available in Photoshop, you have the option to create your own custom tool presets tailored to your specific editing needs. Here’s how you can create custom tool presets:
1. Set up your desired tool settings: Before creating a custom preset, adjust the tool settings to your desired parameters. This includes options such as brush size, opacity, blending mode, shape dynamics, and any other settings relevant to the tool you’re using.
2. Access the Preset Manager: To create a new custom tool preset, open the Preset Manager by clicking on the dropdown menu next to the tool settings in the top options bar, and selecting “Preset Manager”.
3. Create a new preset: In the Preset Manager dialog box, click the “New Preset” button. A new dialog box will appear, allowing you to give your preset a name and choose the appropriate category for it (e.g., Brushes, Shapes, Patterns, etc.).
4. Save your custom preset: Once you’ve named your preset and selected the category, click “OK” to save it. Your new custom tool preset will now be available in the presets dropdown menu next to the tool.
5. Customize advanced settings: Depending on the tool you’re using, you may have additional advanced options to configure for your custom preset. For example, if you’re creating a brush preset, you can fine-tune the shape dynamics, scattering, and texture parameters in the brush settings panel to further customize your preset.
6. Organize and manage your custom presets: In the Preset Manager dialog box, you can organize your custom presets by selecting, deleting, renaming, or reordering them. This allows you to keep your tool presets organized and easily accessible for future use.
Creating custom tool presets in Photoshop provides you with the flexibility to save and reuse your preferred settings, allowing for a more efficient workflow. Whether you’re working on specific projects or need to maintain consistency in your editing style, custom tool presets are a powerful tool in your creative arsenal.
Applying Tool Presets to Multiple Layers
When working with multiple layers in Photoshop, applying tool presets individually to each layer can be time-consuming and tedious. However, Photoshop offers a simple and efficient way to apply tool presets to multiple layers simultaneously. Here’s how you can do it:
1. Select the layers: In the Layers panel, hold down the Ctrl/Cmd key (Windows/Mac) and click on the layers you want to apply the tool preset to. Alternatively, you can click and drag to select multiple layers at once.
2. Access the tool preset: Choose the tool you want to apply the preset to, such as the Brush tool. In the options bar, click on the presets dropdown menu to reveal the available presets for that tool.
3. Apply the preset to the selected layers: From the presets dropdown menu, click on the desired tool preset. Photoshop will automatically apply the preset to all the selected layers simultaneously.
4. Fine-tune individual layer settings: After applying the tool preset, you can further modify the settings of each layer individually if needed. Select the desired layer in the Layers panel and make any necessary adjustments to fine-tune the effect or appearance.
This method of applying tool presets to multiple layers helps maintain consistency across your artwork and saves valuable time. It is particularly useful when working on complex projects that involve multiple elements and layers that require the same tool settings and effects. Instead of manually applying the preset to each layer, you can apply it to multiple layers with just a few simple steps.
Note that applying tool presets to multiple layers works with various tools in Photoshop, including brushes, shapes, patterns, and more. Experiment with different presets and see how they enhance your workflow and productivity when working with multiple layers.
Sharing and Importing Tool Presets
Sharing and importing tool presets in Photoshop allows you to collaborate with others, transfer presets between devices, or access presets created by other artists. Here’s how you can easily share and import tool presets:
Sharing Tool Presets:
1. Open Photoshop and go to the Preset Manager by clicking on the dropdown menu next to the tool presets in the options bar and selecting “Preset Manager”.
2. In the Preset Manager dialog box, select the preset category you want to share, such as brushes or shapes.
3. Choose the preset(s) you want to share by selecting them in the dialog box.
4. Click on the dropdown menu icon within the Preset Manager dialog box and select “Export Selected Presets”.
5. Choose a location on your computer to save the exported preset file and give it a recognizable name.
6. Share the exported preset file with others via email, file-sharing platforms, or any other method of your choice.
Importing Tool Presets:
1. Receive the exported preset file from the person sharing it with you.
2. Open Photoshop and go to the Preset Manager.
3. Select the preset category you want to import the presets into.
4. Click on the dropdown menu icon in the Preset Manager dialog box and select “Import Presets”.
5. Locate the exported preset file you received and select it.
6. Click “Load” to import the presets into the chosen preset category.
Once imported, the shared tool presets will be available in the respective preset category, allowing you to utilize them in your editing workflow.
Sharing and importing tool presets in Photoshop greatly enhances customization options and promotes collaboration among artists and designers. It enables you to leverage the creativity and expertise of others, as well as conveniently transfer presets between different devices, ensuring consistency in your work and expanding your creative possibilities.
Troubleshooting Tool Presets Issues
While using tool presets in Photoshop can greatly enhance your workflow, you may encounter some issues along the way. Here are some common problems with tool presets and how to troubleshoot them:
1. Missing tool presets:
If you’re unable to find a specific tool preset that you know should be available, it could be due to one of the following reasons:
- Check if you’re using the correct tool. Tool presets are specific to each tool, so make sure you’ve selected the right one.
- Verify that the preset category is expanded. Sometimes, preset categories are collapsed by default, so expand the category to see all the presets.
- Ensure that the preset hasn’t been accidentally deleted. If you can’t find a preset, double-check the Preset Manager and see if it is still listed.
2. Inconsistent tool presets:
If a tool preset is not applying the expected settings consistently, try the following troubleshooting steps:
- Ensure that the tool options for the selected tool are set correctly. Sometimes, manual adjustments to the tool options may override the preset settings.
- Check if the layer or object you’re working on has any specific settings that may override the preset. Adjust the layer or object properties as needed to align with the desired preset settings.
- If you have multiple tool presets with similar names, make sure you’re selecting the correct one. Different presets can have subtle variations that may result in different appearances.
3. Compatibility issues with older versions:
If you’re using tool presets created in a newer version of Photoshop and encounter compatibility issues when trying to import them into an older version, consider the following:
- Check the file format of the preset. Newer versions may have different file formats that are not compatible with older versions. Export the presets in a compatible format before importing them.
- Manually recreate the presets in the older version. While this may take some time, it ensures compatibility and allows you to tailor the presets to the capabilities of the specific version.
If you continue to encounter issues with tool presets in Photoshop, consider resetting the tool presets to their default settings. This can be done through the Preset Manager by selecting the presets you want to reset and clicking on the “Reset” button.
Remember to always keep your Photoshop software updated to the latest version to ensure compatibility and access to the latest features and improvements. If problems persist, consult the official Photoshop documentation or seek assistance from the Adobe support community.
Tips and Tricks for Using Tool Presets
When it comes to using tool presets in Photoshop, there are various tips and tricks that can enhance your workflow and maximize the potential of this feature. Here are some valuable tips to help you make the most out of tool presets:
1. Organize your presets:
Create a logical and well-structured system for organizing your tool presets. Use clear names, categorize presets by function or style, and delete or update presets that you no longer need. This organization will make it easier to find and use the presets when you need them.
2. Utilize keyboard shortcuts:
Assign keyboard shortcuts to your frequently used tool presets to access them even faster. This can be done via the Edit > Keyboard Shortcuts menu. By assigning keyboard shortcuts, you’ll save time and streamline your editing process.
3. Combine tool presets with layer styles:
Layer styles, such as drop shadows, gradients, and strokes, can be combined with tool presets to achieve complex and visually appealing effects. Experiment with different combinations to create unique and eye-catching designs.
4. Adjust tool presets on the fly:
While tool presets are great for saving specific settings, don’t hesitate to make adjustments to the presets as you work. Sometimes you may need slight modifications to suit a particular project. Tweak the preset settings directly in the tool options to achieve the desired outcome.
5. Share and explore:
Share your own tool presets with the creative community to contribute and receive new presets. Additionally, explore online resources, forums, and social media platforms for preset collections from other designers and artists. Exchanging presets allows for inspiration and customization possibilities.
6. Create multiple variations of presets:
Experiment with different settings and create variations of your favorite tool presets. This way, you’ll have a range of options readily available for diverse projects or different stages of your creative process.
7. Document your presets:
Keep a record or documentation of your custom tool presets. Having a visual reference or notes about the purpose and settings of each preset can be helpful, especially when revisiting projects or sharing presets with others.
8. Regularly update and review presets:
As your editing techniques and preferences evolve, make it a habit to review and update your tool presets. By regularly revisiting and refining your presets, you’ll ensure that they align with your current style and requirements.
9. Embrace experimentation:
Don’t be afraid to explore and experiment with different combinations of tool presets. Combine brushes, patterns, and other presets to create unique effects and discover new possibilities in your creative process.
By incorporating these tips and tricks into your workflow, you’ll be able to harness the full potential of tool presets in Photoshop, save time, and unlock new levels of creativity and efficiency in your design projects.