
What are Brushes in Adobe Photoshop?
Brushes are one of the most powerful tools in Adobe Photoshop, allowing users to add various artistic effects and textures to their digital images and designs. A brush is essentially a shape or pattern that you can use to paint or draw on your canvas. These brushes can replicate traditional art tools like pencils, pens, brushes, and even natural elements like leaves or clouds.
Photoshop brushes come in different shapes, sizes, and styles, offering a wide range of options for artists and designers to create unique and visually stunning compositions. Whether you want to add subtle texture to a photograph, create a digital painting, or enhance your design with decorative elements, the right brush can greatly impact the overall look and feel of your artwork.
Adobe Photoshop provides a vast collection of default brushes to get you started, but the real power lies in the ability to import and use custom brushes created by other users or even design your own brushes. With countless brush packs available online, there is no shortage of choices to suit every creative need and style.
Brushes in Photoshop are not limited to just painting or drawing. They can also be used for various tasks such as retouching images, creating masks, adding special effects, or even adding textural elements to typography. The versatility of brushes in Photoshop makes them an essential tool in the digital artist’s arsenal.
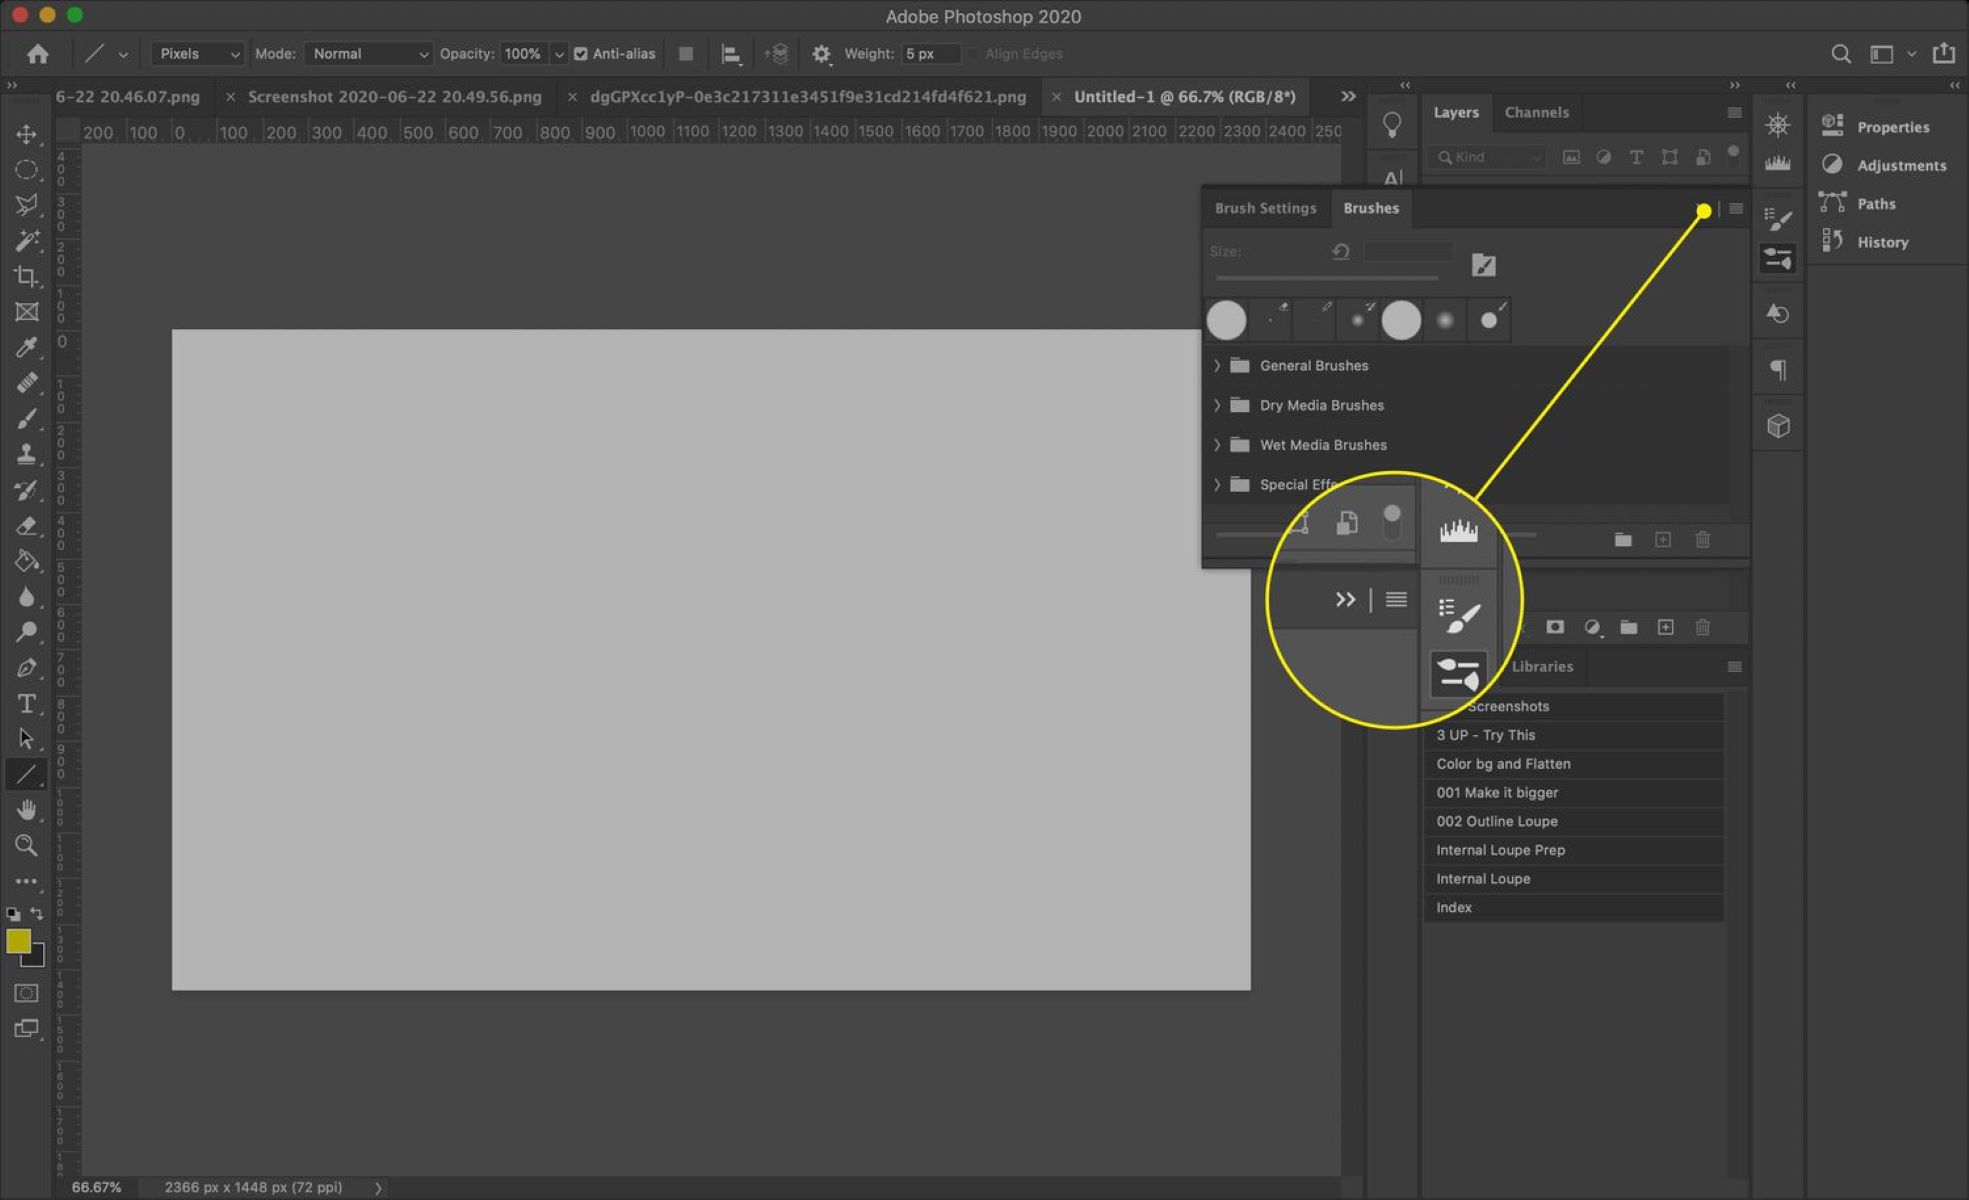
To access the brushes panel in Adobe Photoshop, simply navigate to the “Window” menu and select “Brushes.” This will open up the brush presets panel where you can manage and organize your brushes, adjust brush settings, and save your custom brushes for future use.
Now that we understand the basics of brushes in Adobe Photoshop, let’s explore where to find new brushes and how to download and install them.
Where to Find Brushes
When it comes to finding brushes for Adobe Photoshop, the possibilities are virtually endless. There are numerous online resources and platforms where you can find a wide variety of brushes, both free and paid. Here are some of the most popular sources:
- Adobe Creative Cloud Marketplace: The official Adobe website provides a marketplace where you can find a selection of high-quality brushes created by both Adobe and third-party artists. You can access it directly from the Creative Cloud app and download the brushes with ease.
- Brush Repository Websites: There are several websites dedicated to curating and sharing Photoshop brushes. Some popular examples include DeviantArt, Brusheezy, and MyPhotoshopBrushes. These sites offer a vast collection of brushes, often organized into categories or themes, making it easy to browse and find the brushes that suit your needs.
- Online Design Communities: Online communities like Behance and Dribbble are not only great places to showcase your work, but they also serve as platforms for artists to share their resources, including brush sets. Many designers and illustrators generously share their custom brushes on these platforms, allowing others to benefit from their creative tools.
- Brush Creators’ Websites: Some artists and designers have their own websites where they offer their custom brushes for download. These websites often provide additional resources, tutorials, and insights into their creative process, giving you a chance to connect with the creators directly.
When searching for brushes, consider the type of brushes you need for your project. Whether you’re looking for realistic watercolor brushes, grunge textures, or special effects brushes, narrowing down your search can help you find the best resources faster. It’s also worth checking the licensing terms of the brushes to ensure they can be used for commercial purposes if needed.
Once you’ve found the brushes you want to use, the next step is downloading and installing them in Adobe Photoshop, which we will cover in the following section.
Downloading Brushes
Downloading brushes for Adobe Photoshop is a straightforward process. Whether you’re obtaining free brushes or purchasing premium ones, the steps are generally the same. Here’s a step-by-step guide:
- Choose your source: Select the website or platform where you want to download brushes from. Consider reputable sources that offer high-quality brushes and have positive user reviews.
- Browse and select: Explore the available brushes and choose the ones that catch your interest. Many websites categorize their brushes, making it easier to find specific types or styles.
- Check compatibility: Make sure the brush pack you’re downloading is compatible with the version of Adobe Photoshop you’re using. Some brushes may be designed for older or newer versions of Photoshop and may not work as intended if they’re not compatible.
- Click on the download button: Most websites will have a download button next to each brush pack. Click on it to initiate the download process. Some sites may require you to create an account or sign in before downloading.
- Choose the save location: Once the download starts, choose the location on your computer where you want to save the brush file. It is recommended to create a dedicated folder for your brushes to keep them organized.
- Wait for the download to complete: The download time will vary depending on the size of the brush pack and your internet speed. Once the download is finished, you can move on to the next step.
Remember to only download brushes from trusted sources to ensure they are safe and free from any malware. It’s also a good practice to scan the downloaded files with an antivirus program before extracting and using them.
Now that you have successfully downloaded your brushes, it’s time to install them in Adobe Photoshop. The next section will guide you through the installation process on both Windows and Mac operating systems.
Installing Brushes
Installing brushes in Adobe Photoshop is a simple process and can be done in just a few steps. The installation method may vary slightly depending on whether you are using Windows or Mac. Here’s how to install brushes on both operating systems:
Installing Brushes in Adobe Photoshop on Windows:
- Locate the downloaded brush file: Open the folder where you saved the downloaded brush file. It should have a .ABR extension, which stands for Adobe Brush. If the file is in a compressed format like .ZIP, extract it using a tool like WinRAR or 7-Zip.
- Copy the brush file: With the brush file extracted, copy the .ABR file by right-clicking on it and selecting “Copy”.
- Navigate to the Photoshop brushes folder: Open File Explorer and navigate to the location where Photoshop is installed on your computer. Generally, it is in the “Program Files” folder. Then go to the “Adobe” folder, followed by the “Adobe Photoshop” folder.
- Access the brushes folder: In the Adobe Photoshop folder, locate the “Presets” folder, and inside it, find the “Brushes” subfolder. Open it to access the Photoshop brushes folder.
- Paste the brush file: Inside the Photoshop brushes folder, right-click and choose “Paste” to paste the copied .ABR brush file into the folder.
- Restart Adobe Photoshop: To ensure that the installed brushes are loaded into Photoshop, close and restart the application. The brushes will now be available in the brush presets panel for you to use.
Installing Brushes in Adobe Photoshop on Mac:
- Locate the downloaded brush file: Open the folder where you saved the downloaded brush file. If the file is in a compressed format like .ZIP, extract it by simply double-clicking on it.
- Copy the brush file: With the brush file extracted, select it and press “Command + C” to copy it.
- Navigate to the Photoshop brushes folder: Open Finder and click on “Go” from the top menu. Then, select “Go to Folder” and enter the following path: “~/Library/Application Support/Adobe/Adobe Photoshop”.
- Access the brushes folder: Inside the Adobe Photoshop folder, locate the “Presets” folder, and inside it, find the “Brushes” subfolder. Open it to access the Photoshop brushes folder.
- Paste the brush file: Inside the Photoshop brushes folder, press “Command + V” to paste the copied brush file into the folder.
- Restart Adobe Photoshop: Close and reopen Adobe Photoshop. The installed brushes will now be available in the brush presets panel.
Once you have installed your brushes, you can start using them to enhance your artwork and designs in Adobe Photoshop. The next section will guide you on how to effectively utilize brushes for various creative tasks.
Installing Brushes in Adobe Photoshop on Windows
Installing brushes in Adobe Photoshop on Windows is a relatively simple process. Follow the steps below to add new brushes to your Photoshop presets:
- Locate the downloaded brush file: Open the folder where you saved the downloaded brush file. The file should have a .ABR extension, which stands for Adobe Brush. If the file is compressed in a .ZIP format, extract it using a tool like WinRAR or 7-Zip.
- Copy the brush file: Once the file is extracted, right-click on the .ABR brush file and select “Copy”.
- Navigate to the Photoshop brushes folder: Open File Explorer and navigate to the location where Adobe Photoshop is installed on your computer. Typically, it is in the “Program Files” folder. Then, go to the “Adobe” folder, followed by the “Adobe Photoshop” folder.
- Access the brushes folder: In the Adobe Photoshop folder, locate and open the “Presets” folder. Inside, you’ll find a subfolder called “Brushes”. Open this folder to access the Photoshop brushes folder.
- Paste the brush file: Right-click within the Photoshop brushes folder and select “Paste” to paste the copied .ABR brush file into the folder.
- Restart Adobe Photoshop: Close and then relaunch Adobe Photoshop. By restarting the program, the newly installed brushes will be ready for use in the brush presets panel.
After completing these steps, the installed brushes will be available in Adobe Photoshop’s brush presets. To access and use them, open the brush panel by navigating to the “Window” menu and selecting “Brushes”. In the brush presets panel, you can scroll through the list or use the search feature to find the newly installed brushes.
Keep in mind that you can organize your brushes into different sets for easier navigation. To do this, simply create subfolders within the brushes folder and place the brush files accordingly. Restart Adobe Photoshop for the changes to take effect.
You now have successfully installed brushes in Adobe Photoshop on Windows. With your new brushes at your disposal, you can explore and experiment with various artistic effects and styles to enhance your digital artwork.
Installing Brushes in Adobe Photoshop on Mac
Installing brushes in Adobe Photoshop on Mac is a straightforward process. Follow the steps below to add new brushes to your Photoshop presets:
- Locate the downloaded brush file: Open the folder where you saved the downloaded brush file. If the file is in a compressed format like .ZIP, double-click on it to extract the contents.
- Copy the brush file: Once the brush file is extracted, select it and press “Command + C” to copy it.
- Navigate to the Photoshop brushes folder: Open Finder and click on the “Go” option from the top menu. Then, select “Go to Folder” and enter the following path: “~/Library/Application Support/Adobe/Adobe Photoshop”.
- Access the brushes folder: Inside the Adobe Photoshop folder, locate and open the “Presets” folder. Within the Presets folder, you will find a subfolder named “Brushes”. Open this folder to access the Photoshop brushes folder.
- Paste the brush file: Within the Photoshop brushes folder, press “Command + V” to paste the copied brush file.
- Restart Adobe Photoshop: Close Adobe Photoshop and then reopen it. By restarting the program, the newly installed brushes will be loaded into the brush presets panel and ready for use.
Once these steps are completed, the installed brushes will be available in Adobe Photoshop’s brush presets. To access and use them, open the brush panel by navigating to the “Window” menu and selecting “Brushes”. In the brush presets panel, you can scroll through the list or use the search feature to quickly locate the newly installed brushes.
To keep your brushes organized within Photoshop, you can create subfolders within the brushes folder and place the brush files accordingly. Restart Adobe Photoshop for the changes to take effect.
With your newly installed brushes, you now have the freedom to explore various artistic effects and styles, enhancing your digital artwork in Adobe Photoshop.
Using Brushes in Adobe Photoshop
Brushes are a versatile tool in Adobe Photoshop, allowing you to unleash your creativity and add unique effects to your digital artwork. Here are some key steps to effectively use brushes in Photoshop:
- Select the desired brush: Open the brush presets panel by going to the “Window” menu and selecting “Brushes”. Scroll through the list or use the search feature to find the brush you want to use.
- Adjust brush settings: Before applying the brush to your canvas, you can modify its size, hardness, opacity, flow, and other settings to achieve the desired effect. Use the brush options bar or the brush settings panel to make these adjustments.
- Choose a foreground color: Set the foreground color picker to the desired hue you want to use with the brush. You can select a color using the color picker tool or enter specific color values.
- Start painting: With the brush settings and color selected, click and drag on your canvas to start painting with the brush. Experiment with different brush strokes, pressures, and angles to achieve the desired artistic effect.
- Blend and layer: To create depth and complexity in your artwork, explore blending modes and layering techniques. Adjust the opacity and blending modes of your brush strokes to seamlessly integrate them with your existing artwork layers.
- Experiment with brush dynamics: Photoshop offers various brush dynamics such as scattering, texture, shape dynamics, and more. These dynamics can be accessed in the brush settings panel and allow for even more creative possibilities.
- Combine brushes: Don’t be afraid to use multiple brushes in a single artwork. Experiment with different brush types and sizes to create diverse textures, patterns, and details. You can switch between brushes seamlessly using the brush presets panel.
- Undo and tweak: Remember that you can always undo or modify your brush strokes. Utilize the history panel or keyboard shortcuts to undo, redo, or selectively modify specific brush strokes as needed.
Remember, the key to effectively using brushes is practice and experimentation. Take the time to explore the different possibilities and find your own unique style. With patience and creativity, brushes can elevate your digital artwork to new levels.
Changing Brush Settings in Adobe Photoshop
Adobe Photoshop offers a wide range of brush settings that can be customized to achieve different artistic effects. Understanding how to change brush settings allows you to have better control over the appearance and behavior of your brushes. Here’s a guide on how to modify brush settings in Photoshop:
- Open the brush settings: To access the brush settings, open the brush presets panel by going to the “Window” menu and selecting “Brushes”. Alternatively, you can use the shortcut key “F5” to open the brush settings panel.
- Adjust brush size and hardness: The size and hardness of the brush can be modified using the brush options bar or the brush settings panel. Adjust the brush size slider to change the diameter of the brush, while the hardness slider determines the sharpness of the brush edge.
- Modify brush opacity and flow: Opacity controls the transparency of the brush stroke, while flow determines the rate at which the paint is applied. You can adjust these settings in the brush options bar or the brush settings panel. Lower values result in more gradual buildup of the paint.
- Explore brush dynamics: Photoshop offers various brush dynamics options to add additional complexity and realism to your brushes. Brush dynamics include parameters like shape dynamics, scattering, texture, and more. Experiment with these options to achieve different effects like texture variation, randomization, or pressure sensitivity.
- Enable brush smoothing: If you want smoother and more controlled brush strokes, you can enable brush smoothing in the brush settings panel. This feature helps to reduce jitter and provides cleaner lines, especially when working with a digital tablet or stylus.
- Create custom brush presets: Once you have adjusted the brush settings to your liking, you can save them as a custom brush preset. Simply click on the “New Brush Preset” icon in the brush settings panel and give your brush a name. This allows you to easily reuse your customized brush in future projects.
- Import custom brushes: Besides modifying the default brushes, you can also import custom brushes created by others or downloaded from external sources. To import custom brushes, click on the menu icon in the brush presets panel and select “Import Brushes”. Locate the brush file on your computer and click “Load” to add it to your brush presets collection.
- Experiment and practice: The key to mastering brush settings in Photoshop lies in experimentation and practice. Take the time to explore different combinations and adjustments to find the settings that work best for your specific projects and desired effects.
By learning how to change brush settings in Adobe Photoshop, you unlock a world of creative possibilities. Experiment with various parameters and settings to bring your artistic vision to life.
Saving Custom Brushes in Adobe Photoshop
Creating and saving custom brushes in Adobe Photoshop allows you to preserve your unique brush creations and easily access them for future projects. Here’s how you can save custom brushes in Photoshop:
- Create your custom brush: Start by designing the brush shape or pattern you want to save. Use the brush tool and adjust the brush settings to achieve the desired effect.
- Define the brush preset: Once you’re satisfied with your custom brush, go to the “Edit” menu and select “Define Brush Preset”. A dialog box will appear prompting you to name the brush. Give it a descriptive name and click “OK” to save it as a preset.
- Access the custom brushes: To access your saved custom brushes, open the brush presets panel by going to the “Window” menu and selecting “Brushes”. Your newly created brush preset will be available alongside the default brush sets.
- Organize your custom brushes: To keep your custom brushes organized, you can create custom brush sets or groups within the brush presets panel. Right-click on the panel and select “New Brush Set” or “New Brush Group” to create folders where you can categorize and store your custom brushes.
- Export custom brush sets: If you want to share your custom brush sets with others or use them on a different computer, you can export them. Right-click on the brush set or group you want to export and select “Export Selected Brushes”. Choose a location to save the exported file, which will have a .ABR extension.
- Import custom brush sets: To import custom brush sets created by others or exported from another computer, open the brush presets panel and click on the menu icon. Select “Import Brushes” and locate the .ABR file on your computer. Click “Load” to import the brush set, and it will now be available in your brush presets.
- Backup your custom brushes: It’s always a good idea to regularly back up your custom brushes to prevent any potential loss or accidental deletion. Locate the brush presets folder on your computer, which stores all your brushes, and create a backup of this folder to a secure location or cloud storage.
Saving custom brushes in Adobe Photoshop allows you to create your own library of artistic tools and streamline your workflow. With easy access to your custom brushes, you can consistently apply your unique style to your digital artwork.
Troubleshooting Brushes in Adobe Photoshop
While brushes are powerful tools in Adobe Photoshop, you may encounter certain issues or unexpected behavior with them. Understanding common troubleshooting techniques can help you resolve these problems effectively. Here are some common issues and their troubleshooting solutions:
- Brush lag or slow performance: If you experience lag or slow performance when using brushes, try reducing the brush size or modifying the brush settings. Additionally, ensure that you have enough system resources available, such as RAM and processing power, to handle the brush operations smoothly.
- Brush not displaying correctly: If a brush is not displaying as expected or appearing blocky, pixelated, or blurry, check the brush resolution settings. Ensure that the brush resolution matches the resolution of your canvas for optimal clarity.
- Brush not working on a specific layer or area: If a brush is not affecting a specific layer or area, double-check the layer blending mode and opacity settings. Adjusting these settings may resolve the issue and allow the brush to interact with the desired layer or area.
- Brush strokes appearing jagged: If your brush strokes are appearing jagged or pixelated, ensure that the image or canvas resolution is set to a sufficient level. Higher resolutions typically result in smoother brush strokes.
- Brush shortcut keys not functioning: If the shortcut keys for changing brush size, opacity, or flow are not functioning, check the keyboard shortcuts settings in Photoshop Preferences. Make sure that the shortcuts are assigned correctly and not conflicting with other functions.
- Brush behavior not as expected: If a brush’s behavior is not what you anticipated, double-check the brush settings. Experiment with different brush dynamics and options, such as scattering, texture, or shape dynamics, to achieve the desired effect.
- Cleaning brush artifacts: If you notice residue or artifacts from previous brush strokes, use the eraser tool or add a new layer above the affected areas. This allows you to clean up any unwanted brush marks without affecting the underlying layers.
- Reinstalling brushes: If you encounter persistent issues with a specific brush set, you may need to reinstall the brushes. Delete the problematic brush set from the brush presets folder and reinstall it according to the instructions provided.
If you encounter issues with brushes in Adobe Photoshop that are not mentioned above or cannot be resolved with these troubleshooting tips, consider checking Adobe’s support forums or seeking assistance from the Adobe support team. Remember to keep your Adobe Photoshop software updated to benefit from bug fixes and improvements provided in newer versions.
By troubleshooting brush-related issues effectively, you can ensure a smooth and seamless experience while using brushes in Adobe Photoshop.