
Charging the Kindle Fire
Before you can enjoy using your Kindle Fire, it’s important to make sure that it is properly charged. Here’s how to charge your device:
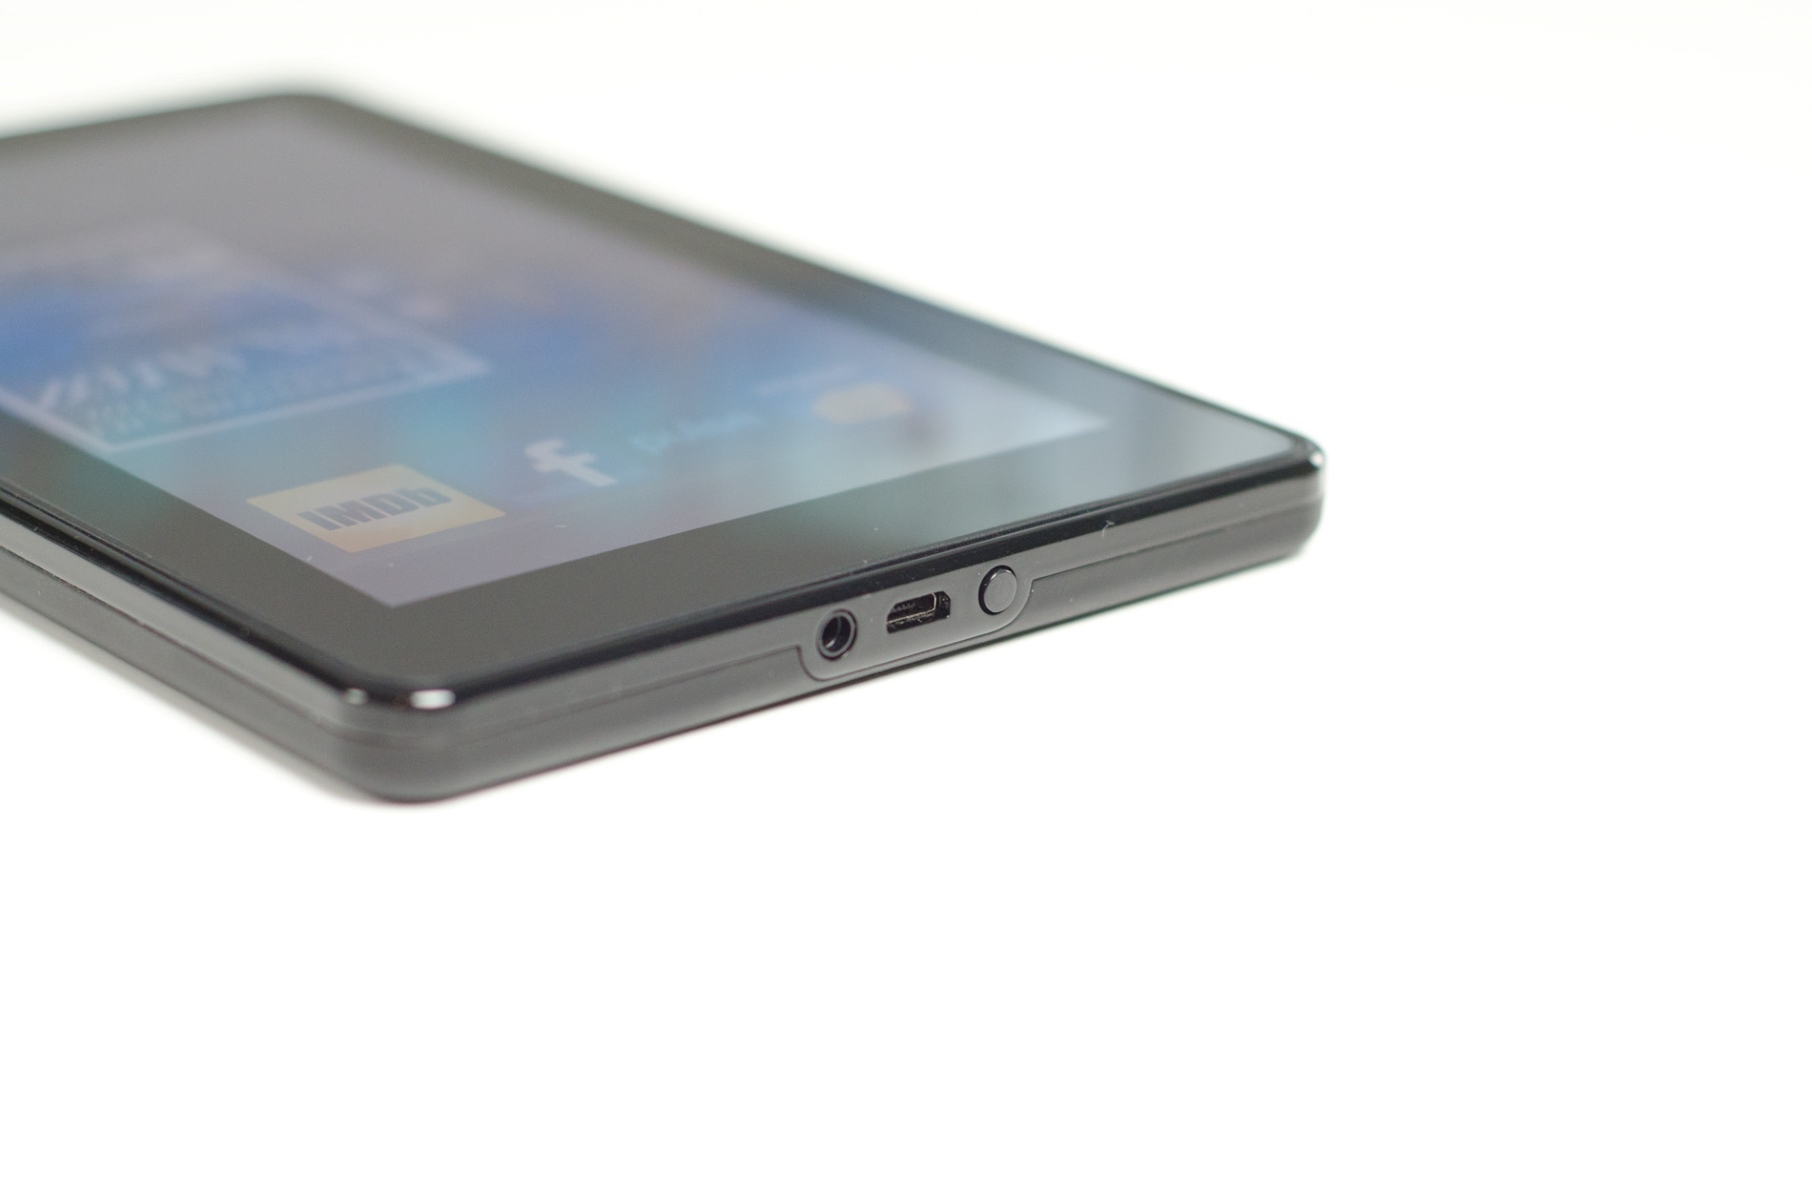
1. Start by connecting the micro-USB end of the charging cable to the charging port located on the bottom edge of the Kindle Fire.
2. Connect the other end of the cable into a USB port on your computer or into the power adapter that came with your device.
3. Ensure that the charging cable is securely connected to both the Kindle Fire and the power source.
4. When your Kindle Fire is connected to a power source, you’ll see a lightning bolt icon on the battery indicator at the top of the screen.
5. Allow your Kindle Fire to charge for at least 4 hours to ensure a full battery.
It’s important to note that during the initial charge, the device may not respond immediately. Give it some time to start charging before attempting to turn it on.
Remember to use the included charging cable and power adapter or a certified replacement to avoid any potential damage to your Kindle Fire.
By following these steps, you can ensure that your Kindle Fire is fully charged and ready for use. Now that you know how to charge your device, it’s time to turn it on and start exploring all its features.
Power Button Location
Knowing the location of the power button on your Kindle Fire is essential for turning it on and off. The power button is typically located on either the top or side of the device, depending on the model you have.
Here’s how to locate the power button on various Kindle Fire models:
1. Kindle Fire (1st and 2nd Generation): The power button is located on the bottom edge of the device, towards the center. It is a small button that you can press to turn your Kindle Fire on or off.
2. Kindle Fire HD (3rd Generation): The power button is located on the back of the device, near the top-right corner. It is a small button that you can press to turn your Kindle Fire on or off.
3. Kindle Fire HDX and later models: The power button is located on the back of the device, near the top-right corner. It is a small button that you can press to turn your Kindle Fire on or off.
Once you have located the power button on your Kindle Fire, you can easily turn it on or off by pressing and holding the button for a few seconds. When turning it on, you will typically see the Kindle logo appear on the screen, indicating that the device is booting up.
If you are having trouble finding the power button or experiencing any difficulties with powering on or off your Kindle Fire, refer to the device’s user manual or visit the manufacturer’s support website for further assistance.
Now that you know where to find the power button on your Kindle Fire, you’re ready to turn it on and start exploring all the features it has to offer.
Turning On the Kindle Fire
After charging your Kindle Fire and familiarizing yourself with the location of the power button, you’re ready to turn it on and start using it. Follow these simple steps to turn on your device:
1. Locate the power button on your Kindle Fire. Depending on the model, it is typically found on the top, side, or bottom edge of the device.
2. Press and hold the power button for a few seconds until you see the Kindle logo appear on the screen. This indicates that your device is powering on.
3. Release the power button and wait for your Kindle Fire to complete the booting process.
4. Once the device has finished starting up, you will be greeted by the lock screen. Simply swipe across the screen or enter your passcode if you have set one to unlock and access your device.
Once your Kindle Fire is powered on and unlocked, you can start exploring its various features, such as reading e-books, streaming videos, browsing the web, and much more. The device’s intuitive interface makes navigation easy, even for first-time users.
If you encounter any issues while turning on your Kindle Fire, such as the device not responding or the screen not displaying anything, make sure it is properly charged and try holding down the power button for a longer duration. If the problem persists, it may require further troubleshooting or professional assistance.
Now that you know how to turn on your Kindle Fire, it’s time to dive into the world of digital content and enhance your reading and entertainment experience.
Registering the Kindle Fire
Registering your Kindle Fire is an important step that allows you to access a variety of features and services. By registering your device, you can download and purchase e-books, apps, and other digital content from the Amazon Store, sync your reading progress across devices, and receive software updates.
Here’s how to register your Kindle Fire:
1. Power on your Kindle Fire by pressing and holding the power button until the Kindle logo appears on the screen.
2. Unlock your device by swiping across the screen or entering your passcode, if applicable.
3. On the home screen, tap on the “Settings” icon, usually represented by a gear or wrench symbol.
4. In the settings menu, scroll down and tap on the “My Account” or “Registration” option.
5. Tap on the “Register” button to begin the registration process.
6. If you already have an Amazon account, enter your email address and password to sign in. If you don’t have an account, tap on the “Create a new Amazon account” option and follow the prompts to set up a new account.
7. Once you’ve entered your account information, tap on the “Register” or “Sign In” button to complete the registration process.
8. If successfully registered, your Kindle Fire will display a confirmation message and you will now have access to all the features and services associated with your Amazon account.
If you have multiple Kindle devices or have previously registered a Kindle Fire, you can choose to “Add a new Kindle” or “Deregister” an existing device in the registration settings.
Registering your Kindle Fire is a simple process that ensures you can make the most of your device’s capabilities. By completing this step, you’ll have access to a vast library of books, apps, and entertainment options. Get ready to explore and enjoy all that your Kindle Fire has to offer!
Connecting to Wi-Fi
To fully enjoy the online features of your Kindle Fire, you need to connect it to a Wi-Fi network. By connecting to Wi-Fi, you’ll be able to browse the web, download books and apps, and access a wealth of digital content. Here’s how to connect your Kindle Fire to a Wi-Fi network:
1. Power on your Kindle Fire and unlock the device by swiping across the screen or entering your passcode, if applicable.
2. On the home screen, tap on the “Settings” icon, usually represented by a gear or wrench symbol.
3. In the settings menu, tap on the “Wi-Fi” option. The device will start scanning for available Wi-Fi networks.
4. From the list of available networks, select your desired Wi-Fi network. If the network is secured, you may be prompted to enter the network password. Use the on-screen keyboard to enter the password, and then tap “Connect”.
5. Once connected, your Kindle Fire will display a confirmation message, and the Wi-Fi icon will appear in the top-right corner of the screen.
If you are unable to find your Wi-Fi network in the list, ensure that the network is operational and within range of your device. You may also need to manually add the network by tapping on the “+ Add Network” option and entering the SSID (network name) and password.
If you frequently connect to the same Wi-Fi network, you can enable the “Connect Automatically” option in the Wi-Fi settings. This will allow your Kindle Fire to automatically connect to the network whenever it’s available.
It’s important to note that some Wi-Fi networks may require additional authentication or have certain restrictions in place. If you are connecting to a public network, such as at a café or airport, you may need to agree to terms of service or enter a username and password.
Once connected to Wi-Fi, your Kindle Fire will have internet access, allowing you to browse the web, download new content, and enjoy a wide range of online features. Take advantage of this connectivity to make the most of your Kindle Fire experience.
Setting Up Parental Controls
Setting up parental controls on your Kindle Fire is an important step to ensure a safe and appropriate digital experience for your children. Parental controls allow you to manage the content that your children can access, set time limits for usage, and customize restrictions based on their age and interests. Here’s how to set up parental controls on your Kindle Fire:
1. Power on your Kindle Fire and unlock the device by swiping across the screen or entering your passcode, if applicable.
2. On the home screen, tap on the “Settings” icon, usually represented by a gear or wrench symbol.
3. In the settings menu, scroll down and tap on the “Parental Controls” option.
4. Tap on the “Enable Parental Controls” button to activate the feature.
5. Set a parental controls password that will be required to make changes to the settings or access restricted content. Make sure to choose a password that is not easily guessed by anyone.
6. Once you’ve set the password, you can customize the parental controls settings based on your preferences.
7. You can set age restrictions for content types, such as books, movies, apps, and websites, ensuring that your children only have access to age-appropriate materials.
8. You can also set time limits for usage, restricting the amount of time your children can spend on the device each day.
9. Additionally, you can block specific websites or categories of websites to prevent your children from accessing inappropriate or harmful content.
10. Take advantage of the “FreeTime” feature, which offers a safe, child-friendly environment with curated content and restrictions. FreeTime can be customized with profiles for different children, ensuring that each child has access to the appropriate content for their age.
Remember to periodically review and adjust the parental controls settings as your children grow and their needs change. By using parental controls, you can provide a secure and enjoyable digital experience for your children while giving yourself peace of mind.
Now that you’ve set up parental controls on your Kindle Fire, you can confidently hand it over to your children, knowing that they’ll have a safe and age-appropriate experience on the device.
Personalizing Your Kindle Fire
Personalizing your Kindle Fire allows you to make the device your own and tailor it to your preferences and style. From changing the wallpaper to organizing your apps and customizing the settings, here are some ways to personalize your Kindle Fire:
1. Changing the Wallpaper:
You can give your Kindle Fire a fresh look by changing the wallpaper. Simply go to the “Settings” menu, select “Display & Brightness,” and choose a new wallpaper from the available options or set a custom image from your photo library.
2. Organizing Apps:
To keep your apps easily accessible, you can organize them into folders or move them to different pages. Simply press and hold an app icon until it starts to shake, then drag it onto another app icon to create a folder or drag it to the edges of the screen to move it to a new page.
3. Customizing Notifications:
You can customize the notifications you receive on your Kindle Fire. In the “Settings” menu, select “Sound & Notifications” and adjust the settings for app notifications, alarms, and other alerts to your liking.
4. Adjusting Display Settings:
You can tweak the display settings of your Kindle Fire to suit your preferences. From the “Settings” menu, select “Display & Brightness” to adjust the brightness, font size, night light settings, and more.
5. Changing the Look and Feel:
From font styles to system fonts, you can customize the look and feel of your Kindle Fire by going to the “Settings” menu, selecting “Display & Brightness,” and choosing the desired options.
6. Personalizing the Home Screen:
You can arrange and customize the home screen of your Kindle Fire. Press and hold an app icon until it starts to shake, then drag it to a new position or remove it by dragging it to the “Remove” or “X” icon. You can also add widgets and shortcuts to your favorite apps for quick access.
7. Changing the Device Name:
If you have multiple Kindle devices or simply want to give your Kindle Fire a unique name, you can change its name in the “Settings” menu. Select “Device Options” and then choose “Device Name” to enter a new name.
By personalizing your Kindle Fire, you can make it a reflection of your style and preferences. Take some time to explore the customization options and make your device truly yours.
Adding Your Amazon Account
Adding your Amazon account to your Kindle Fire is essential for accessing and enjoying a wide range of digital content and services. By linking your account, you can easily download e-books, apps, and media, sync your reading progress across devices, and take advantage of features like cloud storage and personalized recommendations. Here’s how to add your Amazon account to your Kindle Fire:
1. Power on your Kindle Fire and unlock the device by swiping across the screen or entering your passcode, if applicable.
2. On the home screen, tap on the “Settings” icon, usually represented by a gear or wrench symbol.
3. In the settings menu, tap on the “My Account” or “Registration” option.
4. Tap on the “Amazon Account” or “Add an Account” option.
5. Enter your Amazon account email address and password into the provided fields. If you have two-factor authentication enabled for your Amazon account, you may need to enter a verification code sent to your registered email or mobile device.
6. Once you’ve entered the required information, tap on the “Sign In” or “Register” button to proceed.
7. If the credentials are correct and the account is successfully added, you’ll see a confirmation message on the screen. Your Kindle Fire is now linked to your Amazon account.
By adding your Amazon account, you’ll have access to all your previous Amazon purchases, as well as the ability to browse and shop for new content directly from your device. Additionally, you can easily manage your account settings and digital library from your Kindle Fire.
If you have multiple Amazon accounts or want to switch between accounts on your Kindle Fire, go to the settings menu, select “My Account” or “Registration,” and choose the “Switch Accounts” option. From there, follow the prompts to sign in to a different Amazon account.
Now that you’ve added your Amazon account to your Kindle Fire, you can start exploring the vast selection of e-books, apps, and media available on the Amazon Store. Enjoy the convenience and seamless integration of your Amazon account and enhance your reading and entertainment experience on your Kindle Fire.
Exploring the Home Screen
The home screen of your Kindle Fire serves as the central hub for accessing all the features, apps, and content on your device. Understanding how to navigate and explore the home screen is essential to make the most of your Kindle Fire experience. Let’s dive in and explore the key elements of the home screen:
1. Carousel:
The carousel is a dynamic row of icons located at the top of the home screen. It displays your recently accessed apps, books, or media content. Simply swipe left or right to scroll through the carousel and tap on an item to open it.
2. Favorites:
Beneath the carousel, you’ll find the favorites tray. This section allows you to add your most frequently used apps or content for quick and easy access. To add an item to your favorites, press and hold on an app icon or content item, then select “Add to Favorites.”
3. Library:
Located at the bottom of the home screen, the library displays all your available content, including books, apps, audiobooks, and more. Tap on “Library” to access and manage your digital library. You can filter the library by content type or use the search bar to find a specific item.
4. Menu:
You can access additional options and settings from the menu icon, usually represented by three horizontal lines or dots. Tapping on the menu icon brings up a dropdown menu where you can access settings, device options, help, and more.
5. Search:
Located at the top-right corner of the home screen, the search bar allows you to search for content within your device or perform web searches. Simply tap on the search bar and enter your search query using the on-screen keyboard.
6. Notification Bar:
The notification bar, located at the top of the screen, provides quick access to settings, notifications, and device information. Swipe down from the top of the screen to expand the notification bar and access options like Wi-Fi, screen brightness, and more.
Take some time to explore and familiarize yourself with the various elements of the home screen. Customize your favorites tray, organize your library, and make the most of the search and menu options to ensure a seamless and tailored experience on your Kindle Fire.
Now that you’re familiar with the home screen, you’re ready to dive into your digital content, explore new apps, and enjoy all the features your Kindle Fire has to offer.
Updating Kindle Fire Software
Regularly updating your Kindle Fire software is essential to ensure that the device operates smoothly and efficiently. Software updates not only introduce new features and enhancements but also fix bugs and address security vulnerabilities. Here’s how to update the software on your Kindle Fire:
1. Check for Updates:
Ensure that your Kindle Fire is connected to a Wi-Fi network. On the home screen, tap on the “Settings” icon, usually represented by a gear or wrench symbol. In the settings menu, scroll down and tap on the “Device Options” or “Device” option, then select “System Updates” or “Software Updates.”
2. Download and Install Updates:
If there is an available update, your Kindle Fire will automatically detect it and display a prompt to download and install the update. Tap on the “Download” or “Install” button, and your device will handle the rest. During the update process, ensure that your device is connected to a power source and maintain a stable internet connection.
3. Restart Your Kindle Fire:
After the update is installed, your Kindle Fire will restart automatically. If it does not restart on its own, you can manually restart the device by pressing and holding the power button, then selecting the “Restart” option from the menu that appears.
4. Check for Successful Update:
Once your Kindle Fire has restarted, go back to the “System Updates” or “Software Updates” section in the settings menu to confirm that the update was successful. It should display the current software version and indicate that your device is up-to-date.
It’s important to keep your Kindle Fire software up-to-date to ensure optimal performance, compatibility with new apps and content, and protection against security vulnerabilities. By regularly updating your device, you can take advantage of the latest improvements and enhancements from Amazon.
In some cases, your Kindle Fire may not receive updates automatically due to outdated firmware or other issues. If you encounter any difficulties in updating your device, consult the Amazon support website for troubleshooting steps or contact customer support for further assistance.
By keeping your Kindle Fire software updated, you can enjoy a seamless and enhanced user experience while enjoying all the features and benefits of your device.
Creating Profiles on Kindle Fire
Creating profiles on your Kindle Fire allows multiple users to have personalized experiences on the same device. Each profile can have its own settings, preferences, and content library, making it convenient for families or individuals sharing a Kindle Fire. Here’s how to create profiles on your Kindle Fire:
1. Accessing Profiles:
On the home screen, tap on the “Settings” icon, usually represented by a gear or wrench symbol. In the settings menu, scroll down and tap on the “Profiles & Family Library” or “User Profiles” option.
2. Adding a New Profile:
Tap on the “Add a New Profile” or “Add Profile” button to create a new profile. You may be prompted to enter your Amazon account password for security verification.
3. Customizing the Profile:
Once the profile is created, you can customize it by choosing a name, avatar, and background color for the profile. You can also set parental controls and decide whether to enable or disable access to certain content or features for that specific profile.
4. Switching Profiles:
To switch between profiles, go back to the “Profiles & Family Library” or “User Profiles” section in the settings menu. Tap on the profile you want to switch to, and the Kindle Fire will reload with the chosen profile’s settings and content library.
5. Setting Parental Controls for Profiles:
If you have created profiles for children or other family members, you can apply parental controls to ensure a safe and appropriate experience. In the profile settings, enable parental controls and customize the content restrictions, time limits, and other settings for that specific profile.
6. Managing Profiles:
From the profile settings, you can manage and edit existing profiles. You can rename a profile, delete a profile, or change the settings and preferences for each profile. Be cautious when deleting a profile as it will permanently delete all associated content and settings.
Creating profiles on your Kindle Fire allows each user to have a personalized and customized experience while sharing the same device. Whether it’s setting age-appropriate restrictions for children or keeping preferences separate within a family, profiles provide a convenient way to switch between individual user settings effortlessly.
Keep in mind that the number of profiles available may vary depending on the specific model of Kindle Fire. Some models may only support a limited number of profiles. For detailed information, consult the user manual or visit the Amazon support website for your specific device.
By creating and managing profiles on your Kindle Fire, you can ensure that each user has an enjoyable and personalized experience tailored to their preferences and content library.
Turning Off the Kindle Fire
Knowing how to properly turn off your Kindle Fire is essential for preserving battery life and ensuring the device is ready for the next use. Here are the steps to follow when turning off your Kindle Fire:
1. Closing Apps:
To ensure a smooth shutdown, start by closing any open apps or processes running in the background. Swipe down from the top of the screen to access the notification bar, then swipe left or right to close the apps by tapping on the “X” or “Close” button.
2. Home Screen:
Make sure you are on the home screen or any other screen without active apps or processes.
3. Power Button:
Locate the power button on your Kindle Fire. Depending on the model, it can be found on the top, side, or bottom edge of the device.
4. Press and Hold:
Press and hold the power button for a few seconds until a pop-up menu appears on the screen.
5. Power Off Option:
In the pop-up menu, look for the “Power Off” or “Shut Down” option. Tap on it to initiate the shutdown process.
6. Confirmation:
Another dialog box will appear, asking you to confirm the shutdown. Tap on the “Power Off” or “OK” button to proceed.
7. Shutting Down:
Your Kindle Fire will now begin shutting down. Depending on the device model and any active processes, it may take a few moments for the shutdown process to complete.
8. Turning on Again:
If you want to turn on your Kindle Fire again, simply press and hold the power button until the startup logo appears on the screen. Release the button, and your device will successfully turn on.
It’s important to note that properly shutting down your Kindle Fire not only conserves battery life but can also resolve minor software glitches and ensure a fresh start for the next use.
By following these steps, you can safely and efficiently turn off your Kindle Fire. Whether you’re putting it away for the day or simply giving it a break, a proper shutdown is the best practice to ensure optimal performance and longevity of your device.