
Gathering the necessary equipment
Before you can transfer music to your PSP memory stick, it’s important to gather the necessary equipment. Here’s what you’ll need:
- A computer with an available USB port
- A PSP memory stick
- A USB cable that is compatible with your PSP model
- The music files you want to transfer, preferably in PSP-compatible format
Make sure your computer meets the system requirements for connecting the PSP and has the necessary software installed. It is recommended to have the latest version of the PSP firmware installed for optimal compatibility.
Ensure that your PSP memory stick has enough free space to accommodate the music files you plan to transfer. It’s a good idea to check the available memory on the memory stick before proceeding.
If the music files you want to transfer are not already in the PSP-compatible format, you may need to convert them using a multimedia conversion software. There are several free and paid software options available online that can help you with this process. Choose a reliable software that supports the desired output format and follow the instructions for converting your music files.
Once you have all the necessary equipment and have converted the music files to the required format, you are ready to proceed with transferring the music to your PSP memory stick.
Converting music files to PSP-compatible format
In order to transfer music files to your PSP memory stick, you may need to convert them to a PSP-compatible format. This step is necessary to ensure that the music files can be properly recognized and played on your PSP device. Here’s how you can convert your music files:
- Choose a reliable multimedia conversion software that supports the desired output format for your PSP. There are numerous options available, both free and paid, so take some time to research and select the one that best fits your needs.
- Install the chosen conversion software on your computer. Make sure to follow the installation instructions provided by the software developer.
- Launch the conversion software and import the music files you want to convert. Most software will allow you to add multiple files at once, which can save you time if you have a large music library.
- Select the PSP-compatible format as the output format for the converted files. Popular formats for PSP include MP3 and AAC.
- Configure any additional settings according to your preferences. This may include adjusting the audio quality, bit rate, and other parameters.
- Choose the destination folder where the converted files will be saved. It is recommended to create a new folder specifically for the converted files to keep them organized.
- Start the conversion process by clicking on the “Convert” or “Start” button. The time it takes to convert the files will depend on the size and number of files being converted, as well as the processing power of your computer.
- Once the conversion is complete, verify that all the files have been successfully converted to the PSP-compatible format. You can do this by playing them using a media player on your computer.
By converting your music files to a PSP-compatible format, you ensure that they can be properly recognized and played on your PSP device. This step is crucial for a smooth music transfer process.
Creating a new folder on the PSP memory stick
Before you can transfer your music files to the PSP memory stick, it’s important to create a new folder to store the files. This will help keep your music organized and easily accessible on the PSP. Here’s how you can create a new folder on the PSP memory stick:
- Connect your PSP to the computer using the USB cable. Ensure that both the PSP and the computer are powered on.
- On your computer, open the File Explorer or Finder, depending on your operating system.
- Locate the PSP memory stick in the list of connected devices. It is usually displayed as a removable disk or a drive with the PSP icon.
- Double-click on the PSP memory stick to open it and view its contents.
- Right-click on an empty space inside the memory stick window and select “New folder” from the context menu.
- Give the new folder a descriptive name that indicates it will be used for storing music files. For example, you can name it “Music” or “PSP Music.”
- Press Enter or click outside the folder name field to save the new folder with the chosen name.
Now that you have created a new folder on the PSP memory stick, you can easily transfer your music files to this folder. This will make it convenient for you to locate and play your favorite music directly from the PSP.
Connecting the PSP to the computer
In order to transfer music files to your PSP memory stick, you need to connect your PSP to the computer using a USB cable. Here’s a step-by-step guide on how to do it:
- Ensure that both your PSP and computer are powered on.
- Grab the USB cable that came with your PSP or any compatible USB cable.
- Connect one end of the USB cable to the USB port on your computer.
- Take the other end of the USB cable and connect it to the USB port on your PSP device.
- On your PSP, go to the Settings menu. You can access it by navigating to the “Settings” icon on the main menu.
- In the Settings menu, scroll down and select “USB Connection” from the list of options. Press the X button to confirm.
- Your PSP will then display a message saying “USB Mode.” This means that your PSP is now connected to the computer and ready to be recognized as a removable storage device.
- On your computer, wait for a moment as it detects and installs the necessary drivers for your PSP.
- Once your PSP is successfully connected and recognized by the computer, you will see a new removable disk or drive icon representing your PSP memory stick.
- You can now proceed to transfer your music files from your computer to the connected PSP memory stick.
It is important to ensure that your PSP is properly connected to the computer before attempting to transfer any files. This connection allows the computer to recognize your PSP as a storage device and enables file transfer between the two devices.
Transferring music files to the PSP memory stick
Now that your PSP is connected to the computer, you can proceed with transferring music files to the PSP memory stick. Here’s how you can do it:
- Open the File Explorer or Finder on your computer.
- Navigate to the location of the music files on your computer that you want to transfer to the PSP memory stick.
- Select the music files you want to transfer. You can select multiple files by holding down the Ctrl (Windows) or Command (Mac) key while clicking on each file.
- Right-click on the selected files and choose “Copy” from the context menu.
- On your computer, go back to the File Explorer or Finder and locate the PSP memory stick, which should be displayed as a removable disk or a drive with the PSP icon.
- Double-click on the PSP memory stick to open it and view its contents.
- Right-click inside the PSP memory stick window and choose “Paste” from the context menu. Alternatively, you can press Ctrl+V (Windows) or Command+V (Mac) on your keyboard to paste the copied files.
- Wait for the files to be transferred. The time required for the transfer will depend on the size of the files and the speed of your computer’s USB connection.
- Once the transfer is complete, you can safely disconnect your PSP from the computer.
Ensure that all the transferred music files are located within the newly created folder on the PSP memory stick. This will make it easier to organize and access your music files directly on the PSP.
Now that your music files are transferred to the PSP memory stick, you can disconnect the PSP from the computer and enjoy listening to your favorite tunes on your PSP device.
Safely disconnecting the PSP from the computer
After transferring music files to your PSP memory stick, it’s important to safely disconnect the PSP from the computer to avoid data loss or corruption. Here’s a step-by-step guide on how to do it:
- Ensure that all file transfers to the PSP memory stick are complete, and no files are currently being accessed or copied.
- On your computer, locate the “Safely Remove Hardware” icon in the system tray or taskbar. It may appear as an icon with a USB plug or a green checkmark.
- Click on the “Safely Remove Hardware” icon to open the menu.
- From the menu, select the option that corresponds to your PSP memory stick. It may be labeled as “PSP” or with the specific name of your memory stick.
- Wait for a confirmation message that it is safe to remove the PSP. This message indicates that all data transfers have been completed, and the PSP can be safely disconnected from the computer.
- Once you receive the confirmation message, gently disconnect the USB cable by pulling it out of both the PSP and the computer.
It is important to follow these steps to safely disconnect your PSP from the computer to ensure that no data corruption or loss occurs. Abruptly removing the PSP without properly disconnecting it can result in file errors or damage to the memory stick.
After safely disconnecting the PSP from the computer, you can now enjoy your favorite music directly from the PSP device.
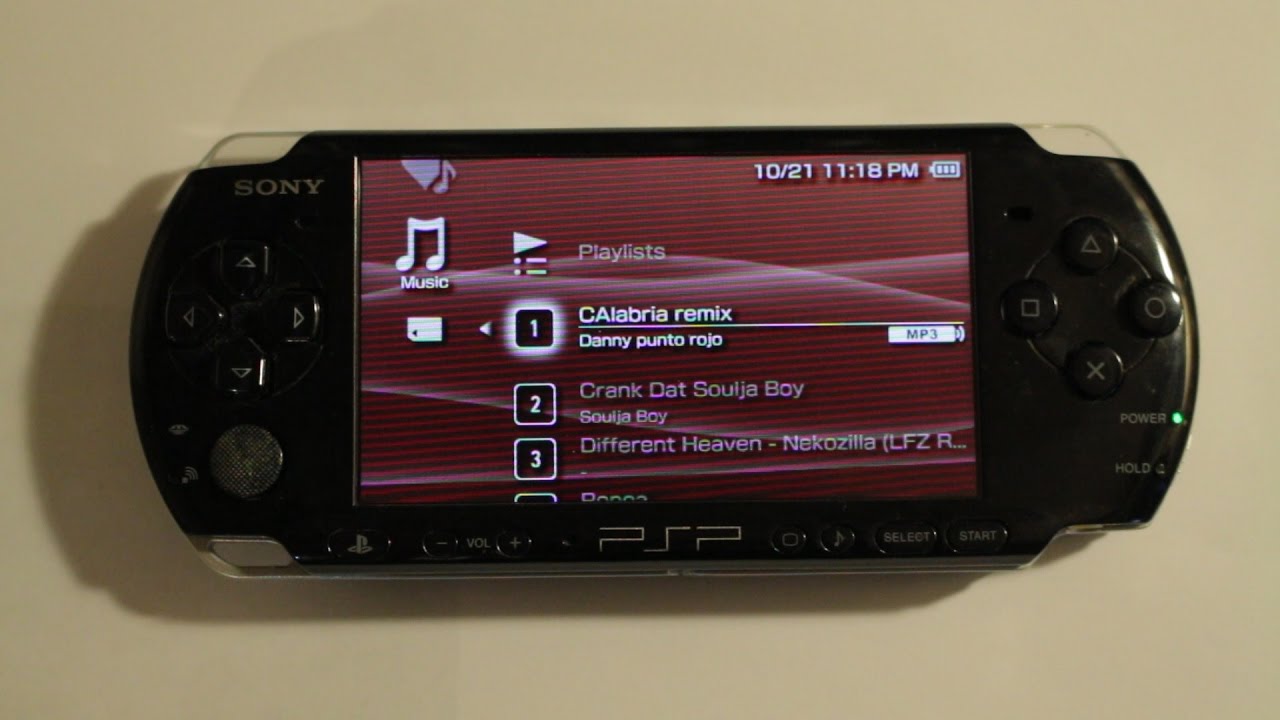
Checking the transferred music files on the PSP
Once you have transferred music files to your PSP memory stick, it’s important to ensure that the files were successfully transferred and can be accessed on your PSP device. Here’s how you can check the transferred music files:
- On your PSP device, navigate to the main menu by pressing the “Home” button.
- Scroll through the menu options and locate the “Music” or “Media” folder. The name may vary depending on your PSP model.
- Enter the “Music” or “Media” folder by pressing the X button.
- Inside the folder, you should see the music files that you transferred. Use the directional buttons to scroll through the files and navigate between different folders, if applicable.
- Select a music file by highlighting it and pressing the X button. The file should start playing if it is in a supported format and properly transferred.
- Listen to a few seconds of the music file to ensure that the audio quality is good and there are no issues with playback.
- If you encounter any issues, such as missing files or errors in playback, double-check the transferred files on your computer to ensure that they were properly converted and transferred to the PSP memory stick.
- If needed, you can also organize the music files into subfolders within the “Music” or “Media” folder on your PSP for better organization and easier access.
By checking the transferred music files on your PSP, you can confirm that the transfer process was successful and ensure that all your favorite tunes are ready to be enjoyed on the go.