
What is Philips Hue Timer
Philips Hue Timer is a feature offered by the Philips Hue lighting system that allows you to schedule your lights to turn on and off automatically at specific times. It provides a convenient way to automate your lighting, making your home more comfortable and secure.
With Philips Hue Timer, you can create schedules for individual lights or groups of lights, enabling you to have different lighting scenes throughout the day. Whether you want your lights to gradually brighten in the morning to mimic the sunrise, dim down in the evening to create a relaxing atmosphere, or turn on automatically when you’re away to deter potential intruders, the timer feature can help you achieve the desired lighting effects.
This functionality is particularly useful for those who have busy lifestyles or want to enhance their home’s ambiance without constantly adjusting the lights manually. By using the timings of the day, you can seamlessly integrate your lighting into your daily routine.
Setting up a Philips Hue Timer is incredibly easy and can be done through the Philips Hue app, which is available for both iOS and Android. Once you have connected your Philips Hue lights to the Hue Bridge and installed the app, you can start creating timers and customizing their settings to suit your preferences.
Whether you’re looking to provide a welcoming atmosphere when you come home, create a cozy ambiance for movie nights, or simply want to conserve energy, the Philips Hue Timer feature is a valuable addition to your smart lighting system.
Step 1: Download the Philips Hue App
The first step to setting up the Philips Hue Timer is to download the Philips Hue app. This app is available for free on the App Store for iOS devices and Google Play Store for Android devices. Simply search for “Philips Hue” and look for the official app.
Once you have found the app, tap on the “Install” or “Get” button to begin the download and installation process. Make sure you have a stable internet connection to ensure a smooth download process.
After the app is successfully installed on your device, tap on the app icon to launch it. The app will prompt you to sign in or create a new account. If you already have a Philips Hue account, sign in using your existing credentials. If not, follow the on-screen instructions to create a new account.
Creating a Philips Hue account allows you to sync your lights across multiple devices and access all the features and settings offered by the Philips Hue app. It also provides you with remote access to your lights when you’re away from home.
Once you have signed in or created a new account, the app will guide you through the initial setup process. It may ask for some permissions, such as accessing your location or enabling notifications. Grant the necessary permissions to ensure the app functions properly.
Now, you have successfully downloaded and installed the Philips Hue app on your device. You are now ready to proceed to the next step and connect the Philips Hue Bridge to your home network.
Step 2: Connect the Philips Hue Bridge
Now that you have downloaded the Philips Hue app, the next step is to connect the Philips Hue Bridge to your home network. The Philips Hue Bridge serves as the central hub that connects and controls your Philips Hue lights.
Start by locating a suitable spot for your Philips Hue Bridge. It should be placed near your Wi-Fi router and remain plugged into a power source at all times. The Bridge needs to be connected to your home network to communicate with the Philips Hue app and control your lights.
Once you have found the ideal location for your Bridge, connect it to the power source using the provided power adapter. Make sure that the Bridge is receiving power by checking that the LED indicator lights up.
Next, take the Ethernet cable that came with the Bridge and connect one end to the Ethernet port on the Bridge itself. Connect the other end of the cable to an available Ethernet port on your Wi-Fi router. This establishes a wired connection between the Bridge and your home network, ensuring a stable and reliable connection.
Wait for a few moments to allow the Bridge to establish a connection with your home network. The LED indicator on the Bridge will change from blinking to a solid state, indicating that it is successfully connected.
With the Bridge successfully connected to your home network, you can proceed to the next step of setting up your Philips Hue lights. Keep the Bridge powered on and connected to your home network throughout the setup process to ensure seamless control of your lights.
Step 3: Set up Philips Hue lights
After connecting the Philips Hue Bridge to your home network, you’re ready to set up your Philips Hue lights. The Hue Bridge acts as a bridge between the app and the Hue lights, allowing you to control and customize their settings.
To begin, ensure that your Philips Hue lights are installed in the desired locations. This could include table lamps, ceiling fixtures, or even light strips. Make sure they are connected to a power source and turned on.
Launch the Philips Hue app on your device and sign in with your account credentials if prompted. The app will automatically detect the Philips Hue Bridge that is connected to your network.
In the app’s main screen, tap on the “Settings” tab located at the bottom right corner. From the options presented, select “Light setup” or “Add lights” to initiate the process of adding your Philips Hue lights to the app.
Follow the on-screen instructions in the app to search for and add the lights to your Hue Bridge. Typically, this involves pressing the physical “Connect” button on the Hue Bridge and allowing the app to search for available lights.
Once the lights have been found and added to your setup, you may be prompted to assign the lights to specific rooms or create groups. This allows you to control multiple lights simultaneously, such as all the lights in your living room or bedroom.
After assigning the lights to rooms or groups, you can customize their names, adjust their brightness, and even change their colors if you have color-capable Hue lights. This level of control gives you the flexibility to create the perfect lighting ambiance for every room and occasion.
With your Philips Hue lights successfully set up and added to the app, you’re now ready to proceed to the next step of setting up the Timer feature and automating your lighting.
Step 4: Set up the Timer in the Philips Hue App
Now that you have set up your Philips Hue lights, it’s time to configure the Timer feature in the Philips Hue app. The Timer allows you to schedule your lights to turn on and off automatically at specific times, providing you with convenient and effortless control over your lighting.
To set up the Timer, open the Philips Hue app on your device and ensure you are on the main screen. Look for the “Routines” or “Timers” tab, which may be located at the bottom or in the app’s menu.
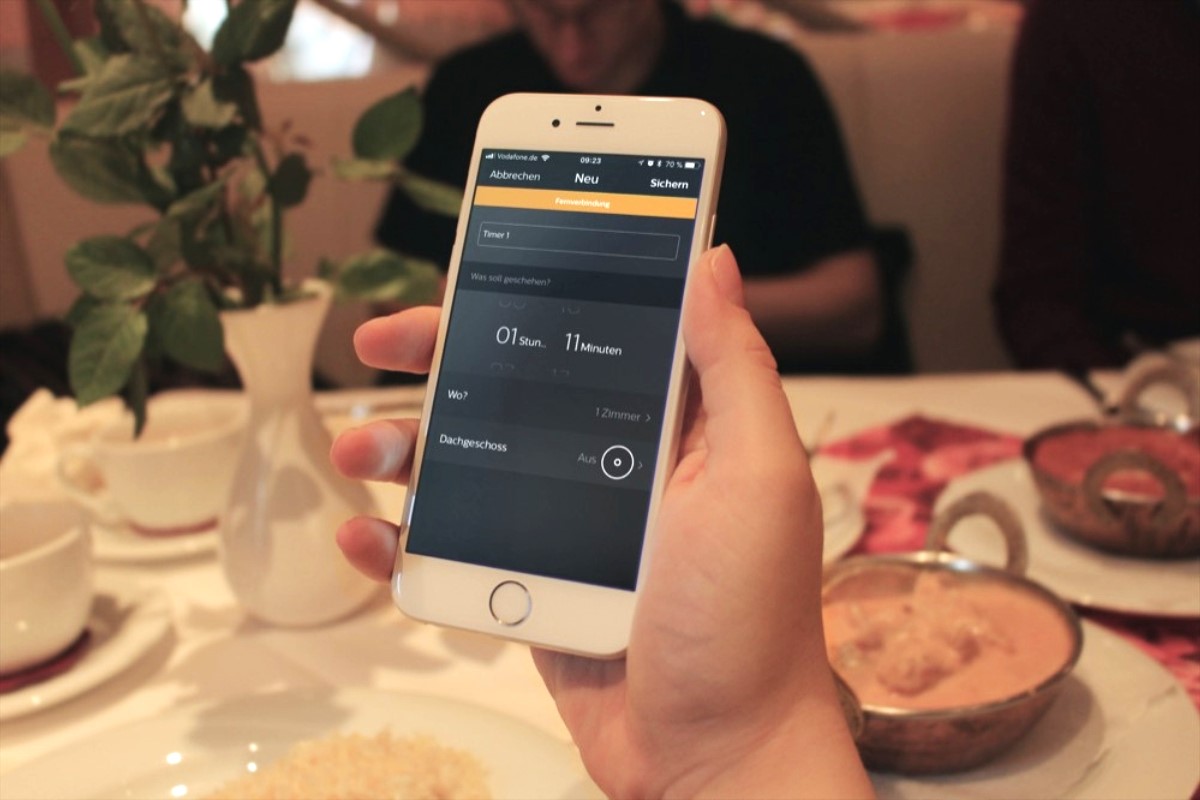
Tap on the “Add Timer” or similar option to create a new Timer. Give your Timer a descriptive name to easily identify it later on. For example, you can name it “Morning Routine” or “Evening Lights.”
Next, select the days and times you want the Timer to activate your lights. You can choose specific days of the week, such as weekdays or weekends, or set it to repeat daily. Specify the start time and duration for the Timer to control when your lights turn on and off.
After configuring the timing, you can assign which lights or groups of lights the Timer should control. This allows you to have different Timer settings for different areas of your home. For instance, you can have a Timer that turns on the lights in your living room and kitchen in the morning, while another Timer dims the lights in your bedroom for a cozy nighttime atmosphere.
In addition to setting the Timer activation, you may have options to customize other settings, such as the transition time between different light scenes or the brightness levels. Experiment with these settings to find the perfect ambiance for your space.
Once you have finished setting up the Timer, save the settings. You will now see the Timer listed in the app’s Timer section. From here, you can easily enable, disable, or modify the Timer’s settings as needed.
Congratulations! You have successfully set up the Timer in the Philips Hue app. Now your lights will automatically turn on and off based on your Timer settings, adding convenience and efficiency to your daily routine.
Step 5: Customize the Timer settings
Once you have set up the Timer in the Philips Hue app, you have the flexibility to customize the Timer settings to suit your specific preferences and needs. Customizing the Timer allows you to fine-tune the lighting experience and create the perfect ambiance in your home.
To customize the Timer settings, open the Philips Hue app and navigate to the “Routines” or “Timers” tab, where you previously set up the Timer. Locate the Timer you want to customize and tap on it to access its settings.
One aspect you can customize is the brightness level of your lights. By adjusting the brightness, you can create a soft and cozy atmosphere in the evenings or a bright and energizing environment in the mornings. Experiment with different brightness levels until you find the ideal setting for each Timer.
Another customization option is the ability to select specific light scenes or colors for your Timer. If you have color-capable Hue lights, you can choose from a wide range of colors to suit your mood or occasion. For example, you can set a Timer that gradually transitions your lights to warm tones in the evening for a relaxing ambiance.
Additionally, you have the option to set the transition time between different light scenes. This allows you to control how quickly or slowly the lights change from one scene to another. A slower transition time creates a smoother and more gradual change, while a faster transition time provides a quicker shift in lighting ambiance.
Furthermore, consider the option to enable or disable the Timer for specific days. This allows you to tailor the Timer schedule based on your weekly routine. For example, you may want the Timer to run every day during the workweek but only on weekends or specific days during holidays.
Finally, take advantage of any additional features or settings available in the Philips Hue app to further customize your Timer experience. Explore features such as geo-fencing or syncing the Timer with other smart devices to create a fully automated and immersive lighting experience.
By customizing the Timer settings to your liking, you can create a personalized and effortless lighting control system that enhances your home’s ambiance and complements your lifestyle.
Step 6: Test the Timer
Once you have set up and customized the Timer in the Philips Hue app, it’s important to test it to ensure that it functions as intended. Testing the Timer allows you to verify that your lights turn on and off automatically according to the Timer settings you have configured.
To test the Timer, make sure that you are in the vicinity of the lights that are associated with the Timer you want to test. This allows you to observe the changes in the lighting firsthand.
Open the Philips Hue app on your device and navigate to the “Routines” or “Timers” section where your Timer is listed. Locate the Timer you want to test and ensure that it is enabled or turned on.
Double-check the Timer settings, including the days, times, and lights that are associated with it. Confirm that these settings align with your desired automation schedule.
Once you are ready, wait for the designated time for the Timer to activate the lights. Observe the lights to see if they turn on or off according to the Timer’s schedule.
If the lights do not behave as expected, there may be a few troubleshooting steps you can take. Firstly, check your internet connection and ensure that the Philips Hue Bridge and lights are connected and powered on. Ensure that the Timer settings are correct and that you have assigned the correct lights or groups to the Timer.
If the issue persists, try deleting and recreating the Timer or restarting the Philips Hue app and Bridge. You can also refer to the Philips Hue support documentation or reach out to their customer support for further assistance.
On the other hand, if the Timer functions properly and the lights turn on and off as intended, congrats! You have successfully set up and tested the Timer feature in the Philips Hue app.
Testing the Timer provides peace of mind and confidence in the functionality of the automation system. It ensures that your lights will consistently and reliably activate and deactivate based on your desired schedule, allowing you to enjoy the benefits of automated lighting control.
Step 7: Adjust or Delete the Timer
After setting up and testing the Timer in the Philips Hue app, you may find the need to make adjustments or delete the Timer altogether. This step allows you to fine-tune your automated lighting control and ensure that it aligns with your changing needs and preferences.
To adjust the Timer settings, open the Philips Hue app on your device and navigate to the “Routines” or “Timers” section. Locate the Timer that you want to adjust and tap on it to access its settings.
Within the Timer settings, you can modify various aspects such as the days, times, lights, brightness, or color settings. Make the necessary adjustments to align the Timer with your updated requirements.
If you want to delete the Timer, look for the option to delete or remove the Timer within its settings. Confirm the deletion to remove the Timer permanently from your Philips Hue app.
Deleting a Timer can be useful if you no longer need the automation schedule, want to create a new Timer with different settings, or if your lighting needs have changed.
Alternatively, if you need to create a new Timer with similar settings, you can duplicate an existing Timer and make the necessary modifications. This saves time and effort, especially if you have multiple Timers with similar requirements.
As you adjust or delete the Timer, take some time to evaluate how the lighting automation aligns with your daily routine, lifestyle, and preferences. Consider experimenting with different settings until you find the perfect balance that enhances your home’s ambiance and aligns with your needs.
Remember that the Timer feature in the Philips Hue app provides a high level of customization, allowing you to create a personalized lighting experience. Continuously adjusting and fine-tuning the Timer settings ensures that your automated lighting control system remains efficient and in harmony with your lifestyle.