
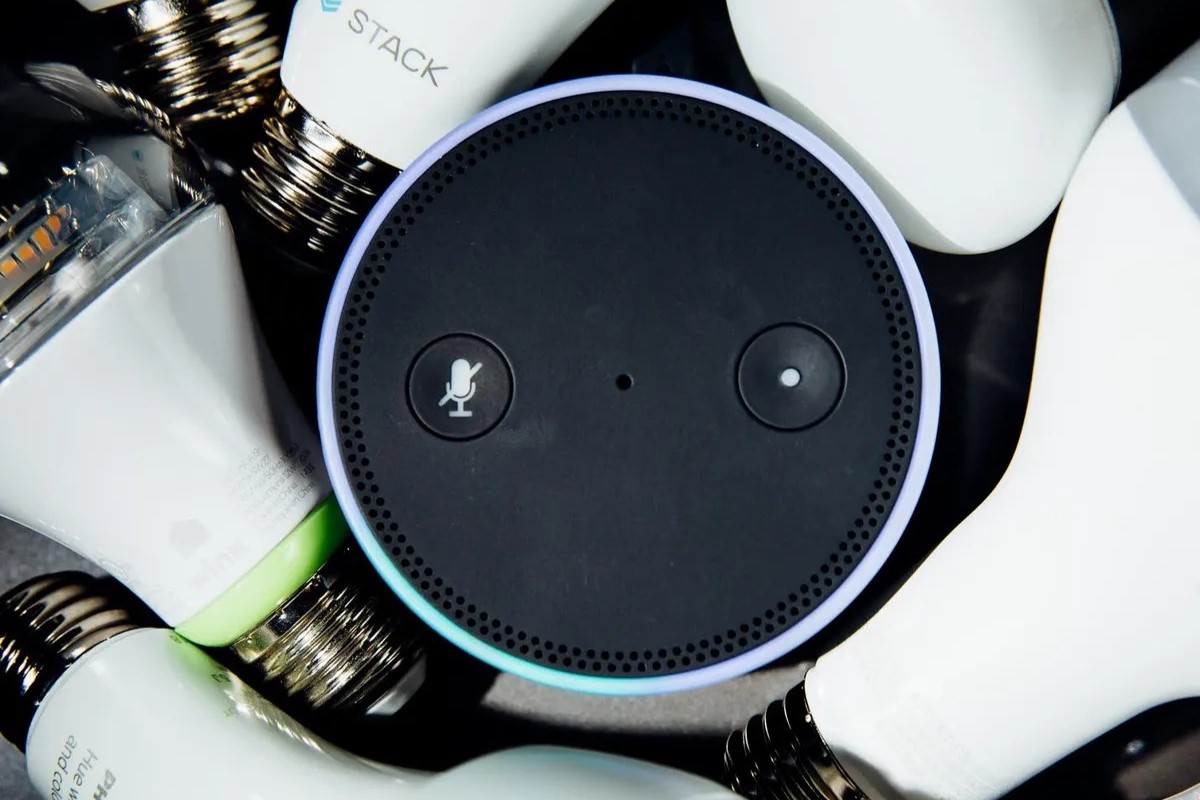
Setting Up Your Philips Hue System
Your journey to creating a smart lighting experience begins with setting up your Philips Hue system. Follow these simple steps to get started:
- Unboxing: Carefully unbox your Philips Hue starter kit and ensure that all the necessary components are included. Typically, a starter kit consists of smart bulbs, a bridge, and power adapters.
- Bridge Placement: Find a suitable location for the bridge, which serves as the central hub for your Philips Hue system. Ideally, place it near your Wi-Fi router to ensure a stable connection.
- Bulb Installation: Screw the Philips Hue smart bulbs into your desired light fixtures. Ensure that the bulbs are securely screwed in and powered on.
- Power Up the Bridge: Connect the bridge to a power outlet using the provided power adapter. Once powered up, the bridge will create a wireless network for the smart bulbs to connect to.
- Download the Philips Hue App: Install the Philips Hue mobile app from the App Store or Google Play Store. Open the app and follow the on-screen instructions to create an account.
- Connect the Bridge: In the app, navigate to the settings and select “Add Bridge.” The app will guide you through the process of connecting the bridge to your home network. Once connected, you’re ready to start controlling your lights.
- Pairing the Bulbs: In the app, go to the bridge settings and select “Add Lights.” The app will search for available Philips Hue smart bulbs nearby. Once located, follow the on-screen instructions to pair and assign each bulb a unique name.
- Customize Your Lights: Now that your Philips Hue system is set up, explore the app’s features to customize your lighting experience. You can adjust brightness, color, and even create automated schedules.
With your Philips Hue system successfully set up, you’re now ready to take the next step and connect it to Alexa for seamless voice control. Let’s dive into the process of connecting your Philips Hue system to Alexa in the next section.
Connecting Your Philips Hue System to Alexa
Now that you’ve set up your Philips Hue system, you can enhance your lighting experience by connecting it to Alexa. Alexa, the voice assistant from Amazon, allows you to control your Philips Hue lights using simple voice commands. Follow these steps to connect your Philips Hue system to Alexa:
- Ensure Compatibility: Make sure that your Philips Hue bulbs and bridge are compatible with Alexa. Most Philips Hue products are compatible, but it’s always good to double-check the specifications.
- Enable the Skill: Open the Alexa app on your smartphone or tablet and search for the “Philips Hue” skill. Enable the skill and follow the on-screen instructions to link your Philips Hue account with Alexa.
- Discover Devices: In the Alexa app, go to the “Devices” tab and select “Discover Devices.” Alexa will scan your home network for Philips Hue devices connected to the bridge and add them to your Alexa device list.
- Grouping Lights: To control multiple Philips Hue lights together, create a group in the Alexa app. For example, you can create a group called “Living Room” and add all the Philips Hue lights in your living room to that group.
- Voice Commands: You can now use voice commands to control your Philips Hue lights through Alexa. For example, you can say “Alexa, turn on the living room lights” to illuminate your living space.
- Advanced Features: With the Philips Hue skill enabled, you can explore advanced features like setting up routines, adjusting brightness and color, and triggering specific scenes with Alexa. Take some time to familiarize yourself with these features to personalize your lighting experience further.
By connecting your Philips Hue system to Alexa, you’ve unlocked a whole new level of convenience and control over your lighting. Now you can effortlessly adjust your lights using just your voice. In the next section, we’ll explore some basic voice commands to control your Philips Hue lights with Alexa.
Basic Voice Commands to Control Philips Hue Lights
Controlling your Philips Hue lights with Alexa couldn’t be easier. With just a few simple voice commands, you can adjust the ambiance of any room. Here are some basic voice commands to get you started:
- “Alexa, turn on [room name] lights”: This command will turn on all the lights in a specific room. For example, saying “Alexa, turn on the living room lights” will illuminate all the Philips Hue lights in your living room.
- “Alexa, turn off [room name] lights”: This command will turn off all the lights in a specific room. For instance, saying “Alexa, turn off the bedroom lights” will switch off all the Philips Hue lights in your bedroom.
- “Alexa, dim the [room name] lights”: Use this command to adjust the brightness of the lights in a particular room. For example, saying “Alexa, dim the kitchen lights” will dim the Philips Hue lights in your kitchen.
- “Alexa, brighten the [room name] lights”: Increase the brightness of the lights in a specific room with this command. For instance, saying “Alexa, brighten the study lights” will make the Philips Hue lights in your study brighter.
- “Alexa, set the [room name] lights to [color]”: This command allows you to change the color of the lights in a specific room. For example, saying “Alexa, set the bathroom lights to blue” will make the Philips Hue lights in your bathroom glow in a blue hue.
- “Alexa, set the lights to [scene name]”: If you have predefined scenes set up in your Philips Hue app, use this command to activate a specific scene. For instance, saying “Alexa, set the lights to Relax” will create a calming ambiance using the Relax scene.
These basic voice commands provide you with effortless control over your Philips Hue lights. Experiment with different combinations and create the perfect lighting atmosphere to suit your mood or needs. In the next section, we’ll explore how you can create customized routines with Alexa and Philips Hue.
Creating Alexa Routines with Philips Hue
With Alexa routines, you can automate your Philips Hue lights to seamlessly integrate with your daily routine. Create custom routines that trigger specific lighting scenes or actions based on voice commands, scheduled times, or other smart device interactions. Here’s how you can create Alexa routines with Philips Hue:
- Open the Alexa App: Launch the Alexa app on your smartphone or tablet and tap on the “Routines” tab at the bottom of the screen.
- Create a New Routine: Tap on the “+” icon to create a new routine. Give your routine a name, such as “Good Morning” or “Bedtime.”
- Add a Trigger: Select a trigger for your routine. You can choose from options like voice command, schedule, or device interaction. For example, you could set the routine to trigger when you say “Alexa, good morning” or at a specific time every day.
- Define Actions: Choose the actions you want to occur when the routine is triggered. Tap on the “+” icon to add actions, and select “Smart Home” from the options.
- Select your Philips Hue Lights: Tap on “Control device” and choose the Philips Hue lights you want to control in your routine.
- Adjust Settings: Customize the settings for each Philips Hue light, such as brightness, color, or scene. You can also set the duration for the action to occur.
- Save and Activate: Once you’re satisfied with the routine settings, tap on “Save” to save the routine. It will now be ready to use and can be activated by your chosen trigger.
Creating Alexa routines with Philips Hue allows you to automate your lighting experience and optimize it according to your daily routine. Whether it’s waking up to a gently lit room or setting the perfect ambiance for a movie night, routines bring convenience and flexibility to your smart lighting setup. In the next section, we’ll explore how you can adjust brightness and color using Alexa with Philips Hue.
Adjusting Brightness and Color with Alexa
Controlling the brightness and color of your Philips Hue lights using Alexa is a breeze. With a few simple voice commands, you can customize and fine-tune the lighting to suit your preferences. Here’s how you can adjust brightness and color with Alexa:
- Control Brightness: Use commands like “Alexa, set the [room name] lights to [percentage] percent” to adjust the brightness of your Philips Hue lights. For example, saying “Alexa, set the living room lights to 50 percent” will dim the lights to half their brightness.
- Change Color: If you have Philips Hue lights that support color changing capabilities, you can use commands like “Alexa, set the [room name] lights to [color]” to change the color. For instance, saying “Alexa, set the bedroom lights to red” will make the lights emit a red glow.
- Activate Predefined Scenes: Philips Hue allows you to create predefined scenes with specific brightness and color settings. Simply say “Alexa, set the lights to [scene name]” to activate a specific scene. For example, saying “Alexa, set the lights to Party” will create a vibrant and colorful atmosphere.
- Adjust Color Temperature: If you have Philips Hue White Ambiance or White and Color Ambiance lights, you can adjust their color temperature. Use commands like “Alexa, set the [room name] lights to cool white” or “Alexa, set the [room name] lights to warm white” to create the desired ambiance.
With these voice commands, you can easily personalize the brightness and color of your Philips Hue lights to match your mood or activities. Whether you want a cozy and dim setting for a movie night or a vibrant and energizing atmosphere for a party, Alexa and Philips Hue make it effortless to create the perfect lighting. In the next section, we’ll explore how you can set up schedules and timers for your Philips Hue lights with Alexa.
Setting Up Schedules and Timers with Philips Hue and Alexa
With the combination of Philips Hue lights and Alexa, you can easily create schedules and timers to automate your lighting. Whether you want your lights to turn on automatically in the morning or set a specific ambiance in the evening, setting up schedules and timers is a convenient way to control your Philips Hue lights. Here’s how you can do it:
- Open the Alexa App: Launch the Alexa app on your smartphone or tablet and go to the “Routines” tab at the bottom of the screen.
- Create a New Routine: Tap on the “+” icon to create a new routine. Give your routine a name that describes the schedule or timer you want to set up.
- Add a Trigger: Select a trigger for your routine, such as a specific time or recurring schedule.
- Define Actions: Choose the actions you want to occur when the routine is triggered. Tap on the “+” icon to add actions, and select “Smart Home” from the options.
- Select your Philips Hue Lights: Tap on “Control device” and choose the Philips Hue lights you want to control in your routine.
- Set the Parameters: Specify the desired brightness, color, or scene for your Philips Hue lights. You can also adjust other settings like transition time to create a smooth lighting change.
- Save and Activate: Once you’ve configured the routine settings, tap on “Save” to save the routine. It will now be active and trigger the scheduled actions for your Philips Hue lights.
By setting up schedules and timers, you can enjoy the convenience of having your Philips Hue lights automatically adjust according to your desired timing. Whether it’s creating a gentle wake-up routine or ensuring your lights are turned off when you leave the house, this automation feature enhances your lighting experience. In the next section, we’ll explore how you can sync Alexa with Philips Hue scenes.
Syncing Alexa with Philips Hue Scenes
With the ability to sync Alexa with Philips Hue scenes, you can easily activate specific lighting scenes using just your voice. Scenes are preconfigured lighting settings that can create different moods and atmospheres in your space. Here’s how you can sync Alexa with Philips Hue scenes:
- Set up Scenes in the Philips Hue App: Open the Philips Hue app on your smartphone or tablet and navigate to the “Scenes” section. Create and customize scenes by selecting the desired brightness, color, and ambiance for each scene.
- Discover Scenes in the Alexa App: Launch the Alexa app and tap on the “Devices” tab. Select “Scenes” and tap on “Discover Scenes.” Alexa will scan your Philips Hue system and add the available scenes to the list.
- Manage Scenes: In the Alexa app, navigate to the “Scenes” section. Here, you can view and edit the scenes that have been discovered and linked to your Alexa device. Adjust the scene details, names, or associated devices as needed.
- Activate Scenes with Voice Commands: To activate a scene, simply say “Alexa, activate [scene name].” For example, saying “Alexa, activate Party Mode” will apply the corresponding scene settings and create a vibrant and festive lighting setup.
- Create Routines: Take scene activation a step further by incorporating them into Alexa routines. You can set up a routine to trigger a specific scene at a certain time or in combination with other actions, further enhancing your lighting automation.
Syncing Alexa with Philips Hue scenes allows you to effortlessly transform the atmosphere and ambiance of your space with a simple voice command. Whether you want to create a cozy movie night, a productive work environment, or a romantic dinner setting, scene synchronization provides you with endless possibilities. In the upcoming section, we’ll address how you can control specific rooms or zones with Alexa and Philips Hue.
Controlling Specific Rooms or Zones with Alexa
Controlling specific rooms or zones with Alexa and Philips Hue allows you to have precise control over your smart lighting system. Instead of controlling all the lights in your home, you can now target individual rooms or groups of lights. Here’s how you can do it:
- Create Rooms in the Alexa App: Open the Alexa app on your smartphone or tablet and go to the “Devices” tab. Tap on the “+” icon, select “Add Group,” and create a new room. Assign the relevant Philips Hue lights to each room you create.
- Assign Lights to Rooms: In the Alexa app, ensure that each Philips Hue light you want to control is assigned to a specific room or zone. This will allow you to address them individually or as a group with voice commands.
- Voice Commands for Specific Rooms: Use specific room names when giving voice commands to control the lights. For example, say “Alexa, turn on the lights in the living room” or “Alexa, dim the bedroom lights.”
- Group Commands for Zones: If you have grouped multiple rooms or lights into a zone, you can control them simultaneously. For instance, say “Alexa, turn off the downstairs lights” or “Alexa, set the zone lights to relax.”
- Refine Control: Use modifiers like “all,” “every,” or “only” to further refine your control over specific rooms or zones. For example, say “Alexa, turn off all the lights in the kitchen” or “Alexa, dim every light in the zone.”
Controlling specific rooms or zones with Alexa and Philips Hue enhances both convenience and customization of your smart lighting setup. You can effortlessly set the ambiance in each room or conveniently manage groups of lights throughout your home. In the next section, we’ll address some common troubleshooting tips for any issues you may encounter with Alexa and Philips Hue integration.
Troubleshooting Common Issues with Alexa and Philips Hue
While the integration between Alexa and Philips Hue is generally seamless, you may occasionally encounter some common issues. Fortunately, most issues can be easily resolved. Here are some troubleshooting tips to help you overcome common issues:
- Check Connection: Ensure that your Philips Hue bridge is properly connected to your Wi-Fi network and that your Alexa device is connected to the same network. A stable and reliable internet connection is crucial for proper communication between the devices.
- Ensure Compatibility: Double-check that your Philips Hue bulbs and bridge are compatible with Alexa. Ensure that both devices are updated with the latest firmware to maintain compatibility and optimize performance.
- Re-Discover Devices: If Alexa is unable to detect your Philips Hue lights, try rediscovering devices in the Alexa app. Open the app, go to the “Devices” tab, select “Discover Devices,” and follow the on-screen instructions. This should rediscover and synchronize your Philips Hue lights with Alexa.
- Check Naming and Grouping: Confirm that your Philips Hue lights are named correctly and assigned to the appropriate rooms or groups. In the Alexa app, review the devices and rooms to verify proper naming and grouping, which affects the accuracy of voice commands.
- Restart Devices: If you encounter any issues, try restarting both your Philips Hue bridge and your Alexa device. Power off each device, wait for a few seconds, and then power them back on. This can help resolve temporary connectivity or synchronization issues.
- Reset and Re-Connect: If all else fails, you can try resetting your Philips Hue bridge and disconnecting and reconnecting it to your Alexa app. Follow the instructions provided by Philips Hue to reset your bridge and then reconnect it to Alexa using the Alexa app.
By following these troubleshooting tips, you can resolve common issues and ensure a smooth integration between Alexa and Philips Hue. If you continue to encounter problems, refer to the official documentation or contact customer support for assistance. With your smart lighting system working flawlessly, you can enjoy the convenience and automation it brings to your everyday life.