
Checking Printer Ink Levels on Windows
Checking the ink levels on your printer is essential to ensure that you never run out of ink in the middle of an important print job. Here’s a step-by-step guide on how to check printer ink levels on Windows:
- Open the Control Panel on your Windows computer. You can do this by clicking on the Start button and selecting Control Panel.
- In the Control Panel, click on Devices and Printers or Printers and Scanners, depending on your Windows version.
- Locate the printer you want to check ink levels for and right-click on its icon.
- From the drop-down menu, select Printer Properties or Printing Preferences.
- A new window will open with several tabs. Look for the tab labeled ‘Maintenance’, ‘Services’, or ‘Supply Levels’.
- Click on the ‘Maintenance’, ‘Services’, or ‘Supply Levels’ tab to access the printer ink levels.
- You should see an estimated ink level indicator for each cartridge. Some printers may show a graphical representation of the ink levels, while others may display a percentage or a low/normal/out of ink status.
By following these steps, you can easily check the ink levels of your printer on a Windows computer. It’s important to keep an eye on the ink levels and replace cartridges as needed to ensure high-quality prints.
Checking Printer Ink Levels on Mac
If you have a Mac and want to check the ink levels on your printer, you can do so by following these simple steps:
- Click on the Apple menu on the top left corner of your screen and select System Preferences.
- In the System Preferences window, click on Printers & Scanners.
- Select your printer from the list on the left side of the window.
- Click on the Options & Supplies button located below the list of printers.
- A new window will open, showing details about your printer. Click on the Supplies tab.
- You should see the ink levels displayed for each cartridge installed in your printer.
- Some printers may provide a visual representation of the ink levels, while others may show a percentage or a low/normal/out of ink status.
Checking printer ink levels on a Mac is quick and easy with these steps. By monitoring the ink levels regularly, you can avoid any surprises and ensure that you always have enough ink for your printing needs.
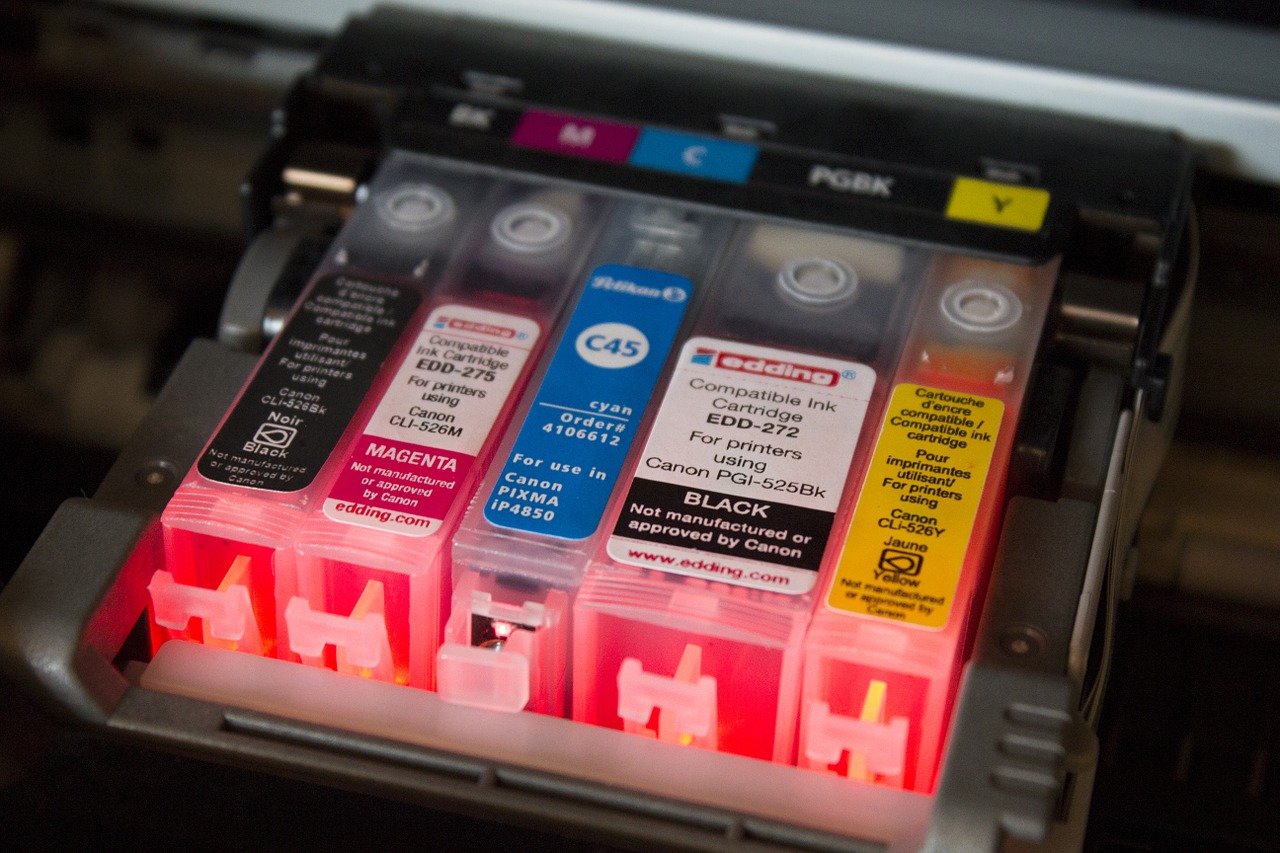
Checking Printer Ink Levels on a Printer Display Panel
If your printer has a display panel, you can easily check the ink levels directly from the printer itself. Follow these steps to check printer ink levels on a printer display panel:
- Power on your printer and make sure it is in a ready state.
- Locate the ink or cartridge icon on the printer display panel. It may be represented as a droplet or a cartridge symbol.
- Press the ink or cartridge icon to access the ink status menu.
- You may see individual ink cartridges listed with their respective ink levels, or you might find a single indicator that shows the combined ink level.
- Some printers display a color-coded system where each cartridge is represented by a different color, making it easy to identify which color is running low.
- Take note of the ink levels and ensure that none of the cartridges are running low. If any of the cartridges are low, you may need to replace or refill them.
Checking ink levels on a printer display panel is convenient, as you can get a quick overview without the need for a computer or additional software. This method is particularly useful when you are in a rush or when you want to check ink levels from the printer itself.
Checking Printer Ink Levels on a Mobile App
In the era of smartphones, many printer manufacturers have developed mobile apps that allow you to conveniently check the ink levels of your printer from your mobile device. Here’s how you can check printer ink levels using a mobile app:
- Download and install the mobile app provided by your printer manufacturer. These apps are usually available for both iOS and Android devices.
- Launch the app on your mobile device and ensure that your printer is connected to the same Wi-Fi network as your mobile device.
- Follow the prompts in the app to add and configure your printer. This typically involves selecting your printer from a list of available devices.
- Once your printer is successfully connected, navigate to the ink or supplies section of the app.
- You should see the ink levels displayed for each cartridge installed in your printer, along with other printer maintenance options.
- The app may also provide additional features such as ink ordering or notification alerts when ink levels are low.
- Take note of the ink levels and consider replacing or refilling the cartridges if any of them are running low.
Using a mobile app to check ink levels provides the convenience of monitoring your printer’s ink supply on the go. With just a few taps on your smartphone, you can ensure that you have enough ink for your printing needs.
Checking Printer Ink Levels with Printer Software
Most printer manufacturers provide proprietary software that allows you to manage and monitor your printer’s ink levels. Here’s how you can check printer ink levels using printer software:
- Install the printer software provided by your printer manufacturer on your computer. This software is usually available for download from the manufacturer’s website.
- Launch the printer software and ensure that your printer is connected to your computer via USB or over the network.
- Navigate to the ink or supplies section of the software. This section may be labeled differently depending on the printer software you are using.
- You should see the ink levels displayed for each cartridge installed in your printer, along with other maintenance and printing options.
- The software may provide additional features such as automatic low ink notifications or the ability to order ink directly from the software.
- Take note of the ink levels and consider replacing or refilling the cartridges if any of them are running low.
Using printer software to check ink levels gives you access to detailed information about your printer’s performance and maintenance. It allows you to stay on top of your ink levels and ensures that you are always prepared for your printing needs.
Checking Printer Ink Levels with Third-Party Tools
In addition to the official printer software provided by manufacturers, there are also third-party tools available that can help you monitor and check ink levels on your printer. Here’s how you can check printer ink levels with third-party tools:
- Search for and download a reputable third-party ink monitoring tool from a trusted source.
- Install the tool on your computer following the provided instructions.
- Launch the ink monitoring tool and ensure that your printer is connected to your computer via USB or over the network.
- Allow the tool to detect and recognize your printer.
- The tool should display the ink levels for each cartridge installed in your printer, as well as additional information about printer maintenance and usage.
- Take note of the ink levels provided by the third-party tool and consider replacing or refilling the cartridges if necessary.
Using third-party tools can offer additional flexibility and features beyond what is provided by the official printer software. However, it’s important to ensure that you download and use trusted tools from reliable sources to avoid any potential security risks.
Tips for Accurately Checking Printer Ink Levels
Accurately checking printer ink levels is crucial to avoid running out of ink during important print jobs. Here are some tips to ensure you get accurate readings:
- Regularly check ink levels: Make it a habit to check your printer’s ink levels regularly, especially before starting a large print job.
- Use the recommended software or tools: Utilize the official printer software or recommended third-party tools provided by the printer manufacturer to get accurate ink level readings.
- Check multiple sources: If your printer supports different ink level monitoring options (such as through the printer display panel or software), cross-reference the readings to ensure accuracy.
- Verify with test prints: If you suspect inaccurate ink level readings, print a test page to see the actual quality of the prints. Low ink levels may result in faded or streaky prints.
- Replace cartridges in a timely manner: Don’t wait until the ink is completely depleted. Replace cartridges when they are low to maintain print quality and avoid any interruptions during print jobs.
- Keep spare cartridges on hand: Stock up on spare ink cartridges, especially if you rely heavily on your printer. This way, you can easily replace depleted cartridges without any delays.
- Follow manufacturer guidelines: Read the printer manual or consult the manufacturer’s website to understand the recommended procedures for checking ink levels and replacing cartridges.
- Consider automatic notifications: If available, enable automatic notifications from your printer software or mobile app to receive alerts when ink levels are low.
By following these tips, you can ensure accurate ink level readings and maintain a smooth printing experience without any unexpected interruptions.
Troubleshooting Printer Ink Level Issues
While checking printer ink levels is usually straightforward, you may encounter some issues along the way. Here are some common troubleshooting steps to resolve printer ink level issues:
- Restart your printer: Sometimes, a simple restart can resolve minor glitches in the ink level detection system.
- Clean the contacts: If your printer is not accurately detecting the ink levels, the contacts between the cartridges and the printer may be dirty. Gently remove the cartridges and clean the contacts with a lint-free cloth or cotton swab.
- Update printer software: Ensure that you have the latest printer software installed. Manufacturers often release updates that include bug fixes and improvements to ink level detection.
- Reinstall printer software: If updating the printer software does not resolve the issue, try uninstalling and reinstalling the software to ensure a clean installation.
- Check cartridge installation: Double-check that the ink cartridges are installed correctly and securely. Improper installation can lead to inaccurate ink level readings.
- Replace or refill cartridges: If you continue to experience ink level issues, try replacing or refilling the cartridges. Sometimes, the ink level sensors may not accurately detect the ink remaining in the cartridges.
- Contact customer support: If all else fails, reach out to the printer manufacturer’s customer support for further assistance. They can provide specific troubleshooting steps or arrange for repairs if necessary.
Resolving printer ink level issues may require a combination of these troubleshooting steps. Remember to refer to the printer manual or consult the manufacturer’s support resources for specific instructions on troubleshooting ink level problems for your particular printer model.