
Why replace your old thermostat with Nest
Are you tired of constantly adjusting the temperature in your home? Do you wish there was a way to be more energy-efficient and save on your utility bills? Look no further than the Nest thermostat. Nest is a smart thermostat that learns your preferences, adjusts the temperature accordingly, and helps you optimize your home’s energy usage. Here are some compelling reasons why you should consider replacing your old thermostat with Nest.
Energy savings: One of the biggest advantages of Nest is its ability to save energy and reduce your utility bills. Traditional thermostats often rely on pre-set schedules, resulting in wasted energy when nobody is home. Nest, on the other hand, uses advanced algorithms to adapt to your lifestyle and automatically adjust the temperature when you’re away. This smart technology can save you up to 15% on your cooling and heating costs.
Convenience and comfort: With Nest, you no longer have to manually adjust the temperature throughout the day. Nest learns your preferred temperature settings and creates a personalized schedule that aligns with your routine. It can even sense when you’re near and adjust the temperature accordingly, ensuring that you always come home to a comfortable environment.
Smart home integration: Nest is compatible with various smart home devices, allowing for seamless integration and enhanced control over your home’s ecosystem. Whether it’s connecting with your smart lights, door locks, or security system, Nest can help create a truly connected and convenient home environment.
Remote access: With Nest, you gain the ability to control and monitor your thermostat from anywhere using your smartphone or tablet. Forgot to adjust the temperature before leaving for vacation? No problem. With Nest’s mobile app, you can easily make changes and ensure your home stays comfortable and energy-efficient, even when you’re miles away.
Learns and adapts: Nest is designed to learn from your behavior over time, adjusting the temperature based on your preferences. It builds a schedule that suits your needs and optimizes energy usage. Additionally, Nest’s built-in sensors can detect when you’re away and automatically switch to an energy-saving mode, further reducing energy waste.
Tools you’ll need
Before you begin replacing your old thermostat with Nest, make sure you have the following tools at hand:
- Screwdriver: You’ll need a screwdriver to remove the screws holding your old thermostat in place.
- Wire labels: It’s essential to label the wires from your old thermostat so you can easily connect them to the Nest.
- Level: To ensure the Nest base is mounted correctly and straight, you’ll need a level.
- Drill (optional): If you need to make new holes to mount the Nest base, a drill will come in handy.
- Nest thermostat: Of course, you’ll need the Nest thermostat itself. Make sure it’s unpacked and ready to be installed.
- Power drill (optional): If you need to make any modifications to the existing wiring, a power drill may be necessary.
Having these tools readily available will streamline the installation process and ensure everything goes smoothly.
Step 1: Turn off power
Before you start replacing your old thermostat with Nest, it’s crucial to turn off the power to your heating and cooling system. This will ensure your safety throughout the installation process. Here’s how you can do it:
- Locate the main electrical panel in your home. It is usually found in the basement, garage, or utility room.
- Open the panel door and look for the circuit breaker or fuse that controls your HVAC system.
- Switch off the circuit breaker or remove the fuse to cut off the power supply.
- For extra safety, you can place a piece of tape over the breaker or fuse to prevent someone from accidentally turning it on while you’re working.
- Verify that the power is truly off by checking if your existing thermostat display is no longer illuminated.
It’s important to note that turning off the power is crucial to avoid electrical shock or damage to your HVAC system. Take your time at this step and ensure that the power is completely switched off before proceeding to the next step.
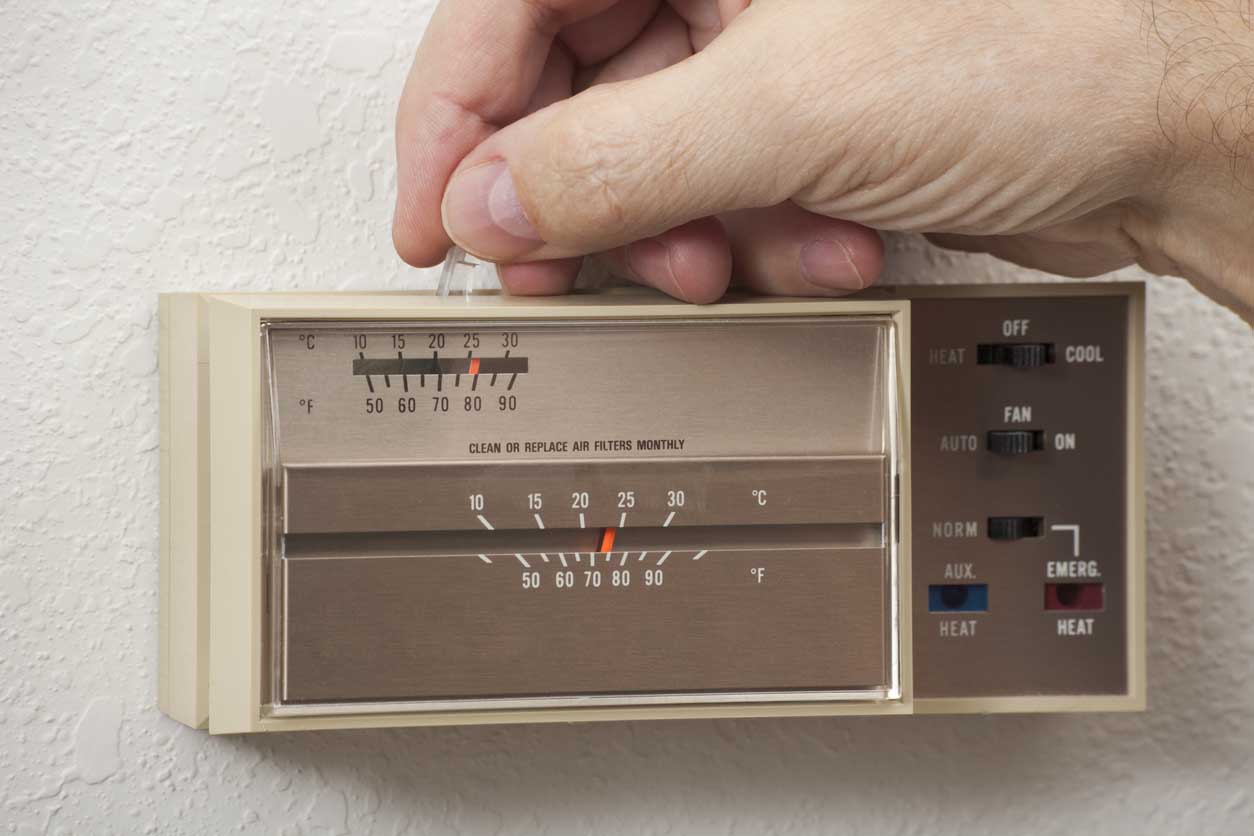
Step 2: Remove old thermostat
Now that you have turned off the power, it’s time to remove your old thermostat. Follow these steps:
- Remove the thermostat cover by gently sliding it upwards or prying it off, depending on the design of your thermostat. Be careful not to damage any wires in the process.
- Take note of the current wiring connections. You may want to take a picture or label the wires to ensure you can reconnect them correctly later.
- Loosen the screws securing the thermostat base to the wall. Once the screws are loose, carefully lift the base away from the wall, exposing the wiring behind it.
- Disconnect the wiring from the terminal screws. Depending on your thermostat, this may require unscrewing or simply pulling the wires out of their respective terminals.
- Once the wiring is disconnected, remove the old thermostat base completely from the wall. Keep the screws and any other mounting hardware as you may need them for installing the Nest thermostat.
As you remove the old thermostat, be mindful of any fragile or delicate wires. Take your time to avoid damaging the wiring, as it will need to be properly connected to the Nest thermostat in the next steps. Keep the old thermostat and its base in a safe place in case you need them for reference or as backup.
Step 3: Label the wires
Before disconnecting the wiring from your old thermostat, it’s important to label each wire to ensure proper reconnection to the Nest thermostat later. Follow these steps to label the wires:
- Once the old thermostat is removed from the wall, take a close look at the wires connected to the terminal screws.
- Using the wire labels provided in your Nest thermostat package, affix a label to each wire based on its corresponding terminal. For example, label the wire connected to the “R” terminal as “R”, and so on.
- If wire labels are not provided, you can use masking tape and a marker to manually label the wires.
- Make sure the labels are clear and easy to read. This will prevent any confusion later when you connect the wires to the Nest thermostat.
Properly labeling the wires will save you time and frustration during the installation process. It will make it easier to identify which wire goes where when you are connecting them to the Nest thermostat base. Take your time to ensure that each wire is correctly labeled before proceeding to the next step.
Step 4: Mount the Nest base
With the wires labeled and ready, it’s time to mount the Nest base onto the wall. Follow these steps:
- Choose an ideal location for the Nest base. It should be close to the existing wiring and in a central area of your home for optimal temperature sensing.
- Place the Nest base against the wall, ensuring it is level. Use a level to double-check and adjust as needed.
- Mark the location of the screw holes with a pencil. These holes will be used for securing the base to the wall.
- If the existing screw holes do not align, or you are installing Nest onto a new wall, you may need to drill new holes with a drill and appropriate drill bit.
- Once the screw holes are marked or drilled, insert the provided screws into the holes and tighten them, securing the Nest base firmly to the wall.
Make sure the Nest base is securely mounted to the wall before proceeding to the next step. A secure mount will ensure that the Nest thermostat remains stable and properly connected to the wiring.
Step 5: Connect the wires
Now that the Nest base is securely mounted, it’s time to connect the labeled wires from your old thermostat to the corresponding terminals on the Nest base. Follow these steps:
- Take the labeled wires from Step 3 and match each wire to its respective terminal on the Nest base. The terminals will be labeled with letters or colors that correspond to the wire labels.
- Loosen the terminal screws on the Nest base by using a screwdriver.
- Insert each wire into its corresponding terminal, making sure the wires are properly seated.
- Tighten the terminal screws securely, ensuring a proper connection between the wires and the Nest base.
It’s essential to connect each wire to the correct terminal to ensure the Nest thermostat functions properly. Double-check your wire labels and take your time to ensure that each wire is connected to the corresponding terminal on the Nest base.
If your old thermostat used a jumper wire between the Rh and Rc terminals, you can remove it as the Nest thermostat doesn’t require it.
Once all the wires are connected, you can proceed to the next step of installing the Nest display onto the base.
Step 6: Attach the Nest display
With the wiring complete, it’s time to attach the Nest display to the base. Follow these steps:
- Take the Nest display and align the connectors on the back with the corresponding connectors on the Nest base.
- Gently push the display onto the base until it clicks into place. The display should fit snugly and securely onto the base.
- Once attached, the Nest display will power on and guide you through the initial setup process.
It’s important to ensure a proper connection between the Nest display and the base. Check that the display is securely attached and functioning correctly before moving on to the next step.
During the setup process, the Nest display will provide on-screen instructions to connect to your Wi-Fi network and complete the initial configuration. Follow the prompts on the display to set up your Nest thermostat according to your preferences.
Step 7: Turn on power
After attaching the Nest display and completing the initial setup, it’s time to turn the power back on to your heating and cooling system. Follow these steps:
- Return to the main electrical panel where you turned off the power earlier.
- Locate the circuit breaker or fuse that controls your HVAC system.
- Switch on the circuit breaker or reinstall the fuse to restore power to your heating and cooling system.
Once the power is turned back on, the Nest thermostat will start up and display the temperature. You may need to wait a few moments for the thermostat to establish a connection to your Wi-Fi and synchronize with your home’s heating and cooling equipment.
If the Nest display does not power on after restoring the power, double-check the circuit breaker or fuse to ensure it is functioning correctly. Contact a professional if you encounter any electrical or technical issues.
With the power restored, you can move on to the next step of connecting your Nest thermostat to your Wi-Fi network and completing the setup process.
Step 8: Connect to Wi-Fi and set up Nest
With the power turned on, it’s time to connect your Nest thermostat to your Wi-Fi network and complete the setup process. Follow these steps:
- On the Nest display, select the language and country preferences and confirm your selection.
- Select your Wi-Fi network from the list of available networks.
- Enter your Wi-Fi network password using the on-screen keyboard. Take care to enter the password correctly.
- Once the Nest thermostat successfully connects to your Wi-Fi network, it will perform a software update if necessary. This will ensure you have the latest features and enhancements.
- Follow the on-screen instructions to set your preferred temperature settings, configure your schedule, and personalize other options such as display brightness and energy-saving features.
- Once the setup process is complete, the Nest thermostat will display the current temperature and be ready to use.
It’s important to ensure a stable and reliable Wi-Fi connection during the setup process for proper functionality and access to additional features of the Nest thermostat.
If you encounter any issues during the setup process, refer to the Nest thermostat’s user manual or contact Nest customer support for assistance.
Once your Nest thermostat is connected to Wi-Fi and fully set up, you can start enjoying the benefits of its smart features, energy savings, and convenient control over your home’s temperature.
Step 9: Customize your Nest settings
Now that your Nest thermostat is connected and set up, it’s time to customize the settings to fit your preferences and maximize its efficiency. Here are some key settings you may want to consider:
- Temperature preferences: Adjust the temperature settings to your desired comfort level. You can set different temperatures for various times of the day to match your routine.
- Schedule: Fine-tune the schedule to align with your daily activities. Nest can learn your patterns and automatically adjust the temperature to ensure comfort when you’re home and energy savings when you’re away.
- Auto-away: Enable the auto-away feature to have Nest automatically set your home to an energy-saving temperature when it detects that no one is present.
- Learning mode: Allow Nest to learn your temperature preferences over time by enabling learning mode. Nest will adapt and make adjustments based on your behavior and patterns.
- Remote access: Take advantage of the remote access feature to control your Nest thermostat from anywhere using your smartphone or tablet. This allows you to adjust the temperature even when you’re not at home.
- Energy-saving features: Explore and enable energy-saving features such as “Eco Mode” or “Heat Pump Balance” to optimize energy usage while maintaining comfort in your home.
- Smart home integration: Integrate your Nest thermostat with compatible smart home devices, such as smart speakers or virtual assistants, to control the temperature with voice commands or through automation routines.
Take some time to explore the various settings and options within the Nest app or on the thermostat itself. Customize these settings to align with your lifestyle, preferences, and energy-saving goals.
Remember that you can always adjust and fine-tune the settings as needed based on your changing needs and preferences over time.
Step 10: Enjoy the benefits of your new Nest thermostat
Congratulations! You have successfully installed and set up your new Nest thermostat. Now it’s time to sit back, relax, and enjoy the numerous benefits it brings to your home and lifestyle. Here are some of the advantages you can look forward to:
- Energy savings: With its smart features and ability to adapt to your schedule, the Nest thermostat can help optimize your energy usage, resulting in potential savings on your heating and cooling bills.
- Comfort: Experience a new level of comfort in your home. Nest learns your preferences and adjusts the temperature to ensure you’re always greeted with a pleasant environment.
- Convenience: Say goodbye to fumbling with manual temperature adjustments. With remote access and smart home integration, you can effortlessly control and monitor your Nest thermostat from anywhere using your smartphone or compatible devices.
- Smart home integration: Take advantage of the Nest thermostat’s compatibility with other smart home devices. Integrate it with your smart lighting, security system, or virtual assistants to create a fully connected and convenient ecosystem.
- Customization: Tailor your Nest thermostat settings to fit your unique needs. Customize the temperature preferences, schedule, and energy-saving features to align with your lifestyle and preferences.
- Learning capabilities: Over time, Nest learns your behavior and adapts to your patterns, providing personalized temperature control and energy optimization.
As you enjoy the benefits of your new Nest thermostat, be sure to periodically check for software updates and explore new features that may become available. Nest continues to evolve and offer enhanced functionality with regular updates.
Remember, the Nest thermostat is designed to make your life easier, more comfortable, and more energy-efficient. Take full advantage of its features to create a smarter and more sustainable home environment.
Sit back, relax, and let your Nest thermostat do the work while you enjoy the comfort and energy savings it brings to your home.