
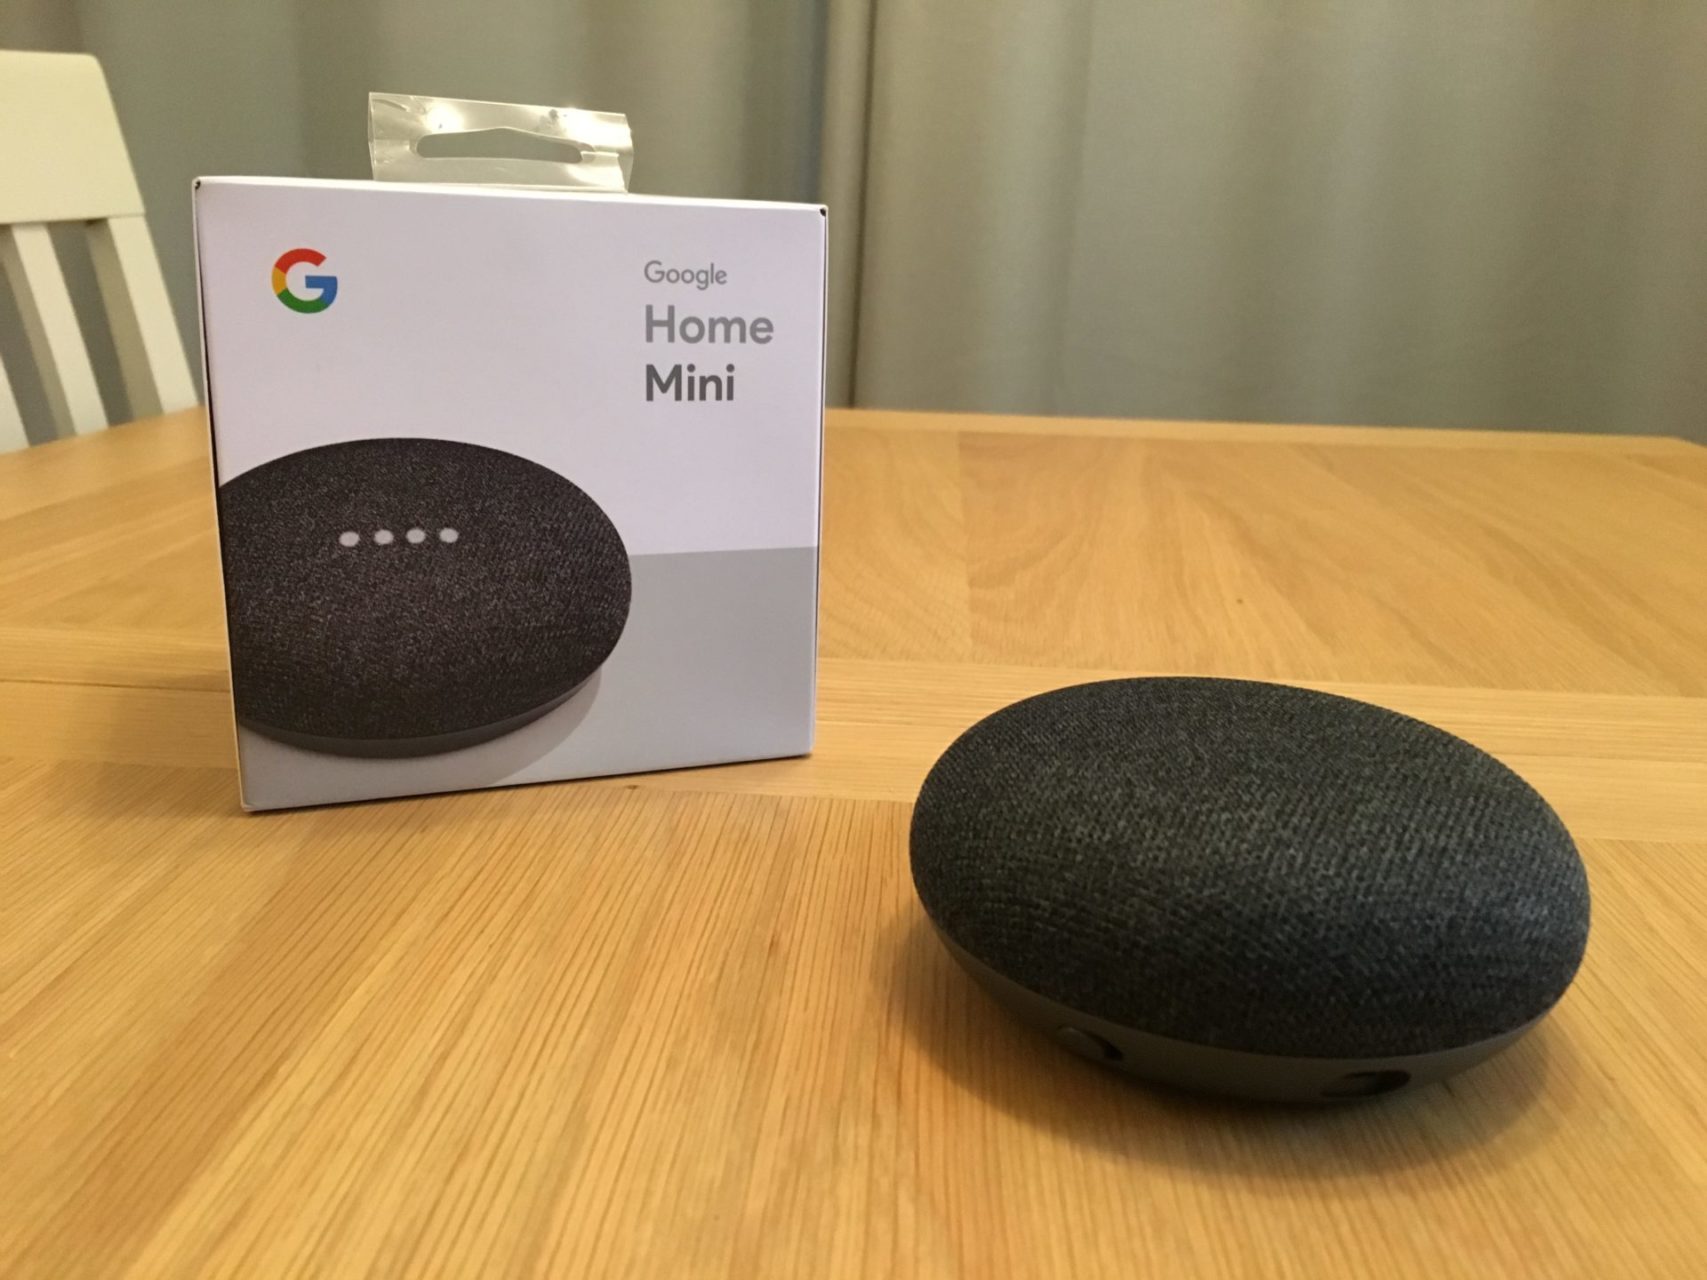
Checking the Physical Connections
When you’re experiencing issues with your Google Home Mini, one of the first things you should do is check the physical connections. Often, a loose or faulty connection can cause connectivity problems. Follow the steps below to ensure all the connections are secure:
- Power Cable: Make sure the power cable is securely plugged into both the Google Home Mini and the power outlet. Check if the cable is damaged or frayed, and if so, consider replacing it.
- Power Outlet: Verify that the power outlet is functioning correctly. Plug in a different device, such as a lamp or phone charger, to check if it’s receiving power.
- Network Cable (if applicable): If your Google Home Mini is the wired version (with an Ethernet port), ensure that the network cable is securely connected to both the device and the router or modem.
- Speaker/Microphone: Inspect the speaker and microphone on the Google Home Mini for any physical damage. If there are any issues, such as cracks or dirt accumulation, it could affect the device’s performance.
After checking all the physical connections, power cycle the Google Home Mini by unplugging it from the power source, waiting for a few seconds, and then plugging it back in. This simple step can often resolve minor connectivity issues.
If you’ve completed these checks and the Google Home Mini still isn’t working correctly, you may need to move on to the next troubleshooting steps. Don’t worry, there are still several options to try before giving up. Let’s move on to the next section to restart the Google Home Mini.
Restarting the Google Home Mini
If you’re experiencing connectivity issues with your Google Home Mini, a simple restart can often solve the problem. Follow the steps below to restart your device:
- Unplug the power cable: Start by disconnecting the power cable from the back of the Google Home Mini.
- Wait for 10 seconds: Leave the device unplugged for about 10 seconds. This allows any residual power to drain from the device.
- Plug in the power cable: After the 10-second wait, reconnect the power cable to the Google Home Mini.
- Wait for it to boot up: Allow the device a few moments to boot up and establish a connection to the Wi-Fi network.
- Test the device: Once the Google Home Mini has restarted, check if the connectivity issues have been resolved. Try asking it a question or playing music to ensure everything is working as expected.
If the restart doesn’t fix the problem, proceed to the next troubleshooting step. We’ll now move on to verifying the Wi-Fi connection of the Google Home Mini.
Verifying the Wi-Fi Connection
If your Google Home Mini is not connecting to your Wi-Fi network, it’s important to ensure that the network connection is functioning properly. Follow the steps below to verify the Wi-Fi connection:
- Check Wi-Fi signal strength: Make sure that your Google Home Mini is within range of your Wi-Fi router. If it’s too far away or there are obstacles blocking the signal, it may have trouble connecting. Consider moving the device closer to the router or eliminating any obstructions.
- Restart your router: Sometimes, the router itself may be experiencing issues. Try restarting the router by unplugging it from the power source, waiting for a few seconds, and then plugging it back in. Wait for the router to fully reboot before trying to connect the Google Home Mini again.
- Check Wi-Fi credentials: Ensure that you are entering the correct Wi-Fi network name (SSID) and password during the setup process. Double-check for any typos or mistakes. You can also try forgetting the Wi-Fi network on the Google Home app and re-entering the information to ensure accuracy.
- Connect other devices: Test the Wi-Fi connection with other devices in your home. If other devices are also having trouble connecting, it could indicate an issue with the Wi-Fi network itself. Contact your internet service provider for further assistance.
- Restart the Google Home Mini: If you’ve verified that the Wi-Fi connection is stable and other devices are connecting without issues, try restarting the Google Home Mini once more. Refer back to the previous section for instructions on how to restart the device.
If the Wi-Fi connection is still not functioning properly, don’t worry. There are additional troubleshooting steps we can take. In the next section, we’ll explore how to factory reset the Google Home Mini.
Factory Resetting the Google Home Mini
If you’ve tried troubleshooting the Wi-Fi connection and the Google Home Mini still won’t connect, a factory reset may be necessary. This process will restore the device to its original settings and erase any saved preferences or configurations. Follow the steps below to perform a factory reset on your Google Home Mini:
- Locate the factory reset button: On the back of the Google Home Mini, you’ll find a small button labeled “Reset.” It’s usually located near the power cable port.
- Press and hold the reset button: Use a paperclip or a similar small, pointed object to press and hold the reset button. Keep it pressed for about 15 seconds or until you see the lights on the Google Home Mini start flashing.
- Release the reset button: Once the lights on the device start flashing, release the reset button. The Google Home Mini will now start the factory reset process.
- Wait for the reset to complete: The device will take a few moments to reset. You’ll know it’s complete when you hear the Google Assistant voice prompt you to set up the device again.
- Set up the Google Home Mini again: Follow the on-screen instructions in the Google Home app to set up the device again. This will include connecting it to your Wi-Fi network and signing in to your Google account.
After completing the factory reset, test the device to see if it connects to the Wi-Fi network and functions properly. If the connectivity issues persist, don’t worry. There are still further troubleshooting steps we can take. In the next section, we’ll cover reconnecting the Google Home Mini to the Wi-Fi network.
Reconnecting the Google Home Mini to the Wi-Fi Network
If your Google Home Mini has been disconnected from the Wi-Fi network or is unable to connect, you can try these steps to reconnect it:
- Open the Google Home app: Launch the Google Home app on your smartphone or tablet.
- Select your device: Tap on the device you want to reconnect. This will open the device settings.
- Tap on “Settings”: Located at the top-right corner of the screen, you’ll find a gear icon. Tap on it to access the settings page.
- Tap on “Wi-Fi”: Within the settings page, locate and tap on the “Wi-Fi” option. This will show you the current Wi-Fi network information.
- Select your Wi-Fi network: From the list of available networks, choose your Wi-Fi network and enter the password if prompted.
- Follow the on-screen instructions: Once you’ve selected your Wi-Fi network, the Google Home app will guide you through the setup process, which may include granting necessary permissions and signing in to your Google account.
Once you’ve successfully reconnected the Google Home Mini to the Wi-Fi network, test its connectivity by asking the device a question or streaming music. If it is still experiencing issues, there may be other factors affecting the performance.
If none of the troubleshooting steps have resolved the connectivity issues with your Google Home Mini, it may be necessary to contact Google Support for further assistance. They can provide specific guidance tailored to your situation and help resolve any persistent issues.
Setting Up the Google Home Mini Again
If you’ve exhausted all the troubleshooting steps and the Google Home Mini still isn’t working properly, you may need to set it up again. Follow these steps to reconfigure the device:
- Open the Google Home app: Launch the Google Home app on your smartphone or tablet.
- Tap on the “+” sign: Look for the “+” sign at the top-left corner of the app screen and tap on it. This will initiate the setup process.
- Select “Set up device”: From the options presented, tap on “Set up device” to begin configuring the Google Home Mini.
- Choose the device: Select the specific Google Home Mini device you want to set up from the list.
- Confirm the setup location and settings: Follow the on-screen instructions to confirm the location where the device will be used and customize any other settings as required.
- Connect to your Wi-Fi network: Select your Wi-Fi network from the list and enter the network password if prompted.
- Sign in to your Google account: Provide your Google account credentials when prompted to sign in.
- Agree to terms and conditions: Read and accept the terms and conditions to proceed.
- Customize preferences and settings: Once the initial setup is complete, you can personalize the device by customizing various preferences such as the default music streaming service or setting up voice match.
Once you’ve completed the setup process, test the device to ensure it is functioning properly. Ask the Google Home Mini a question or use it to play music. If the device is still experiencing connectivity issues or not performing as expected, it may be worth reaching out to Google Support for further assistance.
Remember, setting up the Google Home Mini again will erase any previous configurations, so be prepared to reconfigure any personalized settings or preferences you had previously applied.