
Choosing the Right Apple Watch Band Size
One of the key considerations when purchasing an Apple Watch band is ensuring that you choose the correct size for your device. Apple offers various sizes and styles to suit different wrist sizes and personal preferences. Here are some steps to help you choose the right Apple Watch band size.
1. Determine your Apple Watch size: Measure the case of your Apple Watch to determine whether you have the 38mm, 40mm, 42mm, or 44mm model. This measurement is essential as it will dictate the compatible band size.
2. Check the band compatibility: Apple provides guidance on which band sizes are suitable for specific Apple Watch case sizes. For example, a 38mm band will fit the 40mm model, while a 42mm band will fit the 44mm model. Make sure you review the band compatibility information before making a purchase.
3. Consider your wrist size: Take into account the circumference and shape of your wrist. Apple Watch bands come in different lengths and designs, such as small, medium, or large, to accommodate various wrist sizes. Measure your wrist with a tape measure or use Apple’s printable sizing guide to ensure you select the appropriate size.
4. Try on different styles: Visit an Apple Store or authorized retailer to physically try on different Apple Watch bands. This hands-on approach allows you to assess how the band feels and looks on your wrist, helping you make an informed decision.
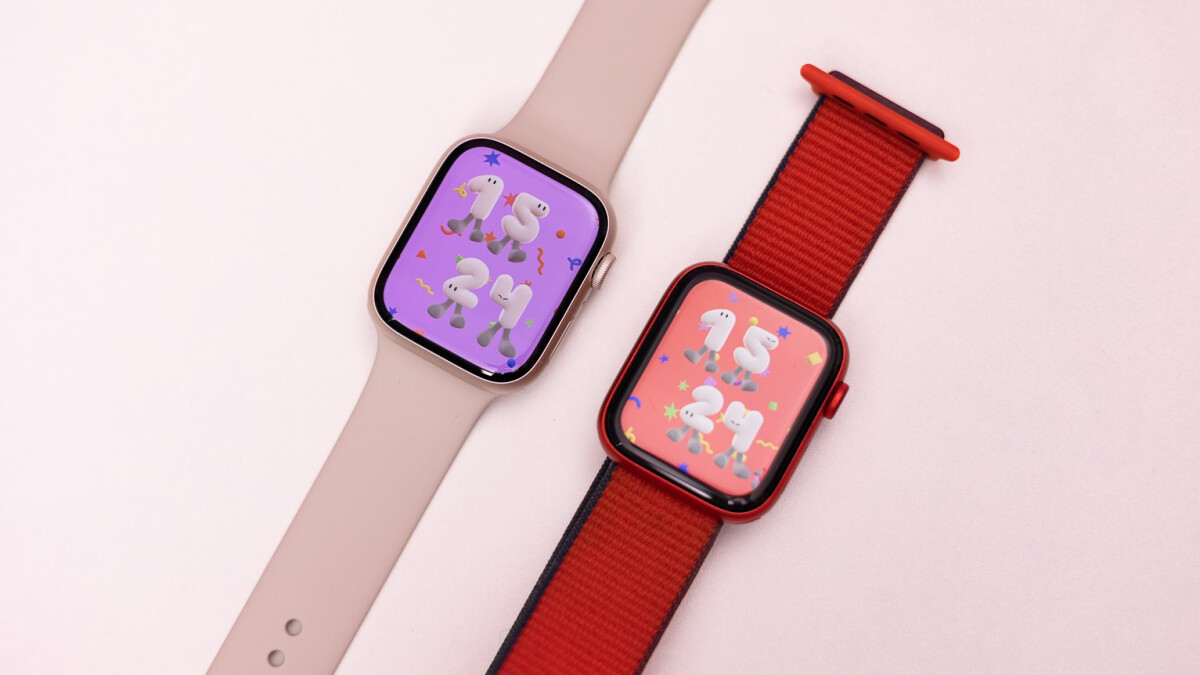
5. Consider the band material: Apple offers bands made from various materials, such as silicone, leather, stainless steel, and nylon. Different materials have different fits and flexibilities, so choose the one that suits your lifestyle and preferences.
6. Read customer reviews: Before purchasing, read customer reviews to gain insight into the fit and comfort of the specific Apple Watch band you are considering. Other users’ experiences can provide valuable feedback and help you make a more informed decision.
By following these steps, you can confidently choose the right Apple Watch band size that fits your wrist comfortably and complements your personal style. Remember, selecting the appropriate band size ensures a secure and comfortable fit, enhancing your overall Apple Watch experience.
Removing the Old Apple Watch Band
If you’re looking to switch up your Apple Watch band or replace a damaged one, you’ll need to know how to remove the old band properly. Follow these simple steps to safely remove your old Apple Watch band:
1. Place your Apple Watch on a soft surface: To prevent any scratches or damage, lay your Apple Watch face down on a soft cloth or surface.
2. Locate the release buttons on the back of the watch: Flip your Apple Watch over and locate the two release buttons on the back of the watch where the band connects.
3. Press and hold the release buttons: Using your fingers or a small tool, press and hold both of the release buttons simultaneously. This will unlock the band from the watch case.
4. Slide the band out: While keeping the release buttons pressed, slide the band out of the watch case. The band should easily detach from the watch.
5. Repeat for the other side: If your Apple Watch band has two release buttons on each side, simply repeat the previous steps to release the second side of the band.
6. Store the old band safely: If you plan on keeping the old band, store it in a safe place to prevent any damage or loss.
It’s important to note that not all Apple Watch bands have release buttons. Some bands, especially the modern buckle or link bracelet, feature a small button or release mechanism on the bottom of the band that needs to be pressed to release it from the watch case. Refer to the manufacturer’s instructions or a reliable online guide for specific instructions on removing these bands.
By following these steps, you can safely remove the old Apple Watch band and prepare your device for a new band or replacement. Remember to handle the watch with care and avoid using excessive force to prevent any damage to your Apple Watch.
Aligning the New Apple Watch Band
After removing the old Apple Watch band, it’s time to align and prepare the new band for attachment. Proper alignment ensures a secure fit and comfortable wearing experience. Follow these steps to align the new Apple Watch band:
1. Orient the new band: Take a close look at the new Apple Watch band and identify the correct orientation. Some bands have indicators, such as engraved arrows or markings, to guide you in aligning the band correctly.
2. Insert the band connectors: On one end of the new band, you will find two small connectors. Align these connectors with the corresponding slots on the watch case. Ensure that the connectors fit snugly into the slots, making sure they are properly aligned.
3. Push the band into the case: With the connectors inserted into the slots, carefully push the band towards the case until you hear a reassuring click. This indicates that the band is securely attached to the watch case.
4. Repeat for the other side: If your Apple Watch band has two connectors, repeat the same process on the other side to align and attach the other end of the band to the remaining slots.
5. Double-check the alignment: Once both ends of the new band are attached, visually inspect the alignment to ensure the band is centered and symmetrical on your wrist. Adjust if necessary by gently wiggling or sliding the band within the case slots.
It’s important to note that some Apple Watch bands might have a specific installation method or unique locking mechanism. For bands like the sport loop or the Milanese loop, the attachment process may involve sliding or threading the band through specific openings. Refer to the manufacturer’s instructions or online guides for detailed instructions specific to your chosen band style.
By following these steps, you can easily align and attach the new Apple Watch band without any issues. Taking the time to properly align the band ensures a comfortable and secure fit, allowing you to enjoy your Apple Watch with a stylish new band.
Attaching the New Apple Watch Band
Now that you have successfully aligned the new Apple Watch band, it’s time to attach it securely to your device. Follow these steps to ensure a proper and secure attachment:
1. Hold the Apple Watch in the correct position: Orient your Apple Watch in the correct position with the display facing upwards. This will allow you to easily access the band attachment area.
2. Line up the band connectors: Align the band connectors on the underside of the watch with the corresponding slots on the case. Ensure that the connectors fit into the slots accurately and securely.
3. Push the band into place: Apply gentle pressure to push the band into the case, making sure the connectors are fully inserted. You may hear a click or feel a slight resistance when the band is properly attached.
4. Test the attachment: Give the band a gentle tug to ensure that it is securely attached to the Apple Watch. It should not come loose or move around excessively.
5. Repeat for the other side: If your Apple Watch band has two ends, such as a traditional strap or sport loop, repeat the previous steps to attach the second side of the band. Ensure that both ends are securely fastened.
It’s important to note that some Apple Watch bands, such as the Milanese loop or magnetic bands, have a different attachment method. These bands feature a magnetic closure or loop design that wraps around the wrist. Simply position the band around your wrist and adjust the fit using the closure or loop mechanism.
If you encounter any difficulties or resistance during the attachment process, double-check that the band is properly aligned with the slots and apply firm but gentle pressure to secure it in place. Avoid using excessive force, as this may cause damage to your Apple Watch or the band.
By following these steps, you can confidently attach the new Apple Watch band and enjoy a secure and comfortable fit. Take a moment to ensure that the band is securely attached before wearing your Apple Watch to minimize the risk of it coming loose during daily activities.
Adjusting the Fit of the Apple Watch Band
Getting the perfect fit for your Apple Watch band is essential for both comfort and functionality. Here are some tips on how to adjust the fit of your Apple Watch band:
1. Determine the desired tightness: Start by deciding how snug or loose you want the band to feel on your wrist. It should be tight enough to stay in place during physical activities but not so tight that it restricts blood circulation.
2. Use the band adjustment holes: Most Apple Watch bands, such as sport bands and leather loops, come with multiple adjustment holes. Insert the band into the watch case and fasten the pin or buckle. Experiment with different holes to find the most comfortable fit.
3. Ensure a secure fit: Once you’ve selected the appropriate adjustment hole, double-check that the band is securely fastened to the watch case. Give it a gentle tug to make sure it doesn’t come loose or move around excessively.
Note: If your band has a magnetic closure, ensure that the magnets are properly aligned. This will prevent the band from slipping or detaching during wear.
4. Trim and adjust metal bands: Metal Apple Watch bands, such as the link bracelet or Milanese loop, often come with removable links or a clasp that allows for size adjustment. If the band is too loose, remove links by following the manufacturer’s instructions or seek professional assistance from a jeweler. Alternatively, if the band feels too tight, add a link if possible.
5. Seek professional help if needed: If you’re unsure about adjusting your Apple Watch band or don’t have the necessary tools for metal band adjustments, it’s best to seek professional assistance. Visit an authorized Apple service provider or a reputable jeweler who can help you with resizing or adjusting your band.
Remember to periodically check the fit of your Apple Watch band, especially if you notice any discomfort or if the band feels too tight or loose. Your wrist size may change due to factors such as weight fluctuations or temperature changes. Make adjustments as needed to maintain a comfortable and secure fit.
By following these steps, you can customize the fit of your Apple Watch band to your personal preference and ensure that it stays comfortably in place throughout your day.
Removing Links from the Apple Watch Band (Metal bands)
When it comes to metal Apple Watch bands like the link bracelet or Milanese loop, adjusting the band’s size often involves removing or adding links. If you find that your metal band is too loose and needs resizing, here’s how you can remove links from your Apple Watch band:
1. Gather the necessary tools: Start by gathering the tools required for link removal, which typically include a small, thin tool, such as a pin pusher or a small screwdriver, and a soft cloth or mat to protect the band from scratches.
2. Identify the removable links: Examine your metal Apple Watch band closely and identify the links that are removable. Usually, these links are indicated by small arrows on the inside of the band.
3. Place the band on a soft surface: Lay your Apple Watch band on a soft cloth or mat to prevent any scratches or damage during the removal process.
4. Locate the pin holes: Look for small pin holes on the removable links. These holes hold the pins that keep the links together.
5. Line up the tool with the pin hole: Insert the pin pusher or small screwdriver into the pin hole, applying gentle pressure in the direction that pushes the pin out of the link.
6. Push out the pin: Use the tool to push the pin out of the link. Be careful not to apply excessive force, as it may damage the band or the pin itself. Gradually push the pin until it is released from the link.
7. Repeat the process: If you need to remove multiple links, repeat steps 5 and 6 for each link until you achieve the desired band length.
It’s important to note that some Apple Watch bands, like the link bracelet, may use a different mechanism, such as screws or specialized pins, for link removal. In these cases, consult the manufacturer’s instructions or seek professional assistance from a jeweler or an authorized Apple service provider to ensure proper link removal.
Once you have removed the necessary links, reattach the Apple Watch band by aligning the remaining links and inserting the pins. Press the pins back into place using the pin pusher or your tool of choice. Ensure that the band is securely fastened before wearing your Apple Watch.
If you are unsure about removing links from your Apple Watch band or don’t have the necessary tools, it’s best to seek professional assistance. Visit an authorized Apple service provider or a reputable jeweler who can accurately resize or adjust your metal Apple Watch band.
By following these steps or seeking professional help, you can resize your metal Apple Watch band and achieve a comfortable fit that complements your wrist size.
Cleaning and Maintenance Tips for Apple Watch Bands
Keeping your Apple Watch bands clean and well-maintained not only ensures their longevity but also helps maintain the overall hygiene and appearance of your Apple Watch. Here are some essential cleaning and maintenance tips for your Apple Watch bands:
1. Determine the material: Different Apple Watch bands are made from various materials, such as silicone, leather, stainless steel, nylon, or fabric. Before cleaning, identify the material of your band as different materials may require specific cleaning methods.
2. Follow manufacturer’s instructions: Check the manufacturer’s guidelines and instructions for cleaning and maintenance. Some bands may be machine washable, while others require handwashing or spot cleaning with specific cleaners or tools.
3. Remove the band from the watch: Before cleaning, remove the band from your Apple Watch to avoid damaging the device. Follow the instructions provided earlier in this article to safely detach the band.
4. Clean silicone, fabric, and nylon bands: For bands made of silicone, fabric, or nylon, gently wipe them with a soft, lint-free cloth dampened with water and mild soap. Avoid using excessive water or harsh cleaning agents, as these can damage the materials. Allow the band to air dry completely before reattaching it to the Apple Watch.
5. Clean leather bands: Leather bands require special care to maintain their quality. Clean them with a soft, slightly damp cloth and mild leather cleaner specifically made for cleaning leather products. Avoid submerging leather bands in water or using excessive soap. Allow the band to air dry away from direct sunlight or heat sources before reattaching it to the watch.
6. Clean metal bands: Metal bands like stainless steel or aluminum can be cleaned with a soft, lint-free cloth slightly dampened with water. If needed, use mild soap or metal cleaner specifically designed for jewelry to remove stubborn dirt or smudges. Avoid using abrasive materials or cleaners, as they can scratch the metal surfaces. Dry the band thoroughly before reattaching it to the Apple Watch.
7. Store the bands properly: When not in use, store your Apple Watch bands in a clean, dry place away from direct sunlight or extreme temperatures. Avoid storing them in humid or damp areas, as this can cause damage or promote the growth of mold or mildew.
8. Regularly inspect the bands: Periodically inspect your Apple Watch bands for any signs of wear or damage. Look for loose stitching, cracks, or discoloration. If you notice any issues, consider replacing or repairing the band to prevent further damage.
By following these cleaning and maintenance tips, you can keep your Apple Watch bands looking their best and ensure that they remain in good condition for extended use. Remember to refer to the manufacturer’s instructions and use suitable cleaning methods for your specific band material.