
Choosing the Right I Watch Band
When it comes to personalizing your Apple Watch, one of the quickest and easiest ways to do so is by changing the watch band. With a wide array of options available, choosing the right band can feel a bit overwhelming. However, by considering a few key factors, you can find the perfect band to suit your style and needs.
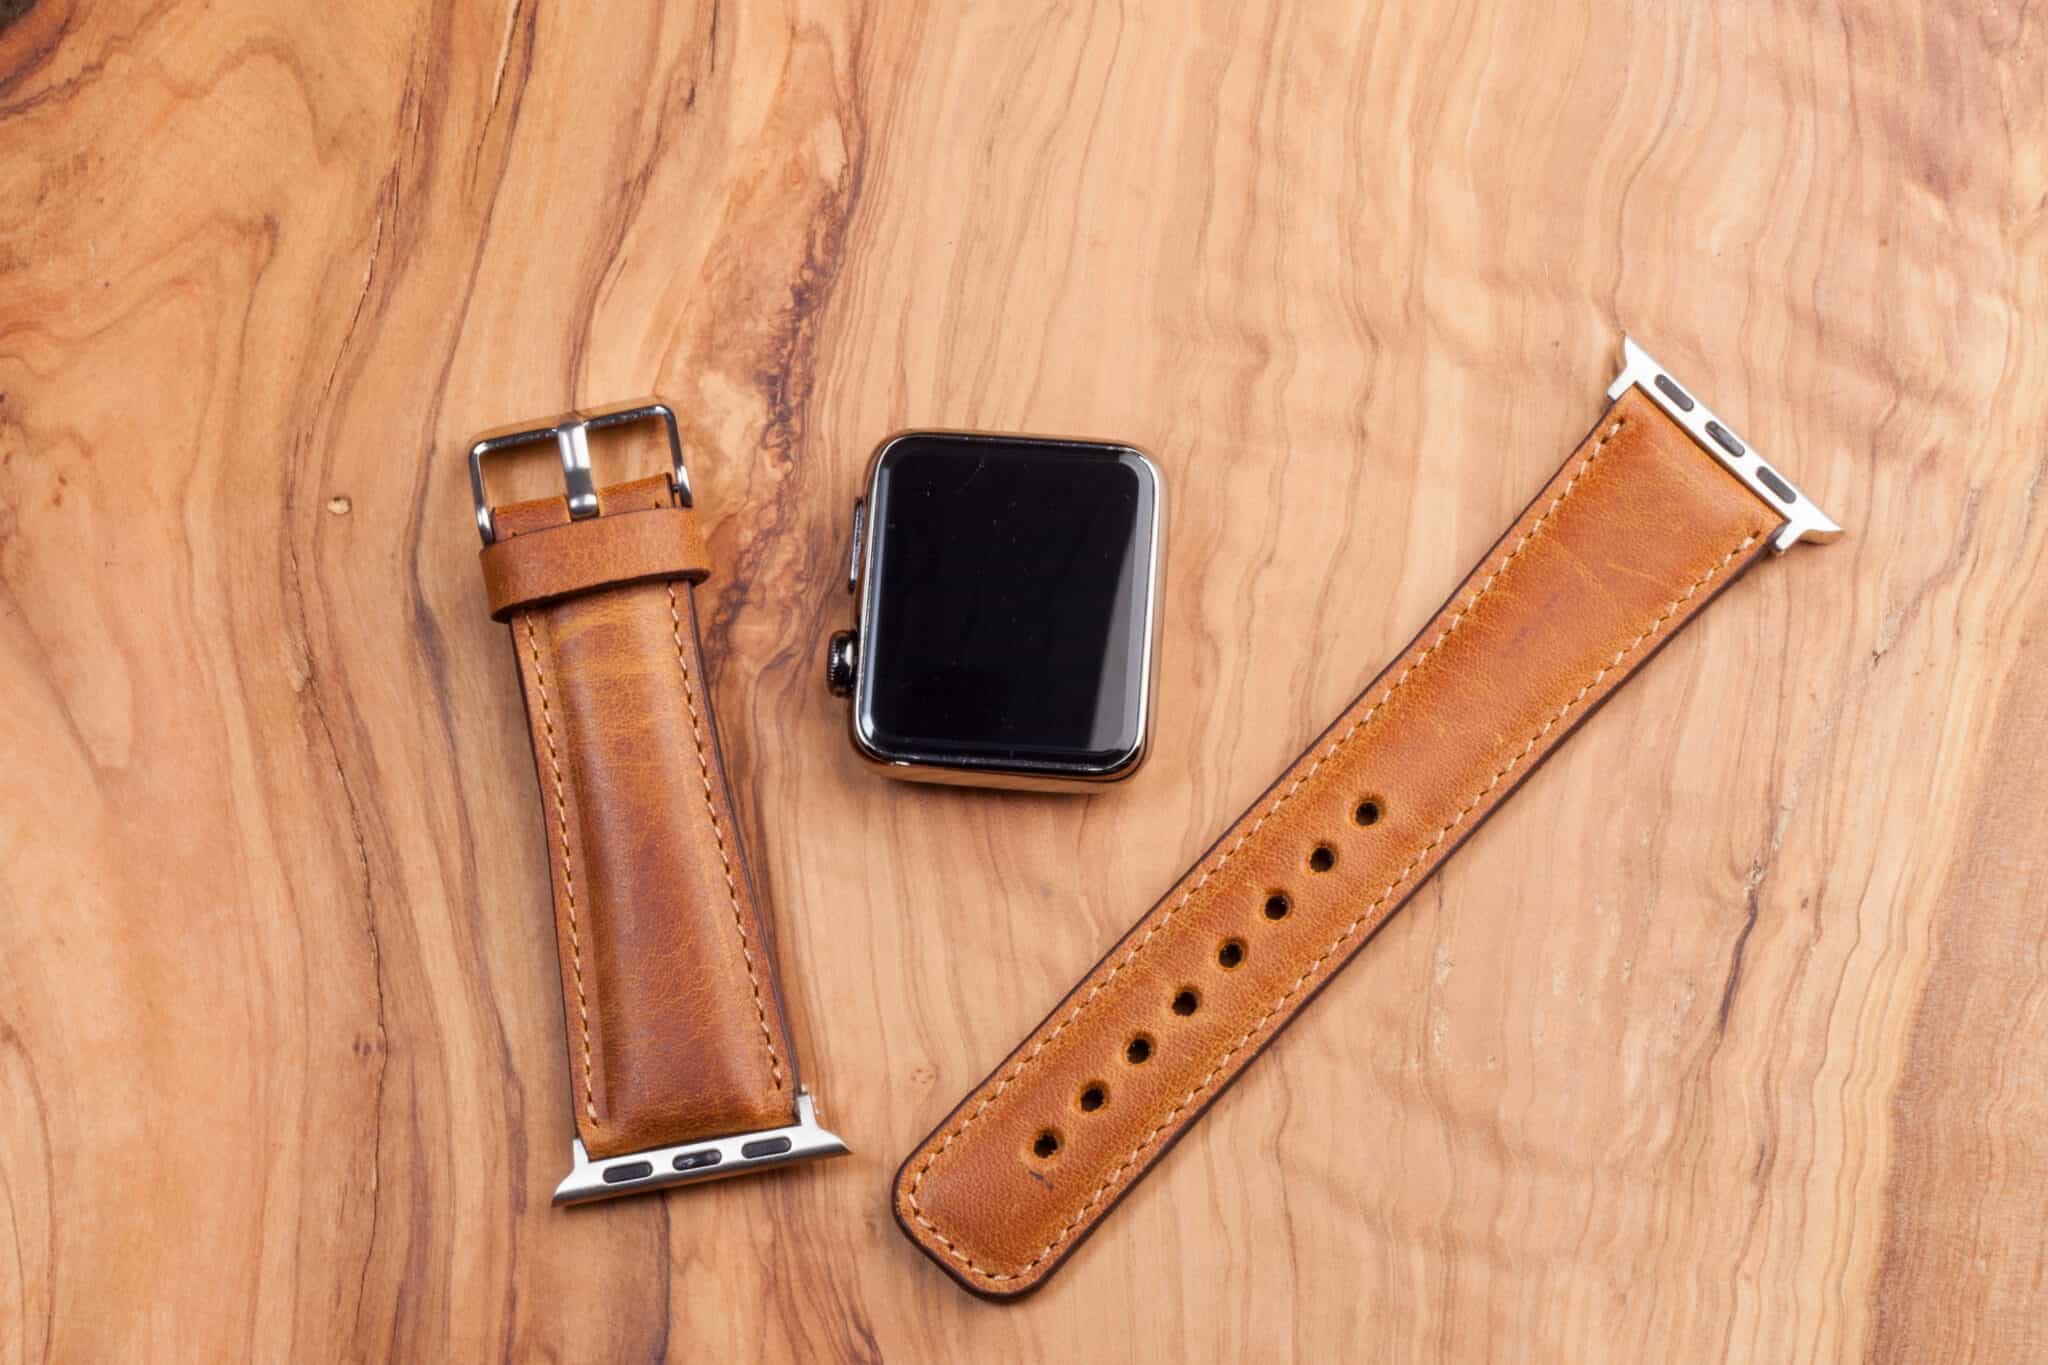
The first factor to consider is the material of the watch band. Apple offers various options including stainless steel, leather, silicone, and woven nylon. Each material has its own unique characteristics, so choose one that aligns with your preferences. For a sleek and sophisticated look, stainless steel is an excellent choice. Leather bands exude elegance and may be a suitable option for formal occasions. Silicone bands are perfect for active individuals because of their durability and water-resistant properties. Woven nylon bands provide a comfortable, breathable fit.
Next, think about the color and style of the watch band. Apple offers a range of colors and finishes, allowing you to match or contrast the band with your outfit or personal style. Whether you prefer a classic solid color, a vibrant hue, or a trendy pattern, there is a watch band to meet your aesthetic preferences.
Additionally, consider the size and fit of the watch band. Apple provides different band sizes to ensure a comfortable and secure fit for all wrist sizes. Measure your wrist circumference before purchasing a new band to ensure an accurate fit. It’s essential to select a band size that allows the watch to sit snugly on your wrist without feeling too tight or loose.
Lastly, take into account the type of closure or buckle you prefer. Apple offers bands with traditional buckles, magnetic closures, and innovative quick-release mechanisms. Choose the closure style that is convenient for you and provides a secure fit.
By taking these factors into consideration, you can choose an I Watch band that reflects your personal style, offers comfort and durability, and enhances your overall Apple Watch experience.
Tools You Will Need
Before you embark on the journey of changing your I Watch band, it’s important to gather the necessary tools to ensure a hassle-free process. Here are the tools you will need:
- Spring bar removal tool: This handy tool allows you to remove the existing watch band from the watch case. It features two prongs that fit into the small gaps on the spring bar, making it easy to release and detach the band.
- Cotton swabs: Cotton swabs are useful for cleaning any dust or debris that may have accumulated on the watch case or connectors. Use them to gently wipe away any dirt before installing the new band.
- Microfiber cloth: A microfiber cloth is essential for keeping your Apple Watch clean and free from scratches. Use it to gently polish the watch case and remove any fingerprints or smudges.
- Soft surface: Find a soft surface, such as a clean towel or a microfiber cloth, to place your Apple Watch on during the band changing process. This will help protect the watch face from any accidental scratches or damage.
- New I Watch band: Of course, you’ll need a new I Watch band to replace the existing one. Choose a band that suits your style and preferences, following the guidelines discussed in the previous section.
Having these tools at hand will make the process of changing your I Watch band much more efficient and enjoyable. Ensure that you have everything ready before you begin to avoid any unnecessary delays or difficulties.
Removing the Old I Watch Band
Now that you have gathered all the necessary tools, it’s time to remove the old I Watch band. Follow these step-by-step instructions:
- Step 1: Place your Apple Watch on a soft surface to prevent any scratches or damage during the removal process. Ensure that the watch face is facing down.
- Step 2: Identify the release buttons or pins located on the back of the watch case. These buttons or pins secure the current watch band in place.
- Step 3: Depending on the style of your watch band, use the appropriate tool to depress the release buttons or pins. For bands with a spring bar mechanism, use a spring bar removal tool to insert the prongs into the small gaps on the spring bar. If your watch band has a quick-release mechanism, simply press the buttons or pins to release the band.
- Step 4: Once the release buttons or pins are depressed, gently slide the old watch band out of the slots on the watch case. Be careful not to force or bend the pins or connectors.
- Step 5: Clean the connectors on the watch case using a cotton swab to remove any dust or debris. This will ensure a secure connection when installing the new watch band.
With these steps completed, you have successfully removed the old I Watch band from your Apple Watch. Take a moment to admire your watch case before moving on to the next section, where we will explore how to install the new watch band.
Installing the New I Watch Band
Now that you have removed the old I Watch band, it’s time to install the new one. Follow these step-by-step instructions to ensure a seamless installation:
- Step 1: Start by ensuring that your Apple Watch is still placed on a soft surface, with the watch face facing down.
- Step 2: Take the new watch band and align it with the slots on the watch case. Ensure that the connectors on the band match up with the corresponding connectors on the watch case.
- Step 3: Gently slide the connectors of the new watch band into the slots on the watch case. You may need to apply a slight amount of pressure to ensure a secure fit. The band should slide in smoothly without any resistance. If you encounter any difficulty, double-check that the connectors are properly aligned.
- Step 4: Once the new watch band is inserted into the slots, give it a gentle tug to ensure that it is securely attached to the watch case. The band should not move or release easily.
- Step 5: With the new watch band properly installed, take a moment to adjust its positioning on your wrist. Ensure that the band is comfortable and not too tight or loose. You can make further adjustments in the next section.
Now that you have successfully installed the new I Watch band, take a moment to appreciate how it complements your Apple Watch. With the band in place, you are one step closer to achieving a personalized and stylish look for your device.
Adjusting the Fit of the I Watch Band
After installing the new I Watch band, it’s important to ensure that it fits comfortably and securely on your wrist. Follow these steps to adjust the fit of the band:
- Step 1: Put on your Apple Watch and fasten the new band to the desired tightness.
- Step 2: Take note of how the band feels on your wrist. It should be snug but not too tight, allowing for a comfortable fit. If it feels too loose or tight, proceed to the next step.
- Step 3: If the band is too loose, locate the adjustment holes or links on the band. Most bands have multiple holes or removable links to accommodate various wrist sizes. Use a small tool, such as a Spring bar removal tool or a pin, to remove the pin holding the band together. Then, slide the band strap to a tighter hole or remove a link to create a snugger fit. Reattach the band by inserting the pin back into place.
- Step 4: If the band is too tight, follow a similar process as above to add extra length. Slide the band strap to a looser hole or add a link, if applicable.
- Step 5: After making the necessary adjustments, put the Apple Watch back on your wrist and evaluate the fit. It should feel secure without being uncomfortable. If needed, repeat the adjustment process until the desired fit is achieved.
Remember, it’s essential to find a balance between a snug fit and comfort. You want the I Watch band to stay in place during regular use without causing any discomfort or restriction.
By following these steps, you can ensure that your new I Watch band fits perfectly, allowing you to enjoy a comfortable and stylish experience every time you wear your Apple Watch.
Tips and Tricks
Changing the I Watch band can be a fun and rewarding experience. To make the most of it, here are some helpful tips and tricks to keep in mind:
- Do your research: Before purchasing a new I Watch band, take the time to research and read reviews. Look for bands that are compatible with your specific Apple Watch model and consider factors such as quality, comfort, and durability.
- Keep your old bands: Don’t discard your old I Watch bands. They can be great to have as backups or for changing up your look in the future. Plus, you can mix and match different bands with your outfits.
- Experiment with different styles: Don’t be afraid to step out of your comfort zone and try different types of bands. Explore different materials, colors, and patterns to find your unique style and enhance your Apple Watch’s versatility.
- Take care of your bands: Proper maintenance will prolong the lifespan of your I Watch bands. Clean them regularly using a mild soap and water solution, and avoid exposing them to harsh chemicals or abrasive surfaces that could cause damage.
- Consider third-party bands: While Apple offers a wide range of I Watch bands, there are also many reputable third-party brands that offer high-quality, stylish, and more affordable options. Explore different options to find the perfect band that suits your style and budget.
- Ensure a secure fit: Periodically check the connectors and pins on your I Watch band to make sure they are securely attached. This will help prevent accidental detachment during everyday wear.
- Customize your watch face: Changing your I Watch band is also a great opportunity to customize your watch face. Experiment with different watch face designs, complications, and colors to further personalize your Apple Watch experience.
By keeping these tips and tricks in mind, you can make the most of your I Watch band collection and truly make your Apple Watch an extension of your personal style.