
Check if Your HP Laptop has a Built-in DVD Drive
Before attempting to play a DVD on your HP laptop, it’s important to determine if your laptop has a built-in DVD drive. Here are a few simple steps to help you check:
- Look for a physical DVD drive: Examine the sides of your laptop to see if there is a slot or an optical drive labeled with the DVD logo. If you find one, it means your laptop has a built-in DVD drive.
- Check your laptop specifications: If you are unsure whether your HP laptop has a DVD drive or not, consult the manufacturer’s website or the user manual. Look for the specifications section and search for “DVD drive” or “optical drive” to determine if your laptop is equipped with one.
- Check the Device Manager: On your HP laptop, you can also check if it has a DVD drive by accessing the Device Manager. Press the Windows key + X, then select Device Manager from the menu. Expand the DVD/CD-ROM drives section, and if you see your DVD drive listed, it means your laptop has a built-in DVD drive.
If your HP laptop has a built-in DVD drive, you’re ready to start playing DVDs. However, if your laptop does not have a DVD drive, don’t worry! You can still play DVDs by connecting an external DVD drive to your laptop, which we’ll discuss in the next section.
Purchase an External DVD Drive if Not
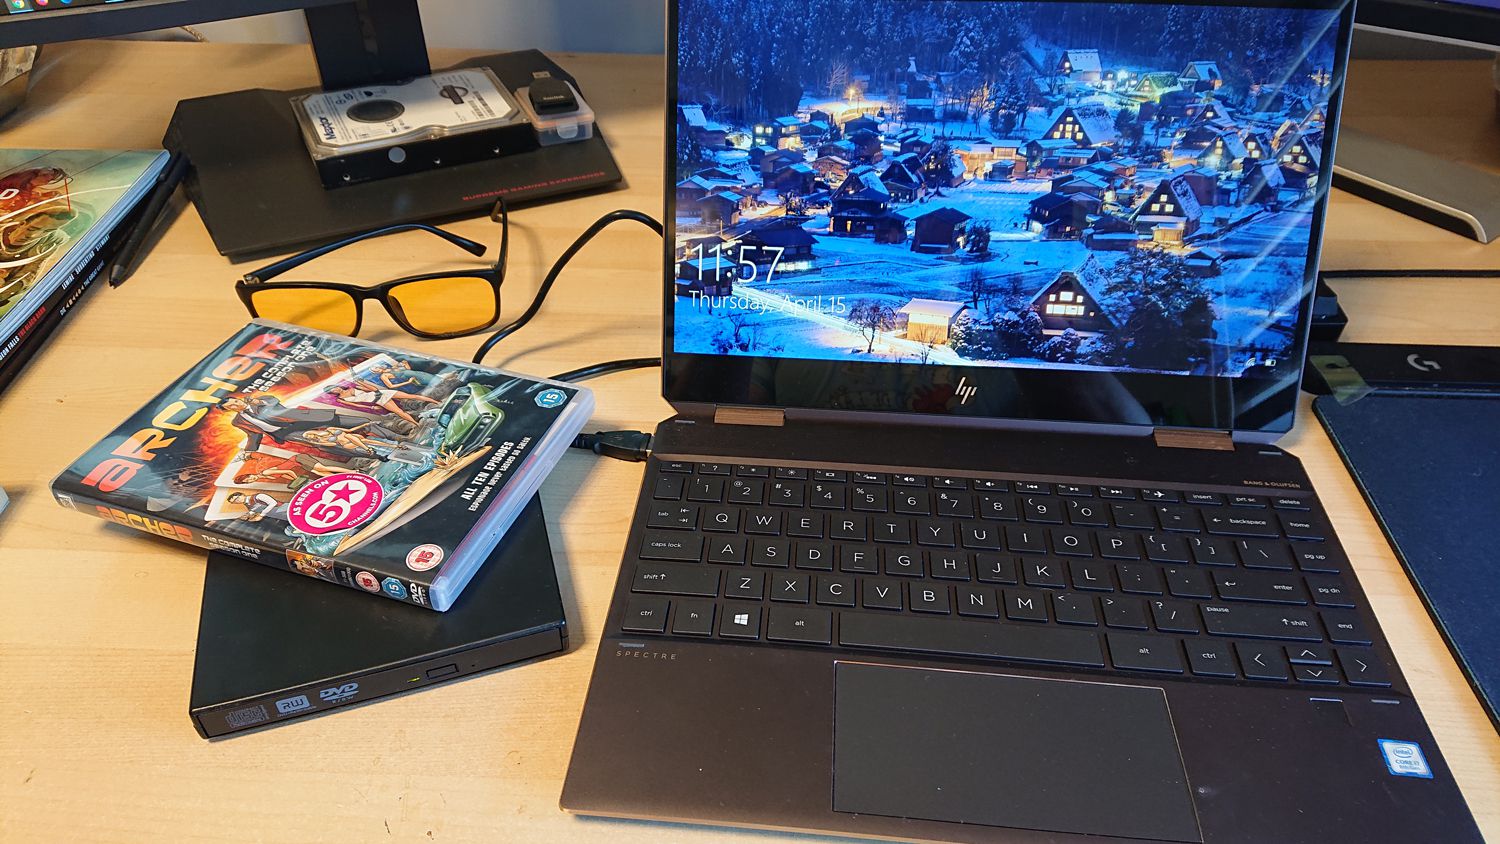
If your HP laptop does not have a built-in DVD drive, don’t worry! You can still enjoy watching DVDs by purchasing an external DVD drive. Here are some steps to help you choose and purchase the right external DVD drive:
- Research the different options: Start by researching different external DVD drives available in the market. Look for trusted brands, read reviews, and compare features to ensure you make an informed decision.
- Check the compatibility: Make sure the external DVD drive you choose is compatible with your HP laptop. Check the specifications of the drive to ensure it supports the operating system of your laptop.
- Consider the connection type: External DVD drives can be connected to your HP laptop via USB, USB-C, or other ports. Consider the available ports on your laptop and choose a DVD drive that matches.
- Choose the right format: DVD drives come in different formats, such as DVD-RW, DVD-ROM, or DVD-R. Make sure to choose a drive that supports the type of DVDs you plan to use.
- Compare prices: Compare prices from different retailers to get the best deal. Consider the warranty and after-sales support offered by the seller before making the purchase.
- Make the purchase: Once you have found the right external DVD drive, proceed to make the purchase from a reputable retailer or online store. Follow the steps provided by the seller to complete the transaction.
Once you have your external DVD drive, you can easily connect it to your HP laptop and start playing DVDs. Remember to keep the drivers for the external drive up to date to ensure smooth operation.
Insert the DVD into the DVD Drive
Once you have determined that your HP laptop has a built-in DVD drive or have purchased an external DVD drive, you are ready to insert the DVD. Follow these steps to properly insert the DVD into your laptop’s DVD drive:
- Power on your laptop: Start by turning on your HP laptop and allowing it to fully boot up.
- Locate the DVD drive: If your laptop has a built-in DVD drive, you will find it on the side or front of your laptop. For external DVD drives, connect it to your laptop via the appropriate port.
- Press the eject button: For laptops with a built-in DVD drive, press the eject button located near the DVD slot to open it. If you are using an external DVD drive, it may have its own eject button.
- Insert the DVD: Hold the DVD by its edges and carefully insert it into the open DVD slot. Make sure to push it in until it is fully inserted.
- Close the DVD drive: Gently push the DVD drive back into your laptop until it clicks into place. If you are using an external drive, close any trays or covers that may be present.
Now that the DVD is inserted into the drive, you are ready to start playing it on your HP laptop. Proceed to the next section to learn how to select the appropriate media player to play the DVD.
Open the DVD Drive on Your HP Laptop
Before you can start playing a DVD on your HP laptop, you need to open the DVD drive to access the disc. Follow these steps to open the DVD drive on your HP laptop:
- Power on your laptop: Make sure your HP laptop is powered on and fully booted up.
- Locate the DVD drive: Look for the DVD drive on the side or front of your HP laptop. It is usually marked with the DVD logo.
- Press the eject button: Find the small eject button located near the DVD slot. Press the button firmly to activate the mechanism that will open the DVD drive.
- Manually open the drive: If your HP laptop does not have an eject button, you can manually open the DVD drive. Look for a small pinhole near the DVD slot. Straighten a paperclip or use a small pointed object, insert it into the pinhole, and gently push to release the DVD drive.
- Wait for the drive to open: Once you press the eject button or manually open the drive, wait for it to fully open. You will see the DVD tray extending outwards.
Now that the DVD drive is open, you are ready to insert the DVD and start playing it. Refer to the previous section on how to insert the DVD into the drive. In the next section, we will discuss how to select the media player to play the DVD on your HP laptop.
Select the Media Player to Play the DVD
Once you have inserted the DVD into the DVD drive of your HP laptop, it’s time to choose a media player to play the DVD. Follow these steps to select the appropriate media player:
- Default media player: If your HP laptop has a built-in DVD drive, it may already have a default media player installed. Common media player options include Windows Media Player, VLC Media Player, or iTunes. Check your laptop’s settings to see which media player is set as the default.
- Choose a media player: If you prefer to use a different media player than the default one, or if your laptop does not have a built-in DVD drive, you can choose from a variety of media players available for download. Some popular options include VLC Media Player, PotPlayer, or KMPlayer. Visit their respective websites and follow the instructions to download and install the media player of your choice.
- Open the media player: Once you have the preferred media player installed, open it on your HP laptop. You can usually find it in the “All Programs” or “Applications” section of the Start menu.
- Select DVD playback: In the media player, look for an option to play a DVD. It may be labeled as “Play DVD,” “Open Disc,” or something similar. Click on this option to initiate the DVD playback process.
- Wait for the DVD to load: The media player will begin loading the DVD. This may take a few moments as it reads the contents of the disc and prepares it for playback.
Once the DVD is loaded, you will be able to enjoy watching it on your HP laptop. In case you encounter any issues during the playback process, refer to the troubleshooting tips in the next section.
Adjust the DVD Playback Settings
After selecting a media player to play the DVD on your HP laptop, you may want to adjust the playback settings to enhance your viewing experience. Here are a few settings you can modify:
- Aspect ratio: Depending on your screen and personal preference, you may want to adjust the aspect ratio of the DVD playback. Common options include 4:3 (standard) or 16:9 (widescreen). Look for the aspect ratio settings in your media player and choose the one that best fits your screen.
- Subtitle settings: If the DVD includes subtitles, you can customize the appearance and language of the subtitles. Most media players allow you to choose different languages, adjust the font size, color, and position of the subtitles.
- Audio settings: You can modify the audio settings to suit your preferences. These options may include adjusting the volume, selecting the audio track if multiple audio tracks are available, and choosing different audio outputs such as your laptop’s speakers or external speakers.
- Navigation and playback controls: Explore the media player’s interface to familiarize yourself with the navigation and playback controls. You can typically find buttons for play, pause, stop, fast forward, and rewind. Some media players also offer advanced features like enabling a loop, altering playback speed, or skipping specific chapters.
- Video quality: In some media players, you have the option to adjust the video quality settings. This can include selecting different levels of video sharpness, brightness, contrast, or even applying video filters or effects.
These are just a few examples of the settings you can adjust when playing a DVD on your HP laptop. Take some time to explore the options available in your chosen media player to customize the playback settings according to your preferences. Now that you have adjusted the settings, you can start enjoying the DVD on your HP laptop. If you encounter any issues with DVD playback, refer to the troubleshooting tips in the next section.
Start Playing the DVD on Your HP Laptop
With the DVD inserted and the playback settings adjusted, you are now ready to start playing the DVD on your HP laptop. Follow these steps to begin the DVD playback:
- Launch your selected media player: Open the media player that you have chosen to play the DVD. You can typically find it in the Start menu or the applications folder.
- Locate the DVD playback option: In the media player, look for an option related to DVD playback. This could be labeled as “Play DVD,” “Open Disc,” or something similar. Click on this option to initiate the DVD playback process.
- Wait for the DVD to load: The media player will start loading the DVD. This might take a moment as the player reads the disc’s contents and prepares it for playback.
- Enjoy the DVD: Once the DVD is loaded, you can start enjoying the content on your HP laptop. The media player will display the video and play the audio, allowing you to watch the movie, TV show, or any other content stored on the DVD.
- Use playback controls: Throughout the DVD playback, you can utilize the playback controls provided by the media player. These controls allow you to pause, play, stop, fast forward, rewind, or skip to specific chapters or scenes. Familiarize yourself with these controls to enhance your viewing experience.
As you watch the DVD on your HP laptop, you can make additional adjustments to the playback settings if desired. This includes modifying the aspect ratio, audio settings, subtitle settings, and more, as mentioned in the previous section. Enjoy your DVD viewing experience on your HP laptop!
Troubleshooting Tips for DVD Playback Issues
While playing a DVD on your HP laptop, you may encounter certain issues that hinder the playback experience. Here are some troubleshooting tips to help you resolve common DVD playback issues:
- Ensure the DVD is clean: Clean the DVD using a soft, lint-free cloth. Wipe it gently from the center to the outer edges to remove any fingerprints, smudges, or dirt that may interfere with playback.
- Check for DVD compatibility: Ensure that the DVD you are trying to play is compatible with your laptop’s DVD drive. Some DVDs are designed for specific regions or have certain format restrictions that may cause compatibility issues.
- Update your media player: Ensure that your media player is up to date. Check for updates on the media player’s official website or enable automatic updates if available. Newer versions often include bug fixes and enhancements for better DVD playback.
- Update DVD drivers: Check if your laptop’s DVD drivers are up to date. Visit the manufacturer’s website or use the Device Manager on your Windows laptop to check for driver updates. Outdated drivers can cause compatibility issues and hinder DVD playback.
- Try a different media player: If you are experiencing issues with one media player, try playing the DVD using a different media player. Sometimes, certain media players may be more compatible with specific DVDs or offer better playback performance.
- Adjust hardware acceleration: In the settings of your media player or the display settings of your laptop, try adjusting the hardware acceleration. Lowering the hardware acceleration may help resolve playback issues caused by conflicting graphics card settings.
- Disable unnecessary background applications: Close any unnecessary applications running in the background as they might consume system resources that are needed for smooth DVD playback.
- Restart your laptop: Sometimes a simple restart can resolve temporary glitches and improve DVD playback performance. Restart your HP laptop and try playing the DVD again.
- Update your laptop’s operating system: Ensure that your HP laptop’s operating system is up to date. Install any available updates as they may include important fixes and enhancements for DVD playback.
- Consult technical support: If you have tried all the troubleshooting tips and are still experiencing issues, consider reaching out to technical support for your laptop or the media player you are using. They may be able to provide further assistance and help resolve the problem.
By following these troubleshooting tips, you can address common DVD playback issues and enjoy a seamless viewing experience on your HP laptop.
Tips for Better DVD Playback on Your HP Laptop
To enhance your DVD playback experience on your HP laptop, consider implementing the following tips:
- Keep your laptop updated: Regularly update your HP laptop’s operating system, media player, and DVD drivers to ensure optimal performance and compatibility with the latest DVDs.
- Clean the DVD drive: Clean your laptop’s DVD drive regularly using a DVD drive cleaning kit to remove dust and debris that can hinder playback quality.
- Use high-quality DVDs: Invest in high-quality DVDs that are less likely to suffer from scratches and errors, resulting in better playback performance.
- Close other applications: Close unnecessary applications and processes running in the background to free up system resources and improve the performance of your media player during DVD playback.
- Optimize power settings: Set your laptop’s power settings to a mode that prioritizes performance. This ensures that your laptop is operating at its best during DVD playback.
- Adjust display settings: Calibrate your display settings to optimize the visual quality of the DVD. Make sure brightness, contrast, and color settings are well-adjusted.
- Connect to a power source: If possible, connect your laptop to a power source while playing DVDs to ensure consistent power supply and avoid potential interruptions.
- Defragment your hard drive: Regularly defragment your laptop’s hard drive to optimize data access speed, leading to smoother DVD playback.
- Enable hardware acceleration: Enable hardware acceleration in your media player settings to offload some of the processing tasks to your laptop’s graphics card, resulting in improved DVD playback performance.
- Consider using external speakers: Connect external speakers or headphones to your laptop for better audio quality and an immersive DVD viewing experience.
By implementing these tips, you can enhance the overall DVD playback quality and enjoy a more enjoyable viewing experience on your HP laptop. Experiment with different settings and adjustments to find the optimal configuration that suits your preferences.