
Uninstalling Avast Internet Security on the Old Computer
Before transferring Avast Internet Security to a new computer, it is important to properly uninstall it from the old computer to avoid any conflicts or issues. Follow the steps below to uninstall Avast Internet Security:
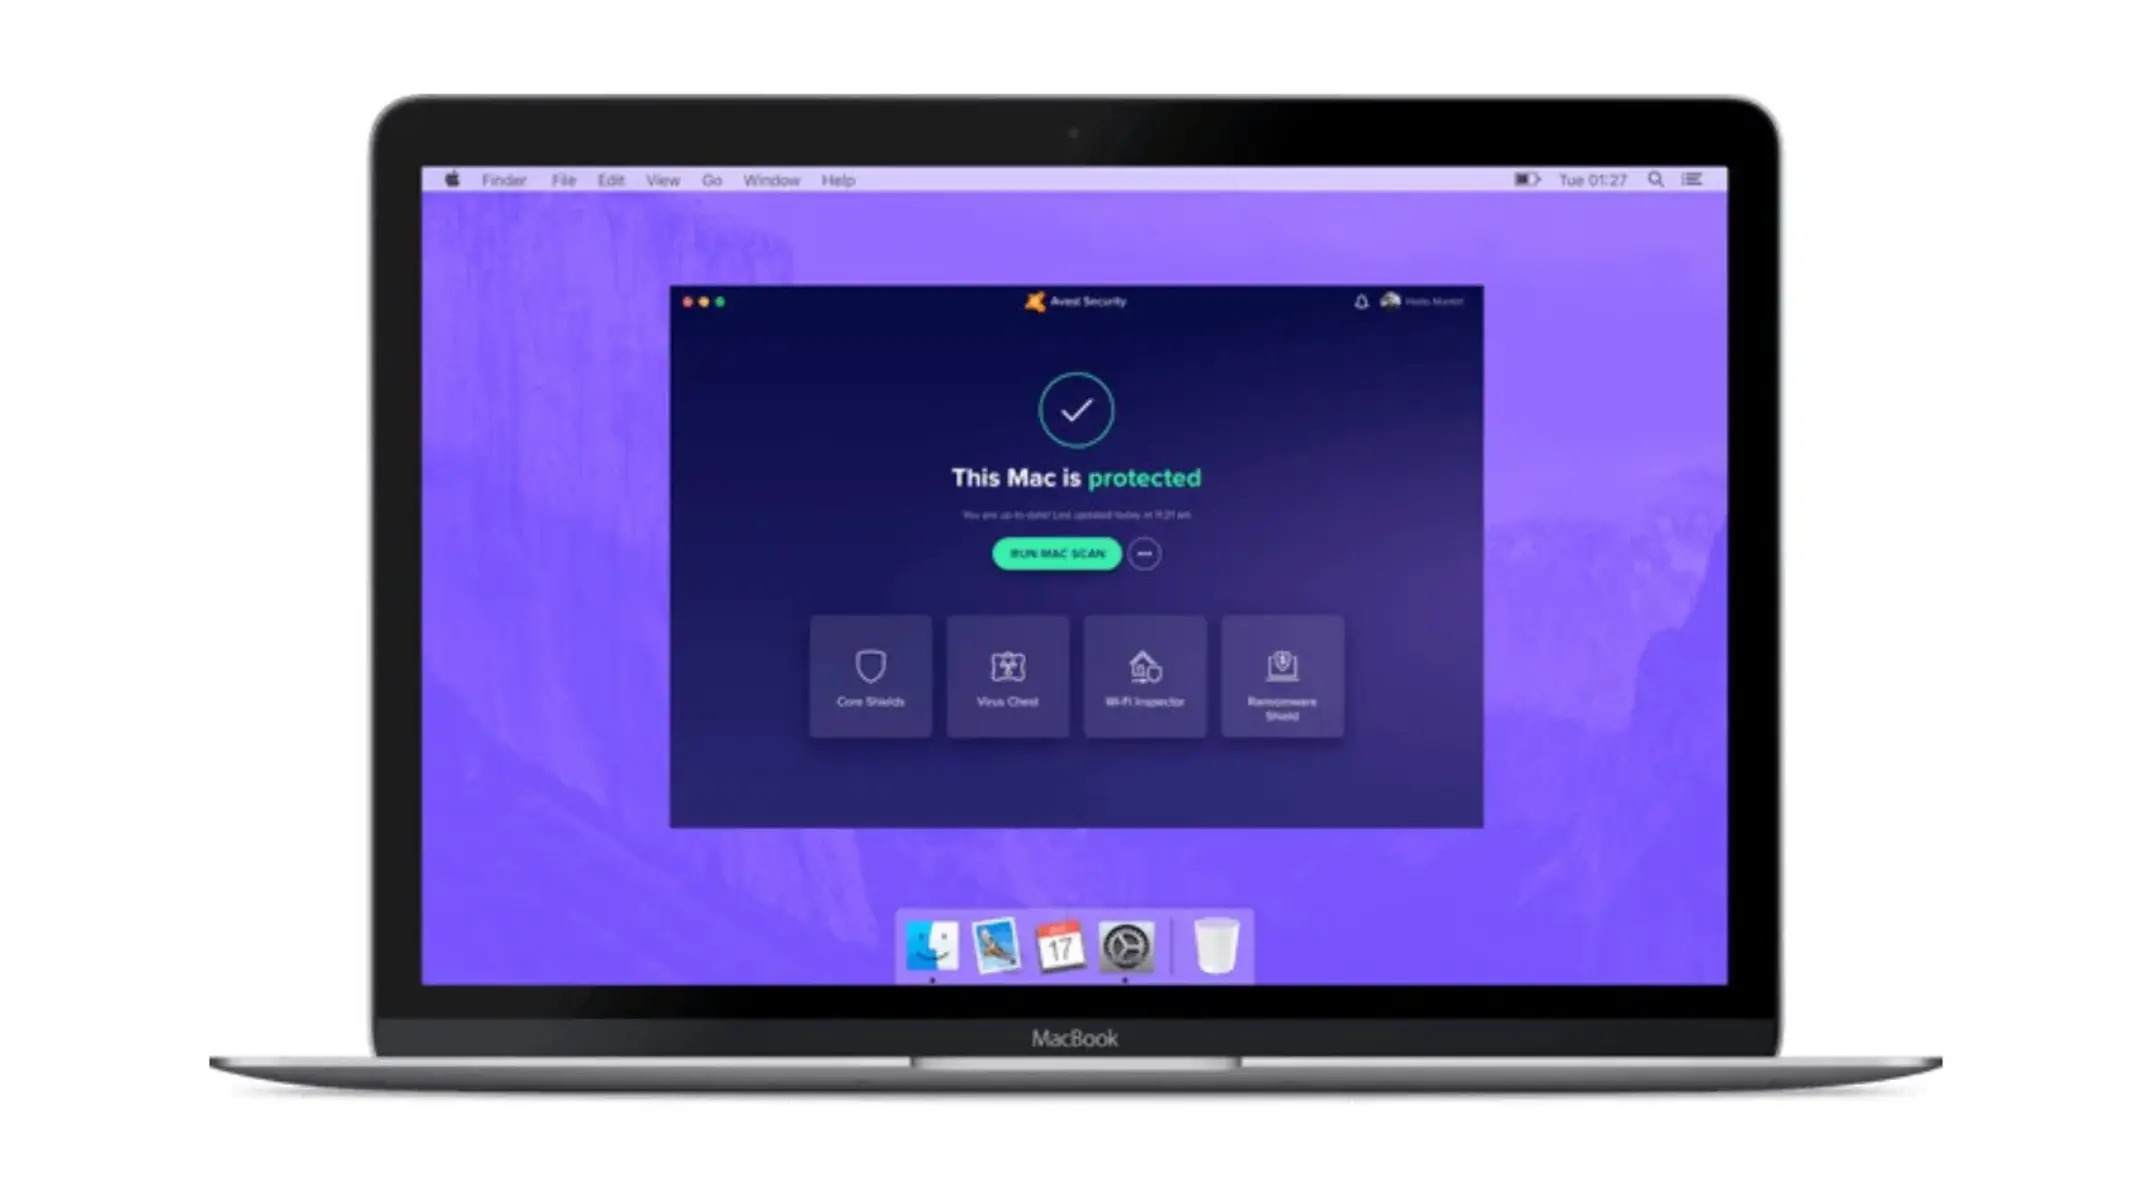
- Open the Avast user interface on your old computer. You can do this by double-clicking on the Avast icon in the system tray or by navigating to the Avast folder in the Start menu.
- Once the Avast user interface opens, click on the “Menu” button located in the top-right corner of the window. From the dropdown menu, select “Settings”.
- In the Settings window, click on the “General” tab located on the left-hand side.
- Scroll down to the “General” section and click on the “Troubleshooting” option.
- In the Troubleshooting section, find the “Enable Self-Defense” option and uncheck the box next to it.
- Close the Settings window and go back to the Avast user interface.
- Click on the “Menu” button again and this time select “Control Settings” from the dropdown menu.
- In the Control Settings window, click on the “Antivirus” tab located on the left-hand side.
- Under the Antivirus tab, click on the “Uninstall” button.
- A confirmation dialog will appear, asking if you want to uninstall Avast Internet Security. Click “Yes” to proceed.
- The uninstallation process will now begin. Follow the on-screen instructions to complete the uninstallation.
Once Avast Internet Security has been successfully uninstalled from your old computer, you are ready to install it on your new computer. Keep in mind that uninstalling Avast will deactivate the license on the old computer, allowing you to activate it on the new one.
Downloading Avast Internet Security on the New Computer
After uninstalling Avast Internet Security from your old computer, the next step is to download and install it on your new computer. Follow the steps below to download Avast Internet Security:
- On your new computer, open a web browser and go to the official Avast website.
- Navigate to the Avast Internet Security product page and click on the “Download” button.
- A file named “avast_internet_security_setup.exe” or similar will begin downloading. Once the download is complete, locate the file in your Downloads folder or the location where your browser saves downloaded files.
- Double-click on the downloaded file to start the installation process.
- A User Account Control (UAC) dialog may appear asking for permission to make changes to your computer. Click “Yes” to proceed.
- The Avast Setup Wizard will launch. On the first screen, select your preferred language and click “Install”.
- Wait for the installation to complete. This may take a few minutes.
- Once the installation is finished, the Avast Internet Security program will launch automatically. If not, you can manually open it by double-clicking on the Avast icon on your desktop or in the Start menu.
- Enter your Avast license key to activate the program. You can find this key in your Avast account or in the email you received when you originally purchased Avast Internet Security.
- Follow the on-screen prompts to activate Avast Internet Security on your new computer.
- Congratulations! You have successfully downloaded and installed Avast Internet Security on your new computer. Your computer is now protected against online threats.
With Avast Internet Security installed on your new computer, you can now proceed to transfer your Avast license and settings to ensure a seamless transition from your old computer to the new one.
Transferring Avast License to the New Computer
When moving Avast Internet Security to a new computer, it is important to transfer your Avast license to ensure that you can continue using the program without any interruptions. Follow the steps below to transfer your Avast license from the old computer to the new computer:
- On your new computer, make sure that Avast Internet Security is installed and activated, as mentioned in the previous section.
- Open the Avast user interface on your new computer. You can do this by double-clicking on the Avast icon in the system tray or by navigating to the Avast folder in the Start menu.
- Once the Avast user interface opens, click on the “Menu” button located in the top-right corner of the window. From the dropdown menu, select “My licenses”.
- In the Licenses screen, click on the “Enter a valid activation code” button located at the bottom-right corner of the window.
- Enter your Avast license key in the provided field. You can find this key in your Avast account or in the email you received when you originally purchased Avast Internet Security.
- Click on the “Enter” button to confirm. Avast will validate your license key and activate the program on your new computer.
- If the license key is successfully validated, you will see a confirmation message indicating that your Avast Internet Security is now activated on your new computer.
- Congratulations! Your Avast license has been successfully transferred to your new computer. You can now enjoy the full protection and features of Avast Internet Security.
Transferring your Avast license ensures that you can continue using the program without any limitations or expiration on your new computer. In the next section, we will discuss how to transfer your settings and preferences from the old computer to the new one, allowing you to maintain a consistent Avast experience across devices.
Activating Avast Internet Security on the New Computer
Once you have installed Avast Internet Security on your new computer and transferred your Avast license, the next step is to activate the program. Follow the steps below to activate Avast Internet Security on your new computer:
- Ensure that Avast Internet Security is installed and the license has been transferred successfully, as described in the previous sections.
- Open the Avast user interface on your new computer. You can do this by double-clicking on the Avast icon in the system tray or by navigating to the Avast folder in the Start menu.
- Once the Avast user interface opens, click on the “Menu” button located in the top-right corner of the window. From the dropdown menu, select “My licenses”.
- In the Licenses screen, you should see your Avast license listed. It should display “Active” or “Valid” to indicate that it has been successfully transferred and activated on your new computer.
- If your license is not listed or you encounter any issues with activation, click on the “Enter a valid activation code” button at the bottom-right corner of the window.
- Enter your Avast license key in the provided field and click on “Enter” to validate it. Make sure to enter the license key correctly, including all hyphens and alphanumeric characters.
- If the license key is valid and has not been used on multiple devices, Avast will activate the program on your new computer. You will see a confirmation message indicating successful activation.
- Restart your computer to ensure that the changes take effect and Avast Internet Security is fully activated.
- Congratulations! Avast Internet Security is now activated and protecting your new computer against online threats and malware.
Ensure that you keep your Avast license key safe and avoid sharing it with others to maintain the security of your Avast account and prevent unauthorized usage. In the next section, we will discuss how to transfer your settings and preferences to the new computer, allowing you to customize Avast Internet Security according to your preferences.
Transferring Settings and Preferences to the New Computer
When moving Avast Internet Security to a new computer, you may want to transfer your settings and preferences to ensure a consistent experience across devices. Follow the steps below to transfer your Avast settings and preferences from the old computer to the new computer:
- On your old computer, open the Avast user interface by double-clicking on the Avast icon in the system tray or navigating to the Avast folder in the Start menu.
- Click on the “Menu” button located in the top-right corner of the window. From the dropdown menu, select “Settings”.
- In the Settings window, click on the “General” tab located on the left-hand side.
- Scroll down to the “General” section and click on “Export settings”. Choose a location on your old computer to save the exported settings file and click “Save”.
- Copy the exported settings file to a removable storage device, such as a USB flash drive or an external hard drive.
- On your new computer, insert the removable storage device containing the exported settings file.
- Open the Avast user interface on your new computer. You can do this by double-clicking on the Avast icon in the system tray or navigating to the Avast folder in the Start menu.
- Click on the “Menu” button and select “Settings” from the dropdown menu.
- In the Settings window, click on the “General” tab located on the left-hand side.
- Scroll down to the “General” section and click on “Import settings”. Locate the exported settings file on your removable storage device and click “Open”.
- Avast will import the settings and preferences from the file, applying them to your new computer. You should see the changes take effect immediately.
Congratulations! Your Avast settings and preferences have been successfully transferred to your new computer. This ensures that your Avast Internet Security configurations, including scan settings, update preferences, and customizations, are replicated across devices.
Now that you have transferred your Avast license, installed the program, activated it, and transferred your settings, your new computer is now fully equipped with Avast Internet Security. In the next section, we will discuss how to perform an initial scan for viruses and malware on your new computer to ensure its safety and security.
Scanning for Viruses and Malware on the New Computer
After setting up Avast Internet Security on your new computer, it is important to perform an initial scan to detect and remove any potential viruses or malware that may have been inadvertently transferred during the migration process. Follow the steps below to scan for viruses and malware using Avast:
- Open the Avast user interface on your new computer. You can do this by double-clicking on the Avast icon in the system tray or by navigating to the Avast folder in the Start menu.
- Once the Avast user interface opens, click on the “Protection” tab located on the left-hand side of the window.
- Under the “Protection” tab, click on the “Virus Scans” option.
- In the Virus Scans section, you will be presented with different scanning options. For an initial scan, it is recommended to perform a Full System Scan.
- Click on the “Run” button next to the Full System Scan option. Avast will start scanning your entire computer for viruses and malware.
- During the scan, Avast will analyze all files and folders on your computer, looking for any malicious threats. The scanning process may take some time, depending on the speed and size of your computer.
- Once the scan is complete, Avast will display a summary of the scan results. If any threats are detected, Avast will provide options to quarantine or remove them. Follow the on-screen prompts to take the necessary actions.
- If no threats are detected, you will receive confirmation that your computer is safe and secure.
- It is recommended to periodically perform scans with Avast to ensure ongoing protection against new and emerging threats. You can schedule automatic scans or initiate manual scans whenever necessary.
By scanning your new computer with Avast Internet Security, you can identify and eliminate any potential threats, ensuring that your system is secure and free from viruses and malware. In the next section, we will discuss how to configure Avast Internet Security to suit your specific needs and preferences.
Configuring Avast Internet Security on the New Computer
After installing and performing the initial scan with Avast Internet Security on your new computer, it is important to configure the program to best suit your specific needs and preferences. Follow the steps below to configure Avast Internet Security:
- Open the Avast user interface on your new computer. You can do this by double-clicking on the Avast icon in the system tray or by navigating to the Avast folder in the Start menu.
- Once the Avast user interface opens, click on the “Menu” button located in the top-right corner of the window. From the dropdown menu, select “Settings”.
- In the Settings window, you will find a range of options to configure. These include General, Protection, Performance, Privacy, and more.
- Click on each section to explore the available settings and options. Adjust them according to your preferences and requirements.
- Under the “General” tab, you can configure settings such as language, notifications, and automatic updates.
- Under the “Protection” tab, you can customize the behavior of the antivirus, firewall, and other protective features. You can also set up scheduled scans, exclusions, and sensitivity levels.
- Under the “Performance” tab, you can optimize system performance by adjusting settings related to scans, updates, and resource usage.
- Under the “Privacy” tab, you can manage web and email protection, as well as secure personal data and privacy-related settings.
- Review each section and customize the settings based on your preferences. If you are unsure about any specific setting, you can refer to the Avast Help & Support resources or contact their customer support for assistance.
- Once you have made your desired configuration changes, click on the “OK” button to save the settings.
- Congratulations! Avast Internet Security is now configured to meet your specific needs and preferences on your new computer.
By customizing your Avast Internet Security settings, you can enhance your overall security, performance, and privacy. Take some time to explore the options and adjust them to best suit your requirements. In the next section, we will discuss the importance of keeping Avast Internet Security up to date and how to update it on your new computer.
Updating Avast Internet Security on the New Computer
Keeping Avast Internet Security up to date is crucial to ensure that you have the latest security patches, bug fixes, and features. Follow the steps below to update Avast Internet Security on your new computer:
- Open the Avast user interface on your new computer. You can do this by double-clicking on the Avast icon in the system tray or by navigating to the Avast folder in the Start menu.
- Once the Avast user interface opens, click on the “Menu” button located in the top-right corner of the window. From the dropdown menu, select “Settings”.
- In the Settings window, click on the “General” tab located on the left-hand side.
- Scroll down to the “General” section and click on the “Update” option.
- In the Update section, you will find different options for updating Avast. The recommended setting is to enable automatic updates.
- Click on the “Enable automatic updates” checkbox to ensure that Avast Internet Security is updated automatically in the background.
- If you prefer to manually update Avast, you can click on the “Updates” option in the left-hand menu and then click on the “Check for Updates” button.
- Avast will now connect to its server and check for any available updates. If a new update is found, Avast will download and install it automatically.
- Wait for the update process to complete. This may take a few minutes depending on the size of the update and your internet connection speed.
- Once the update is successfully installed, Avast will display a confirmation message indicating that your program is up to date.
It is important to regularly check for updates and ensure that Avast Internet Security is always up to date on your new computer. This helps to ensure that you have the latest protection against new and emerging threats in the digital landscape.
By keeping Avast Internet Security updated, you are taking an essential step towards maintaining the security and integrity of your new computer. In the next section, we will discuss common issues that may arise during the migration process and how to troubleshoot them effectively.
Troubleshooting Common Issues During Migration
While migrating Avast Internet Security to a new computer, you may encounter some common issues. Here are a few troubleshooting steps you can take to resolve these issues:
- Activation Issues: If you have transferred your Avast license but encounter activation issues on the new computer, double-check that you have entered the license key correctly. Make sure there are no typos or missing characters. If the issue persists, contact Avast support for further assistance.
- Installation Errors: If you come across installation errors during the setup process, ensure that you are using the latest version of Avast Internet Security. Try downloading the setup file again and run it as an administrator. If the issue persists, temporarily disable your antivirus or firewall software and attempt the installation again.
- Compatibility Problems: If you are facing compatibility issues with other software or experiencing system crashes after installing Avast, ensure that your operating system and all software are up to date. Check the Avast forums or knowledge base for any reported compatibility issues and recommended solutions.
- Slow Performance: If you notice a significant decrease in the performance of your new computer after installing Avast, ensure that all necessary system requirements are met. Adjust Avast settings to optimize performance, such as reducing scheduled scans during peak usage times. Consider updating your hardware or seeking professional assistance if performance issues persist.
- False Positives: Avast may sometimes detect legitimate files or applications as false positives and quarantine them. If you believe a file or application has been wrongly flagged, go to the Avast user interface, navigate to “Protection”, and then select “Virus Scans”. From there, you can review and restore any falsely quarantined files or applications.
- Networking Issues: If you experience networking issues after installing Avast, check your firewall and network settings. Ensure that Avast has proper permissions and is not blocking any necessary connections. If you are using a VPN or proxy, adjust Avast settings accordingly, or temporarily disable these services and check if the issue is resolved.
- Unwanted Pop-ups or Notifications: If you find Avast pop-ups or notifications intrusive, you can customize their behavior in the settings. Navigate to the Avast user interface, go to “Menu”, then “Settings”, and select “General”. Here, you can modify the notifications, sounds, and other user interface options according to your preferences.
- Data Migration Issues: If you have trouble transferring settings, preferences, or license information from the old computer to the new one, check that you followed the correct steps outlined in the respective sections of this guide. Make sure to export and import the necessary files and settings using the Avast user interface.
If you encounter any other issues during the migration process or need further assistance, consider visiting the Avast Help & Support section on their website or reaching out to their customer support for personalized guidance and troubleshooting steps.
By troubleshooting common issues effectively, you can ensure a seamless and successful migration of Avast Internet Security to your new computer. In the next section, we will discuss how to contact Avast Support for assistance, should the need arise.
Contacting Avast Support for Assistance
If you encounter any technical issues or require further assistance with Avast Internet Security during the migration process, contacting Avast Support is your best option. Avast offers various support channels to help resolve your concerns. Follow the steps below to get in touch with Avast Support:
- Online Support: Avast provides an extensive online knowledge base, forums, and FAQs that cover a wide range of topics. Visit the Avast website and navigate to the Support section to access these resources. You can search for specific issues or browse through the available articles and guides to find helpful information.
- Contact Form: If you need personalized support or have a specific question, you can submit a request through the Avast online contact form. Fill in the required details and provide a clear description of your issue. Avast’s support team will review your query and provide assistance via email.
- Phone Support: Avast also offers phone support in certain regions. Visit the Avast website and navigate to the Support section to find the phone support contact details specific to your country. Note that phone support availability may vary depending on your location.
- Community Forum: Avast has a vibrant community forum where users can interact with each other, share experiences, and seek guidance. Joining the forum allows you to connect with Avast users and potentially find solutions to common issues. The forum is a valuable resource for troubleshooting and getting tips from experienced Avast users.
- Social Media: Avast maintains a presence on various social media platforms. You can follow their accounts and reach out to Avast via private messages or comments. While not a dedicated support channel, social media platforms can sometimes be used to raise concerns or seek assistance.
When contacting Avast Support, provide them with relevant details, such as your Avast license key, the versions of Avast and your operating system, and a clear description of the issue you are facing. This information will help the support team understand your problem better and provide you with accurate solutions.
Avast’s support team is dedicated to assisting users and resolving their concerns promptly. They strive to provide efficient and effective support throughout the migration process and beyond.
By reaching out to Avast Support, you can get the support you need to ensure a smooth transition and a secure experience with Avast Internet Security on your new computer.