
How to Install Kindle App on Your Android Device
If you’re an avid reader and own an Android device, installing the Kindle app is a great way to access and read your favorite books on the go. With the Kindle app, you can easily buy, download, and read e-books from Amazon’s extensive library. Here’s a step-by-step guide on how to install the Kindle app on your Android device:
- Open the Google Play Store on your Android device.
- In the search bar, type “Kindle” and tap on the search icon.
- From the search results, look for the official Kindle app developed by “Amazon Mobile LLC” and tap on it.
- On the Kindle app’s page, tap on the “Install” button.
- Review the permissions required by the app and tap on the “Accept” button to continue with the installation.
- The app will now begin downloading and installing on your Android device. Once the installation is complete, tap on the “Open” button to launch the Kindle app.
- Upon launching the app, you will be prompted to sign in to your Amazon account. If you already have an Amazon account, enter your email and password and tap on the “Sign In” button. If you don’t have an Amazon account, tap on the “Create a new Amazon account” link to create one.
- Once you’re signed in, the Kindle app will sync with your Amazon account and display any e-books you have purchased or downloaded previously.
Now that you have successfully installed the Kindle app on your Android device, you can start exploring and enjoying your favorite books right at your fingertips. Whether you prefer novels, non-fiction, or self-help guides, the Kindle app offers a seamless reading experience on your Android device.
How to Set Up Kindle App on Your Android Device
Once you have installed the Kindle app on your Android device, the next step is to set it up and customize it to enhance your reading experience. Here’s a simple guide on how to set up the Kindle app on your Android device:
- Open the Kindle app on your Android device by tapping on its icon from the app drawer or home screen.
- When you launch the app for the first time, you will be prompted to sign in to your Amazon account. Enter your email and password associated with your Amazon account and tap on the “Sign In” button.
- If you have two-factor authentication enabled for your Amazon account, you may be required to enter the verification code that was sent to your registered email or phone number.
- Once you’re signed in, the Kindle app will synchronize with your Amazon account and display any previously purchased or downloaded e-books under the “Library” tab.
- To make the reading experience more personalized, you can customize the display settings. Tap on the “More” tab at the bottom-right corner of the app and then select “Settings.”
- Within the “Settings” menu, you can adjust various options such as font size, background color, line spacing, and margins. Experiment with these settings to find the optimal reading experience for you.
- You can also enable or disable features like page flip animation, publisher font, and bold text. Explore these options to tailor the reading experience according to your preferences.
- Under the “General” section in the settings, you can manage your account settings, including syncing your content, managing notifications, and enabling or disabling the “Popular Highlights” feature.
By following these steps, you can quickly set up and customize the Kindle app on your Android device to suit your reading preferences. Take some time to explore the settings and experiment with different options to create the perfect reading environment for yourself.
How to Access Your Kindle Books on Android Device
After setting up the Kindle app on your Android device, you’re ready to access and enjoy your collection of Kindle books. Here’s a step-by-step guide on how to access your Kindle books:
- Launch the Kindle app on your Android device by tapping on its icon.
- If you’re not already signed in, enter your Amazon account credentials and tap “Sign In” to log in.
- Once you’re signed in, you’ll be taken to the app’s Home screen.
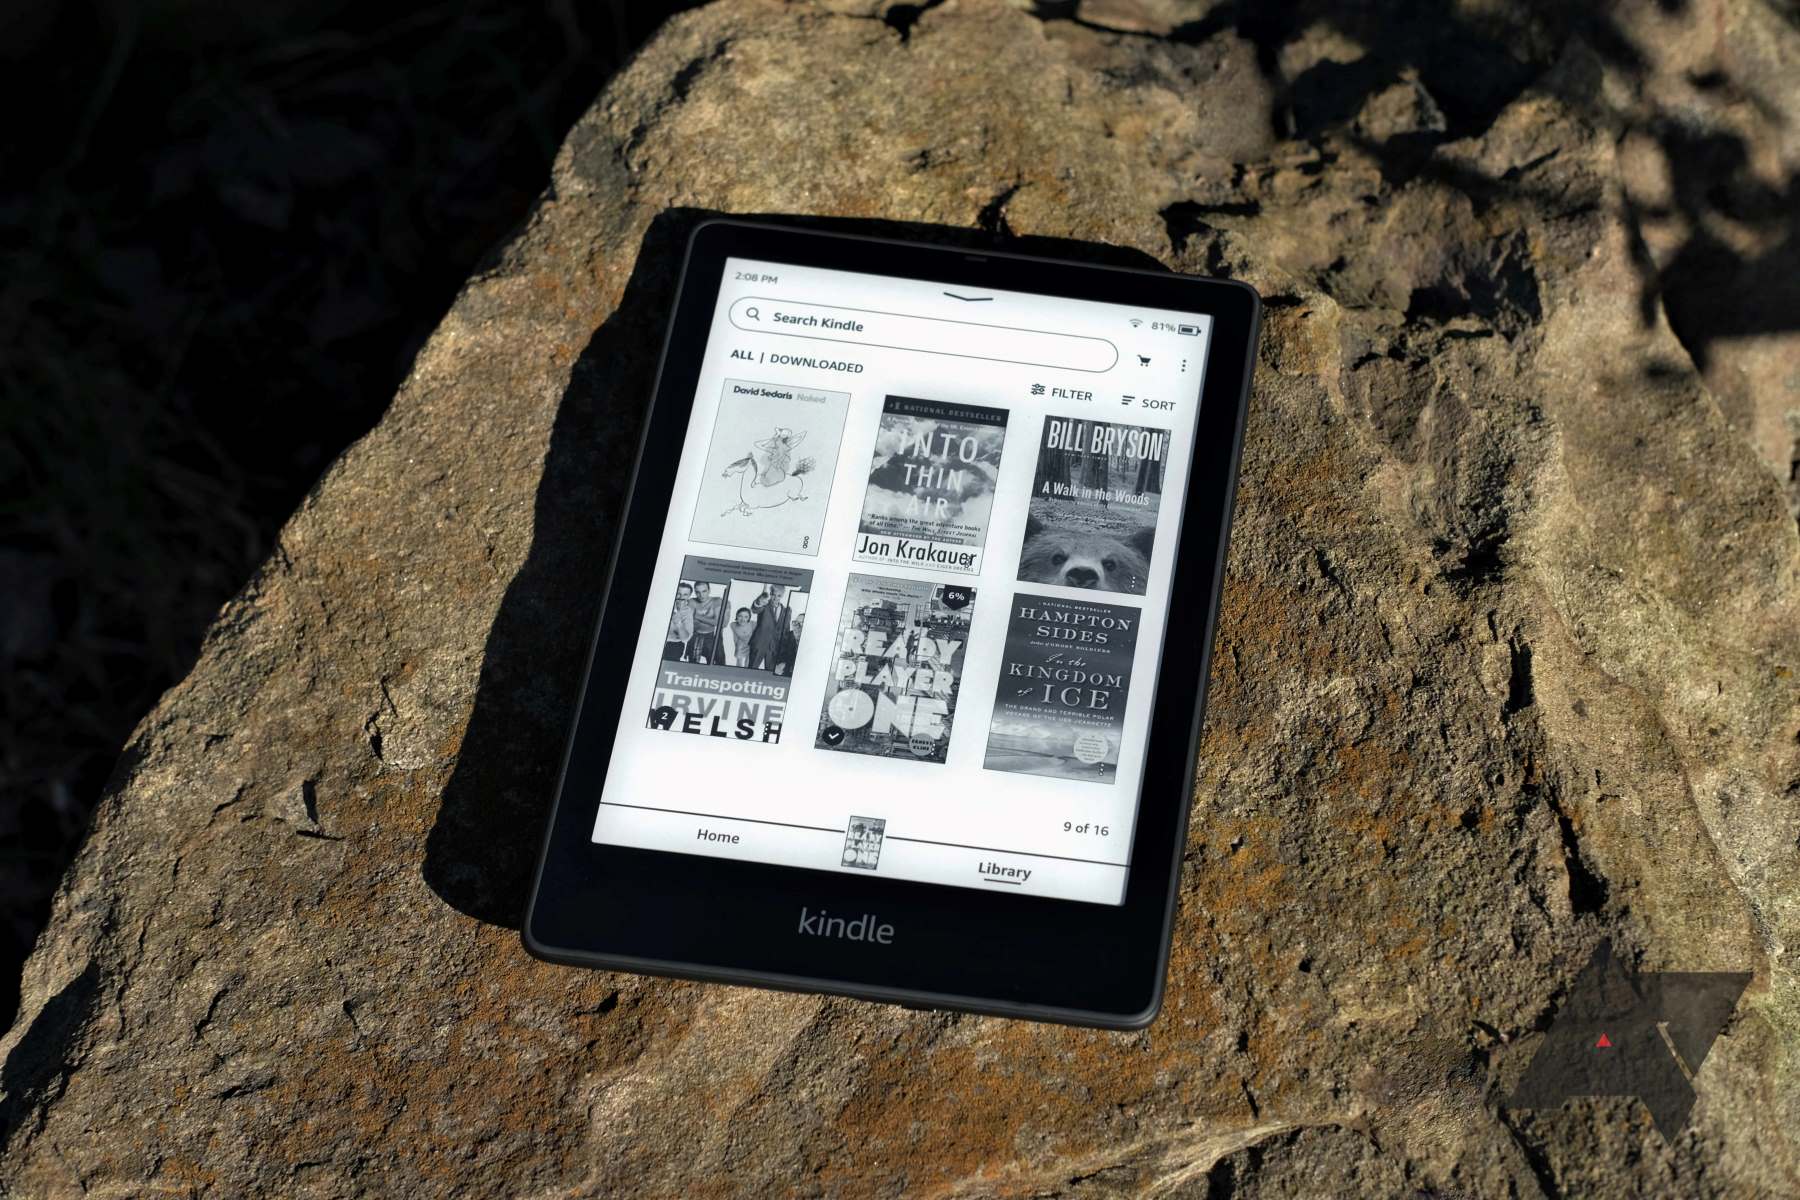
- To access your Kindle books, tap on the “Library” tab located at the bottom of the screen. This will display all your purchased and downloaded books.
- Scroll through the list to find your desired book. You can use the search bar at the top of the screen to quickly locate specific titles.
- Once you’ve found the book you want to read, simply tap on it to open it.
- The book will load, and you can now start reading.
- While reading, you can easily navigate through the book using the navigation buttons at the bottom of the screen. You can turn pages by tapping on the left or right side of the screen or by swiping left or right.
- To access additional features while reading, tap on the center of the screen to reveal the toolbar. From here, you can adjust the font size, access the table of contents, bookmark pages, highlight text, or make notes.
- If you have multiple devices with the Kindle app installed, such as a Kindle e-reader or another Android device, your reading progress will sync across all devices. This means you can seamlessly switch between devices and continue reading where you left off.
With the Kindle app on your Android device, accessing your Kindle books has never been easier. Whether you’re at home, on the go, or traveling, you can enjoy your favorite e-books right on your Android device with just a few taps. Happy reading!
How to Customize Reading Settings on Kindle App for Android
The Kindle app for Android offers a wide range of customization options to enhance your reading experience. Whether you prefer a specific font size, background color, or reading orientation, you can tailor the settings to suit your preferences. Here’s a step-by-step guide on how to customize the reading settings on the Kindle app for Android:
- Open the Kindle app on your Android device by tapping on the app icon.
- Sign in to your Amazon account if you haven’t done so already.
- Once you’re signed in, tap on the center of the screen while reading a book to reveal the toolbar.
- In the toolbar, tap on the “Aa” icon, which represents the settings for font, layout, and more.
- Within the settings, you can adjust various options such as font style, font size, and line spacing. Tap on each option to see the available choices and select your preferred option.
- To change the background color while reading, tap on “Color” and choose from options like White, Sepia, or Black.
- If you have difficulty reading small text or prefer larger font sizes, you can easily increase the font size by tapping on the “+” icon within the font size settings.
- To switch between different reading orientations, tap on “Page Layout” and choose between “Portrait” or “Landscape” mode.
- Experiment with the different settings to find the combination that provides the most comfortable reading experience for you.
- Once you’re satisfied with the settings, tap outside the settings menu to hide it and continue reading with your customized settings.
By customizing the reading settings on the Kindle app for Android, you can create a personalized reading experience that is tailored to your specific preferences. Whether it’s adjusting the font, changing the background color, or modifying the layout, these customization options allow you to make the most of your reading time. Happy reading!
How to Use Text-to-Speech Feature on Kindle App for Android
Did you know that the Kindle app for Android comes with a handy text-to-speech feature? With this feature, you can have your books read aloud to you, making it a great option for multitasking or for those with visual impairments. Here’s a step-by-step guide on how to use the text-to-speech feature on the Kindle app for Android:
- Open the Kindle app on your Android device.
- Sign in to your Amazon account if you haven’t already.
- From the app’s Home screen, tap on the “Library” tab at the bottom of the screen to view your book collection.
- Scroll through the list and select the book you want to read.
- Once the book is open, tap on the center of the screen to reveal the toolbar.
- In the toolbar, tap on the three-dot menu icon located at the top-right corner of the screen.
- From the menu that appears, select “Text-to-Speech” to enable the feature.
- The text-to-speech feature will start reading the book aloud to you.
- To pause or resume the reading, simply tap on the center of the screen and use the play/pause button in the toolbar.
- You can also adjust the reading speed by tapping on the speed icon located next to the play/pause button. Choose from options like “Slow,” “Normal,” or “Fast” to suit your preference.
The text-to-speech feature in the Kindle app for Android provides a convenient way to enjoy your favorite books when you’re on the move or prefer to listen instead of reading. Whether you’re cooking, driving, or simply relaxing, this feature allows you to make the most of your reading time. Give it a try and make your reading experience even more enjoyable!
How to Adjust Reading Speed on Kindle App for Android
One of the great features of the Kindle app for Android is the ability to adjust the reading speed to your preference. Whether you prefer a slower pace to immerse yourself in the text or a faster pace to breeze through the pages, the Kindle app allows you to customize the reading speed. Here’s a step-by-step guide on how to adjust the reading speed on the Kindle app for Android:
- Open the Kindle app on your Android device.
- Sign in to your Amazon account if you haven’t already.
- From the app’s Home screen, select the book you want to read.
- Once the book is open, tap on the center of the screen to reveal the toolbar.
- In the toolbar, locate the speed icon next to the play/pause button. It looks like a speaker with soundwaves.
- Tap on the speed icon to access the reading speed options.
- From the available options, choose the reading speed that suits you best. The options typically include “Slow,” “Normal,” and “Fast.”
- As you select a different reading speed, the app will automatically adjust the narration speed to match your selection.
- Continue reading and listen to the book at your desired pace.
- If you want to further fine-tune the reading speed, you can experiment with different options until you find the perfect setting for your reading style.
By adjusting the reading speed on the Kindle app for Android, you can customize your reading experience to fit your preferences. Whether you prefer a leisurely pace to savor every word or a faster tempo to keep up with a fast-paced story, the Kindle app gives you the flexibility to read at your own speed.
How to Navigate through Kindle Books on Android Device
Navigating through Kindle books on your Android device is a breeze with the intuitive features and tools provided by the Kindle app. Whether you want to jump to a specific chapter, search for a keyword, or quickly scroll through pages, the app offers various navigation options. Here’s a step-by-step guide on how to navigate through Kindle books on your Android device:
- Open the Kindle app on your Android device.
- Sign in to your Amazon account if you haven’t already.
- From the app’s Home screen, select the book you want to read.
- Once the book is open, tap on the center of the screen to reveal the toolbar.
- To navigate to a specific chapter, tap on the “Go to” icon represented by a bookmark ribbon. This will open a menu with a list of chapters and locations within the book. Select the desired chapter or location to jump to it.
- If you’re looking for specific content within the book, tap on the magnifying glass icon in the toolbar. This will open the search feature, allowing you to enter keywords or phrases to find relevant sections in the book.
- For easy page navigation, swipe left or right on the screen to turn pages. Alternatively, you can tap on the left or right edge of the screen to navigate through the book.
- To quickly scroll through the pages, use the progress bar at the bottom of the screen. Simply drag the slider left or right to move through the book quickly.
- If you want to access the table of contents, tap on the “Contents” icon in the toolbar. This will display a list of chapters and sections, enabling you to navigate to a specific part of the book.
- As you navigate through the book, the app will remember your progress, allowing you to easily pick up where you left off whenever you reopen the book.
With these navigation features at your disposal, reading Kindle books on your Android device becomes even more enjoyable and efficient. By knowing how to jump to specific chapters, search for content, and navigate through pages, you can easily explore and discover the wealth of knowledge and entertainment within your Kindle library.
How to Highlight and Make Notes on Kindle App for Android
The Kindle app for Android allows you to highlight important passages and make notes while reading, making it easier to remember key points or make annotations for future reference. Here’s a step-by-step guide on how to highlight and make notes on the Kindle app for Android:
- Open the Kindle app on your Android device.
- Sign in to your Amazon account if you haven’t already.
- Select the book you want to read from your library.
- Once the book is open, tap on the center of the screen to reveal the toolbar.
- To highlight a specific passage, press and hold your finger on the desired text. The text will be highlighted in yellow.
- If you want to highlight a larger section of text, drag the handles that appear on each side of the highlighted text to cover the desired portion.
- To add a note to the highlighted text, tap the highlighted section. A pop-up menu will appear with options, including “Add Note.” Tap on “Add Note” and enter your annotation in the provided field. Tap “Save” to save your note.
- You can also access your highlighted text and notes by tapping on the three-dot menu icon in the toolbar and selecting “My Notebook.” This will display a list of all your highlights and notes for easy reference.
- To remove a highlight or note, simply tap on the highlighted section again and select “Delete Highlight” or “Delete Note” from the pop-up menu.
- The app automatically syncs your highlights and notes across devices, allowing you to access them from different devices with the Kindle app installed.
By using the highlighting and note-taking features on the Kindle app for Android, you can easily track and organize important information while reading. Whether you’re studying, researching, or simply want to remember key passages, these tools provide a valuable way to engage with the text and make it your own.
How to Sync Your Reading Progress on Kindle App for Android
Synchronizing your reading progress across different devices is a convenient feature offered by the Kindle app for Android. Whether you switch between your Android smartphone and tablet or also use a Kindle e-reader, syncing allows you to seamlessly continue reading where you left off. Here’s a step-by-step guide on how to sync your reading progress on the Kindle app for Android:
- Open the Kindle app on your Android device.
- Sign in to your Amazon account if you haven’t already.
- Ensure that your Android device is connected to the internet, as syncing requires an internet connection.
- To sync your reading progress, tap on the “Sync” button located in the top-right corner of the app’s screen. It resembles two circular arrows. When syncing is in progress, a spinning icon will appear.
- Once the sync is complete, your reading progress, including the last page read, bookmarks, highlights, and notes, will be updated and synchronized with your Amazon account.
- To access your synced reading progress on another device, such as a Kindle e-reader or another Android device with the Kindle app installed, make sure it is also connected to the internet.
- Open the Kindle app or device, sign in to the same Amazon account, and tap on the “Sync” button, as described in steps 1-4.
- Your reading progress will now be updated and synced, allowing you to continue where you left off without missing a beat.
- Note that syncing occurs automatically whenever your Kindle app or device establishes an internet connection. However, you can manually sync at any time by tapping on the “Sync” button if you want to ensure the latest progress is reflected across all devices.
With the sync feature of the Kindle app for Android, you can seamlessly switch between devices and continue reading from where you left off. This ensures a consistent and uninterrupted reading experience, whether you’re using your Android smartphone, tablet, or a Kindle e-reader. Enjoy the convenience of syncing and immerse yourself in your favorite books without missing a page!
How to Manage Your Kindle Library on Android Device
Managing your Kindle library on your Android device allows you to organize and customize your collection of e-books. With the Kindle app for Android, you can easily browse, sort, and manage your books to ensure a personalized reading experience. Here’s a step-by-step guide on how to manage your Kindle library on your Android device:
- Open the Kindle app on your Android device.
- Sign in to your Amazon account if you haven’t already.
- Once you’re signed in, you’ll be taken to the app’s Home screen, which displays your library.
- To view all the books in your library, tap on the “Library” tab located at the bottom of the screen.
- You can sort your books based on different criteria like title, author, or recent activity. Tap on the “Sort” button at the top-right corner of the screen and choose your preferred sorting option.
- If you want to search for a specific book, use the search bar at the top of the screen. Type in the name of the book or the author’s name to find the desired title.
- To organize your library further, you can create collections. Collections allow you to group related books together for easier access. To create a collection, tap on the three-dot menu icon next to a book and select “Add to Collection.” Follow the prompts to create a new collection or add the book to an existing one.
- To remove a book from your device, tap and hold on the book cover until a pop-up menu appears, then select the option to remove the book. Note that removing a book from your device does not delete it from your Amazon account, and you can always re-download it in the future.
- If you have downloaded a book and want to read it offline, you can switch to the “Downloaded” tab within the Library section to view only the books stored on your device.
- Lastly, to access your archived books, which are books not currently downloaded on your device, you can tap on the “Archive” tab within the Library section.
By following these steps, you can effectively manage your Kindle library on your Android device. From sorting and searching to creating collections and removing books, you have the flexibility to curate your library to suit your reading preferences. Enjoy the convenience and organization as you navigate through your collection of e-books on your Android device!