
Common Causes of Time Machine Error
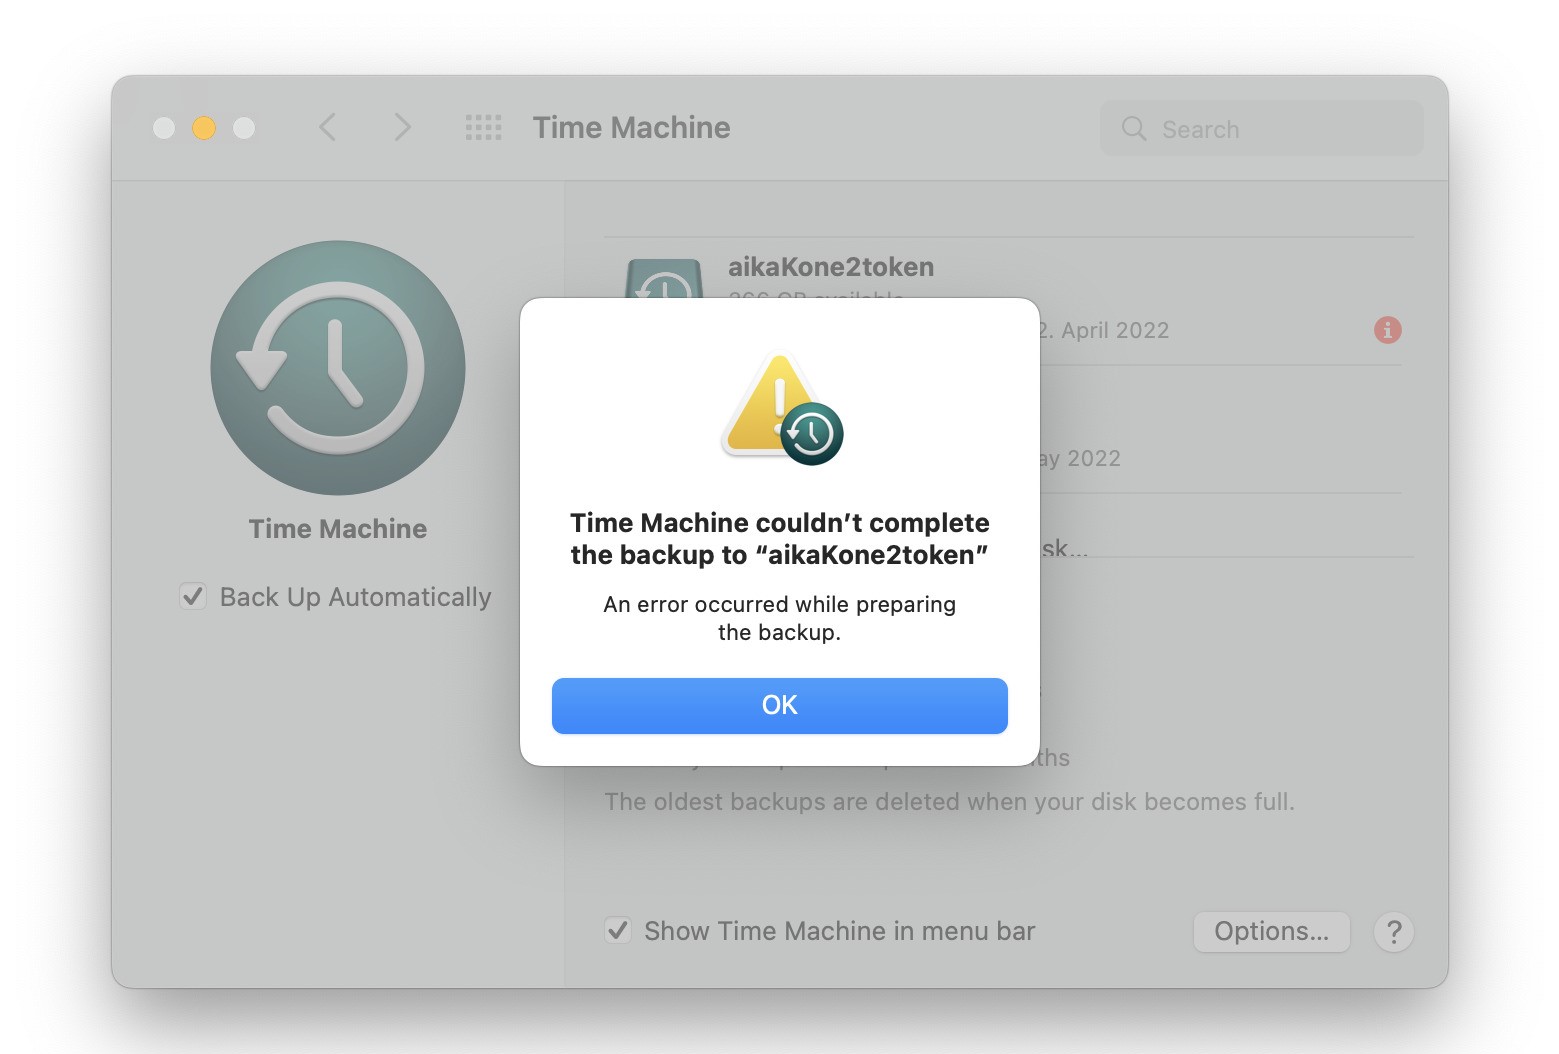
Time Machine is a powerful tool for automatic data backups on macOS, but sometimes it encounters errors that can disrupt the backup process. Understanding the common causes of Time Machine errors can help you troubleshoot and resolve them effectively. Here are some possible reasons why you might be experiencing Time Machine errors:
- Insufficient disk space: Time Machine requires enough free space on the backup volume to store your files. If the disk is full, Time Machine will fail to create a backup.
- Corrupted backup volume: If the backup volume gets corrupted, whether due to hardware issues or improper ejection, Time Machine might encounter errors while trying to access or write data to the drive.
- Incorrect volume permissions: The backup volume might have incorrect permission settings, preventing Time Machine from accessing and writing data.
- Conflicts with third-party software: Certain applications or utilities installed on your Mac can interfere with Time Machine’s functionality, causing errors during the backup process.
- Outdated macOS version: Running an outdated version of macOS can lead to compatibility issues with Time Machine, resulting in backup errors and failures.
- Network connectivity problems: If you’re using Time Machine over a network, a weak or unstable connection can interrupt the backup process and trigger errors.
- Disk errors: If there are errors on the source drive, such as bad sectors or file system issues, Time Machine may encounter errors while trying to back up the data.
These are just a few common causes of Time Machine errors, and it’s important to pinpoint the specific issue causing the error in order to apply the appropriate fix. In the following sections, we’ll explore various troubleshooting methods to address these Time Machine errors and get your backups running smoothly again.
Checking Volume Permissions
One of the common causes of Time Machine errors is incorrect volume permissions on the backup drive. Checking and repairing these permissions can help resolve the issue. Here’s how you can check volume permissions:
- Connect the backup volume to your Mac and make sure it’s mounted.
- Go to the “Applications” folder and open the “Utilities” folder.
- Launch the “Disk Utility” application.
- In the Disk Utility window, select the backup volume from the left-hand sidebar.
- Click on the “First Aid” button at the top of the window.
- Click on the “Run” button next to “First Aid” to start the verification and repair process.
The Disk Utility will scan the backup volume for any permissions issues and repair them if necessary. Once the process is complete, you can try running Time Machine again to check if the error has been resolved.
If the volume permissions are successfully repaired but the Time Machine error persists, you may need to further troubleshoot other potential causes. Checking volume permissions is just one step in the troubleshooting process, and there may be additional factors contributing to the error.
In the next section, we’ll explore how you can fix Time Machine backup volume permissions to address the errors effectively.
Fixing Time Machine Backup Volume Permissions
If you have determined that incorrect volume permissions are the cause of the Time Machine error, you can fix them to restore the backup functionality. Here’s how:
- Connect the backup volume to your Mac and make sure it’s mounted.
- Go to the “Applications” folder and open the “Utilities” folder.
- Launch the “Disk Utility” application.
- In the Disk Utility window, select the backup volume from the left-hand sidebar.
- Click on the “First Aid” button at the top of the window.
- Click on the “Run” button next to “First Aid” to start the verification and repair process.
- Once the process is complete, close Disk Utility and restart your Mac.
After restarting your Mac, try running Time Machine again to see if the backup error is resolved. If the problem persists, there may be other underlying issues causing the error.
If you are still experiencing Time Machine errors after fixing the backup volume permissions, it’s recommended to proceed with the other troubleshooting methods discussed in this article. Addressing the backup volume permissions is an important step, but it may not be the sole solution to the problem.
Next, let’s explore the steps to reset Time Machine preferences, which can help resolve various Time Machine errors and restore the backup functionality.
Resetting Time Machine Preferences
If fixing the backup volume permissions didn’t resolve the Time Machine error, you can try resetting Time Machine preferences to resolve any configuration issues. Here’s how:
- Open the “System Preferences” on your Mac.
- Click on the “Time Machine” icon.
- In the Time Machine preferences window, click on the “Options” button.
- A new window will appear with the list of excluded items from the backup. Click on the “-” button to remove all exclusions.
- Close the Time Machine preferences window.
- Open the Terminal application on your Mac.
- Type the command “sudo tmutil resetexclusions” (without the quotes) and press Enter.
- Enter your administrator password when prompted.
- Restart your Mac.
After restarting, open the Time Machine preferences and set up your backup preferences again. This will reset the preferences and configurations associated with Time Machine, potentially resolving the error you encountered.
If the Time Machine error persists, you may need to proceed with other troubleshooting methods discussed in this article. Resetting Time Machine preferences is just one step in the troubleshooting process, and there may be additional factors contributing to the error.
In the next section, we’ll explore how to repair any disk errors that might be causing the Time Machine error.
Repairing Disk Errors
If you continue to experience Time Machine errors after trying the previous methods, it’s essential to check for and repair any disk errors. Disk errors can prevent Time Machine from properly accessing or writing data to the drive, causing backup failures. Here are the steps to repair disk errors:
- Connect the backup volume to your Mac and ensure it’s mounted.
- Open the “Applications” folder and go to the “Utilities” folder.
- Launch the “Disk Utility” application.
- In the Disk Utility window, select the backup volume from the left-hand sidebar.
- Click on the “First Aid” button at the top of the window.
- Click on the “Run” button next to “First Aid” to initiate the disk repair process.
- Wait for the process to complete. Disk Utility will scan and repair any errors found on the backup volume.
- After the repair is finished, restart your Mac.
Once your Mac restarts, open Time Machine and attempt to perform a backup. If the disk errors were the cause of the Time Machine error, they should now be resolved and the backup process should proceed without any issues.
If repairing disk errors doesn’t solve the Time Machine error, there may be other factors at play. Your next step should be to explore the section on deleting incompatible backup datasets, as these can also cause conflicts and errors with Time Machine.
Continue reading to learn how to delete incompatible backup datasets and potentially fix the Time Machine error.
Deleting Incompatible Backup Datasets
If you’re still encountering Time Machine errors, it’s worth checking for and removing any incompatible backup datasets that might be causing conflicts. Incompatible datasets can arise from factors like restoring your Mac from a different backup, connecting a drive with a different Time Machine backup, or modifying the backup data manually. Deleting these incompatible datasets can potentially resolve the Time Machine error. Here’s how you can do it:
- Disconnect any external drives or network drives used for Time Machine backups.
- Open Finder on your Mac.
- Go to the location where your backups are stored, typically the backup volume or a network drive.
- Locate the backup dataset folder with an incompatible or mismatched name.
- Move the incompatible backup dataset folder to the Trash.
- Delete the dataset folder from the Trash to remove it permanently.
After deleting the incompatible backup datasets, reconnect your backup drive or network drive and try running Time Machine again. This should initiate a fresh backup process without any conflicts arising from the incompatible datasets.
If deleting the incompatible backup datasets didn’t resolve the Time Machine error, there may be other factors contributing to the issue. In the next section, we’ll explore how to deactivate Spotlight indexing specifically for the Time Machine drive to troubleshoot any conflicts.
Deactivating Spotlight Indexing for Time Machine Drive
If you’re still facing Time Machine errors, another troubleshooting step you can take is deactivating Spotlight indexing specifically for the Time Machine drive. Spotlight indexing can sometimes interfere with Time Machine’s backup process, causing errors or slowing down the backup operation. Here’s how you can deactivate Spotlight indexing for the Time Machine drive:
- Open the “System Preferences” on your Mac.
- Click on the “Spotlight” icon.
- Go to the “Privacy” tab.
- Click the “+” button at the bottom of the window.
- Select the Time Machine drive from the list to add it to the Privacy section.
- Close the Spotlight preferences window.
- Restart your Mac.
After your Mac restarts, Time Machine should be able to operate without any interference from Spotlight indexing. This can help resolve Time Machine errors that were caused by conflicts between the two processes.
If deactivating Spotlight indexing doesn’t resolve the Time Machine error, it’s important to explore additional troubleshooting methods, such as checking for third-party software conflicts or updating your macOS version, as discussed in the following sections.
Next, we’ll delve into the steps you can take to determine if third-party software is causing conflicts with Time Machine and how to resolve these conflicts.
Checking for Third-Party Software Conflicts
If you’re still encountering Time Machine errors, it’s worth investigating if any third-party software installed on your Mac is causing conflicts with Time Machine. Certain applications or utilities can interfere with Time Machine’s functionality, leading to backup errors and failures. Follow these steps to check for and resolve any third-party software conflicts:
- Quit all applications and utilities running on your Mac.
- Disconnect any external drives or network drives used for Time Machine backups.
- Restart your Mac.
- Attempt to run Time Machine and initiate a backup.
- If Time Machine works without any errors, it indicates that a third-party software conflict may be causing the issue.
- Reconnect your external drives or network drives.
- Gradually launch each third-party application or utility that you suspect might be causing the conflict.
- After launching each application, check if Time Machine encounters any errors during the backup process.
- If Time Machine starts encountering errors after launching a specific application, that application may be the cause of the conflict.
- In such cases, check the developer’s website or contact their support for guidance on how to resolve the conflict with Time Machine.
By identifying and resolving any third-party software conflicts, you can eliminate potential sources of error and ensure smooth functioning of Time Machine.
If checking for third-party software conflicts didn’t resolve the Time Machine error, it’s advisable to consider updating your macOS to the latest version, which may include bug fixes and improvements for Time Machine functionality. We’ll explore how to update macOS in the next section.
Updating macOS to the Latest Version
If you’re experiencing Time Machine errors, it’s important to ensure that your macOS is up to date. Outdated versions of macOS can sometimes have compatibility issues with Time Machine, leading to backup errors and failures. Follow these steps to update your macOS to the latest version:
- Save any unsaved work and close all open applications on your Mac.
- Click on the Apple menu icon in the top-left corner of the screen.
- Select “System Preferences” from the dropdown menu.
- In the System Preferences window, click on the “Software Update” icon.
- If there are any available updates, click the “Update Now” button.
- Follow the on-screen instructions to download and install the latest macOS update.
- Once the update is installed, restart your Mac.
After your Mac restarts, try running Time Machine again and check if the errors are resolved with the updated macOS version. Updating to the latest version not only provides bug fixes and performance improvements but also ensures better compatibility with Time Machine.
If updating macOS doesn’t fix the Time Machine error, you may want to consider resetting the NVRAM/PRAM on your Mac, which can sometimes resolve various system-related issues. We’ll explore how to reset the NVRAM/PRAM in the next section.
Resetting NVRAM/PRAM
If you’re still encountering Time Machine errors even after updating macOS, resetting the NVRAM/PRAM on your Mac can be helpful. NVRAM (Non-Volatile Random Access Memory) or PRAM (Parameter Random Access Memory) stores various settings related to your Mac’s hardware and system configuration, and resetting it can resolve certain system-related issues. Here’s how you can reset NVRAM/PRAM:
- Shut down your Mac completely.
- Press the Power button to turn on your Mac.
- Before the gray startup screen appears, press and hold the Command (⌘), Option, P, and R keys simultaneously.
- Keep holding the keys until your Mac restarts and you hear the startup sound for the second time.
- Release the keys.
Once your Mac restarts, the NVRAM/PRAM will be reset to its default values. You can now try running Time Machine again to check if the errors have been resolved. Resetting NVRAM/PRAM can address various system-related issues that might have been causing Time Machine errors.
If resetting NVRAM/PRAM didn’t resolve the Time Machine error, there may be other factors contributing to the issue. In the next section, we’ll explore how disabling firewalls and antivirus software can help identify and troubleshoot potential conflicts.
Disabling Firewalls and Antivirus Software
In some cases, firewalls and antivirus software can interfere with Time Machine’s functionality, causing backup errors or preventing Time Machine from accessing the necessary resources. If you’re still experiencing Time Machine errors, it’s worth temporarily disabling firewalls and antivirus software to determine if they are causing conflicts. Here’s how you can disable firewalls and antivirus software:
- Open the “System Preferences” on your Mac.
- Click on the “Security & Privacy” icon.
- Go to the “Firewall” tab.
- Click on the lock icon and enter your administrator password to make changes.
- Click on the “Turn Off Firewall” button to disable the firewall.
- Exit the “System Preferences” window.
- If you have antivirus software installed, locate its icon in the menu bar or system tray.
- Right-click or control-click on the antivirus software icon.
- Look for an option to disable the antivirus software temporarily.
- Select the option to disable the antivirus software.
After disabling the firewall and antivirus software, try running Time Machine again. If the Time Machine errors no longer occur, it indicates that the firewall or antivirus software was causing conflicts. In that case, you can adjust the settings of the firewall or antivirus software to allow Time Machine to access the necessary resources, or consider using alternative firewall or antivirus software that is more compatible with Time Machine.
If disabling firewalls and antivirus software does not resolve the Time Machine error, it’s recommended to proceed with other troubleshooting methods discussed in this article. There may be other underlying factors contributing to the error.
In the next section, we’ll explore the option of formatting and rebuilding the Time Machine backup drive, which can help address any issues with the drive itself.
Formatting and Rebuilding Time Machine Backup Drive
If you’re still encountering Time Machine errors, it may be necessary to consider formatting and rebuilding the Time Machine backup drive. This step can help address issues with the drive itself, such as corrupted files or directory structures. Here’s how you can format and rebuild the Time Machine backup drive:
- Disconnect the Time Machine backup drive from your Mac.
- Open the “Disk Utility” application from the “Utilities” folder in the “Applications” directory.
- In the Disk Utility window, select the Time Machine backup drive from the left-hand sidebar.
- Click on the “Erase” button at the top of the window.
- Give your backup drive a new name and choose the appropriate format (usually macOS Extended (Journaled)) from the format options.
- Click on the “Erase” button to start the formatting process. This will erase all data on the drive, so make sure you have a backup of any important files.
- After the drive is formatted, reconnect it to your Mac.
- Open Time Machine preferences and configure the newly formatted drive as your backup destination.
- Initiate a new Time Machine backup to rebuild the backup structure on the freshly formatted drive.
Formatting and rebuilding the Time Machine backup drive can help resolve issues related to the drive’s structure or corrupted files. It provides a clean slate for Time Machine to create new backups without any underlying problems.
If the Time Machine errors persist even after formatting and rebuilding the backup drive, it’s essential to consider seeking professional assistance or contacting Apple support to diagnose and resolve the issue.