
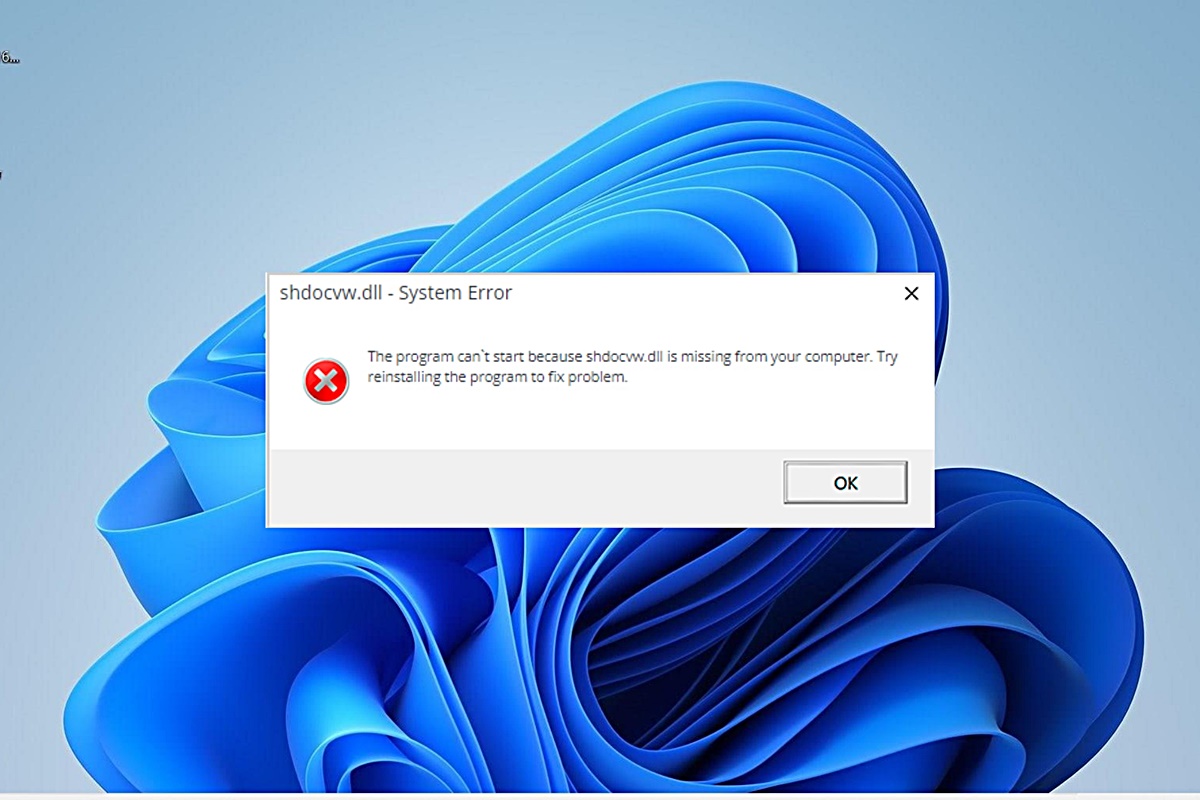
What is Shdocvw.dll?
The shdocvw.dll file is a dynamic-link library (DLL) file that is essential for the proper functioning of certain web-based applications and programs in Windows operating systems. DLL files contain code and data that multiple programs can use simultaneously, providing a way for software to reuse code and resources, making them more efficient.
Specifically, shdocvw.dll is associated with the Microsoft Internet Explorer web browser and is responsible for providing functionality related to web browsing, such as handling HTML rendering, managing browser windows, and displaying web content.
Shdocvw.dll plays a crucial role in enabling the browser to interpret and display web pages correctly, including interactive features such as forms, JavaScript, and multimedia elements. Without this DLL file, the web browsing experience may be severely compromised, leading to errors or malfunctions when accessing web pages or running web-based applications.
When shdocvw.dll is missing or encounters errors, you may experience issues such as web browsers crashing, web pages failing to load, or receiving error messages related to this file. It is important to address these errors promptly to ensure the smooth functioning of your system.
Shdocvw.dll is typically located in the System32 folder in the Windows directory, and it is a core component of the operating system. Therefore, it should not be modified or deleted manually, as doing so may cause system instability or other unforeseen consequences.
Next, we will discuss some common causes of shdocvw.dll errors and provide methods to fix them.
Causes of Shdocvw.dll Errors
There are several factors that can lead to shdocvw.dll errors on your Windows system. Understanding the root causes can help you troubleshoot and resolve these issues effectively. Here are some common causes of shdocvw.dll errors:
- Missing or Corrupted DLL File: One of the primary causes of shdocvw.dll errors is when the file itself is missing or corrupted. This could occur due to accidental deletion, malware infection, or faulty software installations.
- Outdated or Incompatible Web Browser: Incompatibility issues between the shdocvw.dll file and your web browser can also result in errors. If you are using an older version of a particular web browser or have not installed the necessary updates, it could lead to conflicts with the shdocvw.dll file.
- Registry Issues: Problems within the Windows registry, such as invalid or incorrect entries related to shdocvw.dll, can cause errors. These registry issues might arise due to incomplete software installations, improper removal of software, or malware infections.
- Virus or Malware Infection: Malicious software can target and infect DLL files, including shdocvw.dll. These infections can corrupt or modify the DLL file, leading to errors and system instability.
- Hardware or Device Driver Problems: Issues with your computer’s hardware components or outdated device drivers could also trigger shdocvw.dll errors. Incompatible or malfunctioning hardware can interfere with the proper functioning of DLL files, resulting in errors.
Identifying the specific cause of shdocvw.dll errors on your system is crucial for implementing the appropriate troubleshooting steps. By addressing the root cause, you can effectively resolve these errors and restore the normal operation of your web browser and related applications.
Method 1: Restart Your Computer
One of the simple yet effective methods to resolve shdocvw.dll errors is to restart your computer. Restarting your system can help clear temporary files and refresh system processes, potentially resolving any issues that may be causing the DLL errors.
Here’s how you can restart your computer:
- Save any ongoing work and close any open applications.
- Click on the Start button located at the bottom left corner of your screen.
- From the Start menu, click on the Power button.
- Select the Restart option from the power menu.
- Wait for your computer to shut down and restart.
Once your computer restarts, check if the shdocvw.dll errors have been resolved. If the errors persist, proceed to the next method for further troubleshooting.
Restarting your computer can help refresh system settings and clear any temporary glitches that may be causing DLL errors. It is a simple and quick method that often resolves minor issues without the need for complex troubleshooting steps.
However, if the shdocvw.dll errors persist after restarting your computer, it is advisable to explore additional methods to resolve the issue. The following methods will provide further solutions to troubleshoot and fix shdocvw.dll errors on your Windows system.
Method 2: Reinstall the Program
If you are experiencing shdocvw.dll errors related to a specific program, reinstalling that program can often resolve the issue. This method involves removing the program from your system and then reinstalling it, ensuring that all necessary files, including the shdocvw.dll file, are properly installed.
Follow these steps to reinstall the program:
- Open the Control Panel on your Windows system.
- Click on Uninstall a program (or Add or Remove Programs depending on your Windows version), which will display a list of installed programs.
- Locate the program associated with the shdocvw.dll errors.
- Click on the program and select the Uninstall option.
- Follow the on-screen prompts to complete the uninstallation process.
- Restart your computer to ensure that all traces of the program are removed from your system.
- Once your computer restarts, download the latest version of the program from the official website or a trusted source.
- Run the downloaded installer and follow the on-screen instructions to reinstall the program.
After reinstalling the program, check if the shdocvw.dll errors have been resolved. Reinstalling the program ensures that any corrupt or missing files, including the shdocvw.dll file, are replaced with fresh copies.
If the errors persist or are not specific to a particular program, proceed to the next method for further troubleshooting.
Method 3: Run a Virus Scan
Shdocvw.dll errors can sometimes be caused by malware or virus infections on your computer. These infections can corrupt or modify DLL files, including shdocvw.dll, resulting in errors. Running a virus scan can help identify and remove any malicious software that may be causing the DLL errors.
Follow these steps to run a virus scan on your Windows system:
- Ensure that you have a reliable and up-to-date antivirus software installed on your computer. If you don’t have one, consider installing a reputable antivirus program.
- Open your antivirus software and initiate a full system scan. This scan will thoroughly check your system for any malware or viruses.
- Allow the antivirus program to complete the scan, which may take some time depending on the size of your storage and the speed of your computer.
- If any threats are detected, follow the instructions provided by your antivirus software to quarantine or remove the infected files.
- Once the scan and removal process are complete, restart your computer.
After restarting your computer, check if the shdocvw.dll errors continue to occur. Running a virus scan helps eliminate any potential malware that may be interfering with the proper functioning of DLL files.
If the errors persist, proceed to the next method to further troubleshoot and resolve the issue.
Method 4: Update Windows
Keeping your Windows operating system up to date is crucial for the proper functioning of various components, including DLL files like shdocvw.dll. Outdated system files or missing updates can sometimes cause shdocvw.dll errors. Updating Windows can help resolve these issues by ensuring that your system has the latest bug fixes, patches, and enhancements.
Here’s how you can update Windows:
- Click on the Start button located at the bottom left corner of your screen.
- Type Windows Update in the search bar, and select the Windows Update Settings option from the search results.
- In the Windows Update settings, click on the Check for updates button.
- Windows will now check for available updates. If updates are found, click on the Download or Install button to initiate the update process.
- Wait for Windows to download and install the updates. This may take some time depending on the size and number of updates.
- Restart your computer after the updates are installed.
After restarting your computer, check if the shdocvw.dll errors have been resolved. Updating Windows ensures that your system has the necessary files and security patches to function properly.
If the errors persist, proceed to the next method for further troubleshooting.
Method 5: Restore the Shdocvw.dll File from the Recycle Bin
If you have recently deleted the shdocvw.dll file, it is possible that it might still be in the Recycle Bin. Restoring the file from the Recycle Bin can help resolve shdocvw.dll errors caused by accidental deletion.
Follow these steps to restore the shdocvw.dll file from the Recycle Bin:
- Double-click on the Recycle Bin icon located on your desktop.
- Search for the shdocvw.dll file in the Recycle Bin.
- If you find the shdocvw.dll file, right-click on it and select Restore from the context menu. This action will place the file back to its original location on your computer.
- Close the Recycle Bin window.
After restoring the shdocvw.dll file from the Recycle Bin, check if the DLL errors have been resolved. Sometimes, accidental file deletion can cause shdocvw.dll errors, and restoring the file will ensure that the necessary DLL is present for proper system functioning.
If the shdocvw.dll errors persist or the file is not found in the Recycle Bin, proceed to the next method for further troubleshooting.
Method 6: Perform a System Restore
If you are still experiencing shdocvw.dll errors and have recently made changes to your system that might have caused the issue, performing a system restore can help revert your computer back to a previous state when it was functioning properly. System Restore allows you to undo system changes without affecting your personal files.
Here’s how you can perform a system restore:
- Click on the Start button located at the bottom left corner of your screen.
- Type System Restore in the search bar, and select the Create a restore point or System Restore option from the search results.
- In the System Properties window, click on the System Restore button.
- Click on Next to proceed.
- Select a restore point from the list. Choose a point in time when your system was functioning properly and did not experience shdocvw.dll errors.
- Click on Next and then click on Finish to start the system restore process.
- Wait for the system restore process to complete. Your computer will restart during this process.
After the system restore is complete and your computer restarts, check if the shdocvw.dll errors have been resolved. System restore allows you to roll back your system settings to a previous state, helping to eliminate any changes that might have caused the DLL errors.
If the errors persist or if you don’t have any suitable restore points available, proceed to the next method for further troubleshooting.
Method 7: Manually Replace the Shdocvw.dll File
If the shdocvw.dll file on your system is corrupted or missing, manually replacing it with a fresh copy can help resolve DLL errors. Here’s how you can manually replace the shdocvw.dll file:
- Visit a trusted DLL file download website or obtain the shdocvw.dll file from a reliable source.
- Ensure that you download the version of shdocvw.dll that is compatible with your Windows operating system. Installing an incompatible version can lead to further errors.
- Locate the downloaded shdocvw.dll file on your computer.
- Copy the shdocvw.dll file.
- Navigate to the directory where the original shdocvw.dll file is located. The default location for this file is usually
C:\Windows\System32. - Paste the copied shdocvw.dll file into the destination directory.
- If prompted, confirm the file replacement, ensuring that you are replacing the file with the correct version.
- Restart your computer to apply the changes.
After restarting, check if the shdocvw.dll errors have been resolved. Manually replacing the DLL file ensures that you have a fresh and uncorrupted version of shdocvw.dll, which can help fix DLL errors.
Note: Exercise caution when manually replacing DLL files. Ensure that you download the file from a trusted source and replace it with the correct version compatible with your Windows system. Incorrect replacement or use of incompatible DLL files can lead to further errors or system instability.
If the errors persist or if replacing the shdocvw.dll file does not resolve the issue, continue to the next method for further troubleshooting.
Method 8: Repair Your Registry
The Windows registry is a crucial component of your operating system that stores important settings and configuration information for various software and hardware on your computer. If the shdocvw.dll errors are caused by registry issues, repairing your registry can potentially resolve the problem.
It is recommended to proceed with caution when making changes to the registry, as improper modifications can cause serious system issues. Follow these steps to repair your registry:
- Press the Windows key + R to open the Run dialog box.
- Type
regeditand click OK to open the Registry Editor. - Before making any changes, it is advisable to back up your registry. To do so, click on File in the Registry Editor, then select Export. Choose a location to save the backup and provide a name.
- In the Registry Editor, navigate to the following location:
HKEY_LOCAL_MACHINE\SOFTWARE\Microsoft\Windows NT\CurrentVersion\Image File Execution Options. - Look for any entries related to shdocvw.dll. If you find any, right-click on them and select Delete. Be cautious and ensure that you are only deleting the entries specific to shdocvw.dll.
- Exit the Registry Editor.
- Restart your computer to apply the changes to the registry.
After restarting, check if the shdocvw.dll errors have been resolved. Repairing your registry removes any potentially problematic entries related to shdocvw.dll, which can help eliminate DLL errors caused by registry issues.
Note: Modifying the registry can have serious consequences if done incorrectly. It is recommended to create a registry backup and proceed with caution. If you are not familiar with the Windows registry or are unsure about making changes, it is advisable to seek assistance from a qualified professional.
If the errors persist or if you are uncomfortable making changes to the registry, proceed to the next method for further troubleshooting.
Method 9: Update Device Drivers
Outdated or incompatible device drivers can also lead to shdocvw.dll errors. Device drivers are essential software components that allow hardware devices to communicate with the operating system. Updating these drivers can help resolve issues related to DLL files, including shdocvw.dll.
Here’s how you can update your device drivers:
- Press the Windows key + X and select Device Manager from the menu. This will open the Device Manager window.
- In the Device Manager, locate the hardware categories associated with the devices you suspect may be causing the shdocvw.dll errors. Common categories include network adapters, display adapters, and sound, video, and game controllers.
- Right-click on a hardware device in the category and select Update driver from the context menu.
- Choose the option to search automatically for updated driver software. Windows will search for available updates and install them if found.
- Follow the same process for other hardware devices in the respective categories.
- Restart your computer to apply the driver updates.
After restarting, check if the shdocvw.dll errors have been resolved. Updating device drivers ensures that your hardware devices are compatible with the operating system and that any known issues or bugs have been addressed, potentially resolving DLL errors.
If the errors persist or if all device drivers are already up to date, proceed to the next method for further troubleshooting.
Method 10: Perform a Clean Installation of Windows
If all previous methods have failed to resolve the shdocvw.dll errors and your system continues to experience persistent issues, performing a clean installation of Windows might be necessary. This method involves reinstalling the operating system, which can help resolve any underlying system issues that are causing the DLL errors.
Before proceeding with a clean installation, it is crucial to back up your important files and data to prevent data loss. Once you have completed the backup, follow these steps to perform a clean installation of Windows:
- Obtain the installation media for the Windows version you want to install. This can be in the form of a DVD or a USB flash drive.
- Insert the installation media into your computer.
- Restart your computer and boot from the installation media. You may need to change the boot order in your computer’s BIOS settings to prioritize the installation media.
- Follow the on-screen prompts to proceed with the installation. Choose the option to perform a clean installation when prompted.
- Select the desired partition for the Windows installation and follow the instructions to format the partition and install a fresh copy of Windows.
- After the installation is complete, reinstall your applications and restore your files from the backup.
A clean installation of Windows removes all previous installations and files, providing a fresh start for your system. It can help eliminate any underlying issues that were causing the shdocvw.dll errors. However, this method is time-consuming and should only be considered as a last resort.
If the shdocvw.dll errors persist even after performing a clean installation of Windows, it is recommended to seek professional assistance for further troubleshooting.