
What is a Common.dll file?
A Common.dll file, also known as a Dynamic Link Library, is a collection of reusable code that multiple programs can use simultaneously. It contains functions, procedures, and data that can be accessed by different software applications, allowing them to perform specific tasks and operations. DLL files are essential for the smooth functioning of various programs and services in the Windows operating system.
Common.dll files are shared libraries that provide functionality to multiple applications, reducing the need for redundant code in each program. These files often contain commonly used functions, such as file input/output, memory allocation, and graphics processing. They help improve efficiency, save disk space, and simplify software development.
When a program needs to use a specific function or procedure, it can access the relevant code in the Common.dll file, rather than including the entire code within the program itself. This approach promotes code reusability, reduces memory consumption, and allows for easier updates or fixes to shared functionality.
Common.dll files are usually located in the system’s DLL directory or within the application’s installation folder. Each DLL file has its own unique name to prevent conflicts with other DLLs. However, errors can occur if a required Common.dll file is missing, corrupted, or incompatible with the program that relies on it.
It is important to note that Common.dll errors can occur due to various reasons, including software installation issues, malware infections, hardware problems, or system file corruption. Identifying the root cause of the error is crucial in order to apply the appropriate solution.
Common.dll is Missing or Not Found Error: Causes and Symptoms
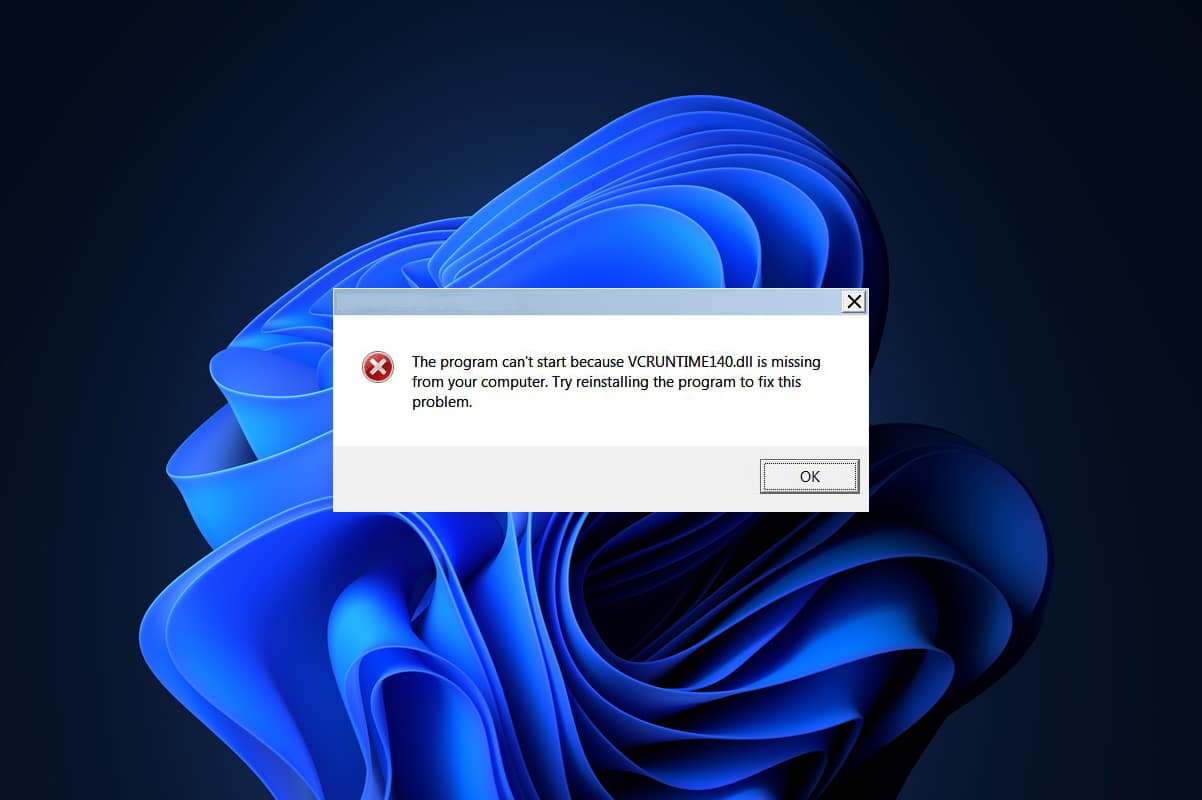
When you encounter a “Common.dll is missing or not found” error message, it indicates that the required Common.dll file is either missing, has been deleted, or is inaccessible to the program that needs it. This error can occur due to various reasons, and it’s important to understand the potential causes and associated symptoms to effectively troubleshoot the issue.
One of the common causes of the “Common.dll is missing” error is the accidental deletion of the DLL file. If you manually delete or move the Common.dll file, certain programs will be unable to locate it, resulting in the error message. Another possible cause is a faulty software installation or uninstallation process that leaves behind incomplete or corrupted DLL files.
Malware or virus infections can also lead to the “Common.dll is missing” error. Malicious software may intentionally delete or modify DLL files, causing various program-related issues. Additionally, hardware problems, such as a faulty hard drive or RAM, can corrupt DLL files, leading to error messages.
Symptoms of a “Common.dll is missing” error may vary, depending on the specific program or application that relies on the DLL file. However, common indicators include error messages stating that a specific DLL file is missing or not found, programs failing to launch or crashing unexpectedly, system slowdowns or freezes, and overall system instability.
It’s worth noting that while the error message may specifically mention a missing Common.dll file, the actual problem could be related to other DLL files that the program depends on. In such cases, the error message may still refer to the Common.dll file as the primary cause.
To effectively address the “Common.dll is missing” error, it’s important to determine the underlying cause. By identifying the specific DLL file and analyzing the symptoms, you can implement the appropriate methods to resolve the issue. In the following sections, we will discuss several methods to fix the “Common.dll is missing” error and restore the proper functioning of your programs.
Method 1: Restart Your Computer
Sometimes, a simple restart can resolve the “Common.dll is missing” error. Restarting your computer refreshes the system and can help in resolving minor software glitches or conflicts that may be causing the error.
To restart your computer, follow these steps:
- Save any unsaved work and close all open programs.
- Click on the “Start” menu and select the “Power” options.
- Choose the “Restart” option from the drop-down menu.
- Wait for your computer to shut down and restart.
Once your computer has restarted, check if the “Common.dll is missing” error still persists. In many cases, this simple solution can fix any temporary issues or conflicts that were causing the error.
If the error message reoccurs after restarting your computer, proceed to the next method to continue troubleshooting the issue. Restarting your computer is just the first step, and there might be other underlying factors causing the error that require further actions.
It’s important to keep in mind that restarting your computer is a basic troubleshooting step and may not always resolve complex DLL file-related errors. If the error persists, it’s necessary to explore alternative methods outlined in subsequent sections to address the underlying cause.
Method 2: Reinstall the Program
Reinstalling the program that is displaying the “Common.dll is missing” error can often resolve the issue. This method involves removing the existing installation of the program and then installing it again, ensuring that all necessary files, including the Common.dll file, are properly installed.
To reinstall the program, follow these steps:
- Close the program that is showing the error.
- Open the “Control Panel” on your computer.
- Navigate to the “Programs” or “Programs and Features” section.
- Locate the program that is causing the error in the list of installed programs.
- Select the program and click on the “Uninstall” or “Remove” option.
- Follow the on-screen instructions to complete the uninstallation process.
- Once the program is successfully uninstalled, restart your computer.
- After the restart, locate the installation file for the program (either on a disk or from a download).
- Run the installation file and follow the on-screen instructions to reinstall the program.
During the reinstallation process, make sure to carefully read and follow any prompts or options related to DLL files. Confirm that the necessary DLL files, including the Common.dll file, are being installed alongside the program.
Upon completing the reinstallation, launch the program and check if the “Common.dll is missing” error message persists. In most cases, reinstalling the program can resolve any issues related to missing or corrupted DLL files.
However, if the error persists even after reinstalling the program, it may be necessary to explore other methods to fix the error, as there may be underlying issues with the DLL files or the system configuration.
Method 3: Update Windows
Updating your Windows operating system can help resolve the “Common.dll is missing” error, as updates often include bug fixes, security patches, and enhancements that can address issues related to DLL files. Outdated or missing updates may cause compatibility issues, leading to the error message.
To update Windows, follow these steps:
- Open the “Settings” app on your computer.
- Click on “Update & Security.”
- Select “Windows Update” from the left-side menu.
- Click on the “Check for updates” button.
- Windows will now search for the latest updates available for your system.
- If updates are found, click on the “Install” or “Update” button to start the installation process.
- Wait for Windows to download and install the updates.
- Restart your computer if prompted after the updates are installed.
After updating Windows, launch the program that was previously displaying the “Common.dll is missing” error and check if the issue has been resolved. Windows updates can often fix system-related issues and provide the necessary files, including DLL files, to ensure proper program functionality.
If the error persists even after updating Windows, there may be other underlying causes that need to be addressed. In such cases, proceed to the next method to continue troubleshooting the issue.
Regularly updating your Windows operating system is not only beneficial for resolving DLL file-related errors, but it also helps improve system performance, stability, and security. It is recommended to keep your system up to date by installing the latest updates provided by Microsoft.
Method 4: Run a Virus Scan
Running a virus scan on your computer can help identify and remove any malware or viruses that may be causing the “Common.dll is missing” error. Malicious software can corrupt DLL files, resulting in errors and disruptions to program functionality. By conducting a thorough virus scan, you can eliminate potential threats and restore the integrity of your system files.
To run a virus scan on your computer, follow these steps:
- Ensure that you have an up-to-date antivirus program installed on your computer. If you don’t have one, consider installing a reputable antivirus software.
- Open your antivirus software and navigate to the scanning options.
- Select a full system scan or a deep scan option to thoroughly examine all files and directories on your computer. Alternatively, you can choose to scan specific folders or drives where the program displaying the error is installed.
- Start the scan and allow the antivirus program to run its course. This process may take some time depending on the size of your files and the speed of your computer.
- If the antivirus program detects any malware or viruses, follow the prompts to quarantine or remove the threats.
- Once the scan is complete, restart your computer to ensure that any remaining malware or viruses are completely removed.
After running a thorough virus scan and removing any threats, launch the program that was previously showing the “Common.dll is missing” error and check if the issue has been resolved. If the error persists, proceed to the next method for further troubleshooting.
Regularly running virus scans on your computer is crucial for maintaining a secure system and protecting your data from potential threats. It is recommended to schedule regular scans or perform manual scans, depending on your antivirus software’s capabilities, to ensure continuous protection against malware and viruses.
Method 5: Restore the Common.dll File from Recycle Bin
If you accidentally deleted the Common.dll file, it may still be recoverable from the Recycle Bin. The Recycle Bin on your computer temporarily stores deleted files, providing a safety net in case you delete something by mistake. By restoring the Common.dll file from the Recycle Bin, you can resolve the “Common.dll is missing” error.
To restore the Common.dll file from the Recycle Bin, follow these steps:
- Double-click on the Recycle Bin icon on your desktop to open it.
- Locate the Common.dll file in the list of deleted files. You can use the search bar or sort the files by name to ease the search process.
- Select the Common.dll file by clicking on it once to highlight it.
- Right-click on the selected file and choose the “Restore” option from the context menu.
- The Common.dll file will be restored to its original location on your computer.
After restoring the Common.dll file, launch the program that was previously experiencing the “Common.dll is missing” error and check if the issue has been resolved. The program should now locate the required DLL file, allowing for proper functioning without displaying any error messages.
In some cases, the Common.dll file may have been permanently deleted, or your Recycle Bin may have been emptied. If this is the case, you will need to explore alternative methods to restore the Common.dll file. It is recommended to proceed to the next method for further troubleshooting in such scenarios.
To prevent accidental deletion of vital DLL files in the future, exercise caution when deleting files and regularly back up important files to avoid any loss or inconvenience.
Method 6: Use System File Checker (SFC) to Repair Corrupted System Files
The System File Checker (SFC) is a built-in Windows tool that can help repair corrupted system files, including DLL files. By running the SFC scan, you can identify and fix any issues with the Common.dll file or other system files that may be causing the “Common.dll is missing” error.
To use the System File Checker (SFC) tool, follow these steps:
- Open the Command Prompt as an administrator. Right-click on the “Start” menu and select “Command Prompt (Admin)” or “Windows Powershell (Admin)”.
- In the Command Prompt window, type the following command and press Enter:
sfc /scannow - Wait for the scan to complete. The SFC tool will scan and repair any corrupted system files it finds.
- Once the scan is finished, restart your computer to apply any repairs made by the SFC tool.
After restarting your computer, launch the program that was previously displaying the “Common.dll is missing” error and check if the issue has been resolved. The SFC scan should have repaired any corrupted system files, including the Common.dll file, restoring proper functionality to the program.
It’s important to note that the SFC tool may take some time to complete, especially if it needs to repair multiple system files. Be patient and let the scan finish without interrupting it.
If the SFC scan does not fix the “Common.dll is missing” error or if it reports that it was unable to repair certain files, you may need to consider alternative methods to address the issue, such as manually replacing the Common.dll file or performing a system restore.
Regularly using the System File Checker (SFC) tool is a good practice to maintain the integrity of your system files. It can help prevent and resolve various errors, including DLL-related issues, ensuring the smooth operation of your computer.
Method 7: Re-register the Common.dll File
Re-registering the Common.dll file can help resolve the “Common.dll is missing” error by ensuring that it is properly registered in the Windows registry. When a DLL file is registered, it creates the necessary entries in the registry for the operating system to locate and use the file correctly. By re-registering the Common.dll file, you can fix any issues with its registration and restore its functionality.
To re-register the Common.dll file, follow these steps:
- Open the Command Prompt as an administrator. Right-click on the “Start” menu and select “Command Prompt (Admin)” or “Windows Powershell (Admin)”.
- In the Command Prompt window, type the following command and press Enter:
regsvr32 /u Common.dll - Wait for the command to complete. This will unregister the Common.dll file.
- Type the following command and press Enter to re-register the Common.dll file:
regsvr32 Common.dll - Once the registration process is complete, restart your computer.
After restarting your computer, launch the program that was previously displaying the “Common.dll is missing” error and check if the issue has been resolved. Re-registering the Common.dll file should ensure that it is correctly recognized by the operating system, allowing the program to access and utilize it without any errors.
If the “Common.dll is missing” error persists after re-registering the DLL file, there may be other underlying causes that need to be addressed. In such cases, proceed to the next method for further troubleshooting.
Re-registering DLL files can help resolve various issues related to their registration and proper functioning. However, it’s important to exercise caution and ensure that you are re-registering the correct DLL file to avoid any unintended consequences on system stability or functionality.
Method 8: Update Device Drivers
Outdated or faulty device drivers can sometimes cause the “Common.dll is missing” error. Device drivers are software components that allow your hardware devices to communicate with the operating system. If the driver associated with a particular hardware component is outdated or incompatible, it can lead to errors and malfunctions, including issues with DLL files.
To update your device drivers, follow these steps:
- Press the
Windows key + Xon your keyboard and select “Device Manager” from the menu that appears. - In the Device Manager window, expand the category related to the hardware device in question (e.g., Display Adapters, Sound, video, and game controllers).
- Right-click on the specific device and select “Update driver” from the context menu.
- Choose the option to automatically search for updated drivers. Windows will search your computer and the internet for the latest driver software.
- If an updated driver is found, follow the prompts to download and install it.
- Restart your computer to apply the driver updates.
After restarting your computer, launch the program that was previously displaying the “Common.dll is missing” error and check if the issue has been resolved. Updating device drivers can eliminate compatibility issues and ensure that the hardware components interact properly with the operating system and related DLL files.
If the “Common.dll is missing” error persists after updating the device drivers, you may need to consider alternative methods to address the issue. It’s also worth noting that keeping your device drivers up to date is essential for system stability and performance.
Regularly checking for and installing the latest device driver updates can help resolve various hardware-related issues and minimize the occurrence of DLL file errors. Consider using tools or software designed to simplify the driver update process and ensure that you have the most current and compatible drivers installed.
Method 9: Perform a Clean Installation of Windows
If none of the previous methods have resolved the “Common.dll is missing” error, performing a clean installation of Windows may be necessary. A clean installation involves completely reinstalling the operating system, which can help fix any underlying issues, including corrupted system files or incompatible software configurations that may be causing the error.
Before proceeding with a clean installation, it is crucial to backup all your important files and data, as this process will erase everything on your computer’s hard drive.
To perform a clean installation of Windows, follow these steps:
- Create a Windows installation media by either burning the Windows ISO file to a DVD or creating a bootable USB drive.
- Restart your computer and boot from the installation media. You may need to change the boot order in your computer’s BIOS to prioritize the installation media.
- Follow the on-screen instructions to proceed with the installation process. When prompted, choose the “Custom” installation option.
- Select the hard drive or partition where you want to install Windows and format it to remove all existing data.
- Complete the installation by following the remaining prompts and entering any necessary information, such as your product key and preferred settings.
After the clean installation of Windows, reinstall your programs and drivers. This will ensure a fresh and stable operating system environment, potentially resolving any issues related to the “Common.dll is missing” error.
Performing a clean installation of Windows is a time-consuming process and should be considered as a last resort. Ensure that you have all the necessary installation files and product keys before proceeding, and be prepared to reinstall all your applications and drivers after the installation is complete.
It’s important to note that a clean installation should only be performed if you are confident in your technical abilities. If you are unsure, it may be best to seek assistance from a professional or consult the support resources provided by your computer’s manufacturer or Microsoft.
Method 10: Contact Customer Support
If all other methods have been attempted and the “Common.dll is missing” error persists, it may be time to reach out to customer support for assistance. Customer support teams are trained to handle technical issues and can provide personalized guidance and troubleshooting steps based on your specific situation.
Here are some steps to help you get in touch with customer support:
- Identify the program or application that is displaying the “Common.dll is missing” error.
- Visit the official website of the software or application and look for a support or contact section. Usually, there will be a “Support” or “Contact Us” link at the bottom of the website.
- Click on the support or contact link to access the available support options.
- Look for contact options such as phone numbers, email addresses, or live chat support.
- Choose the contact method that you prefer and reach out to the customer support team. Provide them with detailed information about the error and the steps you have already taken to troubleshoot the issue.
- Follow the instructions provided by the customer support representative and cooperate with them in resolving the error.
Customer support teams are well-equipped to handle complex issues and may have specific troubleshooting steps or suggestions that are not covered in general online resources. They can guide you through the process of resolving the “Common.dll is missing” error and provide any necessary updates or patches for the software.
Remember to be patient and courteous when contacting customer support. Provide them with all the relevant details and any error messages you have encountered. This will help them understand your issue better and offer a more targeted solution.
If the software or application in question does not provide customer support or if you are unable to reach them, consider seeking assistance from a computer technician or IT professional who can analyze and diagnose the error further.
Contacting customer support should be considered when all other methods have been exhausted. Their expertise and assistance can greatly aid in resolving the “Common.dll is missing” error and restoring the proper functionality of the software or application.