
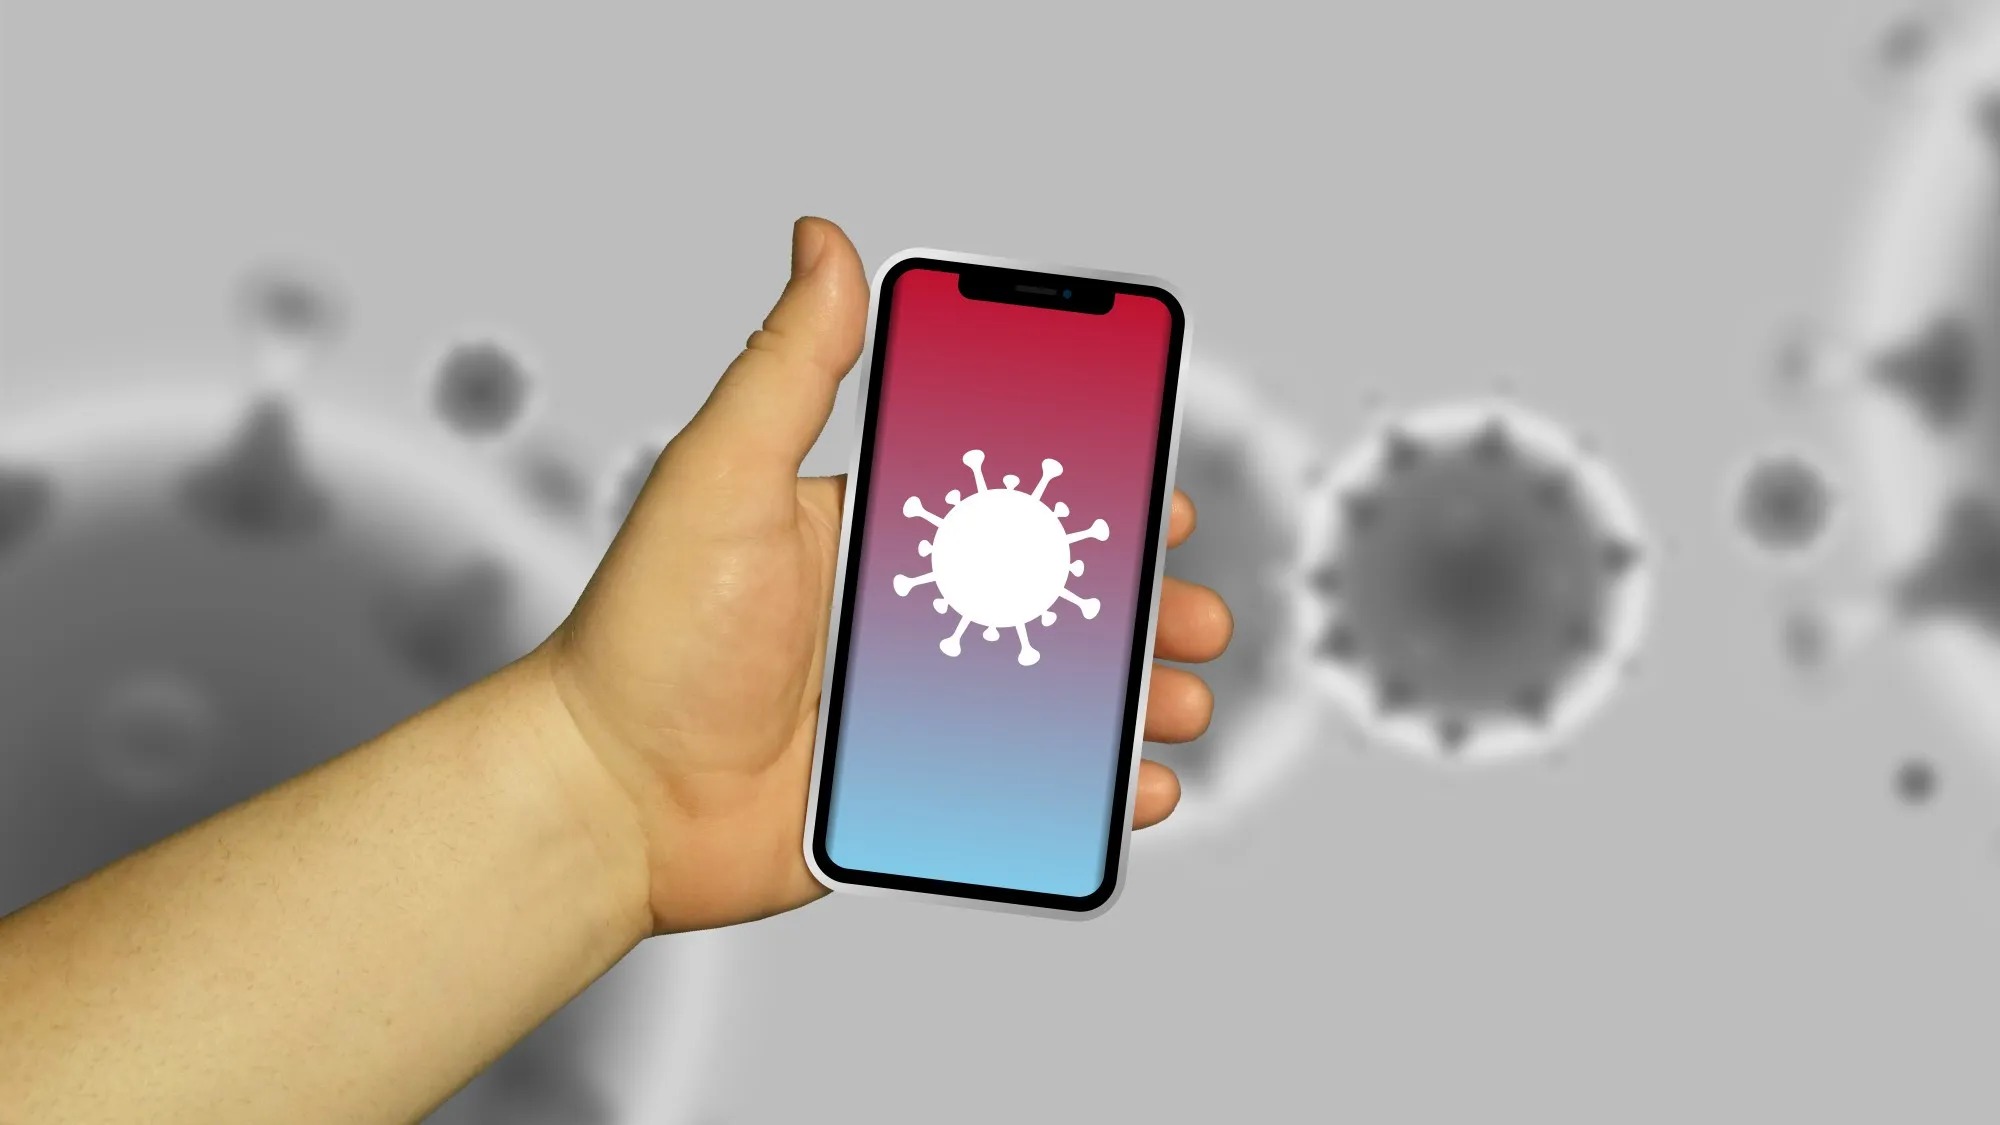
Check for Malicious Apps
One of the first steps to fixing a virus warning pop-up on your Android device is to check for malicious apps. Malware and other harmful software can often be the culprit behind these alarming notifications. Here’s how you can identify and eliminate these apps:
1. Review Recently Installed Apps: Start by examining the apps you’ve recently downloaded or updated. Go to your device’s settings, then navigate to the “Apps” or “Applications” section. Look for any unfamiliar or suspicious apps that you don’t remember installing.
2. Read App Reviews: If you come across an app that you’re unsure about, check its reviews on the Google Play Store or other trusted sources. Look for any mentions of malware, suspicious behaviors, or other warning signs from users.
3. Verify App Permissions: Pay attention to the permissions requested by each app. Some malicious apps may ask for excessive permissions that are unrelated to their functionality. If an app requests unnecessary access to things like your contacts, messages, or device settings, it’s best to uninstall it.
4. Utilize Security Apps: Install a reputable mobile security app from a trusted provider. These apps can help detect and remove malicious software from your device. They often provide real-time scanning, app monitoring, and other proactive measures to protect your device.
5. Keep Apps Updated: Regularly update your installed apps to ensure you have the latest security patches and bug fixes. Developers frequently release updates to address vulnerabilities and improve overall app security.
By following these steps, you can identify and remove any malicious apps that may be causing the virus warning pop-ups. However, if the issue persists, there may be other factors at play, and further troubleshooting may be necessary. Let’s explore the next steps to fix the problem in the following sections.
Restart in Safe Mode
If you’re still experiencing virus warning pop-ups on your Android device, restarting it in Safe Mode can help you identify and isolate any problematic apps or processes. Safe Mode allows your device to boot up with only the essential system apps and services running, disabling third-party apps temporarily. Here’s how you can restart your Android device in Safe Mode:
1. Power Off your device: Press and hold the Power button on your device until the power menu appears.
2. Long-Press the Power Off option: On most devices, you can long-press the Power Off option on the screen or in the power menu. This will prompt a pop-up asking if you want to reboot your device in Safe Mode.
3. Select OK or Restart: Tap on OK or Restart to confirm and reboot your device in Safe Mode. Your device will now restart with only the necessary system apps and services enabled.
4. Check for Pop-Ups: Once your device boots up in Safe Mode, observe if you still encounter virus warning pop-ups. If the pop-ups cease in Safe Mode, it suggests that a third-party app is causing the issue.
5. Uninstall Suspicious Apps: While in Safe Mode, go to your device’s settings and navigate to the “Apps” or “Applications” section. Uninstall any recently installed apps that you suspect may be responsible for the virus warning pop-ups.
6. Exit Safe Mode: To exit Safe Mode, simply restart your device as you normally would. When your device restarts, it will boot up in normal mode with all your apps restored.
Restarting your Android device in Safe Mode can be an effective way to identify and eliminate any problematic apps that may be triggering the virus warning pop-ups. However, if the issue persists, proceeding with the next troubleshooting steps will help resolve the problem.
Uninstall Recently Installed Apps
If you’re still encountering virus warning pop-ups on your Android device, it’s important to evaluate and uninstall any recently installed apps that might be causing the issue. Some apps may contain malware or engage in suspicious activities, triggering these alarming notifications. Here’s how you can uninstall recently installed apps:
1. Access App Settings: Open your device’s settings and navigate to the “Apps” or “Applications” section. This section may be located under different names, depending on your device’s manufacturer and Android version.
2. Sort Apps by Date: Within the “Apps” section, look for an option to sort the apps by “Date” or “Installation Date”. This will allow you to see the most recently installed apps at the top of the list.
3. Identify Suspicious Apps: Review the list of recently installed apps and look for any unfamiliar or suspicious ones. Pay attention to the app names, icons, and developer information. If you find an app that raises suspicion, it’s best to uninstall it.
4. Uninstall the App: Tap on the suspicious app and select the “Uninstall” option. Follow the on-screen prompts to confirm the app removal. Once uninstalled, restart your device to ensure any associated processes are terminated.
5. Monitor for Pop-Ups: After uninstalling the suspicious app, monitor your device for any further virus warning pop-ups. If the pop-ups persist, repeat the process and uninstall any other recently installed apps that raise suspicion.
By uninstalling recently installed apps that might be triggering the virus warning pop-ups, you can eliminate potential sources of the issue. However, if the problem persists, it’s important to proceed with the next troubleshooting steps to ensure a thorough resolution.
Clear Cache and Data of Suspected Apps
If you’re still experiencing virus warning pop-ups on your Android device after uninstalling suspicious apps, clearing the cache and data of suspected apps can help resolve any lingering issues. Cache and data buildup can sometimes cause app malfunctions and trigger unwanted notifications. Here’s how you can clear the cache and data of suspected apps:
1. Access App Settings: Open your device’s settings and navigate to the “Apps” or “Applications” section.
2. Select Suspected App: Scroll through the list of installed apps and tap on the suspected app that you believe may be causing the virus warning pop-ups.
3. Clear Cache: Within the app’s settings, locate the “Storage” or “Storage & Cache” option. Tap on it to access the cache and data management options. Select the “Clear Cache” button to remove the temporary files stored by the app.
4. Clear Data: In the same storage management section, you’ll find the option to clear the app’s data. Be aware that clearing data will remove all the app’s settings, accounts, and saved information. Tap on the “Clear Data” or “Clear Storage” button to proceed.
5. Confirm Action: A warning message will appear, informing you that clearing data will erase all the app’s data permanently. Confirm the action to proceed with the data clearance.
6. Restart the Device: After clearing the cache and data of the suspected app, restart your device for the changes to take effect. This will also ensure any background processes linked to the app are terminated.
7. Monitor for Pop-Ups: Once your device restarts, monitor it for any further virus warning pop-ups. If the notifications cease, it indicates that the clearing of cache and data has resolved the issue. If the pop-ups persist, continue with the next troubleshooting steps.
By clearing the cache and data of suspected apps, you can eliminate any temporary files or lingering data that may be causing the virus warning pop-ups. This step can help restore normal app functionality and resolve issues related to cache buildup or corrupt data. However, if the problem continues, further investigation and troubleshooting are necessary.
Update Android and Apps
Keeping your Android device and apps up to date is crucial for maintaining optimal performance and security. Outdated operating systems and apps can have vulnerabilities that malicious actors exploit, leading to virus warning pop-ups and other issues. Here’s how you can update Android and your apps:
1. Update Android: Go to your device’s settings and scroll down to find the “System” or “About Phone” section. Look for the “System Updates” or “Software Update” option. Tap on it to check for available updates. Follow the on-screen instructions to download and install any available updates for your Android version. Regularly checking for and installing system updates ensures that your device has the latest security patches and bug fixes.
2. Update Apps Manually: Open the Google Play Store on your device and tap on the three horizontal lines in the upper-left corner to access the menu. Select “My apps & games” from the menu. In the “Updates” tab, you’ll see a list of apps that have updates available. Tap the “Update” button next to each app or select “Update all” to update all apps at once. Keeping your apps up to date ensures they have the latest security measures and bug fixes.
3. Enable Auto-Update: To simplify the updating process, you can enable auto-updates for apps. In the Google Play Store, go to the menu and select “Settings.” Under “General,” you’ll find the “Auto-update apps” option. Tap on it and choose either “Over Wi-Fi only” or “Over any network” to enable automatic updates. This way, your apps will update in the background without requiring manual intervention.
4. Restart the Device: After updating Android and your apps, restart your device. The restart ensures that all changes take effect and any background processes related to the updates are properly initialized.
By keeping your Android device and apps up to date, you ensure that you have the latest security protections and bug fixes. Updating Android and your apps can help resolve issues related to outdated software and reduce the risk of encountering virus warning pop-ups. However, if the problem persists, further troubleshooting is necessary.
Scan for Malware and Viruses
If you’re still encountering virus warning pop-ups on your Android device, conducting a thorough scan for malware and viruses is essential. Malicious software can often go undetected and cause various issues, including triggering alarming notifications. Here’s how you can scan your device for malware and viruses:
1. Install a Mobile Security App: Download and install a reputable mobile security app from a trusted provider. There are several options available on the Google Play Store, such as Avast, McAfee, or Bitdefender. These apps offer comprehensive virus scanning and detection features.
2. Run a Full Scan: Open the mobile security app and run a full scan of your device. The scanner will examine all files, apps, and data on your device for any signs of malware or viruses. During the scan, ensure that your device is connected to a stable internet connection to receive the latest virus definition updates.
3. Review Scan Results: Once the scan is complete, review the results provided by the mobile security app. It will report any detected malware or viruses along with recommended actions. Follow the app’s instructions to clean or quarantine any malicious files found.
4. Perform Regular Scans: To maintain a secure device, schedule regular scans with the mobile security app. Set it to automatically scan your device on a weekly or monthly basis. Regular scanning helps ensure that your device remains protected from new threats.
5. Consider Additional Security Measures: Alongside regular scans, it’s important to practice safe browsing habits and be cautious when downloading apps from third-party sources. Avoid clicking on suspicious links or downloading files from unknown websites. Enable Google Play Protect, which provides another layer of app scanning and protection.
By regularly scanning your device for malware and viruses, you can detect and eliminate any malicious software that might be causing the virus warning pop-ups. Mobile security apps offer real-time scanning and provide added layers of protection for your device. However, if the issue persists, further investigation and troubleshooting are required.
Reset App Preferences
If you’re still experiencing virus warning pop-ups on your Android device, resetting the app preferences can be a useful troubleshooting step. Resetting app preferences can help resolve any issues related to app settings or preferences that may have been inadvertently changed. Here’s how you can reset app preferences on your Android device:
1. Access App Settings: Open your device’s settings and navigate to the “Apps” or “Applications” section.
2. Open App Preferences: Look for the “App preferences” or “Default apps” option in the app settings menu. The location may vary depending on your device and Android version.
3. Reset App Preferences: Once you’re in the app preferences menu, locate the option to reset the preferences. On most devices, you’ll find a three-dot menu icon or a dedicated “Reset” button. Tap on it to initiate the process of resetting the app preferences.
4. Confirm the Reset: A confirmation message will appear, informing you that resetting app preferences will restore all app settings to their default values. Confirm the reset to proceed.
5. Restart the Device: After resetting the app preferences, it’s advisable to restart your Android device. This ensures that the changes take effect and any cached data or background processes linked to the app preferences are cleared.
6. Adjust App Settings: Once your device restarts, you may need to go back to the app settings and modify your preferences according to your needs. Resetting the app preferences will restore the default settings, so you may need to reconfigure any personalized options or permissions for individual apps.
By resetting app preferences, you can resolve any issues that may have occurred due to misconfigured app settings. This step can help restore normal functionality and eliminate the virus warning pop-ups. However, if the problem persists, further troubleshooting may be necessary.
Factory Reset the Device
If all previous troubleshooting steps have failed to eliminate the virus warning pop-ups on your Android device, performing a factory reset may be the most effective solution. A factory reset erases all data and settings, returning your device to its original state when it was first purchased. However, it’s crucial to note that this step will permanently delete all your apps, media, accounts, and personal data. Here’s how you can perform a factory reset on your Android device:
1. Backup Your Data: Before proceeding with a factory reset, it’s essential to back up your important data and files. You can do this by syncing your device with your Google account, using cloud storage services, or transferring files to an external storage device.
2. Access Backup & Reset Options: Open your device’s settings and navigate to the “System” or “General Management” section. Look for the “Backup & Reset” or “Reset” option. Within this menu, you’ll find the option to restore your device to factory settings.
3. Select Factory Data Reset: Tap on the “Factory Data Reset” or “Erase All Data” option. A warning message will appear, informing you about the permanent erasure of your data. Read the message carefully and proceed if you’re certain about performing a factory reset.
4. Confirm the Reset: To confirm the factory reset, you may be asked to enter your device’s PIN, pattern, or password. After confirming, your device will begin the process of erasing all data and restoring it to its original settings.
5. Follow on-screen instructions: The factory reset process may take some time to complete. Your device will restart, and you’ll need to go through the initial setup process as if you’re setting up a new device. Follow the on-screen instructions to complete the setup.
Performing a factory reset will remove any malicious software, including the virus warning pop-ups. However, it’s crucial to note that this step is irreversible and will erase all your personal data. After the factory reset, make sure to reinstall apps and restore your data from the backup you created earlier.
By factory resetting your device, you can effectively eliminate any persistent issues that couldn’t be resolved through other troubleshooting methods. However, it’s recommended to consider this step as a last resort and explore other options before resorting to a factory reset.