
Why do you need to find the default IP address of your Belkin router?
When it comes to managing your Belkin router, knowing the default IP address is essential. This IP address is the gateway that allows you to access the router’s web interface and make changes to its settings. Whether you want to set up port forwarding, configure security options, or troubleshoot network issues, finding the default IP address is the first step in the process.
Here are a few reasons why finding the default IP address of your Belkin router is crucial:
- Router configuration: Accessing the router’s interface is necessary to modify settings such as Wi-Fi passwords, network name, and firmware updates. Without the default IP address, you’ll be unable to make these changes.
- Network troubleshooting: If you’re experiencing network connectivity issues, knowing the default IP address allows you to log in to the router and check the status of the connection. You can also diagnose and resolve problems by accessing the router’s advanced settings.
- Security enhancements: By accessing the Belkin router’s interface, you can strengthen the security of your network. You can enable encryption protocols, set up a guest network, and configure firewall settings to protect your devices from unauthorized access.
- Port forwarding and gaming: Gamers often need to forward specific ports to improve their online gaming experience. Locating the default IP address of your Belkin router allows you to open the necessary ports and enable smooth gaming.
Overall, finding the default IP address of your Belkin router gives you full control over its settings, security, and network performance. It empowers you to make necessary adjustments and optimizations to ensure a seamless and secure connection for all your devices.
Now that you understand the importance of finding the default IP address, let’s proceed with the step-by-step guide to help you locate this vital information.
Step 1: Connect to your Belkin router
Before you can find the default IP address of your Belkin router, you need to establish a connection between your computer and the router. Follow these steps to connect:
- Connect your computer to the router: Use an Ethernet cable or connect to the router’s Wi-Fi network. Make sure you have a stable connection to proceed.
- Open a web browser: Launch your preferred web browser on the connected computer. It could be Chrome, Firefox, Safari, or any other browser you have installed.
- Ensure a clear cache: Clearing your browser cache can help prevent any conflicts or issues when accessing the router’s web interface. Go to the browser’s settings and clear the cache and cookies.
- Disable VPN or proxy: If you are using a VPN or proxy connection, disable them temporarily as they may interfere with connecting to the router.
Once you have successfully connected your computer to the Belkin router and taken the necessary precautions, you are ready to proceed to the next step.
Keep in mind that the process may vary slightly depending on your computer’s operating system and the Belkin router model you are using. However, the general steps outlined here should be applicable to most scenarios.
Step 2: Use the Command Prompt (Windows) or Terminal (Mac) to find the default IP address
Now that you are connected to your Belkin router, it’s time to find the default IP address. Follow the guidelines below based on your computer’s operating system:
- Windows:
- Open the Command Prompt: Press the Windows key + R to open the Run dialog box. Type “cmd” and press Enter to launch the Command Prompt.
- Enter the command: In the Command Prompt window, type “ipconfig” and press Enter. Look for the “Default Gateway” information. This is your Belkin router’s default IP address.
- Mac:
- Open the Terminal: Go to Finder > Applications > Utilities > Terminal to launch the Terminal application.
- Enter the command: In the Terminal window, type “netstat -nr | grep default” and press Enter. Look for the IP address listed next to “default”. This is your Belkin router’s default IP address.
Remember, the default IP address is typically in the format “192.168.x.x” or “10.0.x.x”. Note down the IP address you find as you will need it for the next step.
If for any reason you encounter difficulties using the Command Prompt or Terminal, you can move on to the next step to explore alternative methods of finding the default IP address of your Belkin router.
Step 3: Check the router documentation or label
If you haven’t been able to locate the default IP address of your Belkin router using the Command Prompt or Terminal, don’t worry. The next step is to check the router documentation or label for the necessary information. Here’s what you can do:
- Refer to the user manual: Locate the user manual that came with your router. It usually provides detailed information about the router’s default IP address, along with other important settings.
- Inspect the router label: Look for a label on your Belkin router. The label may be on the back, bottom, or side of the device. It typically includes important details about the router, including the default IP address.
- Visit the Belkin support website: If you don’t have the user manual or cannot find the label, visit the official Belkin support website. Search for your router model and look for the documentation or FAQ section. It should provide you with the default IP address information.
By referring to the router documentation or label, you can easily find the default IP address without any additional troubleshooting. Keep in mind that different Belkin router models may have slightly different default IP addresses, so be sure to check the specific information related to your router model.
If you are still unable to locate the default IP address through this step, there are a few more methods you can try to find the information. We will discuss these alternative methods in the next step.
Step 4: Try common default IP addresses for Belkin routers
If you haven’t been able to find the default IP address of your Belkin router through the previous steps, don’t worry. There are common default IP addresses that Belkin routers often use. Follow these steps to try alternative IP addresses:
- Access your router interface: Open a web browser and enter one of the following IP addresses into the address bar:
- 192.168.2.1
- 192.168.0.1
- 192.168.1.1
- 10.0.0.1
- 10.0.1.1
- Press Enter: After entering one of the IP addresses, hit Enter or click Go to proceed.
- Check if the router interface loads: If the router’s web interface loads successfully, congratulations! You have found the default IP address of your Belkin router.
- If the interface doesn’t load: If the interface doesn’t load or you encounter an error message, it means the IP address you entered is not the correct default IP address for your router.
- Repeat the process: Try the remaining IP addresses from the list until you find the correct default IP address.
While these IP addresses are commonly used by Belkin routers, it’s important to note that there may be variations depending on your specific model. If none of the common default IP addresses work, you may need to explore other methods or consult Belkin support for further assistance.
Once you have successfully accessed the Belkin router interface using the default IP address, you can proceed to make any necessary configuration changes and customize your router according to your needs.
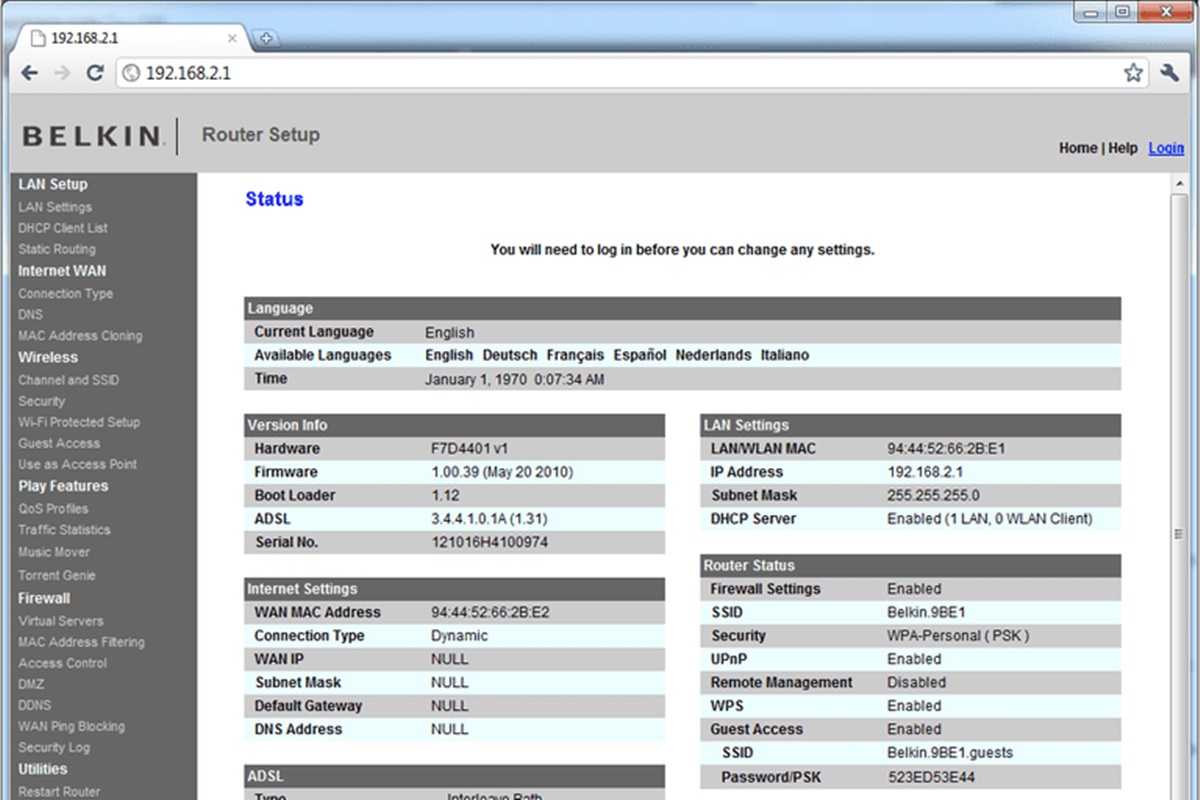
Step 5: Access the Belkin router interface using the default IP address
Now that you have successfully found the default IP address of your Belkin router, it’s time to access the router’s web interface. Follow these steps to begin:
- Open a web browser: Launch your preferred web browser on the computer that is connected to the Belkin router.
- Type the default IP address: In the address bar of the browser, enter the default IP address you found in the previous steps. Press Enter or click Go to proceed.
- Enter login credentials: You will be redirected to the Belkin router’s login page. Enter the appropriate login credentials to access the router’s web interface. If you haven’t changed the default username and password, refer to the router documentation or label for the default login credentials.
- Explore the router interface: Once you have successfully logged in, you will have access to the router’s web interface. From here, you can navigate through various settings, including wireless configuration, security options, port forwarding, and more.
- Make necessary changes: Depending on your requirements, you can now make the necessary changes to customize your router’s settings. Remember to save any changes you make before exiting the interface.
The Belkin router interface may have a different layout and options depending on the model and firmware version. Take your time to explore the available settings and familiarize yourself with the interface as you manage your router.
By accessing the Belkin router interface, you have full control over the router’s settings and can optimize its performance, security, and network connectivity according to your needs.
If you encounter any issues accessing the router interface or making changes, consult the Belkin user manual or contact their customer support for further assistance.
Troubleshooting: What to do if you still can’t find the default IP address
If you have followed the previous steps and are still unable to find the default IP address of your Belkin router, there are a few additional troubleshooting steps you can take:
- Restart your router and computer: Power off your Belkin router and computer. After a few seconds, turn them back on. This simple step can sometimes resolve connectivity issues and refresh the network settings.
- Reset the router: Locate the reset button on your router (usually a small pinhole). Use a paperclip or similar tool to press and hold the reset button for about 10 seconds. This will reset the router back to its factory default settings, including the default IP address. Note that resetting the router will erase any customized settings.
- Check network connections: Ensure that your computer is properly connected to the Belkin router, either via Ethernet cable or Wi-Fi. Double-check the cables and make sure they are securely plugged in. If using Wi-Fi, try moving closer to the router or resetting the Wi-Fi connection.
- Use a network scanning tool: There are network scanning tools available that can help you scan your network and identify the IP addresses of connected devices. You can use these tools to search for the Belkin router’s IP address and identify any IP conflicts.
- Consult Belkin support: If all else fails, it is best to reach out to Belkin’s customer support. They will have access to detailed knowledge about your specific router model and can provide further assistance in locating the default IP address.
Remember, troubleshooting steps may vary depending on your computer’s operating system, Belkin router model, and network setup. If you encounter any difficulties, referring to the user manual or contacting Belkin support is always a good option.
By following these troubleshooting steps, you should be able to find the default IP address of your Belkin router and gain access to its web interface for further configuration and management.