
Why Crop a Picture in PowerPoint
Cropping a picture in PowerPoint is a useful tool that allows you to remove unwanted parts of an image, adjust the composition, and create a more focused and visually appealing presentation. By cropping a picture, you can highlight specific elements, eliminate distractions, and enhance the overall visual impact of your slides. Here are a few key reasons why you should consider cropping pictures in PowerPoint:
- Improved Visual Clarity: Cropping an image helps eliminate unnecessary details or distractions, ensuring that the main subject of the picture becomes the center of attention. By removing irrelevant elements, you can create a clear and uncluttered visual representation that effectively conveys your message.
- Enhanced Composition: Cropping allows you to adjust the composition of an image by resizing and repositioning it within a slide. This can be incredibly useful when you need to align an image with other elements, such as text or other visuals, to create a cohesive and balanced design.
- Highlighting Specific Details: Cropping enables you to emphasize specific aspects of an image by zooming in and focusing on key elements. This technique can be particularly effective when presenting data, diagrams, or intricate visuals, allowing you to draw attention to the information that matters most.
- Removing Unwanted Background: In many cases, pictures may contain distracting or irrelevant backgrounds that detract from the main subject. By cropping the image, you can eliminate these background elements and create a cleaner, more professional appearance.
- Optimizing Image Placement: Cropping allows you to fit an image into a specific space or shape within a slide. This is particularly useful when working with templates or predefined layouts, ensuring that the picture fits seamlessly within the designated area without any distortion or loss of quality.
By utilizing the cropping feature in PowerPoint, you have the power to transform ordinary images into compelling visuals that enhance the impact and effectiveness of your presentations. Whether you need to focus on a particular detail or create a more aesthetically pleasing design, cropping pictures is an essential skill that every PowerPoint user should master.
Different Methods to Crop a Picture in PowerPoint
PowerPoint offers several methods to crop a picture, each with its own unique features and benefits. Understanding these different methods will enable you to choose the most suitable technique for your specific cropping needs. Let’s explore these methods:
- Using the Crop Tool: PowerPoint provides a user-friendly Crop tool that allows you to manually adjust the size and position of the crop rectangle. Simply select the picture, click on the Crop tool in the Picture Format tab, and then drag the handles of the crop rectangle to adjust the desired area. This method is ideal for precise cropping and offers flexibility in shaping the image.
- Crop to Shape: This method enables you to crop a picture to a specific shape, such as a circle, star, or arrow. PowerPoint offers a wide range of predefined shapes that can be easily applied to your image. To use this method, select the picture, go to the Picture Format tab, click on the Crop to Shape button, and choose your desired shape from the drop-down menu. This technique is great for adding creativity and visual interest to your cropped images.
- Crop to Aspect Ratio: If you want to maintain a specific aspect ratio or resize your image proportionally, this method is ideal. With the picture selected, navigate to the Picture Format tab, click on the Aspect Ratio button, and select the desired aspect ratio or enter custom dimensions. This technique is particularly useful when you need to resize multiple pictures consistently.
- Removing Background: PowerPoint’s Remove Background feature allows you to automatically remove the background from an image. Select the picture, go to the Picture Format tab, click on the Remove Background button, and PowerPoint will attempt to identify and remove the background. You can fine-tune the results by manually adjusting the selection markers. This method is perfect for isolating the main subject of an image and ensuring a clean background.
- Freeform Crop: For more advanced cropping needs, PowerPoint offers the Freeform Crop tool. With this tool, you can manually draw a custom crop shape around the desired area of the picture. After selecting the picture, click on the Crop tool, and then press and hold the Ctrl key while dragging the mouse to create a freehand crop shape. This method gives you precise control over the crop area, allowing you to achieve unique and customized cropping effects.
These various methods provide the flexibility to crop images in PowerPoint according to your specific requirements. Experimenting with each technique will help you determine the most effective approach for achieving your desired visual outcome.
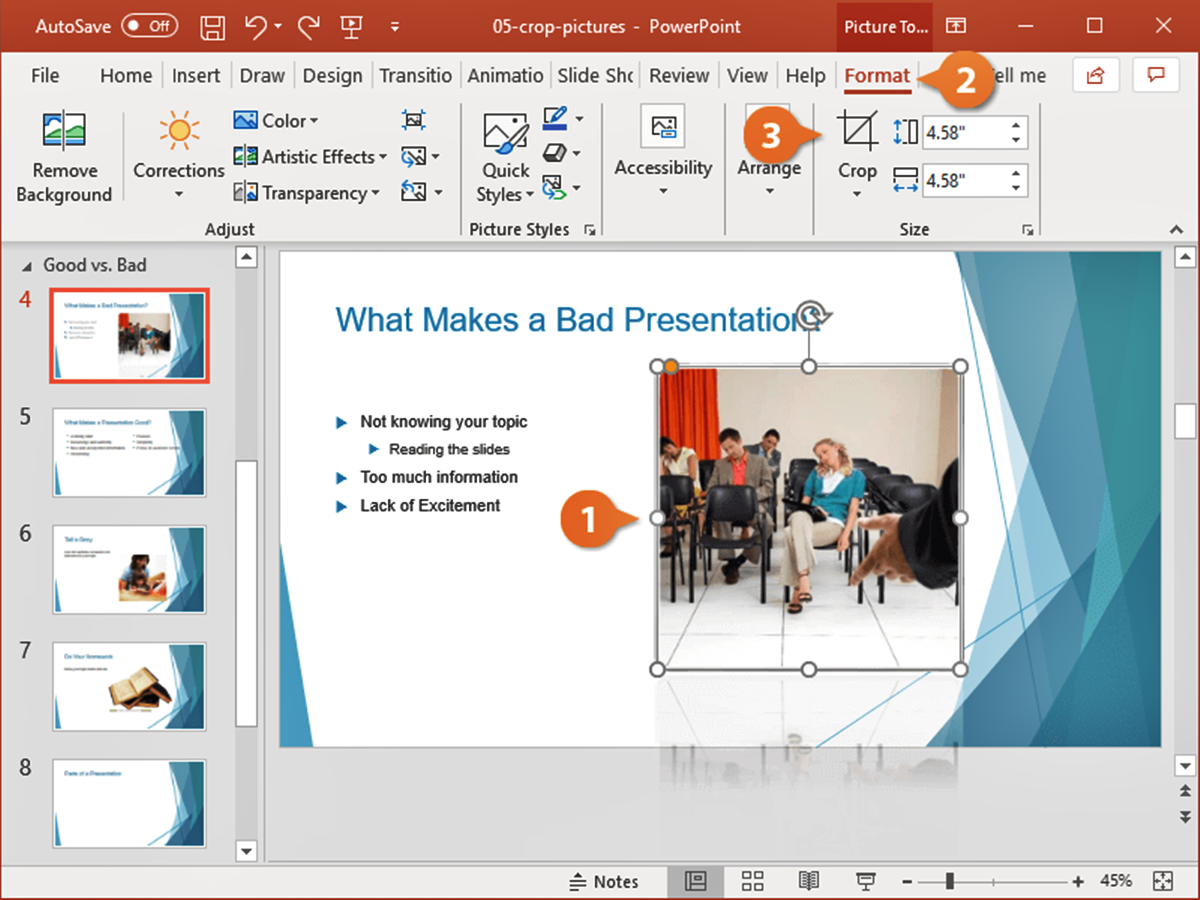
Method 1: Using the Crop Tool
The Crop tool in PowerPoint is a straightforward and versatile method for cropping a picture. It allows you to manually adjust the size and position of the crop rectangle, giving you precise control over the area you want to keep in your image. Follow these steps to use the Crop tool:
- Select the picture you want to crop by clicking on it. The Picture Format tab will appear in the PowerPoint ribbon.
- In the Picture Format tab, locate the Crop button. It is usually located in the Size group.
- Click on the Crop button. Handles will appear around the selected picture, indicating that it is in crop mode.
- Drag the handles of the crop rectangle to adjust the size and position of the cropping area. You can drag the handles inward or outward to crop the image as desired.
- Once you are satisfied with the cropping area, press Enter or click outside the picture to apply the crop.
The Crop tool is particularly useful when you need to remove unwanted parts of an image or resize it to fit a specific space in your PowerPoint slide. By adjusting the crop rectangle, you can create a visually appealing composition and highlight the most important elements in your picture.
Remember, the Crop tool allows you to crop pictures both horizontally and vertically, giving you the freedom to control the aspect ratio and composition of the image. You can always readjust the cropping area later if needed, by following the same steps.
Experimenting with the Crop tool will help you become more proficient in using this method. It offers a simple yet powerful way to achieve accurate and customized cropping effects in your PowerPoint presentations.
Method 2: Crop to Shape
Another effective method for cropping pictures in PowerPoint is the Crop to Shape feature. This method allows you to crop your image to a specific shape, adding creativity and visual interest to your slides. Follow these steps to crop a picture to a shape:
- Select the picture you want to crop by clicking on it. The Picture Format tab will appear in the PowerPoint ribbon.
- In the Picture Format tab, locate the Crop to Shape button. It is usually found in the Size group.
- Click on the Crop to Shape button and a drop-down menu will appear with various shape options.
- Select the shape you want to crop your image to from the drop-down menu. PowerPoint provides a wide range of predefined shapes to choose from, such as rectangles, circles, arrows, stars, and more.
- Once you select a shape, the picture will be automatically cropped to fit within that shape. You can also resize and reposition the shape as needed.
The Crop to Shape feature is great for adding visual interest and creativity to your presentations. It allows you to present your images in unique and eye-catching ways, enhancing the overall impact of your slides. You can experiment with different shapes to match the theme and content of your presentation.
Additionally, the Crop to Shape method is not limited to single shapes. You can combine multiple shapes to create custom cropping effects. To do this, select the picture, apply the Crop to Shape feature, and then press and hold the Shift key while selecting additional shapes from the drop-down menu. PowerPoint will combine the selected shapes, creating a compound shape for your image.
Remember to resize and reposition the shape(s) after cropping to create the desired visual effect. This method provides versatility and allows you to showcase your pictures in a unique and engaging manner.
Method 3: Crop to Aspect Ratio
Cropping pictures to a specific aspect ratio is a helpful method in PowerPoint when you want to maintain consistent proportions or resize your image proportionally. This technique ensures that your picture retains its original shape and size while cropping to fit a specific aspect ratio. Follow these steps to crop a picture to an aspect ratio:
- Select the picture you want to crop by clicking on it. The Picture Format tab will appear in the PowerPoint ribbon.
- In the Picture Format tab, look for the Aspect Ratio button. It is usually located in the Size group.
- Click on the Aspect Ratio button, and a drop-down menu will appear with various predefined aspect ratio options.
- Choose the desired aspect ratio from the menu. PowerPoint offers popular options like 4:3 (standard), 16:9 (widescreen), and even allows you to enter custom dimensions.
- Once you select an aspect ratio, PowerPoint will automatically resize and crop your picture to fit within the chosen dimensions while maintaining its original proportions.
The Crop to Aspect Ratio method is useful when you want to ensure that your images fit consistently within your PowerPoint slides. It is particularly handy when you’re working with templates or predefined layouts that have specific slide dimensions.
Another advantage of the Crop to Aspect Ratio feature is that it allows you to resize multiple pictures at once. Instead of manually applying the aspect ratio to each image individually, you can select multiple pictures, follow the above steps, and PowerPoint will apply the same aspect ratio to all of them simultaneously.
Keep in mind that cropping to a specific aspect ratio may result in parts of your picture being cropped out. Ensure that the important elements of your image are positioned within the frame before applying the aspect ratio crop.
By utilizing the Crop to Aspect Ratio method in PowerPoint, you can maintain consistent proportions, resize images proportionally, and create a cohesive and visually pleasing presentation.
Method 4: Removing Background
PowerPoint’s Remove Background feature is a powerful tool that allows you to automatically remove the background from an image. This method is particularly useful when you want to isolate the main subject of an image and create a clean, professional appearance. Follow these steps to remove the background from a picture:
- Select the picture from which you want to remove the background by clicking on it. The Picture Format tab will appear in the PowerPoint ribbon.
- In the Picture Format tab, locate the Remove Background button. It is typically found in the Adjust group.
- Click on the Remove Background button, and PowerPoint will automatically analyze the image and identify the background to be removed.
- PowerPoint will apply a default selection to the background, but you can manually adjust it to fine-tune the results. Drag the selection handles or use the Mark Areas to Keep/Remove buttons in the Background Removal tab to modify the selected area.
- Once you are satisfied with the selection, click on the Keep Changes button in the Background Removal tab to remove the background from the picture.
The Remove Background feature in PowerPoint saves you time and effort by automatically detecting and removing the background from your images. It is particularly helpful when you have an image with a busy or distracting background that you want to eliminate. This method allows you to focus on the main subject and create a cleaner, more impactful presentation slide.
While the Remove Background feature does an impressive job at detecting and removing the background, it’s important to note that it may not always deliver perfect results. Complex images with intricate details or similar color tones in the foreground and background may require additional manual adjustments to achieve the desired outcome.
Experiment with different images and test the Remove Background feature to familiarize yourself with its capabilities. By mastering this method, you can effectively remove unwanted backgrounds and create professional-looking visuals that enhance the overall quality of your slides.
Method 5: Freeform Crop
PowerPoint’s Freeform Crop tool provides you with the flexibility to manually draw a custom crop shape around the desired area of the picture. This method allows you to achieve precise and customized cropping effects, giving you creative control over the composition of your images. Follow these steps to perform a freeform crop:
- Select the picture you want to crop by clicking on it. The Picture Format tab will appear in the PowerPoint ribbon.
- In the Picture Format tab, find the Crop button. It is usually located in the Size group.
- Click on the Crop button, and handles will appear around the selected picture, indicating that it is in crop mode.
- To begin the freeform crop, press and hold the Ctrl key on your keyboard.
- While holding the Ctrl key, click and drag the mouse to draw a custom crop shape around the desired area of the picture. You have the freedom to draw any shape, allowing for unique and customized cropping.
- Once you have drawn the desired shape, release the mouse button and then release the Ctrl key.
- The image will be cropped according to the shape you drew. You can still adjust the shape by dragging the handles if needed.
- Press Enter or click outside the picture to apply the freeform crop.
The Freeform Crop tool is particularly useful when you need to crop around specific and irregular objects or when you want to create unique and artistic cropping effects. It gives you precise control over the crop area, allowing you to emphasize specific elements or create intriguing compositions.
Keep in mind that the Freeform Crop tool requires a steady hand and may require some practice to achieve the desired results. Take your time to draw the shape carefully and make any necessary adjustments before finalizing the crop.
By using the Freeform Crop method in PowerPoint, you can go beyond the standard cropping options and create visually compelling images that make a lasting impact on your audience.
Tips for Effective Cropping
Cropping pictures in PowerPoint can greatly enhance the visual impact of your presentations. To ensure that your cropping efforts are effective and achieve the desired results, consider the following tips:
- Plan your composition: Before you crop a picture, think about the composition you want to achieve. Consider the main subject, the desired focal point, and any additional elements that might enhance the overall message of your slide. Planning ahead will help you make informed cropping decisions.
- Keep it balanced: Maintain a sense of balance and harmony in your cropping. Avoid removing or cropping out important elements that provide context or contribute to the overall composition. Aim for a visually pleasing result that draws attention to the main subject while maintaining a sense of proportion.
- Consider the aspect ratio: When cropping, take into account the aspect ratio of your slide or the intended output. Maintaining a consistent aspect ratio across your images will create a more professional and polished look. It also helps ensure that your images display correctly on different devices or presentation platforms.
- Avoid over-cropping: Be cautious not to trim too much from your images. While cropping can remove unwanted elements, going too far may result in losing important details or context. Leave enough visual information for your audience to understand and appreciate the subject matter.
- Experiment with different techniques: PowerPoint offers various cropping methods, so don’t hesitate to experiment with different techniques to achieve the desired effect. Try different shapes, aspect ratios, and cropping styles to find what works best for each image and slide.
- Preview and adjust: Take advantage of PowerPoint’s live preview feature to see how your cropping changes affect the image. Adjust the crop area, resize or reposition it as needed until you find the perfect balance and composition.
- Consider resizing before cropping: If you need to resize an image, it is often best to do so before cropping. Resizing first ensures that you maintain optimal image quality and clarity, allowing you to crop without losing important details.
- Save a copy: Before cropping an image, consider saving a copy of the original. This way, you can always revert back to the original version if needed or adjust your cropping without starting from scratch.
By following these tips, you’ll be able to crop your pictures effectively in PowerPoint, creating visually engaging slides that enhance your message and captivate your audience.