
Method 1: Inserting a GIF from your computer
Adding a GIF from your computer is a simple and straightforward process in PowerPoint. Follow these steps to insert a GIF into your presentation:
- Select the slide: Open the PowerPoint presentation and navigate to the slide where you want to insert the GIF. Click on the slide to make it active.
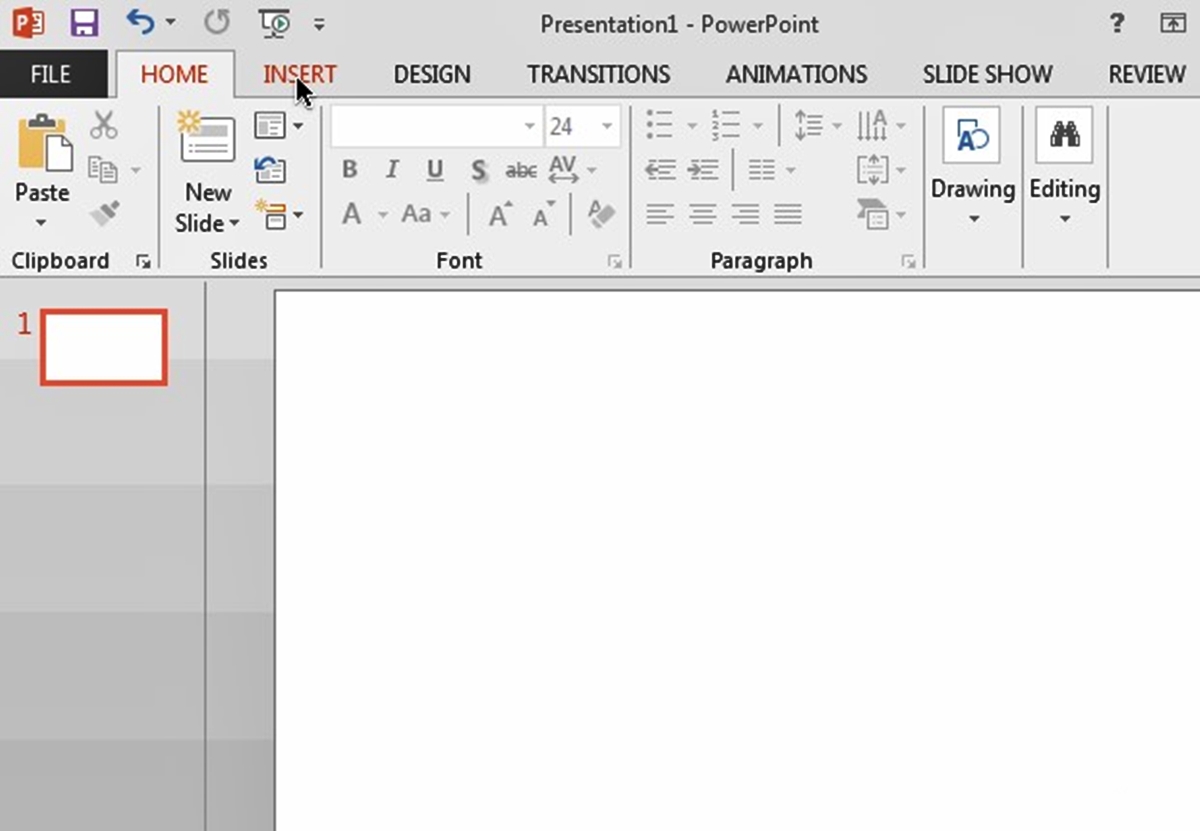
- Insert the GIF: Click on the “Insert” tab in the main menu. Then, click on the “Pictures” button located in the “Images” group. A file explorer window will appear, allowing you to browse and choose the GIF file from your computer. Select the GIF file you want to insert and click on the “Insert” button.
- Resize and reposition the GIF: By default, the GIF will be inserted in the center of the slide. You can adjust its size by clicking and dragging the corner handles. To change its position, click and drag the GIF to the desired location on the slide.
- Preview the GIF: To preview the GIF animation, simply switch to the “Slide Show” mode by clicking on the “Slide Show” button in the lower right corner of the PowerPoint window. This will enable you to see how the GIF will appear during the presentation.
- Save your changes: After inserting and previewing the GIF, don’t forget to save your PowerPoint presentation to retain all your modifications. Click on the “File” tab in the main menu and select “Save” or press Ctrl+S to save your changes.
That’s it! You have successfully inserted a GIF from your computer into PowerPoint. Remember to make sure that the GIF file is saved and accessible on the computer where you will be presenting your PowerPoint slideshow to avoid any issues.
Method 2: Inserting a GIF from the web
If you don’t have a GIF saved on your computer, you can easily insert a GIF from the web directly into your PowerPoint presentation. Just follow these steps:
- Select the slide: Open your PowerPoint presentation and navigate to the slide where you want to insert the GIF. Click on the slide to make it active.
- Insert the GIF: Click on the “Insert” tab in the main menu. Then, click on the “Online Pictures” button located in the “Images” group. A search box will appear. Type “GIF” or a specific term related to the GIF you want to insert. Press Enter or click the “Search” button to view the search results.
- Select a GIF: Browse through the search results and click on the GIF you want to insert into your presentation. Click the “Insert” button to add the selected GIF to your slide.
- Resize and reposition the GIF: Similar to inserting a GIF from your computer, you can adjust the size of the GIF by clicking and dragging its corner handles. Move the GIF to the desired location on the slide by clicking and dragging it.
- Preview the GIF: To ensure that the GIF is properly animated, switch to “Slide Show” mode by clicking on the “Slide Show” button in the lower right corner. You can then navigate through the slides to see how the GIF appears during the presentation.
- Save your changes: Once you have inserted and previewed the GIF, don’t forget to save your PowerPoint presentation. Click the “File” tab in the main menu and choose “Save” or press Ctrl+S to save your changes.
;
That’s it! You’ve successfully inserted a GIF from the web into your PowerPoint presentation. Just make sure that you have an active internet connection during your presentation to ensure that the GIF displays properly.
Method 3: Creating a GIF in PowerPoint
Did you know that you can also create your own GIF right within PowerPoint? With a few simple steps, you can bring your slides to life with custom animations. Here’s how:
- Create your slides: First, create the individual slides that will make up your GIF animation. Add any desired text, images, or other elements to each slide.
- Access the “Animation” tab: Click on the “Animations” tab in the main menu to access the animation options in PowerPoint.
- Apply animations to each slide: Go through each slide and apply animations to bring them to life. You can choose from a variety of animation effects such as fades, fly-ins, or even custom motion paths.
- Set the timing and duration: To create a smooth animated transition between slides, adjust the timing and duration of each animation. This will determine how long each slide will be displayed before transitioning to the next one.
- Preview the GIF: To see how your GIF animation looks, switch to “Slide Show” mode. Navigate through the slides to observe the animation sequence and make any necessary adjustments.
- Save your GIF: Once you are satisfied with the animation, click on the “File” tab in the main menu and choose “Save As.” Select the file format as “GIF” and save it to your desired location on your computer.
That’s it! You’ve successfully created a custom GIF animation within PowerPoint. This method allows you to have full control over the design and timing, giving your presentation a unique and engaging touch.
Method 4: Adjusting and formatting the GIF
Once you have inserted a GIF into your PowerPoint presentation, you may want to make some adjustments and formatting changes to enhance its appearance. Here are some methods to help you customize your GIF:
- Resizing the GIF: To resize the GIF, click on it to select it, then click and drag any of the corner handles inward or outward to increase or decrease its size proportionally. This allows you to make the GIF larger or smaller to fit your slide’s layout.
- Cropping the GIF: If you want to focus on a specific portion of the GIF, you can crop it. Select the GIF and click on the “Crop” option under the “Picture Format” tab. Adjust the cropping handles to trim the GIF as desired.
- Applying image effects: PowerPoint offers various image effects that can be applied to the GIF. Select the GIF and click on the “Picture Format” tab. Explore different effects such as shadows, reflections, or artistic filters to give your GIF a unique look.
- Changing the transparency: You can adjust the transparency of the GIF to make it blend more seamlessly into your slide. Select the GIF and click on the “Picture Format” tab, then use the “Transparency” slider to adjust the opacity of the GIF.
- Adding borders: If you want to make the GIF stand out, you can add a border around it. Select the GIF, click on the “Picture Format” tab, and choose the “Picture Border” option. You can customize the border’s color, thickness, and style to match your slide’s theme.
- Formatting the background: To further enhance the GIF’s visual impact, consider adjusting the background of the slide. Click on the slide, go to the “Design” tab, and choose a background style that complements the GIF. You can also add a solid color background or apply a gradient to make it more visually appealing.
By utilizing these formatting options, you can make your GIF blend seamlessly with your slide design and create a visually captivating presentation.
Method 5: Customizing the size and position of the GIF
When inserting a GIF into PowerPoint, you may want to adjust its size and position to ensure it fits perfectly within your slide layout. Customizing the size and position of the GIF is easy with the following steps:
- Select the GIF: Open your PowerPoint presentation and locate the slide where the GIF is inserted. Click on the GIF to select it.
- Resize the GIF: To resize the GIF, click and drag any of the corner handles inward or outward. This allows you to change the dimensions of the GIF while maintaining its aspect ratio. Alternatively, you can right-click on the GIF, select “Size and Position,” and adjust the dimensions in the dialog box.
- Reposition the GIF: To move the GIF to a different location on the slide, click and drag it to the desired position. You can adjust its horizontal and vertical position by using the arrow keys on your keyboard or by specifying the exact coordinates in the “Size and Position” dialog box.
- Align the GIF: If you have other elements on the slide and want to align the GIF with them, select both the GIF and the other element(s) by holding down the Ctrl key and clicking on each object. Then, click on the “Align” button on the “Format” tab and choose from options such as aligning the centers, tops, or bottoms.
- Group objects: If you have multiple objects on the slide and want to move or resize them as a group, select all the objects using the Ctrl key and click. Right-click and choose “Group” from the context menu. Once grouped, you can move and size the objects together.
- Save your changes: After adjusting the size and position of the GIF, remember to save your PowerPoint presentation to preserve your modifications. Click on the “File” tab in the main menu and select “Save” or press Ctrl+S.
By customizing the size and position of the GIF, you can ensure that it fits harmoniously with the rest of your slide content and enhances the visual appeal of your presentation.
Method 6: Setting the GIF animation options
After inserting a GIF into your PowerPoint presentation, you have the option to fine-tune its animation settings to control how it plays and interacts with other elements on the slide. Here’s how to set the GIF animation options:
- Select the GIF: Open your PowerPoint presentation and go to the slide containing the GIF. Click on the GIF to select it.
- Access the Animation pane: Click on the “Animations” tab in the main menu. Then, click on the “Animation Pane” button to open the Animation pane on the right side of the PowerPoint interface. The Animation pane allows you to view and edit the animation settings for the GIF.
- Adjust the animation order: The Animation pane displays all the animated objects on the slide. To change the order in which the GIF animates, click and drag the GIF to a different position within the Animation pane.
- Modify the animation effects: To change the animation effect applied to the GIF, click on the arrow next to the animation name in the Animation pane. A drop-down menu will appear, allowing you to select a different animation effect or remove the animation altogether.
- Set the animation timing: By default, the GIF will animate as soon as the slide appears in the Slide Show mode. To adjust the timing, click on the drop-down menu next to the animation effect in the Animation pane. From there, you can specify the start time, delay, and duration of the animation for more precise control.
- Add additional animation options: PowerPoint offers various animation options to enhance the GIF’s visual impact. Experiment with options like Entrance, Exit, and Emphasis effects to add more dynamism to the GIF. You can also apply motion paths or trigger animations using specific events like mouse clicks or keystrokes.
- Preview the animation: To see how the GIF animation appears during the presentation, switch to the “Slide Show” mode. Navigate through the slides to observe the animation sequence and make any necessary adjustments in the Animation pane.
- Save your changes: Once you are satisfied with the GIF animation settings, save your PowerPoint presentation to retain all modifications. Click on the “File” tab in the main menu and select “Save” or press Ctrl+S.
By tweaking the GIF animation options, you can customize the timing, effects, and interactivity to create engaging and visually appealing presentations.
Method 7: Playing GIFs in Slide Show mode
When delivering a PowerPoint presentation, it’s important to ensure that your GIFs play smoothly and seamlessly in Slide Show mode. Follow these steps to make sure your GIFs come to life during your presentation:
- Select the slide with the GIF: Open your PowerPoint presentation and navigate to the slide containing the GIF.
- Enter Slide Show mode: Click on the “Slide Show” button located in the lower right corner of the PowerPoint window. Alternatively, press the F5 key on your keyboard to enter Slide Show mode.
- Advance to the slide with the GIF: Navigate through your slides using the arrow keys, mouse click, or the slide navigation tools to reach the slide with the GIF.
- Wait for the GIF to play: Once you reach the slide with the GIF, give it a moment to start playing. Depending on the size and complexity of the GIF, there may be a brief delay before it begins its animation.
- Control the GIF playback: During the Slide Show mode, you can’t directly control the GIF’s playback. It will automatically play according to the animation settings you’ve applied. If there are triggers or timings set for the GIF, make sure to follow the sequence or wait for the automatic triggering to occur.
- Advance to the next slide: To move to the next slide, press the spacebar, arrow key, or click the mouse. The GIF will stop playing once you transition to the next slide.
- Return to normal view: Once you finish the Slide Show mode, you can return to the normal view by clicking on the “Normal” button in the lower right corner of the PowerPoint window. You can then make any necessary edits or adjustments to your presentation.
- Save your changes: After ensuring that your GIFs play properly during the Slide Show mode, remember to save your PowerPoint presentation to retain all modifications. Click on the “File” tab in the main menu and select “Save” or press Ctrl+S.
By properly playing your GIFs in Slide Show mode, you can engage your audience and deliver an impactful presentation that highlights the dynamic nature of the GIF animations.
Method 8: Troubleshooting common issues with GIFs in PowerPoint
While working with GIFs in PowerPoint, you may encounter certain issues that can hinder their proper display or functionality. Here are some common problems and troubleshooting tips to help you resolve them:
- GIF not animating: If your GIF is not animating in PowerPoint, ensure that you have set the animation and timing options correctly. Also, double-check that the “Animate” option is selected in the Animation pane. If the issue persists, try reinserting the GIF into PowerPoint or use a different GIF file.
- Poor image quality: Sometimes, GIFs may appear blurry or distorted in PowerPoint. To improve the image quality, make sure you are using a GIF with a high resolution. You can also try resizing the GIF to match the slide dimensions or adjust the compression settings in the “Picture Format” tab to optimize the image quality.
- GIF not displaying: If your GIF is not visible in PowerPoint, ensure that the file path or URL is correct, especially if you have linked the GIF from an external source. Also, check if the GIF is compatible with PowerPoint (e.g., GIF files using multiple layers or transparency effects may not display correctly).
- File size limitations: PowerPoint has a file size limit for embedded GIFs. If your GIF exceeds this limit, it may cause performance issues or hinder the proper functioning of your presentation. To resolve this, consider optimizing the GIF file by reducing its dimensions or using compression tools to decrease file size.
- External display issues: When presenting on an external display or projector, keep in mind that some GIF animations may not play smoothly, especially if the playback resolution or hardware resources are limited. Test your presentation on the target device beforehand to ensure that the GIFs display properly.
- GIF playback issues in older PowerPoint versions: If you are using an older version of PowerPoint, certain advanced GIF features may not be supported. Ensure that you are using a compatible version and consider converting the GIF to a video format if necessary.
- Failed GIF conversion: If you are converting a PowerPoint presentation that contains GIFs into a different file format, such as PDF or video, it’s possible that the GIFs may lose their animation or interactivity. Verify the conversion settings and test the output file to ensure the proper preservation of GIFs.
By troubleshooting these common issues, you can overcome any obstacles and ensure that your GIFs are displayed and functioning correctly in your PowerPoint presentation.