
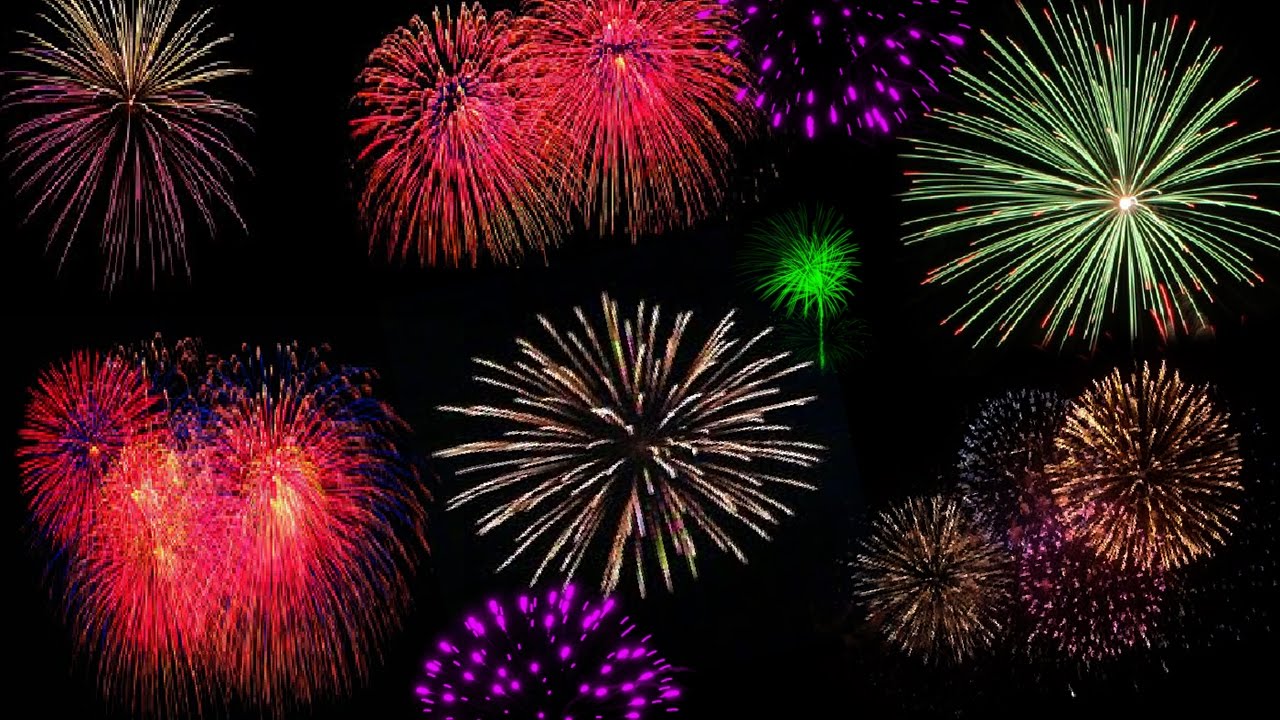
Choosing the Right Images
When creating an animated GIF in Fireworks, selecting the right images is crucial. The images you choose will be the building blocks that form your animation, so it’s important to make thoughtful choices. Here are some tips to help you choose the right images for your animated GIF:
- Clear and High-Quality: Choose images that are clear, crisp, and of high resolution. This will ensure that your animation appears sharp and professional.
- Relevant to Your Message: Select images that align with the purpose or message you want to convey through your animated GIF. Consider how each image contributes to the overall story or idea you’re trying to express.
- Variety and Contrast: Aim for a diverse range of images to add visual interest to your animation. Mix up the subject matter, colors, and compositions to create a visually engaging sequence.
- Consistency: Although variety is essential, it’s also crucial to maintain a consistent theme or style throughout your animated GIF. This will help create cohesion and make your animation feel more deliberate and intentional.
- Appropriate Quantity: Avoid overcrowding your GIF with too many images, as it can make the animation confusing or cluttered. Conversely, using too few images may result in a monotonous or static visual experience.
- Consider Size and File Formats: Keep in mind the intended use of your animated GIF. If the GIF will be displayed on a website, it’s important to choose images that are not too large in file size, as it may impact loading times.
By following these guidelines, you’ll be able to choose the right images that effectively communicate your message and create a visually appealing animated GIF in Fireworks.
Importing Images into Fireworks
Once you have selected the images for your animated GIF, the next step is importing them into Fireworks. Fireworks provides an easy and intuitive interface for importing and managing your images. Here’s how to import images into Fireworks:
- Open Fireworks: Launch the Fireworks software on your computer.
- Create a New Document: Go to the “File” menu and select “New.” Enter the desired dimensions for your GIF and set the resolution as per your requirements.
- Import Images: Go to the “File” menu and select “Import.” Choose the images you want to include in your animation by selecting them from your computer’s files or using the drag-and-drop feature.
- Arrange Images: Once the images are imported, Fireworks places them on individual frames in the animation timeline. You can rearrange the order of the images by dragging and dropping them within the timeline.
- Adjust Image Properties: Select an image in the timeline to access its properties. Use the various editing tools available in Fireworks to modify and enhance your images as desired, including resizing, cropping, adjusting colors, or applying filters and effects.
- Add Text or Graphics: If needed, you can also add text or additional graphics to your animation. Fireworks provides a variety of tools to create and manipulate text and shapes.
- Preview Your Animation: To see how your animated GIF will look, use the “Preview” option in Fireworks. This allows you to review the timing, transitions, and overall flow of your animation.
By following these steps, you can easily import and arrange your selected images into Fireworks, preparing them for the animation process. Remember to save your project frequently to avoid losing any progress.
Modifying and Editing Images
Once you have imported your images into Fireworks, you’ll have the opportunity to modify and edit them to enhance their appearance within your animated GIF. Fireworks offers a range of powerful editing tools that allow you to make adjustments and add creative touches. Here’s how you can modify and edit your images in Fireworks:
- Image Adjustments: Use the “Image Adjustments” menu to fine-tune the colors, brightness, contrast, and saturation of your images. This helps to create a consistent and visually appealing animation.
- Cropping and Resizing: If necessary, crop or resize your images to focus on specific elements or fit them within the desired frame dimensions. This ensures that your animation remains cohesive and visually balanced.
- Adding Filters and Effects: Fireworks provides a wide range of filters and effects that can be applied to individual frames or the entire animation. Experiment with these options to add visual interest and enhance the overall impact of your animated GIF.
- Layering and Masking: Take advantage of Fireworks’ layering capabilities to organize your images and apply selective edits. Use masks to control which parts of an image are visible and create engaging transitions between frames.
- Text and Annotation: If you want to include text or annotations in your animated GIF, Fireworks enables you to add and customize textual elements. This can help provide context, captions, or additional information to enhance the viewer’s understanding.
- Undo and Redo: Don’t be afraid to experiment with different edits and modifications. Fireworks allows you to easily undo or redo changes, giving you the freedom to explore various creative options.
Remember that the goal of modifying and editing your images in Fireworks is to enhance their visual appeal and coherence within your animated GIF. Take the time to experiment and fine-tune your images until you achieve the desired result.
Setting the Animation Frames
After importing and editing your images in Fireworks, the next step in creating an animated GIF is to set the animation frames. The frames define the sequence and timing of your animation, bringing the images to life. Here’s how you can set the animation frames in Fireworks:
- Open the Animation Panel: Click on the “Window” menu in Fireworks and select “Animation” to open the Animation panel. This panel allows you to manage and control the frames of your animation.
- Add Frames: Fireworks automatically adds a frame for each image you imported. You can add or remove frames using the buttons provided in the Animation panel.
- Reorder Frames: To change the order of the frames, click and drag them within the Animation panel. This allows you to create the desired flow and sequence for your animation.
- Adjust Timing: Each frame in the Animation panel has a designated duration or delay. To adjust the timing, click on a frame and modify its duration in the “Frame Delay” field.
- Frame Properties: You can also customize individual frame properties, such as whether it loops indefinitely or plays only once. This gives you control over the behavior and repetition of specific frames within your animation.
- Preview the Animation: To see how your animation looks with the set frames and timing, use the preview option within the Animation panel. This allows you to fine-tune the animation and make any necessary adjustments.
By following these steps, you can effectively set the animation frames in Fireworks to create a seamless and engaging animated GIF. Take the time to experiment with different frame sequences and durations to achieve the desired visual effect.
Adjusting Timing and Looping Options
Timing and looping are important factors in creating a captivating animated GIF. They determine the pace and repetition of the animation, ultimately enhancing the visual impact. In Fireworks, you have control over the timing and looping options of your animated GIF. Here’s how you can adjust them:
- Frame Duration: Each frame in the Animation panel has a specific duration or delay, indicating how long it will be displayed before transitioning to the next frame. Adjust the frame duration by selecting a frame and modifying the value in the “Frame Delay” field. Experiment with different durations to achieve the desired timing.
- Transition Effects: Fireworks allows you to apply various transition effects between frames, such as fading, dissolving, or sliding. These effects can enhance the fluidity and smoothness of your animation. To add a transition effect, select a frame and choose the desired effect from the “Animate” menu in the Animation panel.
- Looping Options: You can choose whether your animated GIF loops continuously or plays a set number of times. To adjust the looping options, go to the Animation panel and select either “Loop Forever” or specify the number of loops in the “Loop Count” field.
- Delay between Loops: If you want to insert a pause between each loop of the animation, you can set a delay by adjusting the value in the “Delay Between Loops” field in the Animation panel. This provides breathing room for the viewer between repetitions.
- Preview and Refine: Always preview your animation with the adjusted timing and looping options to ensure it flows smoothly and meets your expectations. Use this opportunity to make any necessary refinements or modifications.
By taking control of the timing and looping options in Fireworks, you can fine-tune your animated GIF for maximum impact. Experiment with different durations, transition effects, and looping settings to create a visually engaging and immersive animation experience.
Adding Effects and Transitions
To elevate your animated GIF created in Fireworks, you can add effects and transitions to enhance its visual appeal and create a dynamic animation. Fireworks offers a wide range of effects and transitions to choose from, allowing you to customize and add creative flair to your GIF. Here’s how you can add effects and transitions:
- Effects: Fireworks provides a plethora of effects that can be applied to individual frames or the entire animation. These effects include blurring, sharpening, adjusting colors, adding texture, and much more. Experiment with different effects to create unique visuals and emphasize specific elements within your animated GIF.
- Transition Effects: Transition effects help smoothly switch between frames and add fluidity to your animation. Fireworks offers a variety of transition options like fades, dissolves, wipes, and sliding animations. Apply a transition effect by selecting the desired frames and choosing the appropriate option from the “Animate” menu in the Animation panel.
- Layer and Object Animation: Fireworks allows you to animate individual layers or objects within your frames. This lets you create movement within particular segments of your animated GIF. Utilize this feature to bring attention to specific details or create more intricate animations.
- Blend Modes: Blend modes in Fireworks allow you to control how your images interact with one another in terms of transparency and overlay. Experiment with different blend modes to achieve interesting visual effects and seamlessly blend images together.
- Opacity and Filters: Adjusting the opacity of individual frames or applying filters can significantly impact the overall look of your animated GIF. These adjustments can add depth, intensity, or unique visual styles to your animation.
- Preview and Refine: Constantly preview your animated GIF as you add effects and transitions to ensure they enhance the desired impact. Make tweaks and adjustments as necessary to achieve the desired visual outcome.
By adding effects and transitions in Fireworks, you can take your animated GIF to the next level. Experiment with different options to create visually stunning and captivating animations that effectively convey your message or story.
Exporting the Animated GIF
Once you have completed the creation and customization of your animated GIF in Fireworks, the next step is to export it into a format that can be easily shared and displayed. Fireworks provides a straightforward process for exporting your animated GIF. Here’s how you can export your animated GIF:
- Preview Your Animation: Before exporting, make sure to preview your animated GIF to ensure everything looks as expected. Check for any timing issues, transitions, or effects that need adjustment.
- Select the Export Format: In Fireworks, navigate to the “File” menu and select “Export.” Choose the GIF format as the desired export option.
- Specify Export Options: In the export settings window, you can make some final adjustments to optimize your animated GIF. Configure options like dithering, color palettes, and transparency to achieve the desired visual quality and file size.
- Choose the Export Destination: Select the folder or directory on your computer where you want to save the exported animated GIF. Give it a meaningful name for easy identification.
- Export the GIF: Once you have set all the export options and chosen the destination, click the “Export” button to start the export process. Fireworks will generate the animated GIF file based on your specifications.
After the export is complete, you will have a fully functional animated GIF file that can be shared, uploaded, or embedded in various platforms, including websites, social media, and presentations. Make sure to test the exported GIF in different environments to ensure it functions as intended.
When exporting your animated GIF, consider the intended use and target audience. Optimize the file size and image quality accordingly to strike a balance between visual appeal and efficient loading times. Saving a backup copy of your project in Fireworks is also recommended for any future edits or modifications.
Testing and Optimizing the GIF
After exporting your animated GIF from Fireworks, it’s important to test and optimize it to ensure optimal performance and viewing experience. Testing allows you to identify any issues or areas for improvement, while optimization helps to reduce the file size and enhance the loading speed. Here’s how you can test and optimize your GIF:
- Testing Playback and Timing: Open the exported GIF file on various platforms and devices to ensure that the animation plays smoothly and all frames are displayed correctly. Check for any timing issues or glitches that might have occurred during the export process.
- Assessing Image Quality: Examine the image quality of your animated GIF. Make sure that the colors, clarity, and details are preserved, and there are no noticeable artifacts or pixelation. Adjust the export settings in Fireworks if necessary to achieve the desired image quality.
- Checking File Size: Evaluate the file size of your animated GIF. Large file sizes can impact loading times, especially on websites or platforms with slower internet connections. Consider using optimization techniques to reduce the file size without compromising the visual quality.
- Optimizing File Size: Fireworks offers options to optimize your animated GIF during the export process. Explore the dithering, color palettes, and optimization settings to strike a balance between file size and image quality. Aim for a smaller file size while ensuring the animation’s visual integrity.
- Testing with Different Browsers and Devices: Verify that your animated GIF displays and functions correctly on different web browsers and devices. Not all browsers may support certain features or effects, so it’s essential to test compatibility across multiple platforms.
- Iterating and Refining: Based on the testing results, make any necessary iterations or refinements to your animated GIF. Adjust the timing, transitions, or effects as needed to enhance the overall viewing experience.
Through thorough testing and optimization, you can ensure that your animated GIF performs well across various platforms and delivers a seamless and engaging visual experience. Regularly revisit and fine-tune your optimization techniques to keep up with evolving web standards and user expectations.
Sharing and Using the Animated GIF
Once you have created and optimized your animated GIF in Fireworks, it’s time to share and utilize it to make the most of your creation. Here are some ways you can share and use your animated GIF:
- Website and Blog: Embed your animated GIF on your website or blog to enhance visual appeal and engage visitors. Use it to showcase products, highlight key features, or add interactive elements to your content.
- Social Media: Share your animated GIF on social media platforms like Facebook, Twitter, Instagram, or LinkedIn. Animated GIFs can capture attention and generate more interaction with your posts.
- Email Marketing: Incorporate your animated GIF into email newsletters or promotional campaigns to grab recipients’ attention and communicate your message effectively. Ensure that the file size is optimized to prevent slow loading times in email clients.
- Digital Presentations: Add your animated GIF to PowerPoint, Keynote, or other presentation software to make your slides more dynamic and visually engaging. Use it to illustrate concepts, demonstrate processes, or add an element of surprise.
- Online Advertisements: Utilize your animated GIF in online advertisements to create eye-catching visuals and increase click-through rates. Consider the requirements and limitations of the advertising platform to ensure compatibility.
- Digital Signage: Display your animated GIF on digital signage screens in public spaces or events to attract attention and deliver captivating messages. Ensure that the file format and resolution are suitable for the specific digital signage system.
- Collaboration and Presentations: Use your animated GIF as a visual aid during collaborative meetings or presentations. It can help explain complex concepts, add emphasis, or bring life to stale presentations.
- Personal Projects and Artistic Expression: Share your animated GIF as a standalone piece of art or part of a personal project. Explore platforms like Tumblr, Behance, or Dribbble to showcase your work and connect with a creative community.
Remember to credit the original sources of the images used in your animated GIF if they are not your own. Additionally, it’s essential to respect copyright laws and usage rights when sharing or using animated GIFs created by other individuals.
By actively sharing and utilizing your animated GIF, you can maximize its impact, reach a wider audience, and leverage its creative potential in various contexts.