
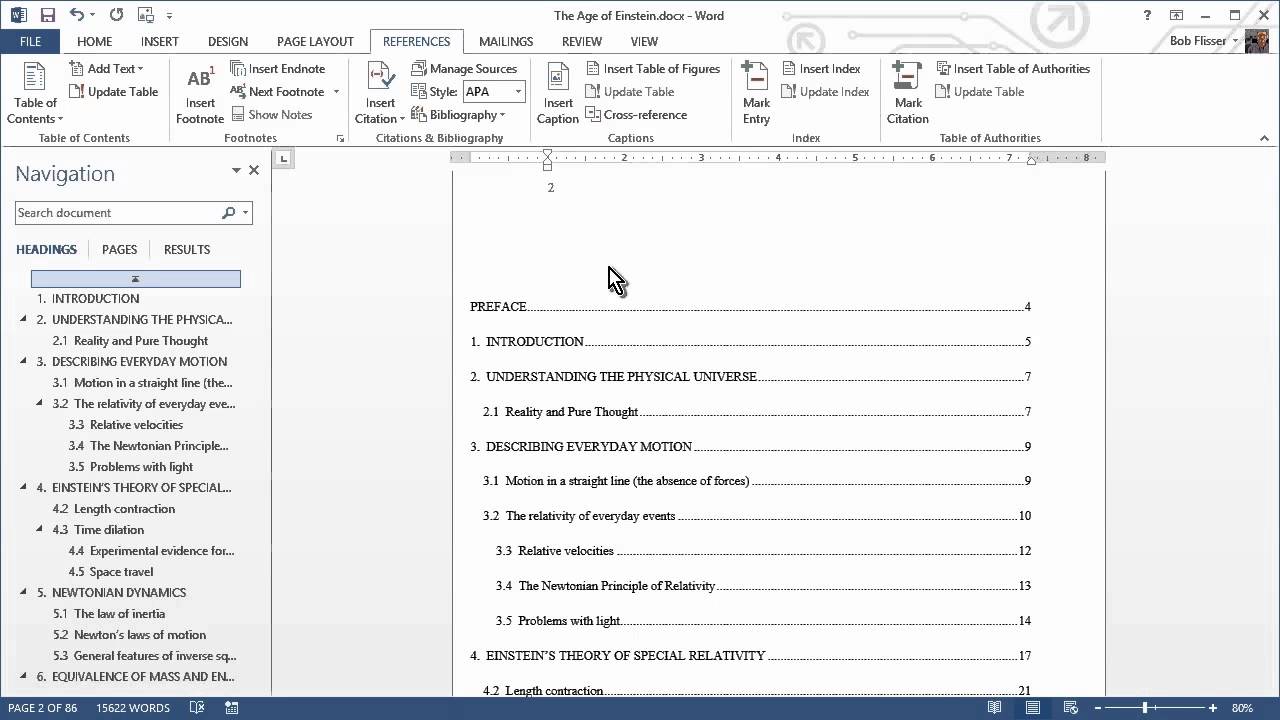
Step 1: Customize Heading Styles
To create an effective table of contents in Microsoft Word, you first need to customize the heading styles used in your document. By applying heading styles to your headings and subheadings, Word can automatically create and update the table of contents based on these styles. Here’s how you can customize heading styles:
- Open your document in Microsoft Word.
- Select the text that you want to set as a heading.
- Click on the “Home” tab in the toolbar.
- In the “Styles” section, you’ll see a list of predefined styles, such as “Normal Text,” “Heading 1,” “Heading 2,” and so on.
- Choose the appropriate heading style for your selected text. For example, if it is a main section heading, select “Heading 1.” If it is a subheading, select “Heading 2,” and so on.
- Repeat this process for all the headings and subheadings in your document.
Customizing your heading styles is important because it not only helps Word identify the structure of your document, but it also ensures consistency and uniformity in the appearance of your headings throughout the document.
Additionally, if you want to make any formatting changes to the heading styles, such as font size, font style, or indentation, you can do so by right-clicking on the selected heading text, choosing “Modify,” and making the desired changes. These modifications will be reflected in the table of contents as well.
Once you have customized the heading styles in your document, you’re ready to move on to the next step: inserting the table of contents.