
Step 1: Set Up Your Philips Hue Bridge
Setting up your Philips Hue Bridge is the first step towards connecting your Philips Hue lights and enjoying the benefits of smart lighting. The bridge serves as the central hub that enables communication between the smart lights and the Philips Hue app.
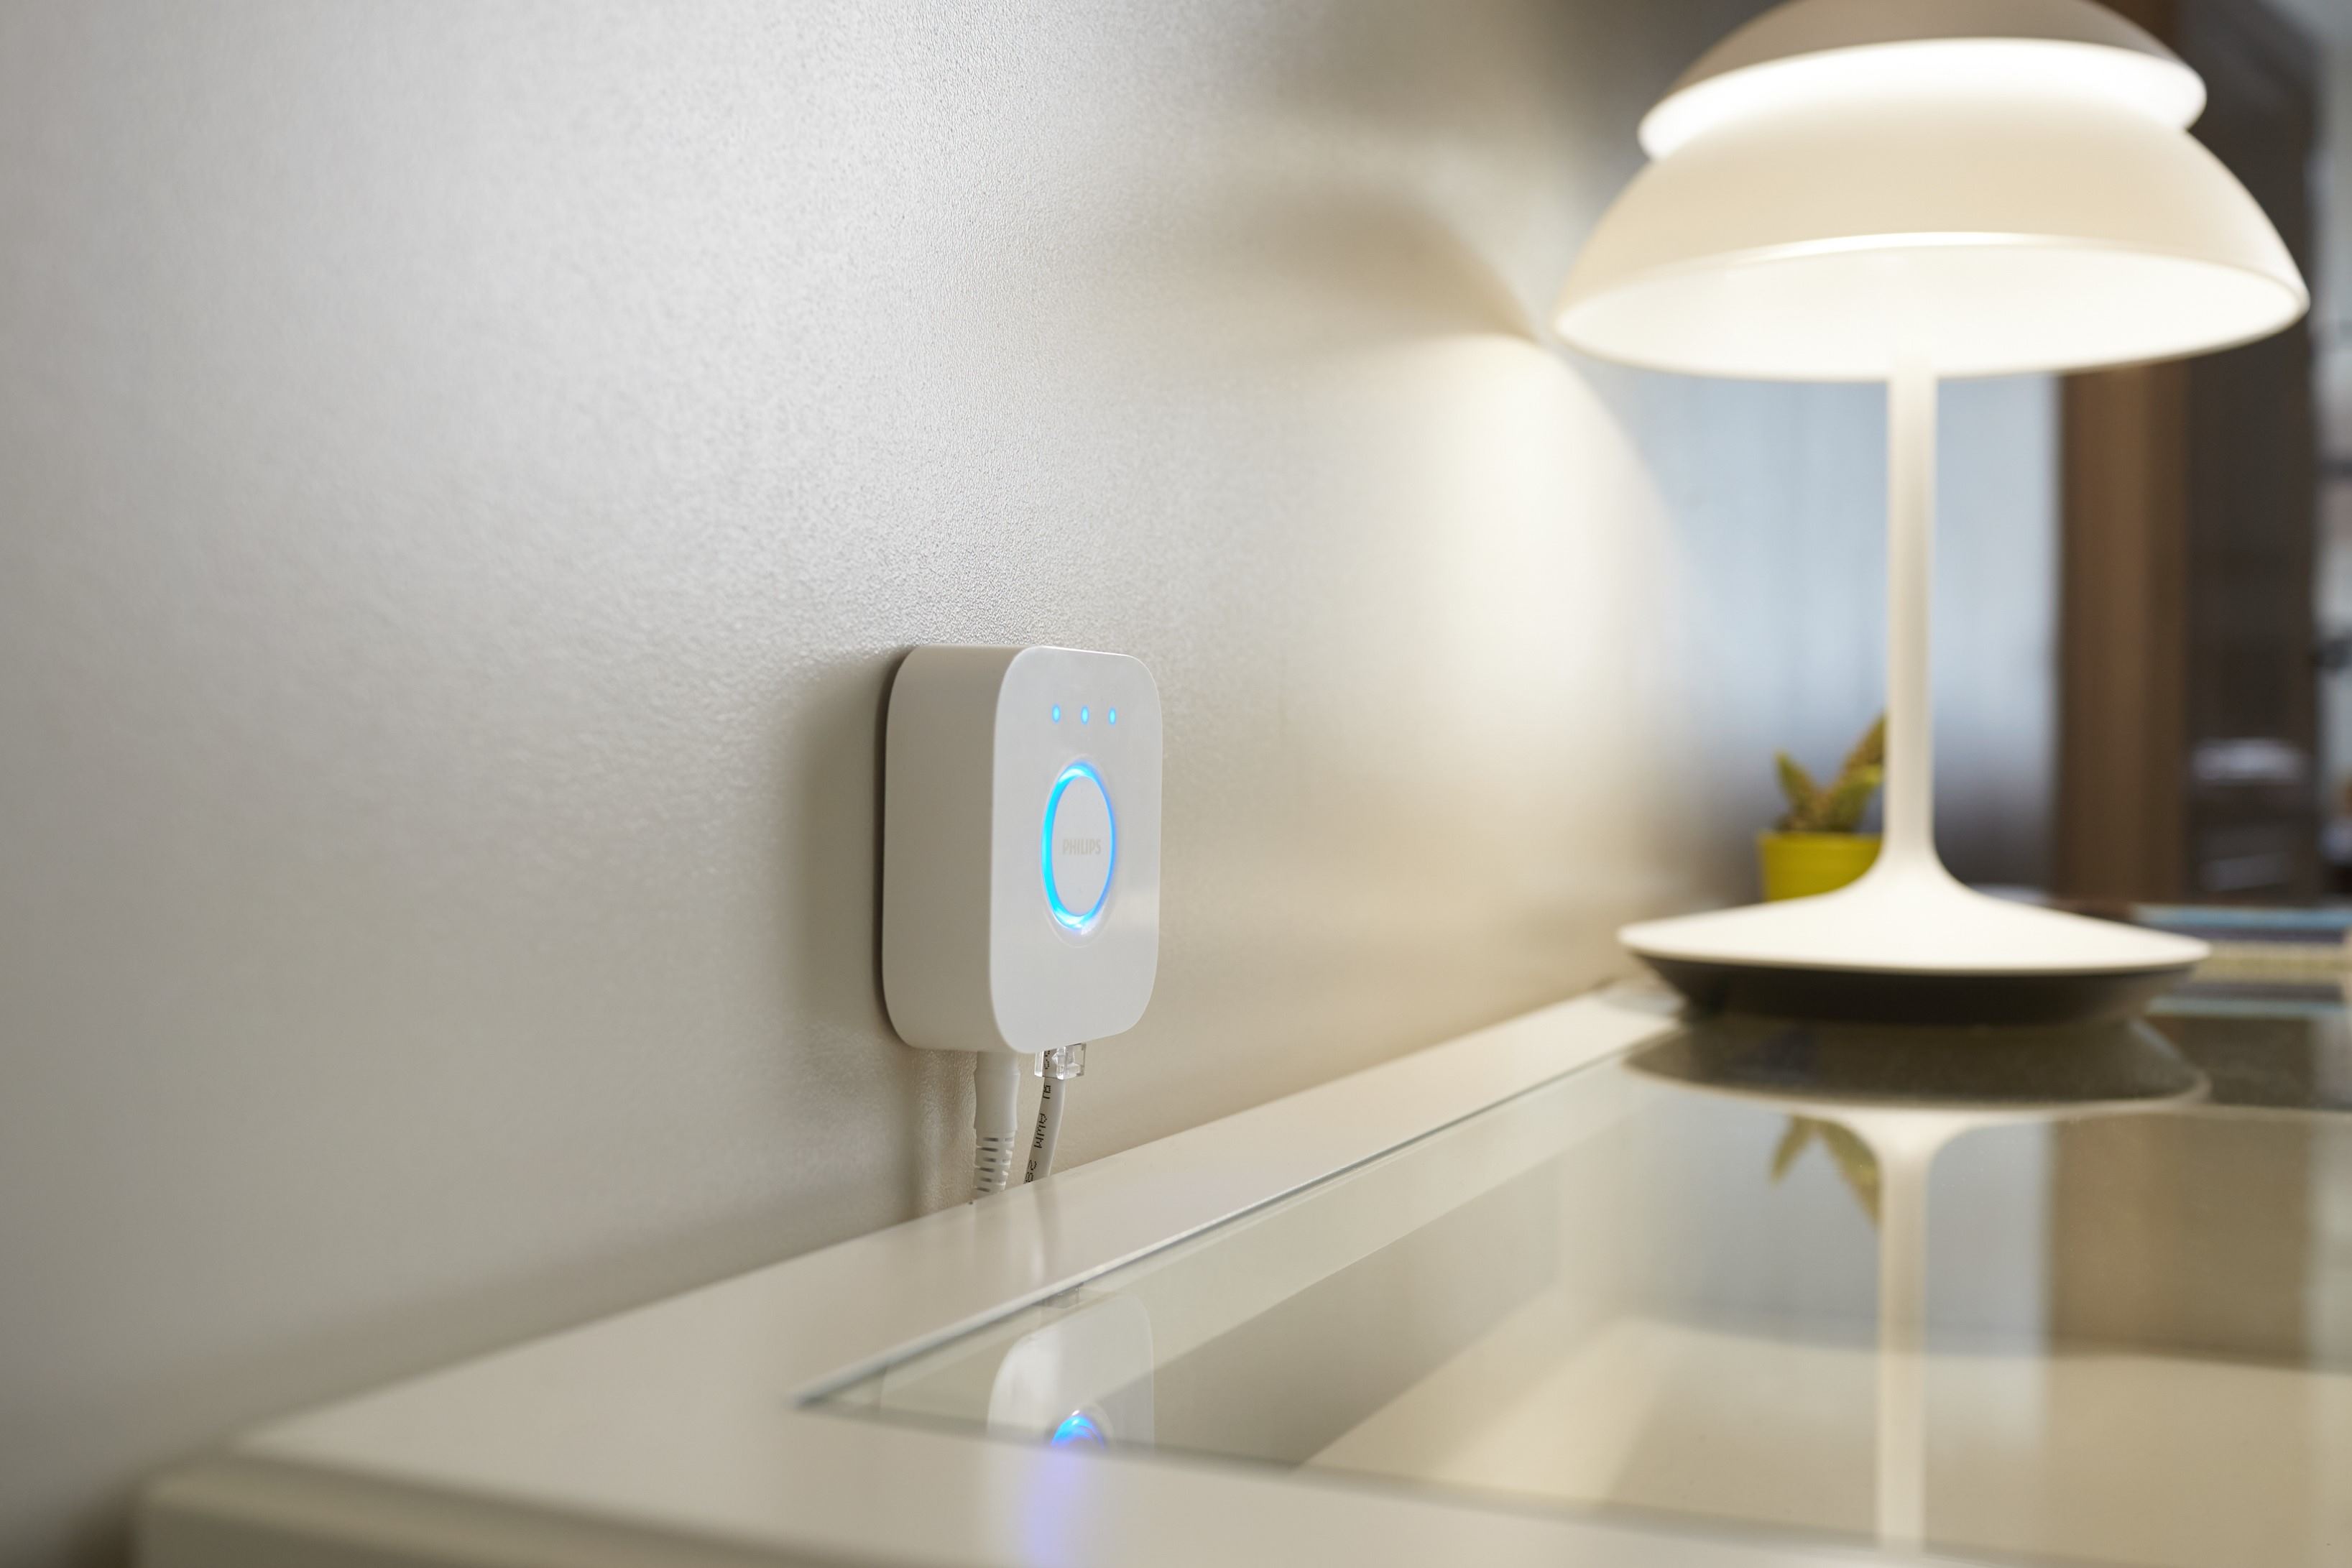
To begin, unpack the contents of your Philips Hue Bridge package. You should find the bridge itself, a power adapter, and an Ethernet cable. Connect the bridge to a power outlet using the provided power adapter and connect it to your home internet router using the Ethernet cable.
Once the bridge is plugged in and connected to your home network, you will need to download the Philips Hue app on your smartphone or tablet. The app is available for both iOS and Android devices, so make sure to download the appropriate version for your device.
After installing the app, open it and create a Philips Hue account if you don’t have one already. This account will allow you to control your lights remotely and access additional features in the future.
In the app, follow the on-screen instructions to set up your bridge. You may be required to press the button on the bridge to authorize the connection. The app will then scan for the bridge and establish a connection between your device and the bridge.
Once the connection is established, the app will prompt you to search for any available lights. At this point, it is important to make sure your Philips Hue lights are powered on and within range of the bridge. The app will automatically detect and display any lights within the vicinity.
Now that the bridge and lights are connected, you can start customizing your lighting setup. The app allows you to adjust brightness, change colors, and create different scenes and routines. Explore the app to discover the full range of features and options available to you.
With the bridge successfully set up, you can now control your Philips Hue lights through the app, even when you’re away from home. You can also integrate your lights with other smart home devices and platforms for a truly personalized smart lighting experience.
Continue to the next step to learn how to connect your Philips Hue lights to the bridge.
Step 2: Download the Philips Hue App
The Philips Hue app is an essential tool for controlling and managing your Philips Hue lights. It is available for both iOS and Android devices and can be downloaded for free from the respective app stores.
To get started, open the app store on your smartphone or tablet and search for “Philips Hue.” Look for the official Philips Hue app developed by Signify, the company behind Philips Hue. Once you find the app, tap on “Download” or “Install” to begin the installation process.
After the app is successfully installed, locate and tap on its icon to open it. If this is your first time using the app, you will be prompted to create a Philips Hue account. Follow the on-screen instructions to create an account, or sign in if you already have one.
Creating an account is important as it allows you to access your Philips Hue lights remotely, customize settings, and receive software updates. It also enables you to sync your lights with other smart home devices and services.
Once you have created an account and signed in, the app will guide you through the initial setup process. This includes connecting to your Philips Hue Bridge, which acts as a central hub for your smart lights.
To connect the app to your Philips Hue Bridge, ensure that your smartphone or tablet is connected to the same Wi-Fi network as the bridge. Follow the instructions in the app to search for and connect to the bridge. This usually involves pressing the button on the bridge to authorize the connection.
Once the app successfully connects to the bridge, it will detect any Philips Hue lights associated with the bridge. This allows you to have full control over your lights, including adjusting brightness, changing colors, and creating scenes and routines.
The Philips Hue app also offers additional features such as scheduled lighting, geofencing, and integration with voice assistants like Amazon Alexa and Google Assistant. These features enhance the convenience and flexibility of your smart lighting setup.
Step 3: Connect the Bridge to Your Wi-Fi Network
To fully utilize the capabilities of your Philips Hue lights, it’s important to connect the Philips Hue Bridge to your home’s Wi-Fi network. This allows you to control your lights remotely, customize settings, and enjoy features such as voice control and automation.
Before you begin, ensure that your Philips Hue Bridge is plugged in and powered on. It should be connected to your home router using the provided Ethernet cable. Once the physical connections are in place, follow these steps to connect the bridge to your Wi-Fi network:
- Launch the Philips Hue app on your smartphone or tablet.
- Make sure your device is connected to the same Wi-Fi network that you want to connect the bridge to.
- In the app, navigate to the settings or setup section. Look for an option that allows you to set up or connect to a new bridge.
- Follow the instructions provided in the app. This may include pressing the button on the bridge or scanning a QR code to establish a connection.
- The app will search for available Wi-Fi networks. Select your home network from the list and enter the Wi-Fi network password if required.
- Wait for the app to complete the connection process. It may take a few moments for the bridge to connect to your Wi-Fi network.
- Once the connection is successful, the bridge will be linked to your Wi-Fi network and ready for use.
It’s important to note that the bridge should remain connected to a power source and should not be moved or disconnected from your Wi-Fi network once it’s set up. This ensures uninterrupted communication between the bridge and your smart lights.
Connecting the bridge to your Wi-Fi network opens up a world of possibilities for controlling and personalizing your Philips Hue lights. You can now access and control your lights from anywhere, create schedules and timers, integrate with other smart home devices, and enjoy the convenience of voice control using compatible voice assistants.
With the bridge successfully connected to your Wi-Fi network, you’re ready to move on to the next step and power on your Philips Hue lights.
Step 4: Power on Your Philips Hue Lights
Now that you have set up your Philips Hue Bridge and connected it to your Wi-Fi network, it’s time to power on your Philips Hue lights. These smart lights will be the primary source of illumination in your home and can be controlled and customized through the Philips Hue app.
Before you proceed, ensure that your Philips Hue lights are properly installed in their respective fixtures or lamps. Make sure they are securely screwed in or plugged in, depending on the type of light you have. Ensure that each light bulb is compatible with the Philips Hue system and is functioning properly.
To power on your Philips Hue lights, follow these steps:
- Locate the light switches that control the power supply to your Philips Hue lights.
- Turn the light switches on to supply power to the lights. If the switches are already on, you can skip this step.
- Give the lights a few moments to initialize. The lights may go through a brief flashing or color-changing sequence as they connect to the bridge.
- Once the lights have finished initializing, they should emit a default white light or the last color and brightness setting you had configured.
It’s essential to keep the light switches in the “on” position at all times for your Philips Hue lights to be accessible and controllable through the app. Turning off the light switches will cut off power to the lights and render the smart features inactive until the switches are turned back on.
The power-on process may slightly vary depending on the specific model of Philips Hue lights you have. Some lights may require additional setup steps, such as linking them to the bridge through the app. Always refer to the manufacturer’s instructions for detailed information about your specific Philips Hue lights.
With your Philips Hue lights powered on, you can now use the Philips Hue app to control them individually, group them together, adjust brightness, change colors, and create customized lighting scenes. Explore the app’s features to fully personalize your lighting setup and create the desired ambiance in your home.
Continue to the next step to learn how to open the Philips Hue app and access the control features for your smart lights.
Step 5: Open the Philips Hue App
Once you have installed the Philips Hue app and powered on your Philips Hue lights, it’s time to open the app and explore its features. The app serves as the control center for your smart lights, allowing you to customize settings, adjust brightness and colors, create lighting scenes, and more.
To open the Philips Hue app, follow these steps:
- Locate the Philips Hue app icon on your smartphone or tablet’s home screen. It typically resembles a lightbulb inside a square or circle.
- Tap on the app icon to open it.
- If prompted, sign in to your Philips Hue account using the credentials you created during the initial setup process. If you have previously signed in, you may be automatically logged in.
- After signing in, the app will take you to the home screen or main dashboard. This is where you can access all the control features and settings for your Philips Hue lights.
Once the app is open, you will have a variety of options and functions at your fingertips. Here are some key features you can explore:
- Individual Light Control: Use the app to control each Philips Hue light individually. Adjust brightness levels, change colors, and even set dynamic effects.
- Group Lighting: Create groups of lights to control multiple bulbs together. This is especially useful for rooms, areas, or scenes where you want all lights to react simultaneously.
- Scenes and Routines: Set up predefined scenes or routines for specific occasions or moods. Create a relaxing ambiance, set a party mode, or simulate a sunrise to wake up gently.
- Scheduling and Timers: Schedule your lights to turn on or off at specific times, helping you save energy and create the desired lighting atmosphere for different times of the day.
- Voice Control and Integration: Connect your Philips Hue system with popular voice assistants like Amazon Alexa, Google Assistant, or Apple HomeKit to control your lights using voice commands.
Take the time to explore the app’s interface and features. Familiarize yourself with the different menus, options, and settings available. Experiment with different lighting effects, colors, and scenes to find the perfect lighting setup for every moment.
The Philips Hue app offers a user-friendly interface and intuitive controls, making it easy to personalize and optimize your smart lighting experience. Continue to the next step to learn how to add Philips Hue lights to the bridge and expand your lighting setup.
Step 6: Add Philips Hue Lights to the Bridge
With the Philips Hue app open and your Philips Hue Bridge connected to your Wi-Fi network, it’s time to add your Philips Hue lights to the bridge. This step allows the bridge to communicate with and control the individual lights, giving you full command over your smart lighting setup.
To add Philips Hue lights to the bridge, follow these steps:
- In the Philips Hue app, navigate to the home screen or main dashboard.
- Tap on the “Settings” or “Add Lights” option. This may vary slightly depending on the version of the app.
- Follow the on-screen instructions to search and detect available Philips Hue lights.
- Ensure that each light is powered on and within range of the bridge. The app should automatically detect and display any lights in proximity.
- If the app successfully detects your lights, it will prompt you to add them to the bridge. Confirm the addition and proceed to the next light.
- If the lights are not automatically detected, try resetting the lights by turning them off and on again or referring to the manufacturer’s instructions. Then, tap on the “Search” or “Scan” button to search for the lights manually.
- Once all desired lights are successfully added, the app will display them on the dashboard, ready for control and customization.
It’s crucial to note that Philips Hue lights should be powered on during the entire setup process. If there are any issues detecting the lights, ensure they are within range of the bridge and operating correctly. Additionally, make sure your smartphone or tablet is connected to the same Wi-Fi network as the bridge.
By successfully adding your Philips Hue lights to the bridge, you can now use the app to control them individually or as a group. Adjust their brightness levels, select colors, and create dynamic lighting effects to suit your preferences and needs.
Continue to the next step to learn how to configure your Philips Hue lights and further customize your smart lighting setup.
Step 7: Configure Your Philips Hue Lights
Now that you have added your Philips Hue lights to the bridge, it’s time to configure and customize them to suit your needs and preferences. The Philips Hue app provides a range of options and settings that allow you to fine-tune your lighting setup and create the perfect ambiance in your space.
To configure your Philips Hue lights, follow these steps:
- Open the Philips Hue app on your smartphone or tablet.
- On the app’s home screen or dashboard, locate the lights you want to configure. They should be listed in individual or grouped sections based on your setup.
- Select the light or group you want to configure. This will bring you to the control screen for that specific light or group.
- Use the app’s controls to adjust the brightness of the light, change its color, or choose a predefined scene. You can also set dynamic effects like color loops or candle flickers.
- Experiment with different color combinations and brightness levels to find the perfect ambiance for different occasions, moods, or activities.
- Explore additional features such as timers, schedules, and routines to automate your lighting. Set your lights to turn on or off at specific times or create routines for specific events.
- Customize your lighting setup further by creating scenes. Scenes allow you to save and recall specific combinations of colors and brightness levels for different purposes.
- Consider integrating your Philips Hue lights with other smart home devices or platforms, such as voice assistants or home automation systems. This can further enhance the functionality and control options for your lights.
Take the time to experiment and familiarize yourself with the various configuration options available in the Philips Hue app. Customize your lights to match your preferences and create the desired atmosphere in every room or area of your home.
Remember that you can configure each light individually or adjust settings for a group of lights, depending on your setup and needs. This level of control allows for endless possibilities and creativity in your smart lighting setup.
Continue to the next step to learn how to create lighting scenes and routines to simplify and automate your smart lighting experience.
Step 8: Create Lighting Scenes and Routines
Creating lighting scenes and routines with your Philips Hue lights can elevate your smart lighting experience to a whole new level. With the ability to customize and automate your lighting, you can effortlessly set the perfect ambiance for different activities, times of day, or moods. Let’s explore how to create lighting scenes and routines using the Philips Hue app.
To create lighting scenes and routines, follow these steps:
- Open the Philips Hue app on your smartphone or tablet.
- On the app’s home screen or dashboard, navigate to the section where you can access scenes or routines. This may be labeled as “Scenes,” “Routines,” or something similar.
- Select the option to create a new scene or routine.
- For creating a scene:
- Choose the lights you want to include in the scene.
- Adjust the brightness, color, and effects of the selected lights to create the desired ambiance.
- Give the scene a descriptive name. For example, “Relaxing Evening” or “Bright and Energizing.”
- Save the scene for easy access in the future.
- For creating a routine:
- Select the specific time or event you want the routine to be triggered.
- Choose the lights and scenes you want to activate as part of the routine.
- Set additional options such as fade-in or fade-out effects.
- Save the routine to automate your lighting according to your schedule or specific events.
- Repeat these steps to create multiple scenes and routines to suit different preferences and requirements.
- Access your created scenes and routines from the app’s home screen or dashboard for quick and convenient control.
Lighting scenes and routines are fantastic tools for simplifying and personalizing your smart lighting setup. Whether you want to create a cozy and relaxing atmosphere for movie nights or a bright and energizing environment for productivity, scenes and routines make it effortless to achieve the desired lighting effects with just a tap of a button or automation based on specific triggers.
Feel free to experiment and fine-tune your scenes and routines as you explore the full potential of your Philips Hue lights. Continue to the next step to learn how to control your Philips Hue lights with voice commands using compatible voice assistants.
Step 9: Control Your Philips Hue Lights with Voice Commands
Controlling your Philips Hue lights with voice commands adds an extra layer of convenience and hands-free functionality to your smart lighting setup. By integrating your lights with a compatible voice assistant, such as Amazon Alexa, Google Assistant, or Apple Siri, you can easily adjust the brightness, change colors, and activate predefined scenes using simple voice commands. Let’s explore how to control your Philips Hue lights with voice commands.
To control your Philips Hue lights with voice commands, follow these steps:
- Ensure that you have a compatible voice assistant device or app set up. This could be a smart speaker, a smartphone or tablet with voice assistant capabilities, or a smart display.
- Open the app associated with your voice assistant device or wake up your voice assistant by using the wake word or a physical button.
- Issue a voice command to control your Philips Hue lights. For example:
- “Hey Google, turn on the living room lights.”
- “Alexa, set the bedroom lights to blue.”
- “Hey Siri, dim the kitchen lights to 50 percent.”
- Your voice assistant will interpret the command and send the appropriate instructions to your Philips Hue lights through the bridge.
- Enjoy the convenience of controlling your lights with just your voice. You can adjust brightness, change colors, activate scenes, or turn the lights on and off using voice commands.
By using voice commands to control your Philips Hue lights, you can effortlessly create different lighting moods and scenarios without having to use the app or physical switches. It adds a level of convenience, especially when your hands are occupied or when you prefer a hands-free experience.
Make sure to explore the range of voice commands available for controlling your Philips Hue lights through your specific voice assistant and app. You can use simple commands or even set up routines and shortcuts to activate specific lighting scenes or combinations.
As technology advances, the integration between Philips Hue lights and voice assistants continues to evolve, allowing for more seamless control and expanded functionality. Be sure to keep your devices and apps up to date to access the latest features and improvements.
Continue to the final step to learn some troubleshooting tips to help you resolve any potential issues or challenges you may encounter during your smart lighting journey.
Step 10: Troubleshooting Tips
While the setup and use of Philips Hue lights are generally smooth and trouble-free, you may occasionally encounter some issues or challenges. Here are some troubleshooting tips to help you resolve common problems and ensure optimal performance of your smart lighting system:
- Check Power and Connections: Ensure that all the lights and the Philips Hue Bridge are properly connected to power sources and that all cables are securely plugged in. Also, make sure the lights and the bridge are within range of each other and connected to the same Wi-Fi network.
- Restart the Bridge and Lights: If you are experiencing connectivity issues or unresponsive lights, try restarting the Philips Hue Bridge and the lights. Simply unplug the power source, wait for a few seconds, and then plug it back in.
- Update Firmware: Regularly check for firmware updates for your Philips Hue Bridge and lights. Updating the firmware can address any known bugs or issues and enhance performance and compatibility with new features in the Philips Hue ecosystem.
- Reconnect Bridge to Wi-Fi: If your Philips Hue Bridge loses its connection to the Wi-Fi network, try reconnecting it by following the initial setup process. This may involve pressing the button on the bridge to authorize the connection.
- Reset Lights: If you are having trouble adding or controlling specific lights, try resetting them to their default settings. Consult the manufacturer’s instructions or the Philips Hue app for guidance on how to reset your particular lights.
- Ensure Compatible Devices: Verify that your voice assistant or smart home platform is compatible with Philips Hue lights. Double-check that your voice assistant device or app is set up correctly and linked to your Philips Hue account.
- Check Network Stability: Ensure that your Wi-Fi network is stable and reliable. Weak or inconsistent Wi-Fi signals can lead to connectivity issues between the Philips Hue Bridge and the lights. Consider relocating the bridge or adding Wi-Fi extenders if needed.
- Bypass Dimmer Switches: If you are using Philips Hue lights with existing dimmer switches, ensure they are set to the maximum brightness level or bypass them altogether. Dimmer switches may interfere with the proper functioning of the Philips Hue lights.
- Contact Support: If you have tried troubleshooting steps and are still experiencing issues, reach out to Philips Hue support or consult their online resources. They have dedicated support channels to assist with technical difficulties and potential hardware-related problems.
Remember, troubleshooting steps may vary depending on the specific issue and the Philips Hue product you are using. Refer to the manufacturer’s instructions or official support resources for detailed troubleshooting guidance.
By following these troubleshooting tips, you can quickly and effectively address common issues that may arise and ensure a seamless and enjoyable smart lighting experience with your Philips Hue lights.