
Disconnect the Devices from the Philips Hue Bridge
Before you proceed with deleting the Philips Hue Bridge, it is crucial to disconnect all the devices linked to it. This will ensure a clean reset and prevent any complications during the process. Follow these steps to disconnect your devices:
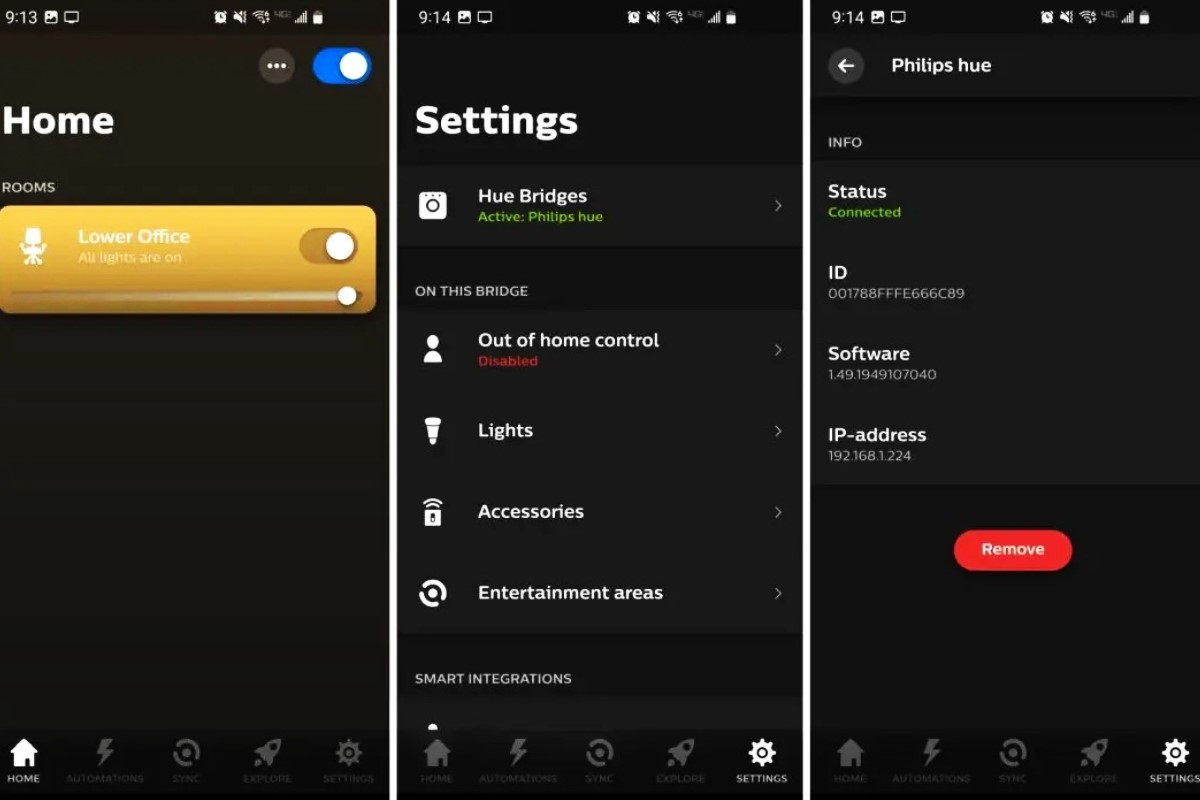
- Open the Philips Hue app: Launch the Philips Hue mobile app on your smartphone or tablet. Ensure that you are connected to the same Wi-Fi network as your Philips Hue Bridge.
- Select the Bridge: Tap on the menu icon in the top-left corner of the app to access the settings menu. From the list of options, choose “Bridges” to view all the available Hue Bridges linked to your account. Select the Bridge that you want to disconnect the devices from.
- Enter the Bridge settings: Once you have selected the Bridge, go to the settings page and tap on “Zigbee channel change”. You will need to type in a security code to proceed, which can be found on the bottom of your Philips Hue Bridge or on the label on the original packaging.
- Reset the devices: In the Zigbee channel change settings, you will find an option called “Reset Hue Lights”. Tap on it to initiate the reset process for all the devices connected to the Bridge. Keep in mind that this will remove all settings and configurations associated with the devices.
- Confirm the reset: You will be prompted to confirm the reset action. Read the warning message displayed on the screen and tap “OK” to proceed. The app will then begin the process of disconnecting all the lights, switches, and accessories from the Bridge.
Once these steps are completed, your devices will no longer be connected to the Philips Hue Bridge. It is important to note that the individual devices will not be fully reset. If you plan to use them with a new Bridge or connect them directly to another smart home system, you will need to consult the device’s specific instructions for resetting and re-pairing.
Remove Philips Hue Devices from the App
Once you have disconnected the devices from the Philips Hue Bridge, the next step is to remove them from the Philips Hue app. This ensures that the app is no longer associated with these devices and allows you to start fresh with a new setup. Follow these instructions to remove the devices:
- Open the Philips Hue app: Launch the Philips Hue mobile app on your smartphone or tablet. Make sure you are connected to the same Wi-Fi network as your Philips Hue Bridge.
- Access the settings: Tap on the menu icon in the top-left corner of the app to open the settings menu. From the list of options, select “Light setup” or “Accessory setup,” depending on the type of device you want to remove.
- Select the device: You will see a list of all the devices that were previously connected to the Philips Hue Bridge. Tap on the device you want to remove to access its settings.
- Remove the device: Once you are in the device settings, you will find an option to remove or delete the device. Confirm the action by tapping on “Remove” or “Delete.” Repeat this step for all the devices you want to remove from the Philips Hue app.
- Verify the removal: After you have removed all the devices, go back to the main screen of the app and check if they are no longer listed. This ensures that the devices have been successfully removed from the app.
By removing the Philips Hue devices from the app, you are ensuring a clean slate for future setup or reconnection with a different Philips Hue Bridge or smart home system. Keep in mind that removing the devices from the app does not reset them; if you plan to use them with a new Bridge or connect them to another system, consult the device’s specific instructions for resetting and re-pairing.
Reset the Philips Hue Bridge
If you are experiencing issues with your Philips Hue Bridge or if you want to start fresh with a clean setup, resetting the Bridge can be a helpful solution. Follow these steps to reset the Philips Hue Bridge:
- Locate the reset button: On the back of the Philips Hue Bridge, you will find a small pinhole labeled “Reset.” Using a paperclip or a similar tool, press and hold the reset button.
- Power on the Bridge: While still holding down the reset button, plug in the power cable to turn on the Philips Hue Bridge. Continue holding the reset button for around 10 seconds until the LED indicators on the Bridge start to flash.
- Release the reset button: After the LED indicators start to flash, release the reset button. The Bridge will then initiate the reset process, which can take a few minutes to complete. During this time, avoid unplugging the Bridge or interrupting the reset process.
- Check the reset status: Once the reset process is complete, the LED indicators on the Bridge will return to their initial state. This indicates that the Philips Hue Bridge has been successfully reset.
Resetting the Philips Hue Bridge will revert it to its default factory settings and remove all configurations and settings associated with it. It is important to note that this action does not delete any of your Philips Hue devices; it only resets the Bridge itself. If you want to delete the devices as well, follow the steps mentioned in the previous sections.
After resetting the Philips Hue Bridge, you can either set it up again with your existing devices or start fresh with a new setup. Just follow the instructions provided by the Philips Hue app or consult the documentation that came with your Philips Hue products to get started.
Unplug the Philips Hue Bridge
If you need to temporarily disconnect or move your Philips Hue Bridge, unplugging it is a simple and effective solution. Here are the steps to follow:
- Locate the Philips Hue Bridge: Identify the location of your Philips Hue Bridge. It is usually connected to your router or placed in a central location for optimal connectivity.
- Power off the Bridge: Before unplugging the Bridge, it is essential to power it off properly. To do so, unplug the power cable from the electrical outlet or disconnect the cable from the power source.
- Wait for a few minutes: It is recommended to wait for at least one minute to allow the Bridge to fully power down. This ensures that all processes are halted before physically disconnecting it.
- Detach the cable: After the waiting period, carefully unplug the cable connected to the Philips Hue Bridge. Gently remove it from the power port on the back of the Bridge.
Once you have unplugged the Philips Hue Bridge, it can be safely moved or stored. However, keep in mind that while the Bridge is disconnected, you will not be able to control your Philips Hue devices through the app or any other connected devices.
When you are ready to reconnect the Philips Hue Bridge, follow the reverse steps. Connect the power cable to the Bridge and plug it back into the electrical outlet or power source. Allow a few moments for the Bridge to power on and establish a connection with your network.
Unplugging the Philips Hue Bridge can be useful when you need to relocate it within your home, perform maintenance, or if you experience connectivity issues. Just remember to handle the Bridge and its cables with care to avoid any damage during the process.
Factory Reset the Philips Hue Bridge
If you want to completely erase all configurations and settings on your Philips Hue Bridge, performing a factory reset is the way to go. This process will restore the Bridge to its original state as if it was brand new. Here’s how to factory reset the Philips Hue Bridge:
- Locate the reset button: On the back of the Philips Hue Bridge, you will find a small pinhole labeled “Reset.” Take a paperclip or a similar tool and press and hold the reset button.
- Power on the Bridge: While still holding down the reset button, plug in the power cable to turn on the Philips Hue Bridge. Keep holding the reset button for about 30 seconds until the LED indicators on the Bridge start to blink rapidly.
- Release the reset button: After the LED indicators begin flashing rapidly, release the reset button. The Bridge will then proceed with the factory reset process, which may take a couple of minutes.
- Confirmation of factory reset: Once the factory reset is complete, the LED indicators on the Bridge will stop blinking and return to their initial state. This indicates that the Philips Hue Bridge has been successfully reset to its factory settings.
It is important to note that performing a factory reset on the Philips Hue Bridge will wipe out all your configurations, settings, and connected devices. This includes any third-party integrations and automation routines set up through the Philips Hue app or other platforms. Make sure to back up any important settings or data before proceeding with the factory reset.
After the factory reset, you can set up the Philips Hue Bridge again by following the initial setup instructions provided by the Philips Hue app. This will allow you to connect your devices, create new settings, and customize your lighting experience from scratch.
Keep in mind that a factory reset should be done with caution, as it erases all data and settings permanently. Only perform a factory reset if you are sure that is the solution you need or if you are preparing to sell or give away the Philips Hue Bridge to someone else.
Reconnect the Philips Hue Bridge
After performing a reset or if you have a new Philips Hue Bridge, you will need to reconnect it to your network and set it up again. Follow these steps to reconnect the Philips Hue Bridge:
- Power on the Bridge: Plug in the power cable of the Philips Hue Bridge to turn it on. Ensure that the Bridge is properly connected to your router using an Ethernet cable.
- Open the Philips Hue app: Launch the Philips Hue mobile app on your smartphone or tablet. Make sure you are connected to the same Wi-Fi network as your Philips Hue Bridge.
- Access bridge setup: Tap on the menu icon in the top-left corner of the app to open the settings menu. From the list of options, select “Add device” or “Set up new Bridge” to begin the setup process.
- Follow on-screen instructions: The Philips Hue app will guide you through the steps to connect the Bridge to your network. Ensure that the Bridge is connected to the same network and that you have a stable internet connection during the setup process.
- Wait for connection confirmation: Once you have successfully connected the Bridge to your network, the app will confirm the connection. This may take a few moments, so be patient and allow the app to complete the setup process.
Once the Bridge is reconnected to your network, you can start adding and configuring your Philips Hue devices. Follow the instructions provided by the app to add and set up your lights, switches, and accessories.
During the setup process, you may be required to create an account or sign in to your existing Philips Hue account. This will allow you to control your lights remotely and access additional features within the Philips Hue app.
After completing the setup, you can customize your lighting experience, create scenes, schedules, and explore the various features offered by the Philips Hue system.
Reconnecting the Philips Hue Bridge is a straightforward process that allows you to regain control of your smart lighting setup. By following these steps, you can enjoy the convenience and versatility of the Philips Hue ecosystem once again.