
Requirements
In order to connect your Philips Hue Bridge through a hotspot, you will need a few key items. Make sure you have the following before getting started:
- A Philips Hue Bridge – This is the central hub that connects your smart lights to your network.
- A smartphone or tablet with Wi-Fi capability – Your device will be used to set up the hotspot and connect to the Philips Hue Bridge.
- A stable internet connection – You will need access to the internet to download the Philips Hue app and complete the setup process.
- A subscription plan with a mobile carrier – Depending on the availability of Wi-Fi networks in your area, you may need a hotspot feature on your smartphone or tablet. This is usually offered as part of a subscription plan with a mobile carrier.
- The Philips Hue app – This app is available for both iOS and Android devices and is necessary to control and manage your Philips Hue lights.
- Knowledge of your user credentials – Make sure you have the necessary login credentials for your Wi-Fi network as well as your Philips Hue account.
Once you have gathered these requirements, you will be ready to proceed with the setup process. It’s important to ensure that your Philips Hue Bridge and smartphone or tablet are compatible and meet the minimum system requirements for the Philips Hue app. This will help ensure a smooth and successful setup.
Now that we have covered the requirements, let’s move on to setting up the Philips Hue Bridge.
Setting up the Philips Hue Bridge
Before connecting your Philips Hue Bridge through a hotspot, you will need to set it up and ensure it is properly connected to your Wi-Fi network. Follow these steps to get started:
- Connect the Philips Hue Bridge to a power outlet using the provided power adapter.
- Use an Ethernet cable to connect the bridge to your Wi-Fi router. Both ends of the cable should be securely plugged in.
- Ensure that your Wi-Fi router is turned on and connected to the internet.
- Wait for the lights on the bridge to turn on and stabilize. This may take a couple of minutes.
- Once the lights on the bridge are stable, download and open the Philips Hue app on your smartphone or tablet.
- Follow the on-screen instructions to create a new account or log in to your existing Philips Hue account.
- When prompted, navigate to the settings or setup section of the app and select “Add a new device”.
- The app will search for your Philips Hue Bridge. Once it is detected, confirm the connection.
- On the app, select your Wi-Fi network from the available options and enter the necessary login credentials to connect the bridge to your network.
- The app will then establish a connection between your smartphone or tablet and the bridge.
- Once the connection is established, the app will prompt you to assign a name to your bridge.
- Choose a name for your bridge that is easily recognizable and memorable.
- Finally, follow any additional setup instructions provided by the app to customize your settings and preferences.
With the Philips Hue Bridge successfully set up and connected to your Wi-Fi network, you are now ready to proceed with enabling the hotspot on your phone.
Enabling the hotspot on your phone
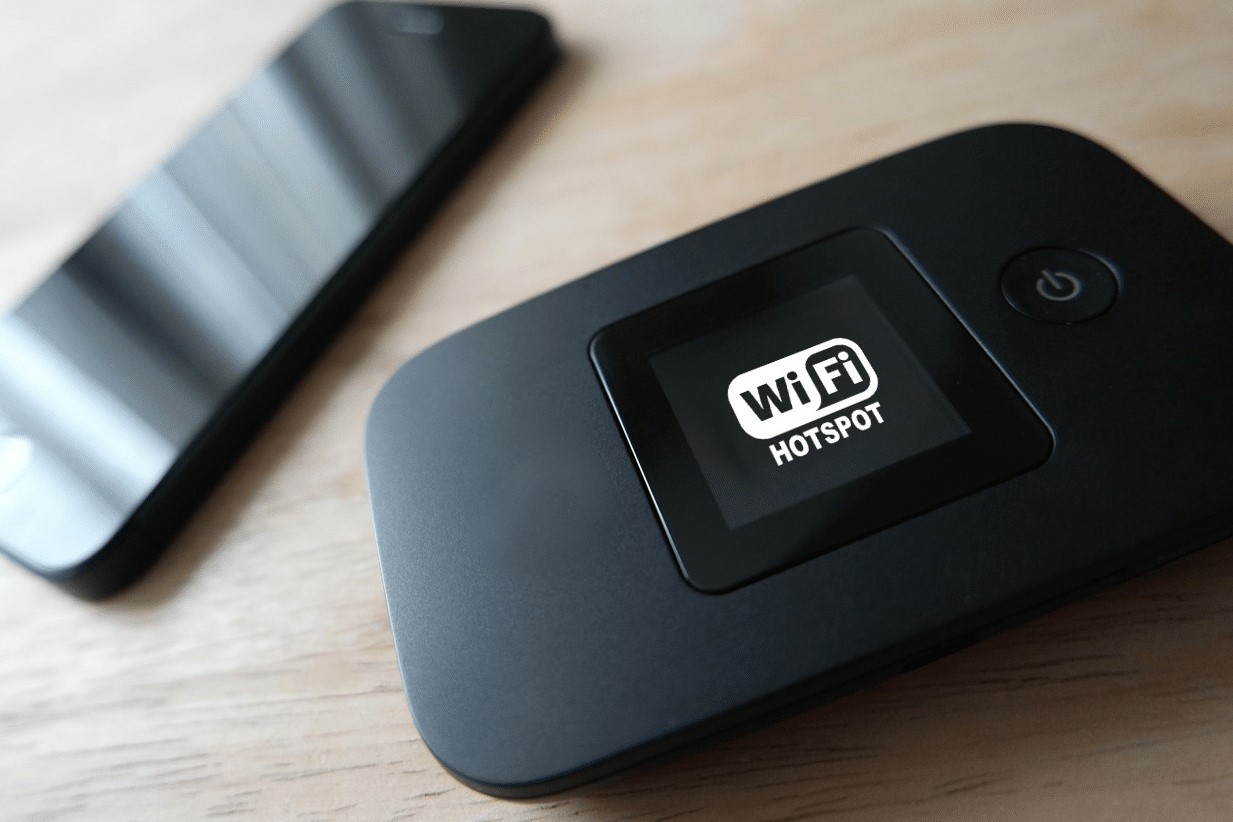
In order to connect your Philips Hue Bridge through a hotspot, you will need to enable the hotspot feature on your smartphone or tablet. This feature allows your device to act as a portable Wi-Fi network, which the bridge can connect to. Follow these steps to enable the hotspot:
- Unlock your smartphone or tablet and navigate to the settings menu.
- Look for the “Personal Hotspot” or “Tethering & Portable Hotspot” option and tap on it.
- On the hotspot settings page, you will find options to enable or disable the hotspot feature. Toggle the switch to turn it on.
- Some devices will allow you to customize the hotspot name and password. If prompted, enter a name and password that you can easily remember.
- Save the settings and exit the hotspot settings menu.
Now that the hotspot is enabled on your smartphone or tablet, you are ready to connect your phone to the hotspot and proceed with the setup process.
Connecting your phone to the hotspot
Now that you have enabled the hotspot on your smartphone or tablet, you need to connect your phone to the hotspot network before proceeding with the setup process. Follow these steps to connect your device:
- On your smartphone or tablet, go to the Wi-Fi settings menu.
- Under the list of available Wi-Fi networks, you should see the name of the hotspot you enabled. Tap on it to connect.
- If you set a password for the hotspot, you will be prompted to enter it. Type in the password correctly to establish the connection.
- Once connected, you will see a confirmation message indicating a successful connection to the hotspot network.
Now that your smartphone or tablet is connected to the hotspot network, the Philips Hue Bridge will be able to communicate with your device during the setup process.
In the next section, we will guide you on setting up the Philips Hue app on your device.
Setting up the Philips Hue app
To fully utilize and control your Philips Hue lights, you will need to set up the Philips Hue app on your smartphone or tablet. Follow these steps to get started:
- Open the app store on your device (Google Play Store for Android or App Store for iOS).
- Search for “Philips Hue” in the app store search bar.
- Locate the official Philips Hue app and tap on it to select it.
- Click the “Install” or “Get” button to download and install the app on your device.
- Once the app is installed, open it from your device’s home screen.
- Review and accept the terms and conditions, if prompted.
- Allow the app to access location services, as this may be required for certain app functionalities.
- Log in to your Philips Hue account using your login credentials. If you don’t have an account, you can create one within the app.
- The app will prompt you to search for new devices. Tap on “Search” or “Add new lights” to begin the discovery process.
- Make sure your smartphone or tablet is connected to the hotspot network.
- The app will automatically detect your Philips Hue Bridge and the lights connected to it.
Once the app successfully detects your bridge and lights, you are now ready to connect the Philips Hue Bridge to the hotspot network.
In the next section, we will guide you through the process of connecting the Philips Hue Bridge to the hotspot.
Connecting the Philips Hue Bridge to the hotspot
Now that you have set up the Philips Hue app on your device and it has detected your Philips Hue Bridge, you can proceed to connect the bridge to the hotspot network. Follow these steps to establish the connection:
- In the Philips Hue app, you will see a list of detected devices. Select your Philips Hue Bridge from the list.
- The app will display a prompt asking you to connect the bridge to your Wi-Fi network. Tap on “Connect” or “Start” to initiate the connection process.
- On your smartphone or tablet, navigate to the Wi-Fi settings and ensure that you are still connected to the hotspot network.
- Return to the Philips Hue app and follow the on-screen instructions to connect the bridge to the hotspot network.
- The app will automatically detect the hotspot network and prompt you to enter the necessary login credentials, if required.
- Enter the hotspot password correctly and tap on “Connect” or “Done”.
- The app will establish a connection between the Philips Hue Bridge and the hotspot network.
- Wait for the app to confirm a successful connection between the bridge and the hotspot.
Once the connection is established, you are now ready to complete the setup process and enjoy the full functionality of your Philips Hue lights.
In the next section, we will provide troubleshooting tips to help you address any potential issues you may encounter during the setup process.
Completing the setup process
Now that you have successfully connected the Philips Hue Bridge to the hotspot network, you are almost done with the setup process. Follow these final steps to complete the setup and start controlling your Philips Hue lights:
- In the Philips Hue app, the bridge and lights should now be listed as connected. Tap on the bridge to access its settings.
- Within the bridge settings, you can customize various options such as room assignments, light names, and preset scenes.
- Take some time to explore the features and options available in the app to personalize your lighting experience.
- To control your lights, navigate to the main screen of the app where you will find all the connected lights listed.
- From here, you can turn lights on or off, adjust brightness, change colors, and create schedules or routines.
- Explore the different sections and options within the app to fully utilize the capabilities of your Philips Hue lights.
- Remember to keep your smartphone or tablet connected to the hotspot network in order to maintain a connection with the bridge.
- Enjoy the convenience and flexibility of controlling your lights through the Philips Hue app!
Congratulations! You have successfully completed the setup process and your Philips Hue lights are now connected and ready to use. Enjoy the endless possibilities of creating the perfect lighting atmosphere in your home.
In the next section, we will provide some troubleshooting tips to help you address any issues you may encounter during the setup process.
Troubleshooting tips
While setting up your Philips Hue Bridge through a hotspot, you may encounter some common issues. Here are a few troubleshooting tips to help you resolve them:
- Ensure that your smartphone or tablet is connected to the hotspot network and that the hotspot feature is enabled.
- Check that your Philips Hue Bridge is properly connected to a power outlet and your Wi-Fi router using an Ethernet cable.
- Make sure that your Wi-Fi router is turned on and connected to the internet.
- Verify that you have entered the correct login credentials for the hotspot network, if prompted.
- Try restarting your smartphone or tablet and the Philips Hue Bridge.
- Reset the Philips Hue Bridge by pressing the small reset button on the back using a paperclip or similar object.
- Ensure that you are using the official Philips Hue app and that it is up to date.
- If the app is not detecting the Philips Hue Bridge, try searching for it manually using the app’s device discovery feature.
- If you are still having trouble connecting, check for any firmware updates for your Philips Hue Bridge and lights, and apply them if available.
- If you have multiple networks or range extenders, make sure your smartphone or tablet and the Philips Hue Bridge are connected to the same network.
- Verify that your mobile carrier allows hotspot usage and that you have an active subscription plan.
- Consider contacting Philips Hue customer support for further assistance if the issue persists.
By following these troubleshooting tips, you should be able to overcome most common issues and successfully connect your Philips Hue Bridge through a hotspot.
With the setup process complete and any issues resolved, you can now enjoy the convenience and versatility of controlling your Philips Hue lights with ease.
Now that you’re all set up, it’s time to sit back, relax, and bask in the mesmerizing ambiance created by your Philips Hue lights!