
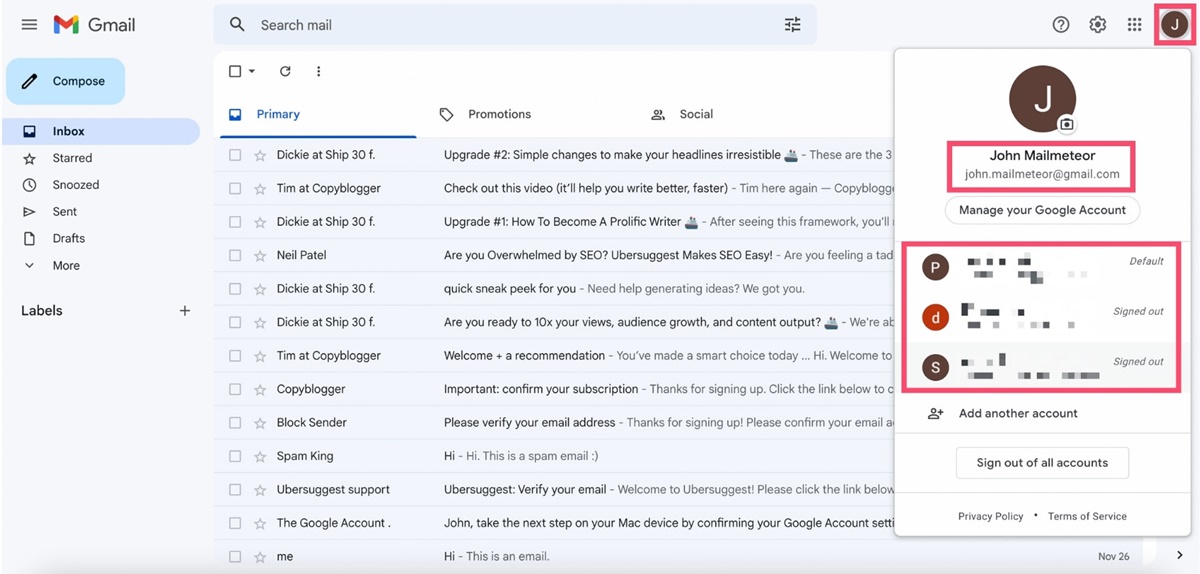
Step 1: Accessing Gmail Settings
Gmail is a popular email client that offers a plethora of features to its users. One of these features is the ability to change the default sending account. To get started, you need to access the Gmail Settings. Follow the steps below to access the settings in your Gmail account:
- Login to your Gmail account by entering your username and password.
- Once logged in, look for the gear icon in the top right corner of the Gmail interface. Click on it to access the Gmail settings.
- A drop-down menu will appear. Scroll down and click on the “Settings” option.
- You will be directed to the Gmail Settings page.
It is important to note that the steps mentioned above may vary slightly depending on the version of Gmail you are using. Gmail regularly updates its interface, so if you don’t see the gear icon in the top right corner, look for an icon that resembles a cogwheel or three horizontal lines (also known as the “hamburger menu”) and click on it. From there, you should be able to access the settings.
Once you have successfully accessed the Gmail Settings, you are ready to proceed to the next step.
Step 2: Finding the Accounts and Imports Tab
Now that you have accessed the Gmail Settings, the next step is to locate the “Accounts and Imports” tab. This tab contains all the necessary options to manage your email accounts in Gmail.
- On the Gmail Settings page, navigate to the top menu and click on the “Accounts and Imports” tab. This tab may be located directly at the top, or you may need to scroll down to find it.
- Once you click on the “Accounts and Imports” tab, a new page will open, displaying a variety of options and settings related to your email accounts.
Keep in mind that the Gmail interface may look different depending on whether you are using the classic version or the new version of Gmail. However, you should be able to find the “Accounts and Imports” tab in either version.
By accessing the “Accounts and Imports” tab, you have successfully reached the section where you can manage your email accounts and make changes to your default sending account. The next step will guide you through the process of adding a new email address to your Gmail account.
Step 3: Adding a New Email Address
Once you have reached the “Accounts and Imports” tab in the Gmail Settings, you can proceed to add a new email address to your Gmail account. This will allow you to send emails from multiple email accounts directly through your Gmail interface. Here’s how you can add a new email address:
- Under the “Send mail as:” section, click on the “Add another email address” option. This will open a pop-up box where you can enter the details of the new email address.
- In the pop-up box, enter your name and the email address you want to add. Make sure to double-check the email address for any typos or errors.
- Click on the “Next Step” button to proceed.
At this point, Gmail will ask you to verify the ownership of the email address you are trying to add. Depending on the email provider, you may have different verification options available, such as receiving a verification code via email or following a link to confirm ownership.
Follow the instructions provided by Gmail to verify the new email address. Once the verification process is complete, you will have successfully added the new email address to your Gmail account.
Note that Gmail also offers the option to “Treat as an alias” when adding a new email address. By enabling this option, you can send emails from the added address, but the replies will be redirected to your primary Gmail account. This is useful if you want to consolidate all your email communications in one place.
Once you have added and verified the new email address, you can proceed to the next step to set it as your default sending account in Gmail.
Step 4: Verifying the New Email Address
After adding a new email address to your Gmail account, the next step is to verify the ownership of the newly added email address. Verifying the email address ensures that you have the necessary authorization to send emails from that account through your Gmail interface.
Here’s how you can verify the new email address:
- Check your inbox for an email from Gmail with the subject “Gmail Confirmation – Send Mail as [email address]“. This email contains a verification link that you need to click on.
- Alternatively, you can check the spam or junk folder if you don’t see the verification email in your inbox. Sometimes, email providers mistakenly classify these types of emails as spam.
- Open the email and click on the verification link provided. This will redirect you to a confirmation page in your web browser.
- On the confirmation page, click on the “Confirm” button to verify the email address.
Once you have successfully verified the new email address, Gmail will recognize it as a valid sending account. This means you can now send emails from your Gmail interface using this email address as the sender.
If you encounter any issues during the verification process, make sure to double-check the email address for accuracy and try the verification steps again. In some cases, the verification link may expire after a certain period of time, so it is important to complete the verification process promptly.
Once the new email address is verified, you are ready to move on to the next step, where you will learn how to set the new email address as the default sending account in Gmail.
Step 5: Setting the New Email Address as the Default Sending Account
Now that you have successfully added and verified the new email address in Gmail, the next step is to set it as the default sending account. This means that whenever you compose a new email in Gmail, the email will automatically be sent using the new email address as the sender. Here’s how you can set the new email address as the default sending account:
- Go back to the “Accounts and Imports” tab in the Gmail Settings. This is where you initially added the new email address.
- Scroll down until you find the section labeled “Send mail as:”. You should see the list of email addresses you have added to your Gmail account.
- Locate the new email address that you want to set as the default sending account.
- Click on the “make default” option next to the new email address. This will make the new email address the default sending account in Gmail.
Once you have set the new email address as the default sending account, Gmail will use this address by default whenever you compose a new email. You can always change the sender manually when composing an email if you want to use a different email address from the list.
It’s important to note that you can also set a different reply-to address for each email address you have added in Gmail. This means that when recipients reply to your emails, their replies will be directed to the reply-to address you have specified, even if you sent the email using a different sending address.
Now that you have set the new email address as the default sending account, you are ready to move on to the final step, where you can compose an email and test the new default sending account in action.
Step 6: Composing an Email and Testing the New Default Sending Account
With the new email address set as the default sending account in Gmail, it’s time to put it to the test by composing and sending an email. This will allow you to ensure that the emails are being sent successfully from the desired email address. Here’s how you can compose an email and test the new default sending account:
- Click on the “Compose” button in the Gmail interface to start composing a new email.
- In the new email window, you will notice that the sender field is pre-filled with the email address you set as the default sending account.
- Compose your email as you normally would, entering the recipient’s email address, the subject, and the body of the email.
- Double-check that the sender field displays the correct email address. If you want to send the email from a different email address, you can manually change the sender by clicking on the dropdown arrow next to the email address.
- Once you have composed the email, click on the “Send” button to send it.
After sending the email, you should check the recipient’s inbox to confirm that the email was sent from the new default sending account. You can also check your own sent mailbox to review the email and verify the sender information.
If you encounter any issues with the sending process, double-check the email address for accuracy and make sure it is set as the default sending account. Additionally, ensure that your internet connection is stable and that Gmail is functioning properly.
By successfully composing and sending an email using the new default sending account, you have confirmed that the change has been applied correctly in Gmail. You can now enjoy the convenience of sending emails from your preferred email address directly through Gmail.