
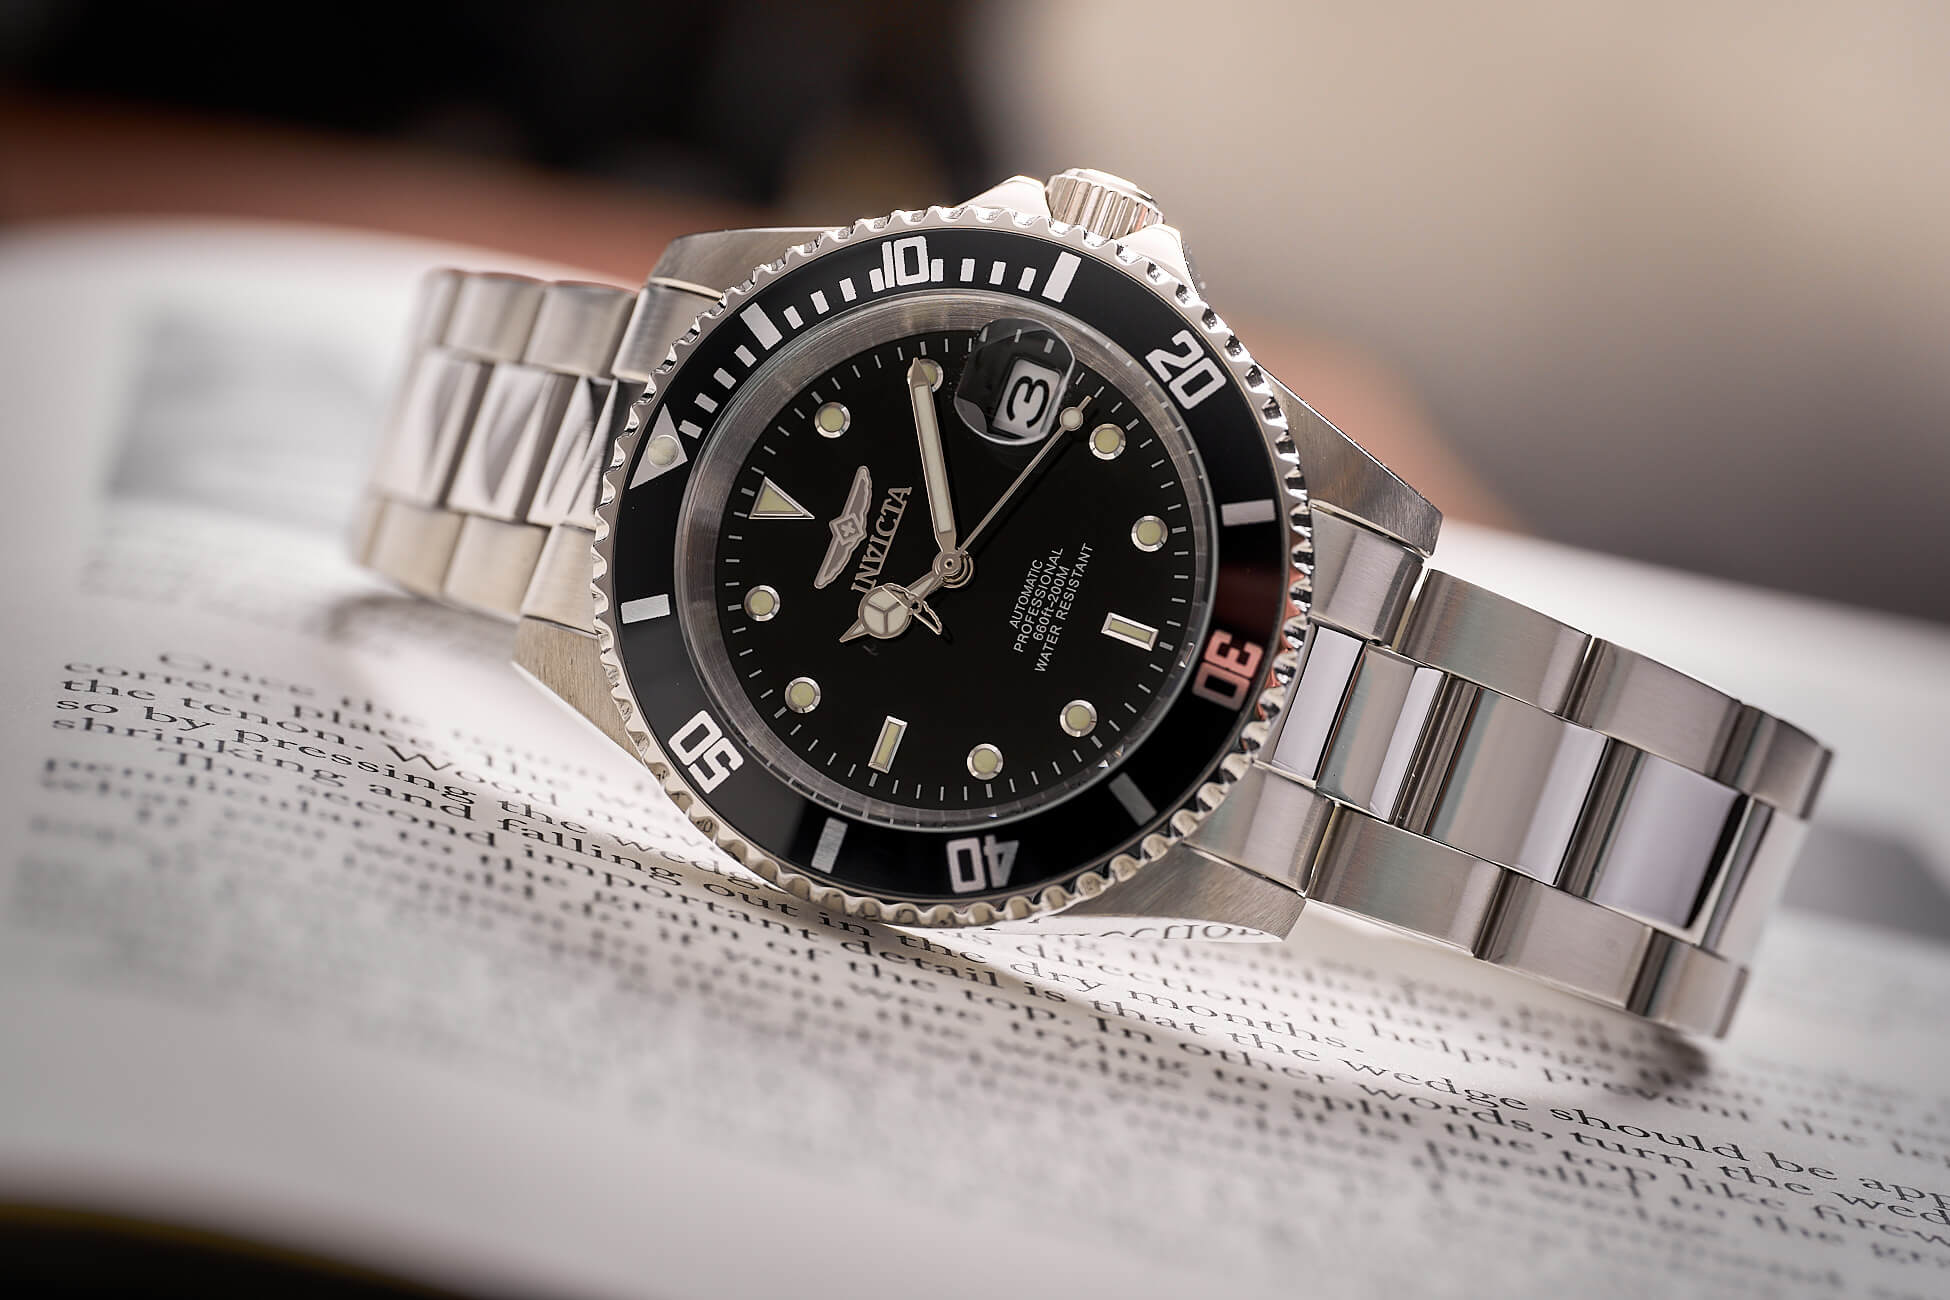
Why Adjusting Your Invicta Watch Band Is Important
When it comes to wearing a wristwatch, comfort is key. And one of the crucial factors that contribute to the comfort of wearing a watch is a properly adjusted watch band. This holds true for Invicta watches as well. Adjusting your Invicta watch band to the right fit not only ensures a comfortable wearing experience but also enhances the aesthetics of the timepiece on your wrist.
Having a watch band that is too loose or too tight can be bothersome. If the band is too loose, the watch may slide around on your wrist, causing inconvenience and potentially increasing the risk of damage or loss. On the other hand, if the band is too tight, it can create discomfort, restrict blood circulation, and leave marks on your skin.
Moreover, adjusting the watch band to the correct fit provides a secure and reliable attachment to your wrist. This helps prevent accidental slippage or detachment of the watch, giving you peace of mind, especially if you’re engaging in activities that require frequent hand movements or vigorous physical exertion.
Additionally, a properly adjusted watch band contributes to the overall appearance of your Invicta watch. A snug fit ensures that the watch is centered on your wrist, showcasing its design and features as intended. It adds to the sleek and polished look of the timepiece, enhancing your style and confidence.
Lastly, adjusting your Invicta watch band to the right fit allows for easy access to the watch’s functions and features. Whether it’s adjusting the time or date, using the chronograph, or operating any other functions, having a well-fitted watch band ensures convenient usability without any hindrance.
With all these reasons in mind, it becomes clear why adjusting your Invicta watch band is important. It ensures comfort, security, aesthetics, and functionality, ultimately enhancing your overall experience of wearing an Invicta timepiece. So, if your watch band doesn’t fit quite right, don’t hesitate to make the necessary adjustments to enjoy all the benefits a properly adjusted band has to offer.
Tools You Will Need
Adjusting your Invicta watch band requires a few basic tools to make the process smooth and hassle-free. Before you begin, gather the following tools:
- Spring bar tool: This tool is essential for removing and installing the spring bars that hold the watch band in place. It typically has a pointed end for removing the bars and a forked end for inserting them back. Ensure you have a spring bar tool that matches the size of your Invicta watch band.
- Tweezers: Tweezers can come in handy for holding small watch components, such as spring bars, while you work on adjusting the watch band.
- Cloth or towel: Having a soft cloth or towel nearby is useful for placing the watch on and preventing any accidental scratches or damage while making adjustments.
- Pin pusher or link removal tool: These tools are necessary for adjusting the length of the watch band’s links. Depending on the type of Invicta watch band you have (clasp type or fixed link type), you may need a pin pusher for removing or adding links to achieve the desired fit.
- Pliers: Pliers with a fine tip or needle-nose pliers can be helpful for securely holding and manipulating small watch components if needed.
- Watch case opener: If you’re planning to adjust the watch band by removing links from the fixed link type, you may need a watch case opener to access the hidden screws or pins that hold the links together.
Once you have these tools ready, you’ll be well-equipped to adjust your Invicta watch band with ease and precision. It’s important to ensure the tools are in good condition and suitable for the task at hand to avoid any accidental damage to your watch or the watch band.
Step 1: Removing the Watch Band
Before you can adjust your Invicta watch band, you need to remove it from the watch case. Follow these steps to safely remove the watch band:
- Prepare your workspace: Find a clean, flat surface to work on. Place a cloth or towel on the surface to prevent any scratches or damage to the watch and its components.
- Locate the spring bars: Look for the small spring-loaded bars on both ends of the watch band where it attaches to the watch case. These bars secure the band in place.
- Use the spring bar tool: Select the pointed end of the spring bar tool and insert it into the small gap between the watch band and the watch case, right next to the spring bar. Apply gentle pressure and slightly push the spring bar away from the case until you feel it release. Repeat this step for the other end of the watch band.
- Remove the watch band: Once both spring bars are released, carefully pull the watch band away from the watch case. Be cautious not to apply too much force or bend the spring bars excessively to avoid any damage.
- Inspect the spring bars: Take a moment to inspect the spring bars for any signs of damage or wear. If necessary, this is a good time to replace them with new ones to ensure a secure attachment when reassembling the watch.
With the watch band successfully removed, you can move on to the next step in adjusting your Invicta watch band. Remember to handle the watch band and its components with care to prevent any accidental damage or loss.
Step 2: Determining the Correct Fit
Once you have removed the watch band, the next step is to determine the correct fit for your Invicta watch band. This will ensure that the watch sits comfortably on your wrist. Follow these guidelines to find the optimal fit:
- Measure your wrist: Use a flexible measuring tape or a piece of string to measure the circumference of your wrist. Wrap it around your wrist snugly, but not too tight, and note the measurement.
- Consider your preference: Think about how you like your watch to fit. Some people prefer a looser fit, while others prefer a tighter fit. Keep this in mind when making adjustments.
- Account for any additional length: Invicta watches usually come with an adjustable length in the watch band. Consider if you want to add or remove extra length based on your wrist measurement and personal preference.
- Check for symmetry: Ensure that you make equal adjustments on both sides of the watch band to maintain symmetry and balance when wearing the watch. This is important for both aesthetic reasons and comfortable wearing.
- Try different positions: Move the watch up and down your wrist to find the most comfortable position. Some people prefer the watch to be higher on the wrist, while others prefer it lower. Experiment to see what works best for you.
By considering these factors and finding the right fit for your Invicta watch band, you’ll ensure a comfortable and personalized wearing experience. Take your time during this step, as it’s important to get the fit right before moving on to the adjustment process.
Step 3: Adjusting the Clasp Type
If your Invicta watch band has a clasp type closure, you can easily adjust the length to achieve the perfect fit. Follow these steps to make the necessary adjustments:
- Identify the clasp: Examine the clasp on your watch band. It may have various types, such as a folding clasp, push-button deployment clasp, or a buckle clasp. Familiarize yourself with the specific mechanism of your clasp.
- Locate the adjustment holes: Look for the series of small holes on one side of the clasp. These holes allow you to adjust the length of the watch band.
- Determine the desired fit: Decide how many links you need to add or remove to achieve the desired fit. You can use your wrist measurement as a reference or go by how the watch feels when worn.
- Remove or add links: To remove links, locate the small pin or screw on the side of the clasp that holds the links together. Use a pin pusher or a link removal tool to carefully push out the pin or unscrew the screws. Remove the necessary links to achieve the desired length. To add links, you may need additional links that are compatible with your watch band. Insert the links following the instructions provided by the manufacturer.
- Reassemble the clasp: Once you have adjusted the length, reassemble the clasp by aligning the remaining links and inserting the pin or screw back in place. Ensure it is securely fastened to avoid any accidental detachment while wearing the watch.
Take your time to adjust the clasp type watch band carefully and precisely. Double-check the fit after making the adjustments and wear the watch to ensure it feels comfortable and secure on your wrist. If needed, make further adjustments until you achieve the perfect fit.
Step 4: Adjusting the Fixed Link Type
If your Invicta watch band has a fixed link type, adjusting the length requires removing or adding links to achieve the desired fit. The process may vary depending on the specific design and construction of your watch band. Follow these steps to adjust the fixed link type:
- Identify the fixed links: Examine your watch band and locate the links that are not removable. These links are usually larger and more prominent than the adjustable links.
- Prepare the necessary tools: Depending on the design of the fixed link, you may need a pin pusher or a link removal tool to remove the pins or screws holding the links together. A watch case opener may also be needed to access hidden screws or pins, especially if the links are attached to the watch case.
- Remove the necessary links: Use the appropriate tool to carefully push out the pins or unscrew the screws that hold the fixed links together. Take your time to ensure you don’t damage the watch band or the links. Remove the required number of links to achieve the desired length.
- Reassemble the watch band: Once you have adjusted the length, reassemble the watch band by aligning the remaining links and inserting the pins or screws back in place. Ensure they are securely fastened.
- Test the fit: Wear the watch to test the fit and comfort. If the band is still too loose or tight, repeat the process of removing or adding links until you achieve the desired fit.
Adjusting a fixed link type watch band may require a bit more effort and precision compared to a clasp type band. Be patient and careful during the process to avoid any accidental damage. If you’re unsure about any steps or encounter any difficulties, it’s advisable to seek professional assistance from a watch specialist or jeweler.
Step 5: Reattaching the Watch Band
After adjusting the length of your Invicta watch band, it’s time to reattach it to the watch case. Follow these steps to securely reattach the watch band:
- Prepare the spring bars: Ensure that the spring bars are in good condition and free from any damage. If they show signs of wear or weakness, consider replacing them with new ones for a secure attachment.
- Align the watch band: Position the watch band in alignment with the watch case. Ensure that the holes or slots on the band match up with the spring bar holes on the watch case.
- Insert the spring bars: Select the pointed end of the spring bar tool. Insert it into the hole on one side of the watch band where the spring bar hole is located. Apply gentle pressure and guide the spring bar into the spring bar hole on the watch case. Repeat this step for the other end of the watch band.
- Check the attachment: Once both spring bars are inserted, wiggle the watch band slightly to ensure it is securely attached. Check for any looseness or instability. If necessary, repeat the process to ensure a proper and secure attachment.
- Inspect the attachment: Examine the attachment of the watch band to the watch case. Ensure that the spring bars are fully inserted and not protruding. They should be flush with the watch case to prevent any discomfort or snagging.
With the watch band reattached, give it a gentle tug to verify the stability and security of the attachment. It’s important to double-check the attachment to avoid any potential loss or damage to your watch. Now you’re ready to move on to the final step of adjusting your Invicta watch band.
Step 6: Testing the Fit
After making the necessary adjustments and reattaching the watch band, it is crucial to thoroughly test the fit of your Invicta watch. Follow these steps to ensure the band is adjusted to your desired comfort:
- Wear the watch: Put the watch on your wrist and fasten the clasp or buckle. Ensure that it sits comfortably and securely on your wrist.
- Check the tightness: Take note of how the watch band feels in terms of tightness. It should be snug enough to prevent sliding but not too tight that it causes discomfort or restricts blood circulation.
- Move your wrist: Test the flexibility and ease of movement. Bend and flex your wrist to see if the watch stays in place. Make sure it does not slide up or down your arm unnecessarily.
- Observe any discomfort: Pay attention to any areas of the watch band that may rub against your skin or cause irritation. The strap should feel smooth and comfortable throughout the day.
- Assess aesthetics: Take a moment to appreciate the visual appearance of the watch on your wrist. Ensure that it looks balanced and centered, complimenting your style and enhancing your overall appearance.
- Make further adjustments if necessary: If you find any issues with the fit or comfort, consider revisiting the previous steps to fine-tune the adjustment. It may take a few iterations to achieve the perfect fit.
Testing the fit of your Invicta watch after adjustment is crucial to ensure your comfort and satisfaction. Take your time to perform these steps, and don’t hesitate to make additional adjustments if needed. Once you’re satisfied with the fit, you’re ready to enjoy your Invicta watch with utmost comfort and style.
Additional Tips for Adjusting Your Invicta Watch Band
While the previous steps provide a general guide to adjusting your Invicta watch band, here are some additional tips to help you ensure a successful and convenient adjustment process:
- Consult the manufacturer’s instructions: Invicta watches may have specific instructions provided by the manufacturer for adjusting the watch band. Refer to the user manual or visit the official Invicta website for any specific guidelines or recommendations.
- Take it slow: Adjusting your watch band requires patience and precision. Take your time to avoid any accidental damage to the watch or the band. Rushing through the process can lead to mistakes or unnecessary complications.
- Keep track of removed links: If you remove any links from your watch band, make sure to keep them in a safe place. This will come in handy if you need to add the links back in the future or if you decide to sell or pass on the watch.
- Seek professional assistance if needed: If you find it challenging to adjust the watch band yourself or are unsure about any steps, consider seeking help from a professional watchmaker or jeweler. They have the expertise and specialized tools to make precise adjustments without risking damage to your watch.
- Consider the warranty: Before making any adjustments, check if your Invicta watch is still under warranty. Modifying the watch band on your own may void the warranty, so it’s important to be aware of the terms and conditions set by the manufacturer.
- Maintain proper care: After adjusting your Invicta watch band, continue to take care of it by keeping it clean and storing it in a safe place. Regularly clean the band with a soft cloth to remove any dirt or grime that may accumulate with wear.
By following these additional tips, you can ensure a successful adjustment process and prolong the lifespan of your Invicta watch. Remember, it’s essential to prioritize comfort, functionality, and aesthetics when customizing the fit of your watch band.