
Prerequisites for Adding Your Outlook.com Email to Outlook for Windows
Before you can add your Outlook.com email to Outlook for Windows, there are a few prerequisites you need to ensure are in place. These requirements will ensure a smooth setup process and allow you to seamlessly access your Outlook.com emails within the Outlook application.
Here are the prerequisites you need to check before proceeding with the setup:
- A working internet connection: Make sure you are connected to the internet so that Outlook can communicate with the Outlook.com email servers.
- A valid Outlook.com email account: You should have an existing Outlook.com email address and password. If you don’t have one, you can easily create a new Outlook.com account for free.
- Outlook for Windows installed: Ensure that you have the Outlook application installed on your Windows computer. If you don’t have it yet, you can download and install it from the official Microsoft website.
- Updated version of Outlook: It’s important to have the latest version of Outlook installed to take advantage of the latest features and security updates. If you’re using an older version, consider updating to the latest release before adding your Outlook.com email.
By making sure you meet these prerequisites, you’ll be all set to proceed with adding your Outlook.com email to Outlook for Windows. Now that you have everything in place, let’s move on to the next section to learn how to set it up.
Step 1: Open Outlook for Windows
To begin the process of adding your Outlook.com email to Outlook for Windows, you need to open the Outlook application on your computer. Follow these steps to open Outlook:
- Locate the Outlook icon on your desktop or search for “Outlook” in the Windows Start menu.
- Click on the Outlook icon or select it from the search results to open the application.
Once you’ve successfully opened Outlook, you’ll be ready to move on to the next step of adding your Outlook.com email account. Keep in mind that the exact steps may vary slightly depending on the version of Outlook you’re using, but the overall process should be similar.
Opening Outlook is the first step towards integrating your Outlook.com email account with the desktop application. Now that you have successfully launched Outlook, let’s move on to the next step to continue the setup process.
Step 2: Click on the “File” tab
After opening Outlook for Windows, the next step is to click on the “File” tab. This tab is located in the top left corner of the Outlook application window. Follow these instructions to locate and select the “File” tab:
- Look at the top left corner of the Outlook window. You should see a ribbon toolbar with various tabs.
- Locate and click on the “File” tab. It’s usually the first tab on the left.
By clicking on the “File” tab, you’ll open a menu with a wide range of options and settings related to your Outlook account. This menu serves as a gateway to various features and actions you can perform within the application.
Clicking on the “File” tab is an essential step in the process of adding your Outlook.com email to Outlook for Windows. Once you’ve successfully located and clicked on the “File” tab, you’re ready to move on to the next step.
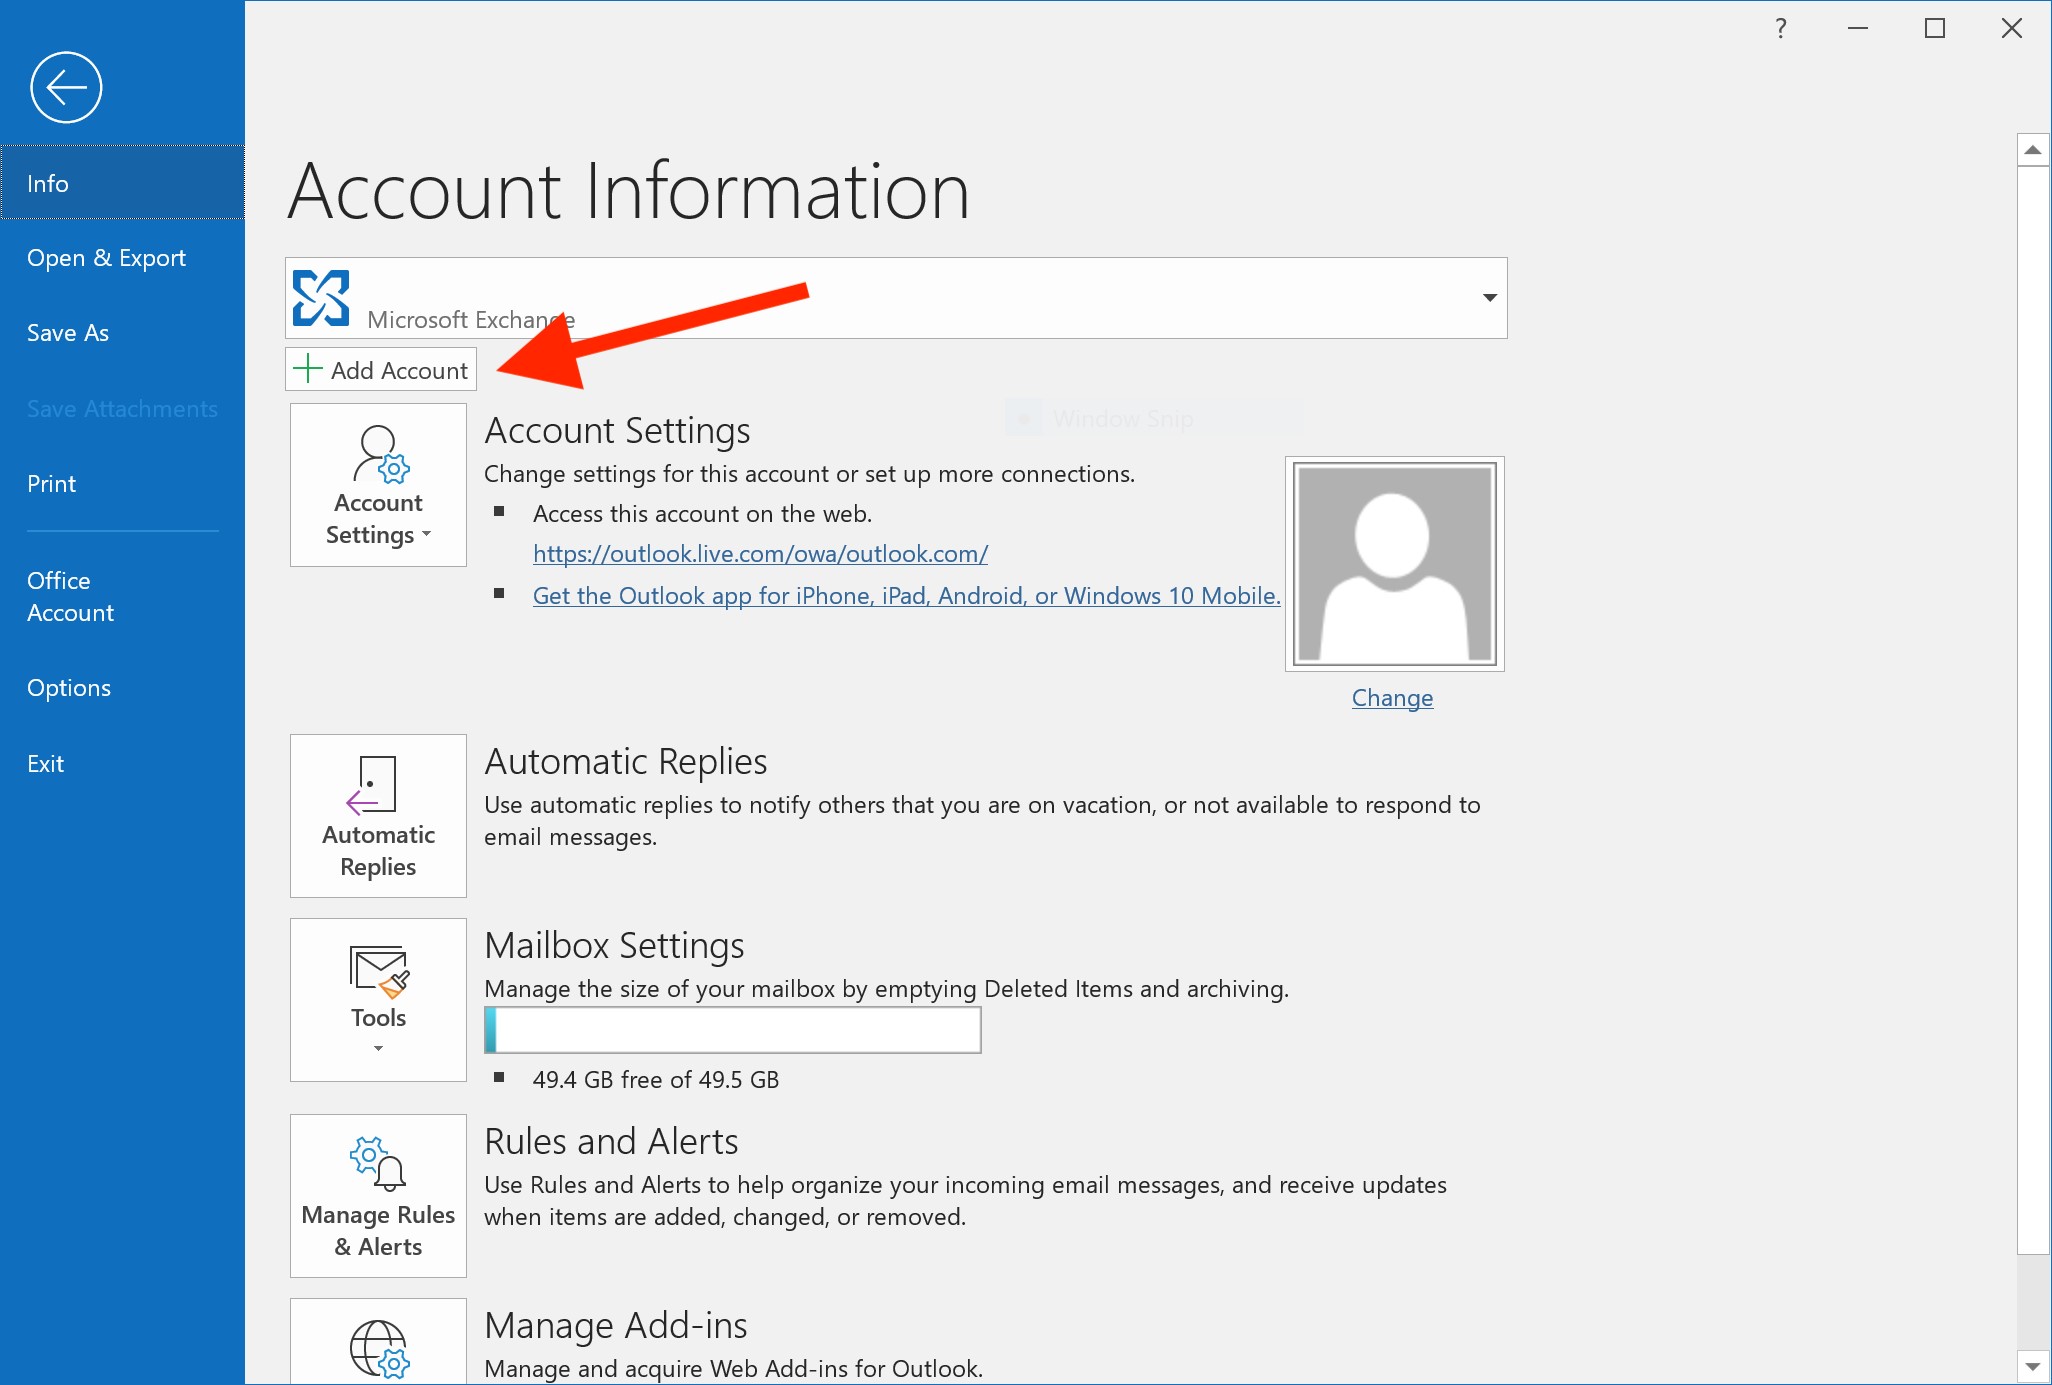
Step 3: Click on “Add Account”
Once you’ve clicked on the “File” tab, the next step is to find and select the “Add Account” button. This option allows you to add a new email account to your Outlook for Windows application. Follow the steps below to locate and click on “Add Account”:
- After clicking on the “File” tab, a new window will appear with various options and settings.
- Look for and click on the “Add Account” button. It’s typically located in the left-hand pane of the window.
Clicking on the “Add Account” button will open a dialog box where you can enter the necessary information to add your Outlook.com email account to Outlook for Windows.
By selecting the “Add Account” option, you’re taking the next step towards integrating your Outlook.com email with the desktop application. This step is crucial to ensure that you can access and manage your Outlook.com emails seamlessly within Outlook for Windows.
Now that you’ve successfully clicked on “Add Account,” you’re ready to proceed to the next step of the setup process.
Step 4: Choose “Manual setup or additional server types”
After clicking on the “Add Account” button, the next step is to choose the option for “Manual setup or additional server types.” This selection allows you to manually configure your Outlook.com email account settings within Outlook for Windows. Follow the steps below to proceed:
- Once the “Add Account” dialog box appears, you’ll see a list of email account types. Look for and select the option that says “Manual setup or additional server types.”
- Once you’ve selected this option, click on the “Next” button to continue.
Choosing the “Manual setup or additional server types” option gives you more control over the setup process and allows you to input the specific settings for your Outlook.com email account.
This step is important to ensure that you can set up your Outlook.com email correctly within Outlook for Windows. By choosing the manual setup option, you’ll have the opportunity to customize and configure your account settings to match the requirements of your Outlook.com email service.
Now that you’ve successfully chosen “Manual setup or additional server types,” you’re ready to move on to the next step of the setup process.
Step 5: Select “Outlook.com or Exchange ActiveSync compatible service”
After choosing the “Manual setup or additional server types” option, the next step is to select the option for “Outlook.com or Exchange ActiveSync compatible service.” This selection allows you to specify the type of email account you want to add to Outlook for Windows. Follow the steps below to proceed:
- In the “Add Account” dialog box, select the option that says “Outlook.com or Exchange ActiveSync compatible service.”
- Click on the “Next” button to continue.
By selecting the “Outlook.com or Exchange ActiveSync compatible service” option, you’re informing Outlook that you want to add an Outlook.com email account or another email account that is compatible with the Exchange ActiveSync protocol. This ensures that your email account can be seamlessly integrated with Outlook for Windows.
This step is crucial as it enables Outlook to recognize the type of email account you want to add and configure the appropriate settings to establish a connection with the Outlook.com email servers.
Now that you’ve successfully selected “Outlook.com or Exchange ActiveSync compatible service,” you’re ready to move on to the next step of the setup process.
Step 6: Enter your email address and password
Once you’ve selected the option for “Outlook.com or Exchange ActiveSync compatible service,” the next step is to enter your email address and password. This information is necessary for Outlook to authenticate and establish a connection with your Outlook.com email account. Follow the steps below to proceed:
- In the “Add Account” dialog box, enter your full email address in the designated field. For example, “youremail@outlook.com”.
- In the next field, enter the password associated with your Outlook.com email account.
After entering your email address and password, click on the “Next” button to continue.
Entering the correct email address and password is crucial to ensure that Outlook can authenticate your account and establish a secure connection. This step is necessary for Outlook to retrieve your Outlook.com emails and synchronize them with the application.
Make sure to double-check that you’ve entered the correct email address and password to avoid any authentication errors. If you’ve entered the information correctly, you’ll be one step closer to fully integrating your Outlook.com email with Outlook for Windows.
Now that you’ve successfully entered your email address and password, you’re ready to move on to the next step of the setup process.
Step 7: Customize the account settings if needed
After entering your email address and password, the next step is to customize the account settings, if needed. This step allows you to specify additional configurations to tailor the Outlook.com email account experience within Outlook for Windows. Follow the steps below to proceed:
- If you want to customize the account settings, click on the “More Settings” button.
- This will open the “Internet Email Settings” window, where you can make adjustments according to your preferences.
- Here, you can customize options such as the display name, server settings, and other advanced settings if required.
- Once you’ve made the desired changes, click on the “OK” button to close the “Internet Email Settings” window.
- Finally, click on the “Next” button to continue with the setup process.
Customizing the account settings allows you to have more control over how your Outlook.com email account behaves within Outlook for Windows. You can personalize display options, adjust synchronization settings, and configure other advanced options based on your preferences.
While customizing the account settings is optional, it is recommended to review and make any necessary changes to ensure that Outlook is set up according to your specific requirements.
Now that you’ve successfully customized the account settings (if needed), you’re ready to move on to the next step of the setup process.
Step 8: Test the account settings
Once you have entered your email address, password, and customized the account settings (if needed), the next step is to test the account settings. This step ensures that the configuration is correct and that Outlook can successfully connect to your Outlook.com email account. Follow the steps below to proceed:
- Click on the “Test Account Settings” button in the “Add Account” dialog box.
- Outlook will now attempt to establish a connection with the Outlook.com email servers using the provided settings.
- This process may take a few moments as Outlook verifies the server information, authenticates your account, and tests the connection.
- You should see a green checkmark next to each tested setting if everything is configured correctly.
- If any errors or warnings appear during the test, carefully review the information you entered and make any necessary changes.
Testing the account settings is essential to ensure that Outlook can communicate with your Outlook.com email account successfully. It allows you to confirm that the server information, authentication credentials, and other settings are accurate.
If the test results indicate any errors or warnings, double-check your email address, password, and other configurations. Ensure that you have a stable internet connection and that all necessary server details are correctly entered.
Once the test is completed, and you see green checkmarks next to each tested setting, you can proceed to the final step of the setup process.
Now that you have tested the account settings, you’re ready to move on to the next and final step of adding your Outlook.com email to Outlook for Windows.
Step 9: Finish the setup process
After testing the account settings and ensuring that everything is configured correctly, you are ready to finish the setup process and start using your Outlook.com email within Outlook for Windows. Follow the steps below to complete the setup:
- Click on the “Next” button in the “Add Account” dialog box to proceed.
- If the setup process is successful, you will see a confirmation message indicating that your Outlook.com email account has been added to Outlook for Windows.
- Click on the “Finish” button to close the “Add Account” dialog box.
Once you have finished the setup process, Outlook will start synchronizing your Outlook.com emails, folders, and other data to the application. This synchronization ensures that you have access to all your Outlook.com emails and can manage them seamlessly within Outlook for Windows.
From now on, you can open Outlook for Windows and access your Outlook.com email by simply launching the application. Your email account will be available in the left-hand sidebar, allowing you to navigate through your inbox, folders, and other email management features.
Congratulations! You have successfully added your Outlook.com email to Outlook for Windows. You can now enjoy the benefits of using Outlook’s powerful features and organization tools to manage your Outlook.com emails efficiently.
It’s important to note that any changes you make to your Outlook.com email account within Outlook for Windows will also be reflected on the web interface and other devices connected to your Outlook.com account.
Now that you have completed the setup process, you’re ready to start using Outlook for Windows to access and manage your Outlook.com email.