
Prerequisites
Before you can access your Outlook.com email with Outlook for Mac, there are a few prerequisites you’ll need to meet:
- An active Outlook.com email account: If you don’t have an Outlook.com email address, you can create one by visiting the Outlook website and signing up for a new account.
- A Mac computer: Outlook for Mac is a Mac-compatible application, so you’ll need a Mac computer to install and use it.
- Internet connectivity: Ensure that you have a stable internet connection to set up and access your Outlook.com email with Outlook for Mac.
- Latest version of Outlook for Mac: Make sure that you have the latest version of Outlook for Mac installed on your computer. You can download and install it from the official Microsoft website or through the Mac App Store.
- Outlook.com email address and password: To add your Outlook.com email account to Outlook for Mac, you’ll need the email address and password associated with your Outlook.com account. Make sure you have this information handy.
Meeting these prerequisites will ensure that you have everything you need to seamlessly access your Outlook.com email using Outlook for Mac. Once you have these requirements in place, you can move on to the next steps of setting up and configuring Outlook for Mac with your Outlook.com email account.
Step 1: Download and Install Outlook for Mac
To access your Outlook.com email with Outlook for Mac, you’ll first need to download and install the application on your Mac computer. Here’s how:
- Visit the official Microsoft website or the Mac App Store to download Outlook for Mac. Make sure you download the latest version to ensure compatibility and access to the latest features.
- Once the download is complete, locate the installer file in your Downloads folder or the location you chose for the download.
- Double-click the installer file to start the installation process. Follow the on-screen instructions to install Outlook for Mac on your computer.
- Once the installation is complete, you can find the Outlook for Mac icon either in your Applications folder or on your desktop, depending on your installation preferences.
- Click on the Outlook for Mac icon to launch the application.
By following these steps, you will have successfully downloaded and installed Outlook for Mac on your computer. Next, you can proceed to the next section to learn how to open Outlook for Mac and get started with accessing your Outlook.com email.
Step 2: Open Outlook for Mac
Once you have installed Outlook for Mac on your computer, it’s time to open the application and get ready to access your Outlook.com email. Follow these steps to open Outlook for Mac:
- Locate the Outlook for Mac icon on your desktop or in your Applications folder.
- Double-click on the Outlook for Mac icon to launch the application.
- After launching Outlook for Mac, you’ll see the main Outlook window. Here, you’ll find various options and features to manage your email, calendar, contacts, and more.
- If this is your first time opening Outlook for Mac, you’ll be prompted to set up your email account. If you have already set up an email account, you’ll be directed to the main Outlook interface.
Opening Outlook for Mac is a straightforward process that ensures you’re ready to start accessing your Outlook.com email. Once you have successfully opened the application, you can proceed to the next step to learn how to add your Outlook.com email account to Outlook for Mac.
Step 3: Add Your Outlook.com Email Account
To access your Outlook.com email with Outlook for Mac, you’ll need to add your Outlook.com email account to the application. Here’s how to do it:
- With Outlook for Mac open, click on the “Tools” menu at the top of the screen.
- From the dropdown menu, select “Accounts…”
- In the Accounts window, click on the “+” button at the bottom left corner to add a new account.
- Choose “Exchange or Office 365” as the account type, and click “Continue”.
- In the “Add an Account” window, enter your Outlook.com email address.
- Click “Add Account” and wait for Outlook for Mac to verify your account.
- Once verified, enter your Outlook.com email password and click “Add” or “Continue”.
Outlook for Mac will now attempt to set up your Outlook.com email account automatically. If the setup is successful, you’ll see a confirmation message, and your Outlook.com email account will be added to Outlook for Mac.
If the automatic setup fails, you may need to manually configure your account settings by clicking the “Configure Manually” button during the setup process. Make sure you have the necessary information, such as the incoming and outgoing server settings, before proceeding with the manual configuration.
Once your Outlook.com email account is successfully added to Outlook for Mac, you’ll be able to access and manage your Outlook.com emails directly from the application.
Step 4: Enter Your Email Address and Password
After adding your Outlook.com email account to Outlook for Mac, you’ll need to enter your email address and password to authenticate and gain access to your mailbox. Follow these steps to enter your email address and password:
- With Outlook for Mac open, navigate to the main Outlook window.
- If prompted, enter your Outlook.com email address in the designated field.
- Click on the “Next” or “Continue” button to proceed.
- In the password field, enter the password associated with your Outlook.com email account.
- Click on the “Sign In” or “Continue” button to authenticate your account.
Outlook for Mac will now connect to the Outlook.com servers and verify your email address and password. If the provided credentials are correct, you will be granted access to your Outlook.com mailbox within the application.
If you encounter any issues while entering your email address or password, double-check the information you entered for accuracy. Remember that passwords are case-sensitive, so ensure that the correct capitalization is used when entering your password.
Once you have successfully entered your email address and password, you can proceed to the next step to configure account settings and customize your Outlook for Mac experience.
Step 5: Configure Account Settings
After entering your email address and password, it’s time to configure the account settings for your Outlook.com email in Outlook for Mac. By customizing these settings, you can tailor the application to meet your specific needs. Here’s how to configure your account settings:
- Open Outlook for Mac and navigate to the main window.
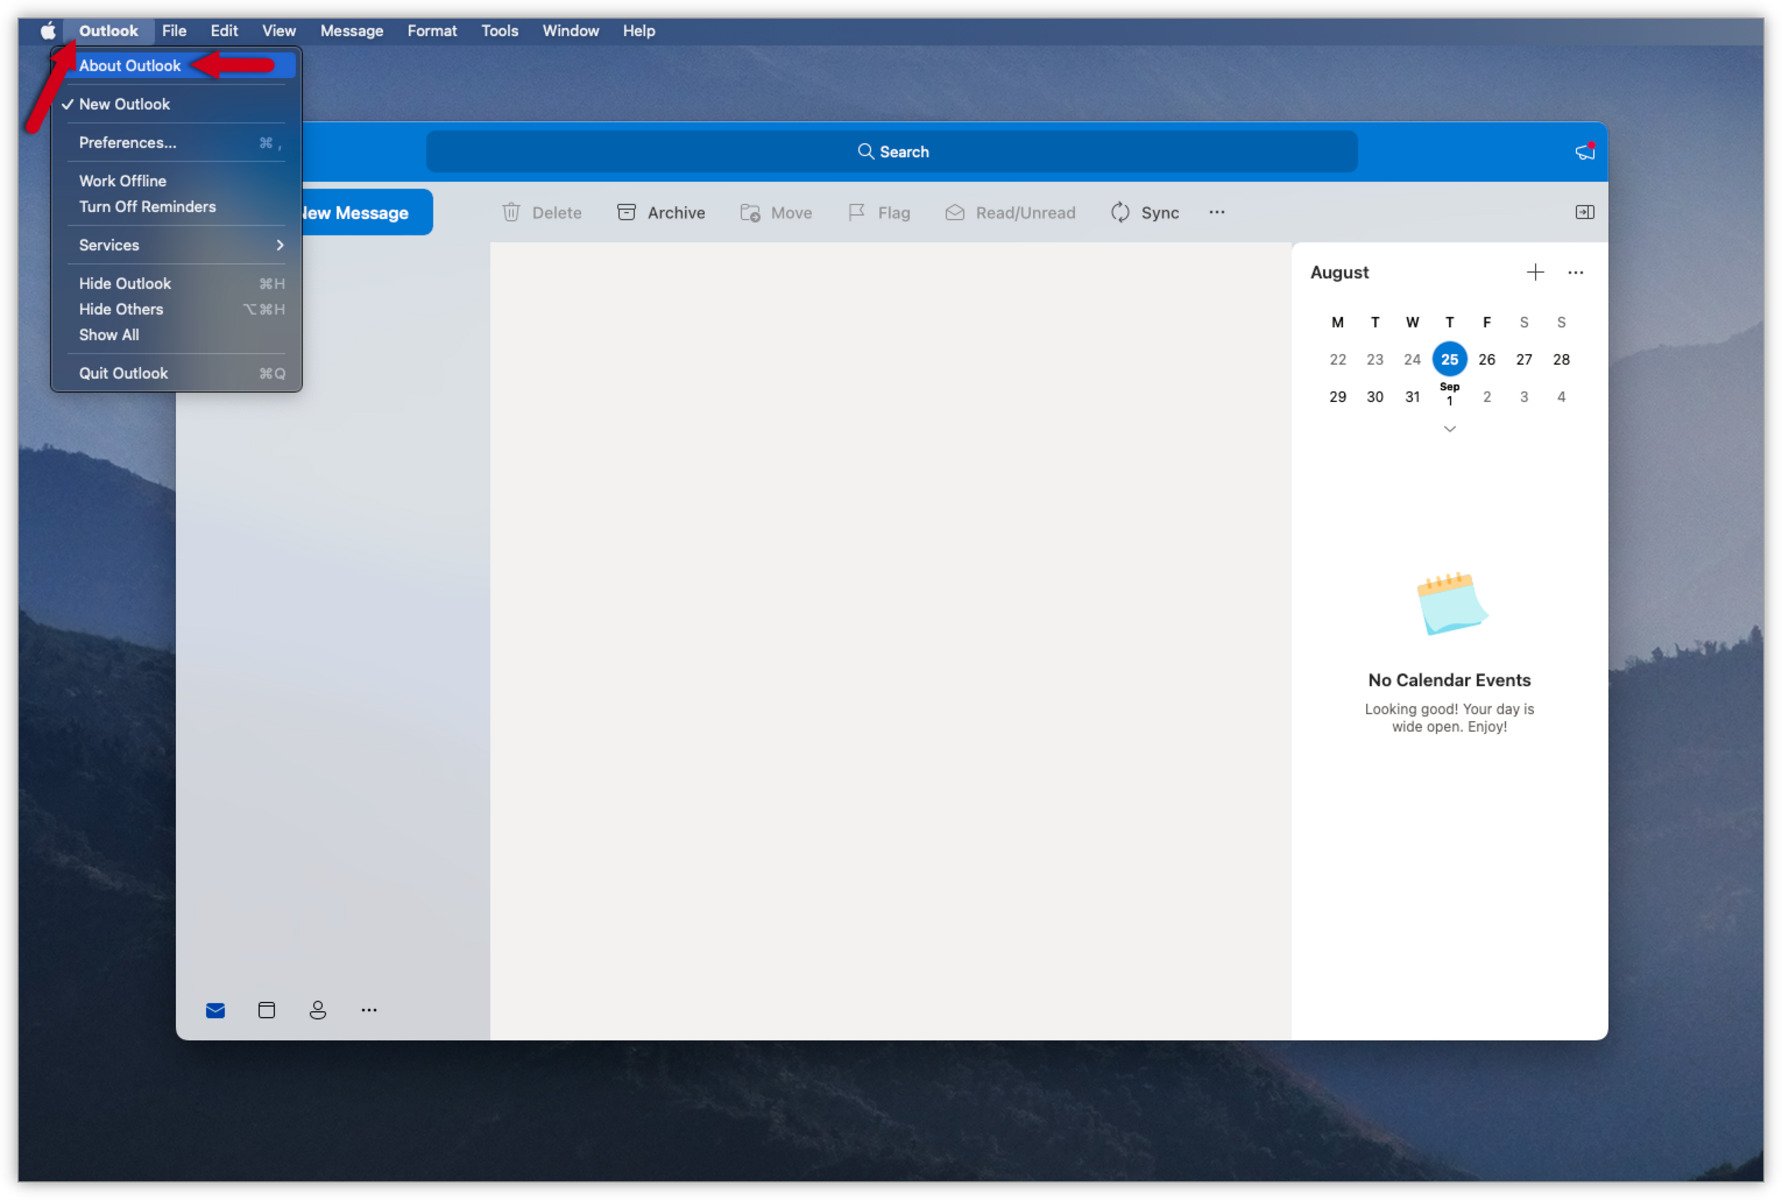
- Click on the “Outlook” menu at the top of the screen.
- From the dropdown menu, select “Preferences”.
- In the Preferences window, click on the “Accounts” tab.
- Select your Outlook.com email account from the left-hand side of the window.
- Here, you can modify various settings related to your Outlook.com email account, including mail, calendar, contacts, and more.
- Explore the different tabs, such as General, Delegates, Advanced, etc., to customize your settings further.
Within the account settings, you can specify the email sync frequency, set up automatic replies, adjust notification preferences, configure email signatures, and more. Take some time to familiarize yourself with the available options and adjust them according to your preferences.
Make sure to save any changes you make to the account settings by clicking the “Save” or “Apply” button within the Preferences window.
By configuring your account settings, you can personalize your Outlook for Mac experience and optimize it according to your preferences and workflow.
Step 6: Choose the Folders to Sync with Outlook for Mac
When using Outlook for Mac, you have the option to choose which folders from your Outlook.com email account you want to sync with the application. By selecting the folders you want to sync, you can streamline your inbox and access your most important emails conveniently. Here’s how to choose the folders to sync with Outlook for Mac:
- Open Outlook for Mac and navigate to the main Outlook window.
- Click on the “Outlook” menu at the top of the screen.
- From the dropdown menu, select “Preferences”.
- In the Preferences window, click on the “Accounts” tab.
- Select your Outlook.com email account from the left-hand side of the window.
- Click on the “Folder Sync Options” button.
- A window will appear with a list of available folders in your Outlook.com email account.
- Select the folders you want to sync with Outlook for Mac by checking the corresponding checkboxes.
- Click on the “OK” button to save your folder selection.
By choosing the folders to sync, you can keep your Outlook for Mac mailbox organized and focused on the emails that matter most. You can select folders such as Inbox, Sent Items, Drafts, and any custom folders you have created in your Outlook.com account.
It’s important to note that choosing to sync fewer folders may improve performance and reduce resource usage within the Outlook for Mac application.
Once you have selected the folders you want to sync, Outlook for Mac will begin syncing the folder contents, and you will be able to access them within the application.
Step 7: Customize Additional Settings
In addition to configuring the basic account settings and folder sync options, Outlook for Mac offers various customization options to enhance your email management experience. By customizing these additional settings, you can personalize the application to suit your preferences and optimize your workflow. Here’s how to customize additional settings in Outlook for Mac:
- Open Outlook for Mac and navigate to the main Outlook window.
- Click on the “Outlook” menu at the top of the screen.
- From the dropdown menu, select “Preferences”.
- Explore the different tabs in the Preferences window to access various customization options.
- For example, under the “Notifications & Sounds” tab, you can configure email notification settings, sounds, and alert banners.
- Under the “Composing” tab, you can customize the default font, email signature, and other composing preferences.
- Visit the “Reading” tab to adjust the way emails are displayed, including the reading pane layout and conversation view settings.
- Make use of the other tabs, such as “Calendar”, “Junk Email”, and “Fonts & Colors”, to further customize your experience.
Take some time to explore these settings and adjust them according to your needs and preferences. Experiment with different options to find the setup that works best for you.
Remember to save any changes you make by clicking the “Save” or “Apply” button within the Preferences window.
By customizing these additional settings, you can tailor Outlook for Mac to your liking and make your email management experience more efficient and enjoyable.
Step 8: Start Using Outlook for Mac with Outlook.com Email
After configuring the necessary settings and customizing your preferences, you’re now ready to start using Outlook for Mac to manage your Outlook.com email. Follow these steps to begin using Outlook for Mac with your Outlook.com email:
- Open Outlook for Mac by clicking on its icon.
- Once Outlook for Mac is launched, you’ll see your Outlook.com email account listed on the left-hand side of the main window.
- Click on your Outlook.com email account to access your inbox and view your emails.
- Use the navigation bar at the top of the screen to switch between different sections like Mail, Calendar, Contacts, and Tasks.
- To compose a new email, click on the “New Email” button or use the keyboard shortcut Command + N.
- Explore the various options and features within Outlook for Mac to manage, organize, and interact with your Outlook.com emails.
- Manage your email folders, create and respond to emails, schedule appointments and meetings in your calendar, and keep your contacts up to date.
Outlook for Mac provides a user-friendly interface and a host of convenient features to help you stay organized and efficient in managing your Outlook.com email account. Spend some time familiarizing yourself with the different tools and functionalities available to make the most out of Outlook for Mac.
Remember to regularly check for software updates to ensure that you are using the latest version of Outlook for Mac and taking advantage of any new improvements or bug fixes.
With Outlook for Mac, you can effortlessly access and manage your Outlook.com email account, ensuring that you stay connected and productive throughout your work or personal day.