
What You Will Need
To add Philips Hue to your Apple Watch, you will need a few key components. Make sure you have the following items ready before proceeding:
- A Philips Hue Lighting System: This includes the Philips Hue Bridge, which acts as the central hub for your smart lights, and the individual Philips Hue bulbs or light strips that you want to control.
- An Apple Watch: You will need a compatible Apple Watch model with watchOS 4 or later. This tutorial will guide you through the process using an Apple Watch Series 3, but the steps should be similar for other models.
- An iPhone: Your Apple Watch needs to be paired with an iPhone running iOS 11 or later. Ensure that your iPhone is connected to the internet and has the Philips Hue app installed.
- The Philips Hue App: Download the Philips Hue app from the App Store on your iPhone. This app will be used to set up and control your Philips Hue lights.
With these items in your possession, you are ready to begin the process of adding Philips Hue to your Apple Watch. Let’s get started!
Step 1: Download the Philips Hue App
The first step in adding Philips Hue to your Apple Watch is to download the Philips Hue app on your iPhone. The Philips Hue app is available for free on the App Store.
To download the app, follow these simple steps:
- Unlock your iPhone and open the App Store.
- Tap on the “Search” tab at the bottom of the screen.
- In the search bar at the top, type “Philips Hue” and tap the search button.
- Locate the official Philips Hue app from the search results, which is developed by Signify Netherlands B.V.
- Tap the “Get” or “Download” button next to the Philips Hue app.
- If prompted, authenticate the download using your Apple ID or Touch ID/Face ID.
- Wait for the app to download and install on your iPhone.
Once the Philips Hue app is successfully downloaded and installed on your iPhone, you are one step closer to controlling your lights from your Apple Watch. Proceed to the next step to connect your Philips Hue Bridge.
Step 2: Connect Your Philips Hue Bridge
After downloading the Philips Hue app, the next step is to connect your Philips Hue Bridge. The Philips Hue Bridge is the central hub that allows your smart lights to communicate with your Apple Watch and other devices.
To connect your Philips Hue Bridge, follow these instructions:
- Ensure that your Philips Hue Bridge is properly connected to power and your home network router using the included Ethernet cable.
- Launch the Philips Hue app on your iPhone.
- Tap on “Settings” at the bottom right corner of the app.
- Scroll down to find and select “Hue Bridges”.
- Tap on “Add Hue Bridge”.
- The app will start searching for your Philips Hue Bridge. Once it finds it, tap on “Connect” to initiate the pairing process.
- Follow the on-screen instructions to complete the connection. This may involve pressing the button on the Hue Bridge.
- Once the connection is established, you will receive a confirmation message on the app.
With your Philips Hue Bridge successfully connected, you are ready to move on to the next step of setting up scenes and rooms in the Hue app. This will allow you to customize and control your lights in specific areas of your home. Let’s proceed to Step 3!
Step 3: Set Up Scenes and Rooms in the Hue App
Once your Philips Hue Bridge is connected, it’s time to set up scenes and rooms in the Philips Hue app. Scenes allow you to save lighting presets for different moods or activities, while rooms let you group and control multiple lights at once.
Follow these steps to set up scenes and rooms in the Hue app:
- Open the Philips Hue app on your iPhone.
- Tap on “Settings” at the bottom right corner of the app.
- Choose “Scenes and rooms” from the menu.
- To create a new scene, tap on the “+” button.
- Give your scene a name and select the lights you want to include.
- Adjust the brightness and color settings to your preference.
- Repeat the process to create additional scenes for different lighting scenarios.
- To create a new room, tap on the “+” button.
- Assign lights to the room and specify its name.
- Organize your lights into different rooms to easily control them together.
Setting up scenes and rooms allows you to have more control over your smart lighting system. Once you’re done, you’ll be able to customize and activate these scenes and control your lights by room from your Apple Watch. Onto the next step!
Step 4: Install the Hue App on Your Apple Watch
Now that you have set up scenes and rooms in the Philips Hue app on your iPhone, it’s time to install the Hue app on your Apple Watch. This will allow you to control your Philips Hue lights directly from your wrist.
Follow these steps to install the Hue app on your Apple Watch:
- Open the Watch app on your iPhone.
- Navigate to the “App Store” section.
- Scroll down or use the search bar to find the Philips Hue app.
- Tap on the Philips Hue app icon.
- Select “Install” or the cloud download icon.
- Wait for the app to install on your Apple Watch. This may take a few moments.
- Once the installation is complete, you will see the Philips Hue app icon on your Apple Watch’s home screen.
With the Hue app installed on your Apple Watch, you can now control your Philips Hue lights without needing to take out your iPhone. This brings added convenience and quick access to your lighting system on the go. Let’s move on to the next step to pair your Apple Watch with your iPhone.
Step 5: Pair Your Apple Watch with Your iPhone
To successfully control your Philips Hue lights from your Apple Watch, you need to ensure that your Apple Watch is paired with your iPhone. Pairing your devices allows them to communicate and share information seamlessly.
Follow these steps to pair your Apple Watch with your iPhone:
- Ensure that your Apple Watch and iPhone are both charged and turned on.
- Bring your iPhone near your Apple Watch.
- On your iPhone, open the Watch app.
- Tap on “Start Pairing” or “Pair a New Apple Watch”.
- Position your iPhone’s camera viewfinder over the Apple Watch screen until the Watch app recognizes the pairing code.
- Follow the remaining prompts on your iPhone and Apple Watch to complete the pairing process.
- When asked, choose whether to set up a new Apple Watch or restore from a backup.
- Agree to the terms and conditions, and set up a passcode for your Apple Watch.
- Wait for the pairing process to finish.
Once your Apple Watch is successfully paired with your iPhone, the devices will sync and share data, including the installed apps, including the Philips Hue app. Now, let’s move on to the next step to grant permissions to the Hue app on your Apple Watch.
Step 6: Grant Permissions to the Hue App on Your Apple Watch
After pairing your Apple Watch with your iPhone, it’s time to grant the necessary permissions to the Philips Hue app on your Apple Watch. These permissions allow the app to access and control your Philips Hue lights seamlessly.
Follow these steps to grant permissions to the Hue app on your Apple Watch:
- On your Apple Watch, locate the Philips Hue app icon and tap on it to launch the app.
- Wait for the app to load and establish a connection with your Philips Hue Bridge.
- If prompted, allow the app to access your location. This permission is required for certain features like geofencing and automations.
- Once inside the app, you may be prompted to grant permissions for notifications, location, or access to the Home app. Follow the on-screen prompts to grant these permissions.
Granting these permissions ensures that the Philips Hue app on your Apple Watch has the necessary access rights to control your lights efficiently. This allows you to conveniently use your Apple Watch to adjust your lighting scenes, turn on/off lights, and more. Now, let’s proceed to the next step and learn how to control your Philips Hue lights from your Apple Watch.
Step 7: Control Your Philips Hue Lights from Your Apple Watch
Now that you have completed the setup process, it’s time to control your Philips Hue lights directly from your Apple Watch. With the Philips Hue app installed and permissions granted, you can easily adjust your lighting settings on the go.
Here’s how you can control your Philips Hue lights from your Apple Watch:
- On your Apple Watch, locate and tap on the Philips Hue app icon.
- Wait for the app to load and establish a connection with your Philips Hue Bridge.
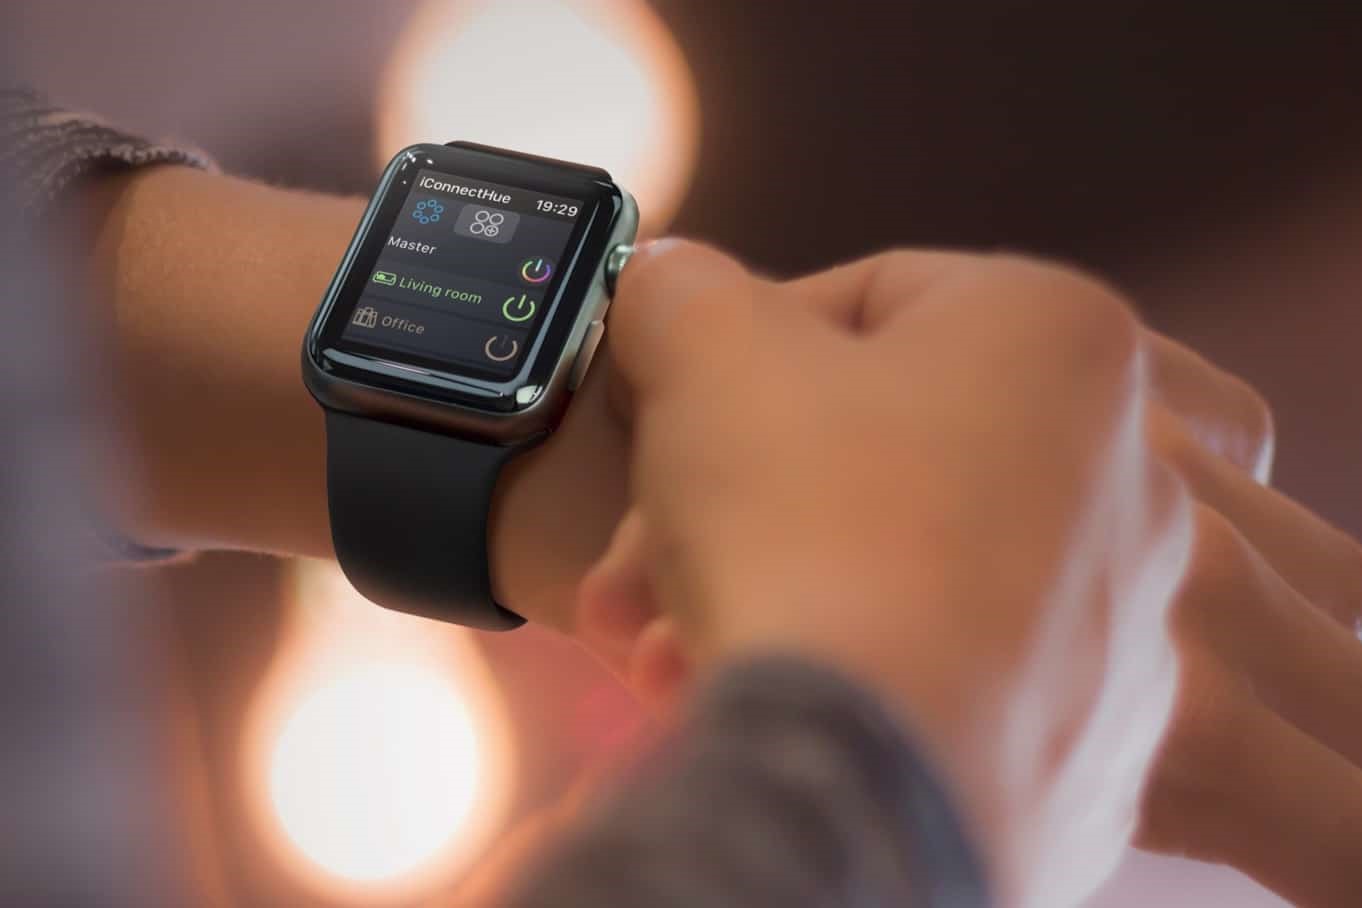
- Once the app is ready, you will see a list of your saved scenes and rooms.
- To activate a scene, simply tap on the scene’s name on your Apple Watch screen.
- If you want to control specific lights or adjust their settings individually, tap on the “Rooms” option and select the desired room.
- Within the room, you can turn lights on or off, adjust brightness, and even change colors if you have Philips Hue bulbs that support color-changing capabilities.
- Swipe left or right to access additional scenes or rooms.
- Enjoy the convenience of controlling your Philips Hue lights directly from your Apple Watch.
Controlling your Philips Hue lights from your Apple Watch provides a quick and easy way to adjust your lighting atmosphere without having to take out your iPhone. Enjoy the seamless integration and convenience of smart lighting at your wrist. Let’s move on to the next step and customize your Hue app complications.
Step 8: Customize Your Hue App Complications
One of the great features of the Philips Hue app on your Apple Watch is the ability to customize complications. Complications are small, customizable icons on your watch face that provide quick access to specific app functions.
Here’s how you can customize the Philips Hue app complications on your Apple Watch:
- On your Apple Watch, navigate to your chosen watch face and press firmly on the watch face to enter customization mode.
- Swipe left or right to find a watch face that supports complications.
- Tap on the desired watch face to select it.
- Press firmly on the watch face again to enter customization mode.
- Tap on the area of the watch face where you want to add the Philips Hue complication.
- Scroll through the complication options and select the Philips Hue app.
- Adjust the size and placement of the Philips Hue complication on the watch face.
- Press the digital crown to save your custom watch face.
By customizing the Philips Hue app complications on your Apple Watch, you can quickly access and control your lights without even opening the app. This provides added convenience and allows you to personalize your watch face to suit your needs. Now, let’s move on to the final step and explore troubleshooting tips in case you encounter any issues.
Step 9: Troubleshooting Tips
While setting up and using the Philips Hue app on your Apple Watch, you may encounter some issues or face challenges. Here are some troubleshooting tips to help you resolve common problems:
- Make sure your Apple Watch and iPhone are within close proximity and connected to the same Wi-Fi network.
- Ensure that your Philips Hue Bridge is powered on and connected to your home network.
- Check that your Philips Hue lights are properly installed and turned on.
- Verify that you have granted the necessary permissions to the Philips Hue app on your iPhone and Apple Watch.
- If your lights are not responding or syncing, try restarting your Philips Hue Bridge and lights.
- If you’re experiencing connection issues, try restarting your Apple Watch and iPhone.
- Ensure that you have the latest software updates installed on your Apple Watch, iPhone, and Philips Hue app.
- If your Apple Watch is not displaying the Philips Hue complications, try removing and re-adding them.
- If you’re still facing difficulties, consult the official Philips Hue support documentation or reach out to their customer support team for further assistance.
By following these troubleshooting tips, you can overcome common issues and ensure a smooth experience with the Philips Hue app on your Apple Watch. Don’t hesitate to seek additional help if needed. Now, you’re ready to enjoy the convenience of controlling your smart lights directly from your wrist.