
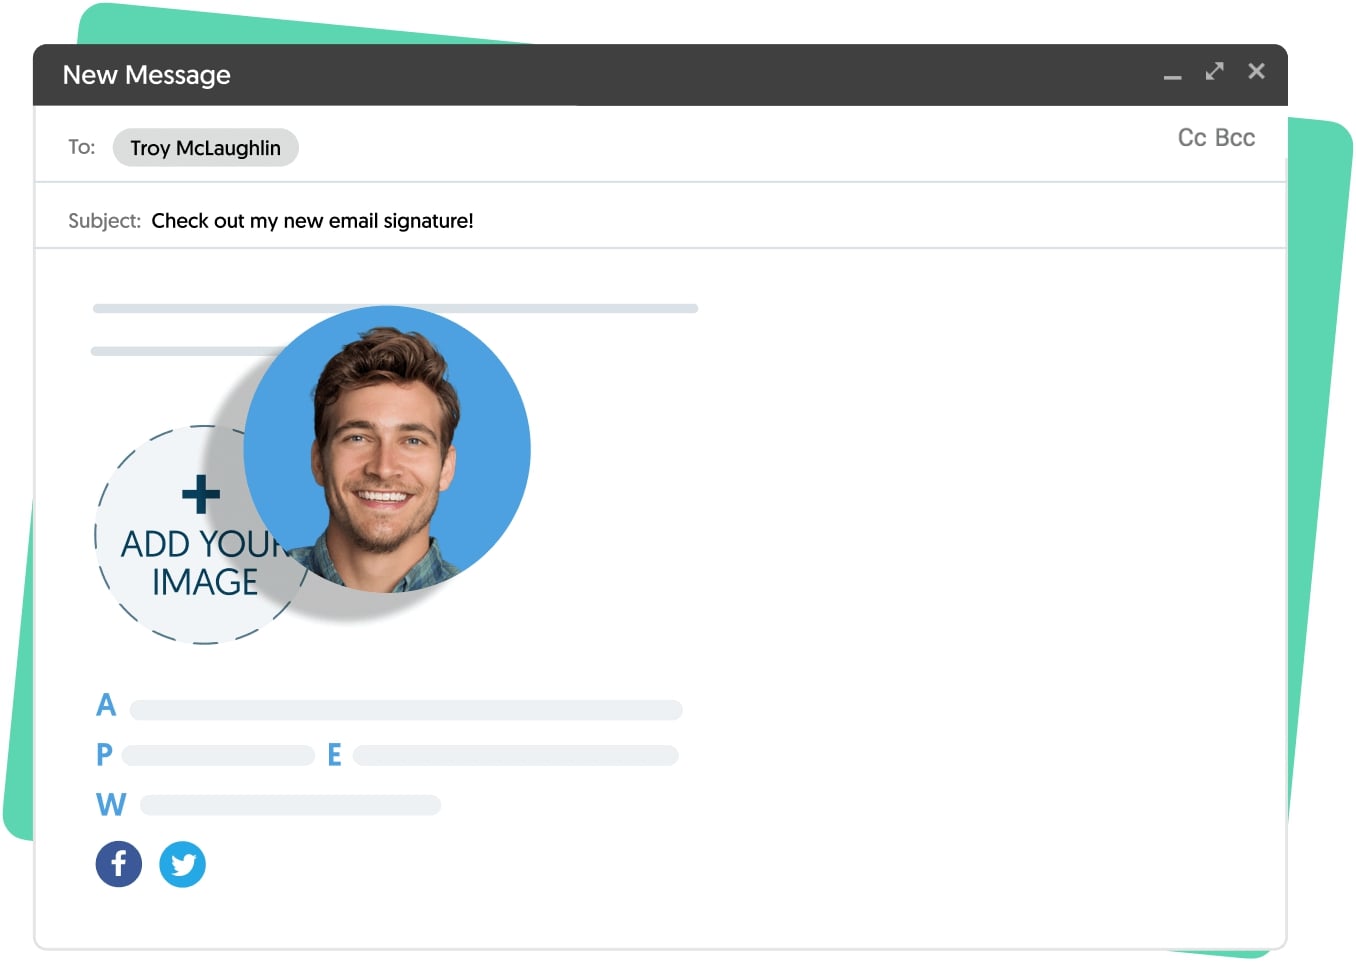
Why Add an Image to a Contact in Gmail?
Adding an image to a contact in Gmail can have several benefits and can enhance your overall email experience. Here are a few reasons why you might want to consider adding an image to your Gmail contacts:
- Visual Identification: By adding an image to a contact, you can easily identify the person at a glance. It can be especially helpful when you receive emails from multiple contacts with similar names.
- Personal Touch: An image provides a personal touch to your contacts. Instead of just seeing a plain name or email address, you can view a photo and instantly connect a face with the person.
- Improved Navigation: When you add images to your contacts, it becomes easier to navigate and locate specific individuals in your address book. You can quickly find and select the desired contact by recognizing their picture.
- Professionalism: If you use Gmail for professional purposes, adding images to your contacts can enhance your professionalism. It shows that you are willing to go the extra mile to personalize your communication and create a more meaningful connection with your contacts.
- Visual Reminder: Sometimes, seeing a face can trigger memories and associations. By adding an image to a contact, you may be reminded of past interactions or important details about that person, making your communication more contextual and meaningful.
These are just a few reasons why adding an image to a contact in Gmail can be beneficial. It not only helps you personalize your email experience but also makes it easier to find and connect with the right people quickly.
Step 1: Open Gmail
The first step to adding an image to a contact in Gmail is to open your Gmail account. Here’s how you can do it:
- Launch your preferred web browser.
- Type in www.gmail.com in the address bar.
- Press the Enter key on your keyboard or click on the search button.
- You will be directed to the Gmail login page.
- Enter your email address and password in the respective fields.
- Click on the “Sign In” button.
- Once you have successfully logged in, you will be taken to your Gmail inbox.
It’s important to ensure that you have a valid Gmail account and the necessary login credentials before proceeding with this step.
Gmail can be accessed from any device with an internet connection, including desktop computers, laptops, smartphones, and tablets. Make sure you have a stable internet connection to prevent any interruptions during the process.
Once you have successfully opened Gmail and logged into your account, you can proceed to the next step of adding an image to a contact.
Step 2: Go to Contacts
After opening your Gmail account, the next step is to navigate to the Contacts section where you can manage your contacts and add images. Here’s how you can go to the Contacts page:
- Once you’re in your Gmail inbox, locate the “Google Apps” icon at the top right corner of the screen.
- Click on the “Google Apps” icon, represented by a grid of small squares.
- A drop-down menu will appear. Scroll down the menu and click on the “Contacts” icon.
- You will be redirected to the Contacts page, where you can view and manage your contacts list.
You can also access the Contacts page directly by typing in contacts.google.com in the address bar of your web browser. This will take you directly to the Contacts page without the need to go through your Gmail inbox.
It’s important to note that if you haven’t added any contacts to your Gmail account, the Contacts page might appear empty at first. However, as you start adding contacts or importing them from other sources, the list will populate.
Now that you have successfully navigated to the Contacts page, you are ready to proceed with adding an image to a specific contact in Gmail.
Step 3: Select a Contact
Once you have reached the Contacts page in Gmail, the next step is to select the contact to which you want to add an image. Here’s how you can do it:
- On the left-hand side of the Contacts page, you will find a list of all your contacts.
- Browse through the list or use the search bar at the top to find the contact you want to add an image to.
- Click on the contact’s name or email address to select it.
- Once the contact is selected, you will see the contact’s details and information displayed on the right-hand side of the page.
The Contacts page in Gmail allows you to organize and manage your contacts efficiently. You can create and edit contact groups, add additional information such as phone numbers and addresses, and of course, add an image to enhance visual identification.
If you have a long list of contacts or if you have trouble finding a specific contact, you can use the search bar at the top of the Contacts page to quickly find the person you’re looking for. Simply enter the contact’s name or email address, and Gmail will display the relevant results.
Now that you have selected the contact you wish to add an image to, you are ready to move on to the next step of the process.
Step 4: Click on Edit
After selecting the contact to which you want to add an image, the next step is to click on the “Edit” option to access the contact’s editing options. Here’s how you can do it:
- On the right-hand side of the Contacts page, you will find the contact’s details and information.
- Below the contact’s information, you will see various icons representing different actions you can perform on the contact.
- Click on the “Edit” icon, usually represented by a pencil or a small square with a pencil inside.
- By clicking on the “Edit” option, you will open the contact in edit mode, allowing you to make changes to the contact’s details.
This step is essential to access the editing options, including the ability to add an image to the contact. It allows you to modify the contact’s existing information or add new information such as phone numbers, email addresses, and more.
It’s worth noting that the “Edit” option may vary slightly depending on the version of Gmail you are using or any customizations you may have made to your Gmail settings. However, it is typically easily recognizable in the contact interface.
Now that you have entered the contact’s editing mode by clicking on the “Edit” option, you are ready to proceed with adding an image to the contact in the next step.
Step 5: Add an Image
Once you have entered the contact’s editing mode, it’s time to add an image to the contact. Follow these steps to add an image to a contact in Gmail:
- Within the contact editing mode, locate the section where you can add or edit the contact’s image. This section is usually labeled as “Add a photo” or “Profile picture”.
- Click on the “Add a photo” or “Profile picture” section. This will open a file explorer window, allowing you to choose an image from your device.
- Browse through your device’s folders and select the image you want to use for the contact.
- Once you have selected the image, click on the “Open” or “Choose” button in the file explorer window.
Gmail supports various image formats, including JPEG, PNG, GIF, and more. Ensure that the image you choose is of good quality and represents the contact accurately.
During the image selection process, you also have the option to crop or resize the image if necessary. Gmail provides basic editing tools to adjust the image before applying it to the contact.
After clicking on the “Open” or “Choose” button, Gmail will process the image and apply it to the contact’s profile. This may take a few moments, depending on the size of the image and your internet connection speed.
Adding an image to a contact in Gmail helps in visual identification and personalization. It allows you to easily distinguish and recognize contacts based on their picture.
Now that you have successfully added an image to the contact, you can proceed to the next step and verify that the image has been applied correctly.
Step 6: Choose a Picture
When adding an image to a contact in Gmail, it’s important to choose a picture that accurately represents the contact and is visually appealing. Follow the steps below to choose a suitable picture for your contact:
- Consider the Purpose: Think about the purpose of the contact and how the image will be used. Is it a professional contact? A friend or family member? Choose an image that aligns with the nature of your relationship with the contact.
- Use a Clear and High-Quality Image: Select a picture that is clear, well-lit, and high-resolution. Avoid pixelated or blurry images as they may not effectively represent the contact.
- Choose a Recognizable Image: Opt for a photo that prominently features the contact’s face, making it easy to identify them at a glance. Avoid images that are heavily edited or have distracting backgrounds.
- Consider Consistency: If you have previously added images to other contacts or if the contact is associated with a specific brand or organization, try to maintain consistency by using similar style or branding elements in the picture.
- Respect Privacy and Copyright: Only use images that you have permission to use or that are copyright-free. Respect the privacy of the contact and avoid using personal photos without their consent.
Remember that the image you choose should accurately represent the contact and help you quickly identify them in your contact list. It adds a personal touch to your communication and fosters a stronger connection with the contact.
Gmail provides the flexibility to change or update the picture for a contact at any time. If you feel that the current image is no longer suitable or needs to be replaced, you can easily choose a different picture following the same steps.
By carefully selecting a picture that reflects the contact’s identity and maintaining consistency if applicable, you can effectively enhance your Gmail address book and improve visual recognition of your contacts.
Step 7: Apply Changes
After selecting a suitable picture for the contact, the next step is to apply the changes and save the updated contact information. Here’s how you can apply the changes in Gmail:
- Once you have chosen the picture for the contact and made any necessary adjustments, click on the “Apply” or “Save” button.
- Gmail will process the changes and update the contact’s information, including the newly added image.
- You will see a notification or confirmation message indicating that the changes have been applied successfully.
- Close the contact editing mode by clicking on the “Cancel” or “Back” button, or simply navigating away from the page.
It’s essential to apply the changes to ensure that the contact’s updated information, including the added image, is saved and displayed correctly. Failure to apply the changes may result in the new picture not being associated with the contact.
Gmail automatically syncs the updated contact information across devices, ensuring consistency across all platforms and making it easier for you to recognize and identify the contact regardless of the device you are using.
After applying the changes, you can navigate to your contact list or compose a new email to see the updated image associated with the contact. This visual identification feature adds a personalized touch to your email communication and enhances your interaction with the contact.
If you decide to make any further changes to the contact’s information or image, you can always revisit the contact editing mode and follow the same steps to update the details.
Now that you have successfully applied the changes, you can move on to verifying that the picture has been added to the contact correctly.
Step 8: Verify the Image is Added
After applying the changes and adding the image to the contact, it’s important to verify that the picture has been successfully added. Follow these steps to ensure the image is displayed correctly:
- Navigate back to your Gmail inbox or refresh the Contacts page to ensure that any recent updates are reflected.
- Locate the contact to whom you added the image.
- Verify that the image is visible next to the contact’s name or within the contact’s details.
- If multiple images are associated with the contact, ensure that the correct image is displayed.
Take a moment to review the contact’s information and ensure that it matches your expectations. Check for any discrepancies or errors that may have occurred during the image upload process.
If you have a long list of contacts, you may need to scroll through the list or use the search bar to quickly locate the contact you modified.
In some cases, it may take a few moments for the image to load or appear on different devices or email clients. Give it a moment and refresh the page if necessary.
Verifying the image is an important step to confirm that it has been added correctly to the contact. It ensures that you can easily identify the contact by their picture when scrolling through your contact list or composing an email.
If the image does not appear as expected or if there are any issues, you can go back to the contact editing mode and make any necessary adjustments to resolve the problem.
Now that you have verified the image has been added successfully, you can explore the option of adding multiple images to a contact or proceed to delete or change an existing image if needed.
Step 9: Add Multiple Images to a Contact
In Gmail, you have the option to add multiple images to a contact, allowing for even more personalization and visual recognition. Follow these steps to add multiple images to a contact:
- Open the contact in editing mode by selecting the contact and clicking on the “Edit” option.
- Locate the section where you can add or edit the contact’s images. This section is typically labeled as “Add a photo” or “Profile picture”.
- Click on the “Add a photo” or “Profile picture” section to open the file explorer.
- Browse your device’s folders and select the additional images you want to associate with the contact.
- Click on the “Open” or “Choose” button to add the selected images to the contact.
Gmail supports adding multiple images to a contact, giving you the flexibility to showcase different pictures that represent the contact in various contexts. It can be especially useful when you have different associations with the contact, such as personal and professional relationships.
Once you have added the multiple images, they will be associated with the contact and can be viewed within the contact’s details.
To view the different images associated with the contact, open the contact and navigate to the section where the images are displayed. You can typically scroll through the images or click on arrows to cycle through them.
Adding multiple images to a contact further enhances visual identification and personalization, allowing you to establish a stronger connection and easily recognize the contact based on different contexts or memories.
Now that you have learned how to add multiple images to a contact, you can proceed to the final step of deleting or changing an existing image if needed.
Step 10: Delete or Change an Image
If you want to make changes to an existing image associated with a contact in Gmail, you have the option to either delete the image or replace it with a new one. Follow these steps to delete or change an image:
- Open the contact in editing mode by selecting the contact and clicking on the “Edit” option.
- Locate the section where the contact’s image is displayed.
- To delete the image, look for an icon or option such as “Remove picture” or “Delete”. Click on it to remove the image from the contact.
- To change the image, click on the existing image to open the file explorer.
- Browse your device’s folders and select the new image you want to associate with the contact.
- Click on the “Open” or “Choose” button to replace the existing image with the new one.
- Apply the changes by clicking on the “Apply” or “Save” button.
Deleting or changing an image gives you the flexibility to keep the contact’s information and details up to date and aligned with your current relationship or preferences.
By deleting an image, the contact will no longer have a picture associated with their profile. This can be useful if the previous image is no longer relevant or if you prefer not to have an image for that specific contact.
When changing an image, make sure to choose a new picture that accurately represents the contact. Follow the same guidelines outlined in “Step 6: Choose a Picture” to select an appropriate and visually appealing image.
After deleting or changing an image, remember to apply the changes to ensure that the modifications are saved and reflected in the contact’s details.
Now that you have completed the final step of deleting or changing an existing image, you can enjoy a personalized contact list in Gmail with images that help you easily identify and connect with your contacts.