
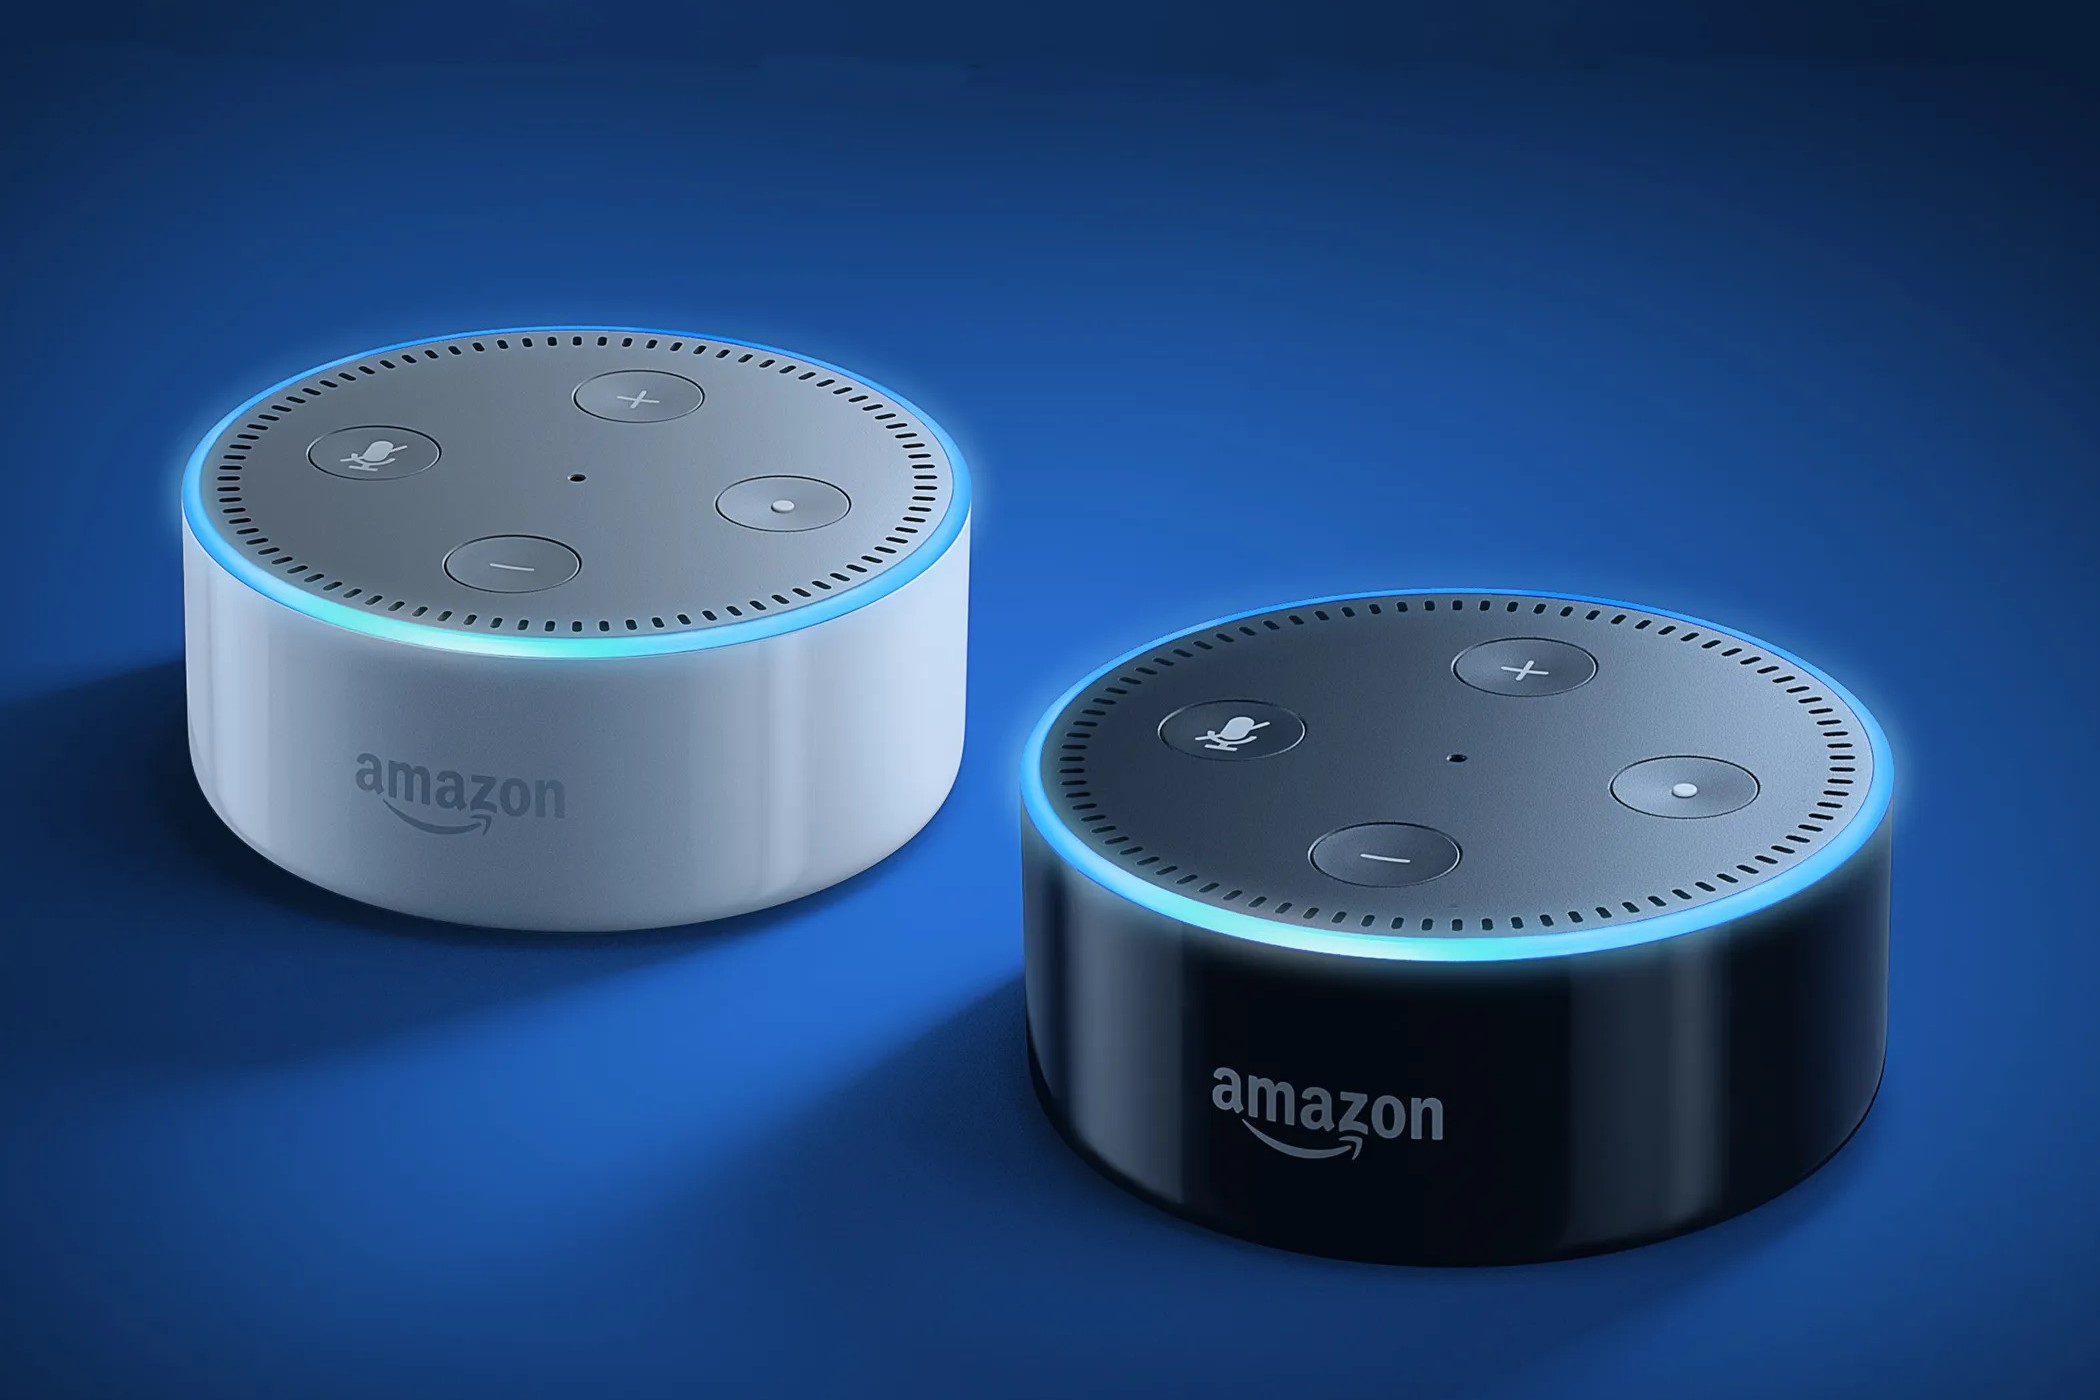
Connect the Second Amazon Echo to Power
Before you can start enjoying the features and capabilities of your second Amazon Echo device, you need to connect it to power. Here are the steps to follow:
- Locate a power outlet: Find a suitable power outlet near the desired location of your second Amazon Echo. Ensure that the outlet is easily accessible.
- Plug in the power adapter: Take the power adapter that came with your Amazon Echo and insert it into the device’s power port. The other end of the adapter should be plugged into the power outlet.
- Wait for the device to power up: Once the Echo is connected to power, it will begin to boot up. You will see a ring of blue lights circling the top of the Echo, indicating that it is starting up.
- Listen for the startup chime: After a few moments, the Echo will emit a startup chime, indicating that it is ready for setup.
It is crucial to ensure that your second Amazon Echo remains connected to power at all times, as it requires a constant power source to function properly. Additionally, make sure to place the Echo and its power cord in a safe and secure location to prevent any accidents or tripping hazards.
Now that you have connected your second Amazon Echo to power, you can proceed to the next steps to set up and configure the device to your preferences.
Download and Open the Alexa App
In order to effectively manage and control your second Amazon Echo device, you will need to download and install the Alexa app on your smartphone or tablet. Follow these steps to get started:
- Open your device’s app store: Locate the app store on your smartphone or tablet. This could be the Apple App Store for iOS devices or the Google Play Store for Android devices.
- Search for the Alexa app: In the app store’s search bar, type in “Alexa” and search for the official Amazon Alexa app.
- Select and download the app: From the search results, find the Alexa app with the Amazon logo and tap on it to view the app details. Then, tap on the “Download” or “Get” button to begin the app download process.
- Wait for the app to install: Once the app is downloaded, it will automatically install on your device. This may take a few moments depending on your internet connection speed.
- Open the Alexa app: After the installation is complete, locate the Alexa app icon on your device’s home screen or app drawer. Tap on it to launch the app.
Once you have successfully opened the Alexa app, you will be prompted to sign in to your Amazon account or create a new one if you don’t already have one. Follow the on-screen instructions to complete the sign-in process. It is essential to use the same Amazon account that is associated with your Amazon Echo devices for seamless integration and control.
The Alexa app serves as a central hub for managing all your Echo devices, including the second Echo you have just set up. It allows you to customize settings, create routines, enable skills, and much more.
Now that you have downloaded and opened the Alexa app, you are ready to proceed with the setup process for your second Amazon Echo.
Set Up Your Second Echo Device
Setting up your second Amazon Echo device is a straightforward process that can be done through the Alexa app. Follow these steps to set up your second Echo:
- Ensure your Echo is connected to power: Make sure that your second Echo device is connected to a power source and is turned on.
- Launch the Alexa app: Open the Alexa app on your smartphone or tablet. If you haven’t downloaded the app yet, refer to the previous section for instructions on how to download and install it.
- Tap on the Devices tab: At the bottom of the app screen, you will see a tab labeled “Devices.” Tap on this tab to access the device management section.
- Select “Echo & Alexa”: From the Devices screen, choose the option “Echo & Alexa” to view a list of all your configured Echo devices.
- Tap on “Add Device”: In the top right corner of the screen, you will find a “+” symbol. Tap on it and select “Add Device” from the menu that appears.
- Choose the device type: On the next screen, you will be presented with a list of Echo devices. Select the device type that matches the second Echo device you are setting up.
- Follow the on-screen instructions: The Alexa app will guide you through the setup process with step-by-step instructions. This usually involves connecting the Echo to your Wi-Fi network and connecting it to your Amazon account.
- Wait for the setup to complete: Once you have followed all the instructions and provided the necessary information, the setup process will begin. It may take a few minutes for the setup to complete.
- Confirmation and customization: After the setup is finished, you will receive a confirmation message in the app. You can then customize settings for your second Echo device, such as selecting a location, adjusting audio settings, and more.
Once the setup is complete, you can start using your second Echo device to interact with Alexa, play music, control smart home devices, and utilize a wide range of skills and features.
Setting up multiple Echo devices allows you to enjoy a seamless and interconnected smart home experience. You can control each device individually or create groups for synchronized playback and multi-room audio.
Now that your second Echo device is set up, you can move on to the next steps, such as connecting it to your Wi-Fi network and configuring the settings to your liking.
Connect the Second Echo to Wi-Fi
In order for your second Amazon Echo device to function properly and access the vast array of features and services it offers, you need to connect it to your Wi-Fi network. Follow these steps to connect your second Echo to Wi-Fi:
- Ensure your Echo is powered on: Make sure that your second Echo device is connected to a power source and is turned on.
- Open the Alexa app: Launch the Alexa app on your smartphone or tablet. If you haven’t downloaded the app yet, refer to the previous section for instructions on how to download and install it.
- Tap on the Devices tab: At the bottom of the app screen, you will see a tab labeled “Devices.” Tap on this tab to access the device management section.
- Select the second Echo device: From the Devices screen, locate and select the second Echo device that you want to connect to Wi-Fi.
- Tap on “Change” next to Wi-Fi Network: On the Echo device settings page, you will find the “Wi-Fi Network” option. Tap on the “Change” button next to it.
- Choose your Wi-Fi network: A list of available Wi-Fi networks will be displayed. Select your desired network from the list.
- Enter your Wi-Fi network password: If your Wi-Fi network is secured with a password, enter the password in the provided field. Make sure to enter it correctly to avoid any connection issues.
- Connect to the Wi-Fi network: Once you have entered the correct password, tap on the “Connect” button to connect your second Echo device to the Wi-Fi network.
- Wait for the connection: Your second Echo device will attempt to connect to the selected Wi-Fi network. It may take a few moments for the connection to establish. The Echo’s light ring will turn orange and then eventually solid blue, indicating a successful connection.
- Confirmation and testing: Once connected, you will receive a confirmation message in the Alexa app. You can now test the connection by asking Alexa a question or giving a voice command.
It is important to have a stable and reliable Wi-Fi network for optimal performance of your second Echo device. Make sure your Wi-Fi router is functioning properly, and that you are within range of the router when setting up and using your Echo.
Now that your second Echo is successfully connected to Wi-Fi, you can further customize its settings and explore the myriad of capabilities it offers.
Position and Configure the Second Echo
Now that you have connected your second Amazon Echo to power and Wi-Fi, it’s time to position and configure the device to maximize its functionality and ensure an optimal user experience. Here are the steps you need to follow:
- Select the ideal location: Choose a suitable location for your second Echo device. Consider placing it in a central area of your home where it can easily hear your voice commands and provide audio output. Be mindful of obstructions such as walls or furniture that may impede the Echo’s ability to pick up your voice.
- Avoid interference: Keep the Echo away from sources of interference such as other electronic devices, microwaves, or large metal objects. These can disrupt the device’s performance and potentially affect its ability to connect to your Wi-Fi network.
- Configure audio settings: Open the Alexa app and select your second Echo device from the Devices tab. From there, you can adjust the volume, equalizer settings, and manage other audio-related configurations to ensure optimal sound quality.
- Set up voice profiles (optional): If you want multiple users to have personalized experiences with your second Echo, you can set up voice profiles. This allows the device to recognize individual voices and provide tailored responses, music recommendations, and personalized information. You can set up voice profiles in the Alexa app under the Settings menu.
- Explore device settings: Take some time to explore the various settings available for your second Echo device. You can customize options such as wake word, language preferences, time zone, and more. These settings are accessible through the Alexa app under your Echo device’s settings.
- Consider optional accessories: If desired, you can enhance your Echo experience with optional accessories like Echo Wall Mounts or Echo Skins. These accessories allow you to mount the device on the wall or add a personalized touch, respectively.
By positioning your second Echo device strategically and configuring it to your preferences, you can ensure a seamless and personalized user experience. Keep in mind that you can always revisit the device settings in the Alexa app to make adjustments or explore new features as they become available.
Now that you have successfully positioned and configured your second Echo device, you are ready to fully enjoy its capabilities and the convenience it brings to your daily life.
Add the Second Echo to Multi-Room Music
One of the fantastic features of having multiple Amazon Echo devices is the ability to create a synchronized audio experience throughout your home using the Multi-Room Music feature. Here’s how you can add your second Echo device to Multi-Room Music:
- Open the Alexa app: Launch the Alexa app on your smartphone or tablet.
- Tap on the Devices tab: At the bottom of the app screen, select the Devices tab to access the device management section.
- Select the second Echo device: From the list of devices, locate and select your second Echo device that you want to add to Multi-Room Music.
- Tap on the + icon: In the top right corner of the device screen, you will find a “+” icon. Tap on it to access the device options.
- Select “Combine Speakers”: Choose the “Combine Speakers” option to initiate the process of adding your second Echo to Multi-Room Music.
- Select the desired group: If you have already created a group for Multi-Room Music, select the group that you want your second Echo to be a part of. If not, create a new group by tapping on “Create Group” and following the instructions.
- Save the changes: Once you have selected or created the desired group, tap on “Save” to add your second Echo to Multi-Room Music.
- Enjoy synchronized audio: With your second Echo device added to the Multi-Room Music group, you can now play music, audiobooks, or podcasts simultaneously on multiple Echo devices. Simply ask Alexa to play your favorite content, and it will play across all the connected speakers.
The Multi-Room Music feature creates a delightful atmosphere by filling your home with immersive sound. Whether you’re having a party or enjoying some quiet time, having synchronized audio across multiple Echo devices enhances the audio experience.
It’s worth noting that you can add multiple Echo devices to the same Multi-Room Music group or create different groups for different areas of your home. This gives you the flexibility to control audio playback across specific rooms or throughout your entire home.
With your second Echo device added to Multi-Room Music, you can enjoy your favorite music throughout your home, creating a seamless and immersive audio experience.
Enable Alexa Guard on the Second Echo
Alexa Guard is a powerful security feature that utilizes your Amazon Echo devices to help protect your home when you’re away. By enabling Alexa Guard on your second Echo device, you can add an extra layer of security and peace of mind. Follow these steps to enable Alexa Guard:
- Open the Alexa app: Launch the Alexa app on your smartphone or tablet.
- Tap on the More tab: At the bottom right corner of the app, you will find a More tab represented by three horizontal lines. Tap on it to access additional settings.
- Select Settings: From the More menu, choose the Settings option to open the Alexa settings.
- Select Guard: Scroll down and tap on the option labeled Guard.
- Configure settings: On the Guard settings page, you can customize various options, including Smart Alerts, Away Lighting, and more. Personalize these settings based on your preferences to cater to your home security needs.
- Enable Guard: Tap on the Enable button to start using Alexa Guard. Follow the on-screen prompts to complete the setup process for Alexa Guard on your second Echo device.
- Testing and troubleshooting: After enabling Alexa Guard, you can test its functionality by saying, “Alexa, I’m leaving.” The Echo device will activate Guard mode and simulate home presence by turning on lights, playing sounds, and sending you Smart Alerts if it detects any suspicious activity.
With Alexa Guard enabled on your second Echo device, it can help keep an eye on your home while you’re away, providing an added layer of security and peace of mind. Whether it’s detecting the sound of breaking glass or monitoring for smoke alarms, Alexa Guard has the potential to alert you and deter potential intruders.
Remember to regularly check the settings in the Alexa app to ensure that you have the desired configurations for your security needs. You can also adjust Alexa Guard settings from the app to customize its behavior based on your preferences.
By enabling Alexa Guard on your second Echo device, you can enhance the security of your home and enjoy a greater sense of protection, even when you’re not there.
Customize the Settings for the Second Echo
Customizing the settings for your second Amazon Echo device allows you to personalize your experience and optimize the device to meet your preferences and needs. Here’s how you can customize the settings for your second Echo:
- Open the Alexa app: Launch the Alexa app on your smartphone or tablet.
- Tap on the Devices tab: At the bottom of the app screen, select the Devices tab to access the device management section.
- Select the second Echo device: From the list of devices, find and select your second Echo device to view its settings.
- Explore device settings: Within the device settings, you’ll find various options to customize your Echo. Some of these settings include:
- Wake Word: Customize the wake word used to activate the Echo device (“Alexa,” “Amazon,” “Echo,” or “Computer”). Choose a wake word that feels most natural to you.
- Language Settings: Adjust the language preferences for your Echo device, ensuring that Alexa understands your commands accurately.
- Time Zone: Set the time zone for your Echo device to ensure accurate time-based features like alarms and reminders.
- Audio Settings: Customize the audio output and equalizer settings to suit your preferences and improve sound quality.
- Privacy Settings: Manage privacy preferences, including voice history, drop-in permissions, and communication settings.
- Location Settings: Specify the location of your Echo device, which can improve the accuracy of weather, time, and local information.
- Adjust preferences: Within each settings section, you’ll find various options to adjust and fine-tune specific preferences. Take the time to explore and configure these settings based on your individual needs.
- Save your changes: Make sure to save any modifications you make to the settings by tapping the Save button at the bottom of the screen.
Customizing the settings for your second Echo allows you to tailor the device to your personal preference and optimize its performance. It ensures a more personalized and seamless experience with your Echo device.
Remember to regularly revisit the settings in the Alexa app as new features and updates may introduce additional customization options or improvements. This way, you can remain up-to-date and make the most out of your second Echo device.
With the settings customized to your liking, your second Echo device will truly become a personalized digital assistant that seamlessly integrates into your daily routine.
Sync Smart Home Devices with the Second Echo
Setting up your smart home devices to work with your second Amazon Echo can greatly enhance the convenience and control you have over your home. With the ability to sync and control multiple smart devices from a single Echo device, you can create a seamless and integrated smart home experience. Here’s how you can sync your smart home devices with your second Echo:
- Open the Alexa app: Launch the Alexa app on your smartphone or tablet.
- Tap on the More tab: At the bottom right corner of the app, you will find a More tab represented by three horizontal lines. Tap on it to access additional settings.
- Select Skills & Games: From the More menu, choose the Skills & Games option to explore the available skills for your Echo device.
- Search for smart home skills: In the Skills & Games section, use the search bar to look for specific smart home skills related to the devices you want to sync with your Echo. Many popular smart home brands, such as Philips Hue or tp-link, have dedicated skills that allow easy integration with Alexa.
- Enable the skills: Once you find the relevant smart home skills, tap on them to access their details. Enable the skills by following the prompts to connect your accounts and authorize the synchronization of devices.
- Discover devices: After enabling the skills, go back to the Alexa app’s home screen and select the Devices tab at the bottom. Tap on the “+” icon to add new devices.
- Let Alexa discover devices: Tap on “Add Device” and select “Device Discovery” in the following screen. Alexa will start searching for compatible devices that are connected to your network.
- Select the devices to sync: Alexa will present a list of discovered devices. Choose the ones that you want to sync with your second Echo and tap on the “Add to Device Group” button to add them to a group or select “Add to Room” to assign them to a specific room.
- Verify device control: Once the syncing process is complete, you can use voice commands with your second Echo to control your smart home devices. For example, you can say, “Alexa, turn off the living room lights.”
Syncing your smart home devices with your second Echo device allows you to control and manage them conveniently through voice commands. You can control lights, thermostats, locks, and various other smart devices with ease using just your voice.
Remember to consult the user manuals or documentation provided with your smart home devices for specific instructions on how to enable Alexa integration and any additional setup requirements.
With your smart devices successfully synced with your second Echo, you can enjoy the convenience and comfort of controlling your home automation system effortlessly.
Test and Troubleshoot the Second Echo Connection
After setting up your second Amazon Echo device, it’s important to test the connection and ensure that it is functioning properly. If you encounter any issues, troubleshooting can help you resolve common connectivity problems. Here are some steps to test and troubleshoot the connection of your second Echo:
- Check the Wi-Fi connection: Make sure that your second Echo is connected to Wi-Fi by verifying the Wi-Fi network in the device settings of the Alexa app or asking Alexa for a status update on the network connection.
- Move closer to the Wi-Fi router: If you are experiencing weak or intermittent connectivity, try moving your second Echo closer to the Wi-Fi router to improve the signal strength.
- Restart your Echo device: Sometimes, a simple restart can resolve connectivity issues. Unplug your second Echo device from the power source, wait for a few seconds, and then plug it back in. Allow the device to boot up and reconnect to Wi-Fi.
- Restart your Wi-Fi router: If restarting the Echo device doesn’t solve the problem, try restarting your Wi-Fi router. Unplug the router from the power source, wait for a minute, and then plug it back in. Allow the router to fully boot up.
- Check for Wi-Fi interference: Ensure that your Echo device is not placed near sources of interference, such as other electronic devices, microwaves, or large metal objects. These can disrupt the Wi-Fi signal and result in connectivity issues.
- Update your Echo device’s firmware: Outdated firmware can sometimes cause connectivity problems. Check for firmware updates in the device settings of the Alexa app and install any available updates for your second Echo device.
- Reset your Echo device: If you are still experiencing connectivity issues, you can try resetting your second Echo device to factory settings. This will remove all your device settings, so make sure you have your preferences backed up. The reset option can usually be found in the device settings of the Alexa app.
- Contact Amazon support: If none of the troubleshooting steps above resolve the issue, it may be helpful to reach out to Amazon support for further assistance. They can provide specific guidance based on your device and help you troubleshoot the connection problem.
By following these testing and troubleshooting steps, you can identify and resolve common connectivity issues with your second Echo device. It’s important to ensure a stable and reliable connection for optimal performance and seamless integration with your smart home ecosystem.
Remember to refer to the support resources provided by Amazon and consult the user manual for your Echo device for additional troubleshooting guidelines specific to your model.
With a successfully tested and troubleshooted connection, you can now enjoy the full functionality of your second Echo device and its array of features and services.