
Why should you add a credit card to PayPal?
PayPal is a widely recognized and trusted online payment platform that allows you to make secure transactions with ease. While it offers various payment options, adding a credit card to your PayPal account can bring numerous benefits and convenience. Here are some compelling reasons why you should consider linking a credit card to your PayPal account:
- Expanded payment options: By adding a credit card to PayPal, you open up a wider range of payment options. With a credit card linked to your PayPal account, you can make payments even if your PayPal balance is insufficient, ensuring that you never miss out on any online purchases.
- Enhanced security: PayPal employs advanced security measures to protect your financial information. By linking a credit card to your account, you can benefit from an extra layer of security. When making transactions, PayPal acts as a shield, preventing merchants and others from accessing your sensitive card details directly.
- Convenient and seamless transactions: Adding a credit card to your PayPal account streamlines the checkout process. Instead of manually entering your card details every time you make a purchase, you simply need to select PayPal as your payment method and authorize the transaction. This saves time and eliminates the hassle of repeatedly inputting your card information.
- Access to rewards and benefits: Many credit cards offer rewards programs, cashback incentives, and other benefits to cardholders. By linking your credit card to PayPal, you can take advantage of these rewards when making purchases through the platform. It’s like earning rewards twice – from both your credit card provider and PayPal.
- Improved buyer protection: PayPal’s Buyer Protection program provides additional security when making payments. If a transaction goes wrong, such as not receiving an item or receiving an item significantly different from the description, PayPal may assist in resolving the dispute and refunding you. Linking a credit card can further enhance this protection, giving you peace of mind with your online purchases.
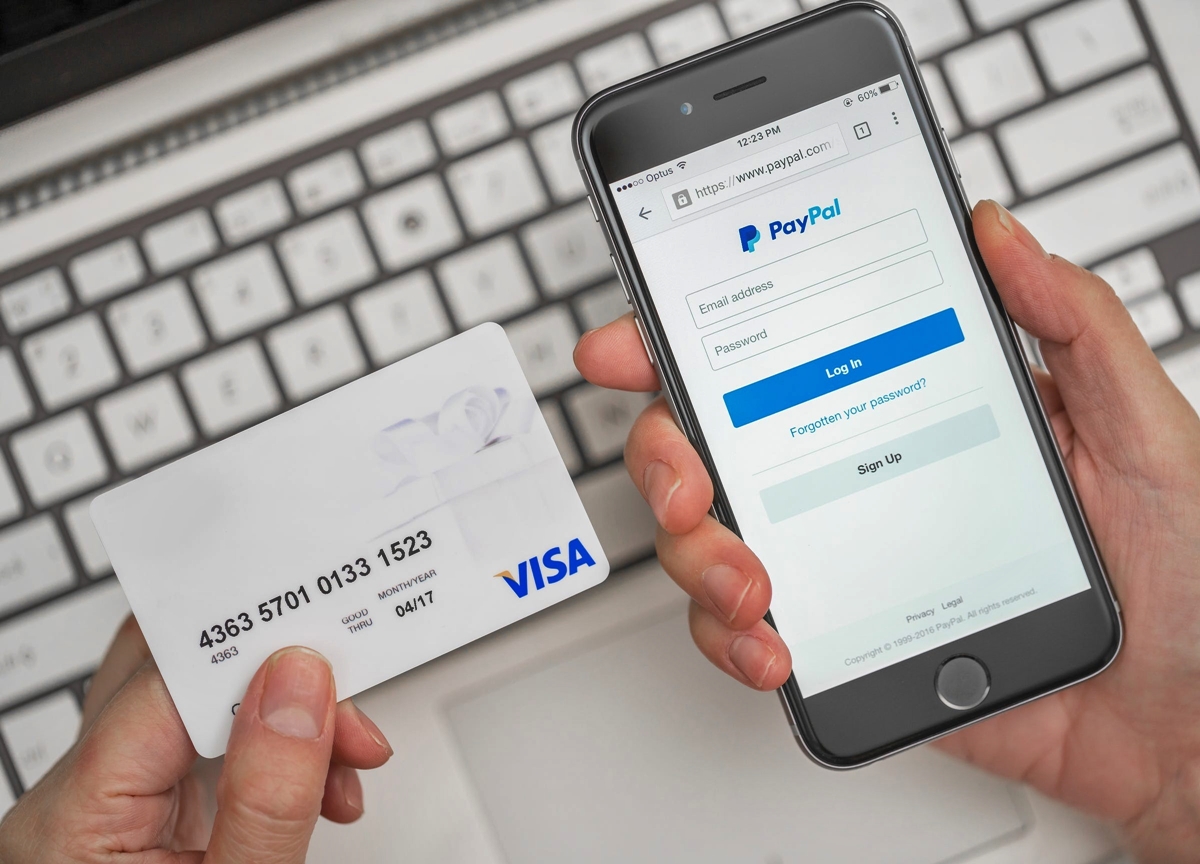
Step 1: Log in to your PayPal account
Before you can add a credit card to your PayPal account, you need to log in to your existing PayPal account or create a new one if you don’t have one yet. Here’s how to log in:
- Open your preferred web browser and go to the PayPal website (www.paypal.com).
- In the top right corner of the homepage, click on the “Log In” button.
- You will be redirected to the login page where you need to enter your registered email address or mobile number associated with your PayPal account.
- Next, enter your password and click on the “Log In” button.
- If the login details are correct, you will be successfully logged in to your PayPal account.
Note: If you have forgotten your password, you can click on the “Having trouble logging in?” link on the login page to initiate the password recovery process.
Once you have logged in to your PayPal account, you can proceed to the next step to add a credit card.
Step 2: Access the Wallet page
After logging in to your PayPal account, you need to navigate to the Wallet page, where you can manage your payment methods, including adding a credit card. Follow these steps to access the Wallet page:
- On the top navigation menu of the PayPal homepage, click on the “Wallet” option. You may need to hover over or click on “Summary” or “More” first to reveal the Wallet option.
- You will be taken to the Wallet page, which displays all the payment methods associated with your PayPal account.
- Here, you can view and manage your existing payment sources, such as your PayPal balance, bank accounts, and credit cards. To add a credit card, simply click on the “Link a card” or “+ Add a card” button.
- If prompted, you may be asked to confirm your identity or provide additional security information. Follow the instructions provided by PayPal to complete this step.
- Once you have accessed the Wallet page, you are ready to proceed with adding your credit card details to your PayPal account.
By accessing the Wallet page, PayPal grants you the ability to manage your payment methods, making it convenient to add, remove, or update your credit card information as needed.
Step 3: Click on “Link a card”
Once you have accessed the Wallet page on your PayPal account, the next step is to click on the “Link a card” or “+ Add a card” button. This will initiate the process of adding your credit card details to your PayPal account. Follow these steps to link a card:
- On the Wallet page, locate the “Link a card” or “+ Add a card” button. It is typically displayed prominently, often with an icon representing a credit card.
- Click on the “Link a card” button. This will open a new page or a pop-up window where you can enter your credit card information.
- Make sure to have your credit card ready, as you will need to provide the required details for successful linking.
- In the provided fields, enter the necessary information, including your credit card number, expiration date, and security code (CVV).
- Double-check the accuracy of the entered information to avoid any errors or issues during the linking process.
- After entering the details, review any additional options or agreements provided by PayPal, such as connecting your credit card for one-touch payments or opting in for promotional offers.
- Once you have reviewed and confirmed the information, click on the “Link” or “Add card” button to proceed.
PayPal will validate the provided credit card details and, if successful, associate it with your account. You should now have your credit card linked and ready to use for online transactions through PayPal.
Step 4: Enter your credit card details
After clicking on “Link a card” or “+ Add a card” on the Wallet page of your PayPal account, you will be prompted to enter your credit card details. Follow these steps to successfully input your credit card information:
- On the page that appears after clicking the “Link a card” button, locate the fields where you are required to enter your credit card details.
- Start by entering your credit card number. This is typically a 16-digit number found on the front of your card. Enter the digits without any spaces or dashes.
- Next, provide the expiration date of your credit card. This consists of the month and year when your card is set to expire. Ensure that the date is accurate and hasn’t passed.
- Look for the security code (CVV) field. The CVV is a three-digit number found on the back of most credit cards (or on the front for American Express cards). Enter the CVV in the designated field.
- If prompted, you may also need to input your billing address. This includes your street address, city, state, ZIP code, and country. Make sure to enter this information accurately to prevent any issues with future transactions.
- Take a moment to confirm that all the details you have entered are correct. Double-check the card number, expiration date, CVV, and billing address before proceeding.
- Finally, click on the “Submit” or “Save” button to store your credit card details in your PayPal account.
It’s important to note that PayPal prioritizes the security of your information. Therefore, you can have confidence that your credit card details will be handled securely and only used when making authorized transactions.
Step 5: Confirm your card
After entering your credit card details, the next step in adding a credit card to your PayPal account is to confirm the card. PayPal requires card confirmation to ensure the validity and ownership of the card. Follow these steps to confirm your card:
- Once you have submitted your credit card details, PayPal may initiate the card confirmation process. This is typically done by charging a small amount, usually around $1, to your credit card.
- Check your credit card statement or online banking to find the charge from PayPal.
- Note the exact amount of the charge as it appears on your statement.
- Log back into your PayPal account and navigate to the Wallet page.
- Find the credit card you added and click on it.
- Look for the option to confirm your card or verify the card details.
- Enter the exact amount charged to your credit card in the provided field.
- Click on the “Confirm” or “Verify” button to complete the process.
- PayPal will verify the amount you entered and if it matches the charge on your card, your card will be confirmed successfully.
Confirming your card confirms your ownership and authenticity, giving you full access to its features and functionalities within your PayPal account. It also provides an extra layer of security for your future transactions.
Step 6: Verify your card
After confirming your credit card details on PayPal, the next step is to verify your card. Verification is an important process that adds an additional layer of security to your PayPal account. Follow these steps to successfully verify your card:
- Access your PayPal account and navigate to the Wallet page.
- Locate the credit card you added and click on it.
- Look for the option to verify your card or initiate the verification process.
- PayPal may give you the option to generate a unique verification code, send a verification code through email, or provide another method to verify your card.
- If you choose to generate a verification code, click on the “Generate Code” or similar button. PayPal will generate a unique code and display it on the screen.
- Alternatively, if you choose to receive a verification code via email, click on the “Send Code” or similar button. PayPal will send a code to the email address associated with your account.
- Retrieve the verification code either from the PayPal screen or from your email inbox.
- Enter the verification code into the provided field on the PayPal website.
- Click on the “Verify” button to complete the verification process.
- If the verification code is accepted, your card will be successfully verified, and you can start using it for online transactions through PayPal.
Verification adds an extra layer of trust and security to your PayPal account, ensuring that only authorized users have access to your linked credit card.
Step 7: Set your credit card as primary (optional)
Setting your credit card as the primary payment method in your PayPal account allows for a smoother checkout experience and ensures that the selected card is used as the default payment option. Follow these steps to set your credit card as the primary payment method:
- Login to your PayPal account and go to the Wallet page.
- Locate the credit card you want to set as the primary payment method.
- Click on the credit card to access its details and options.
- Look for the option to set the card as the primary payment method or designate it as the default card.
- Click on the “Set as Primary” or similar button.
- PayPal may require you to confirm your account credentials or provide additional security information.
- Follow the on-screen instructions to complete the process.
- Once you have successfully set your credit card as the primary payment method, it will be used by default for your online transactions through PayPal.
Setting a primary credit card can be beneficial if you prefer using a specific card for your PayPal transactions. It eliminates the need to manually select the payment method each time you make a purchase, streamlining the checkout process and saving you time.
Step 8: Update your billing agreement preferences (optional)
After adding a credit card to your PayPal account, you have the option to update your billing agreement preferences. This step is optional but can provide you with greater control and flexibility over your payment settings. Here’s how you can update your billing agreement preferences:
- Login to your PayPal account and navigate to the Wallet page.
- Locate the credit card you added and click on it to access its details.
- Look for the option to update your billing agreement preferences.
- Click on the “Update Preferences” or similar button.
- PayPal may present you with a set of options to control how you manage your billing agreements.
- Review and modify the available options according to your preferences.
- For example, you may choose to enable or disable automatic payments, modify payment schedules, or manage recurring billing agreements.
- Once you have updated your billing agreement preferences, click on the “Save” or “Update” button to apply the changes.
- Your preferences will be saved, and your billing agreements will be updated accordingly.
Updating your billing agreement preferences allows you to tailor your PayPal experience to your specific needs. It provides you with the flexibility to manage your payment settings and ensure that they align with your desired level of control and convenience.
Common issues and troubleshooting tips
While adding a credit card to your PayPal account is generally a straightforward process, you may encounter some common issues along the way. Here are some troubleshooting tips to help you navigate these challenges:
- Invalid card details: Double-check the credit card information you entered to ensure its accuracy. Make sure there are no typos or mistakes in the card number, expiration date, and CVV. Correct any errors and try again.
- Card already linked to another account: If you receive an error message stating that the card is already linked to another PayPal account, you will need to contact PayPal customer support for assistance. They can help you resolve the issue and guide you through the necessary steps.
- Insufficient funds: Verify that your credit card has sufficient funds or available credit to complete the linking process. If not, make the necessary arrangements to ensure enough funds are available.
- Card rejected by PayPal: In some cases, PayPal may reject a credit card due to various reasons, such as security concerns or restrictions. If your card is not accepted, you can contact the card issuer to inquire about the issue or consider using a different credit card.
- Temporary hold or pending charges: PayPal may place a temporary hold or pending charge on your credit card during the verification process. These charges should be minimal and will typically be refunded or reversed once the verification is complete.
- Expired credit card: If your credit card has expired, you will need to update the card details with the new expiration date. Navigate to the Wallet page and edit the card information accordingly.
- Security concerns: If you suspect any unauthorized activity or believe your account has been compromised, contact PayPal customer support immediately. They have dedicated teams to assist with security-related issues.
- Technical glitches: If you experience any technical difficulties or encounter errors during the process, try clearing your browser cache, using a different browser, or accessing PayPal from a different device. If the issue persists, contact PayPal support for further assistance.
Remember, PayPal offers comprehensive customer support to help resolve any issues you may encounter while adding a credit card to your account. If you need further assistance, don’t hesitate to reach out to their support team for guidance.