
What is Nest Thermostat?
The Nest Thermostat is a smart home device that allows you to control and optimize the temperature of your living space. It is designed to learn your preferences and adjust the heating or cooling settings accordingly, resulting in energy savings and personalized comfort.
Unlike traditional thermostats, the Nest Thermostat uses advanced algorithms and sensors to adapt to your schedule, presence, and temperature preferences. This means that it can automatically lower the temperature when you’re away from home and make it nice and cozy just before you arrive. It can also detect if a room is occupied and adjust the temperature accordingly.
The Nest Thermostat offers a sleek and modern design with a digital display that allows for easy temperature adjustments. It connects to your Wi-Fi network, enabling you to control it remotely using a smartphone app. You can also integrate it with other smart home devices and voice assistants, such as Alexa, for seamless automation and voice control.
With the Nest Thermostat, you no longer have to manually adjust the temperature throughout the day or worry about wasting energy when you’re not home. It provides convenience, energy efficiency, and cost savings, making it a popular choice for homeowners looking to upgrade their heating and cooling systems.
What is Alexa?
Alexa is an intelligent virtual assistant developed by Amazon. It is primarily used through Amazon’s Echo devices, which are smart speakers equipped with voice recognition technology. Alexa can perform a wide range of tasks, from setting alarms and reminders to playing music and controlling smart home devices.
Alexa’s capabilities go beyond just basic voice commands. It utilizes artificial intelligence and natural language processing to understand and respond to your queries and requests. You can ask Alexa questions, get weather updates, play games, and even order products from Amazon using just your voice.
One of the key features of Alexa is its ability to integrate with various smart home devices, allowing you to control and automate your connected appliances, lights, thermostats, and more. This makes it a central hub for managing your entire smart home ecosystem, providing you with convenience and ease of use.
Alexa also has a wide range of skills, which are third-party developed voice-controlled capabilities that enhance its functionality. These skills cover a broad spectrum of categories, including news, fitness, food, entertainment, and productivity. You can enable skills that align with your interests and use Alexa to perform specific tasks or access personalized content.
Overall, Alexa is a versatile and intelligent virtual assistant that aims to simplify and enhance your everyday life. It empowers you to interact with technology effortlessly and enjoy the benefits of a connected and smart home environment, all through the power of your voice.
Connecting Nest Thermostat to Alexa
Integrating your Nest Thermostat with Alexa can provide you with seamless voice control and the ability to manage your thermostat using simple voice commands. Follow the steps below to connect your Nest Thermostat to Alexa:
-
Step 1: Check Compatibility
Ensure that your Nest Thermostat and Alexa device are compatible. Most Nest Thermostats are compatible with Alexa, but it’s always a good idea to check the specific model requirements and any additional compatibility guidelines provided by Nest. -
Step 2: Enable Skills
Open the Alexa app on your smartphone and navigate to the Skills & Games section. Search for the “Nest” skill and enable it. Follow the prompts to link your Nest account with Alexa. -
Step 3: Connect Devices
Make sure your Nest Thermostat is connected to your Wi-Fi network. Then, use the Alexa app to discover devices. Alexa should automatically detect your Nest Thermostat. If not, you may need to manually enter the device’s information. -
Step 4: Complete Setup
Once your Nest Thermostat is successfully connected to Alexa, you may need to complete the setup process. This involves assigning a specific name or location to your thermostat within the Alexa app for easy identification and control.
After completing these steps, your Nest Thermostat should be successfully connected to Alexa. You can now use voice commands to control your thermostat. For example, you can say “Alexa, set the temperature to 72 degrees” or “Alexa, increase the temperature by 2 degrees”.
It’s important to note that some advanced features of the Nest Thermostat may not be available through Alexa. For full functionality, you may still need to use the Nest app or thermostat controls directly. However, basic temperature adjustments and general control can be conveniently managed through Alexa.
Step 1: Check Compatibility
Before you begin the process of connecting your Nest Thermostat to Alexa, it’s important to ensure that your devices are compatible. Most models of Nest Thermostats work seamlessly with Alexa, but it’s always wise to double-check to avoid any compatibility issues.
Firstly, you need to have a compatible Nest Thermostat model. Most Nest Thermostats, including the Nest Learning Thermostat and Nest Thermostat E, are compatible with Alexa. However, older or discontinued models might not have support for Alexa integration. Refer to the Nest website or product documentation to confirm the compatibility of your specific Nest Thermostat model.
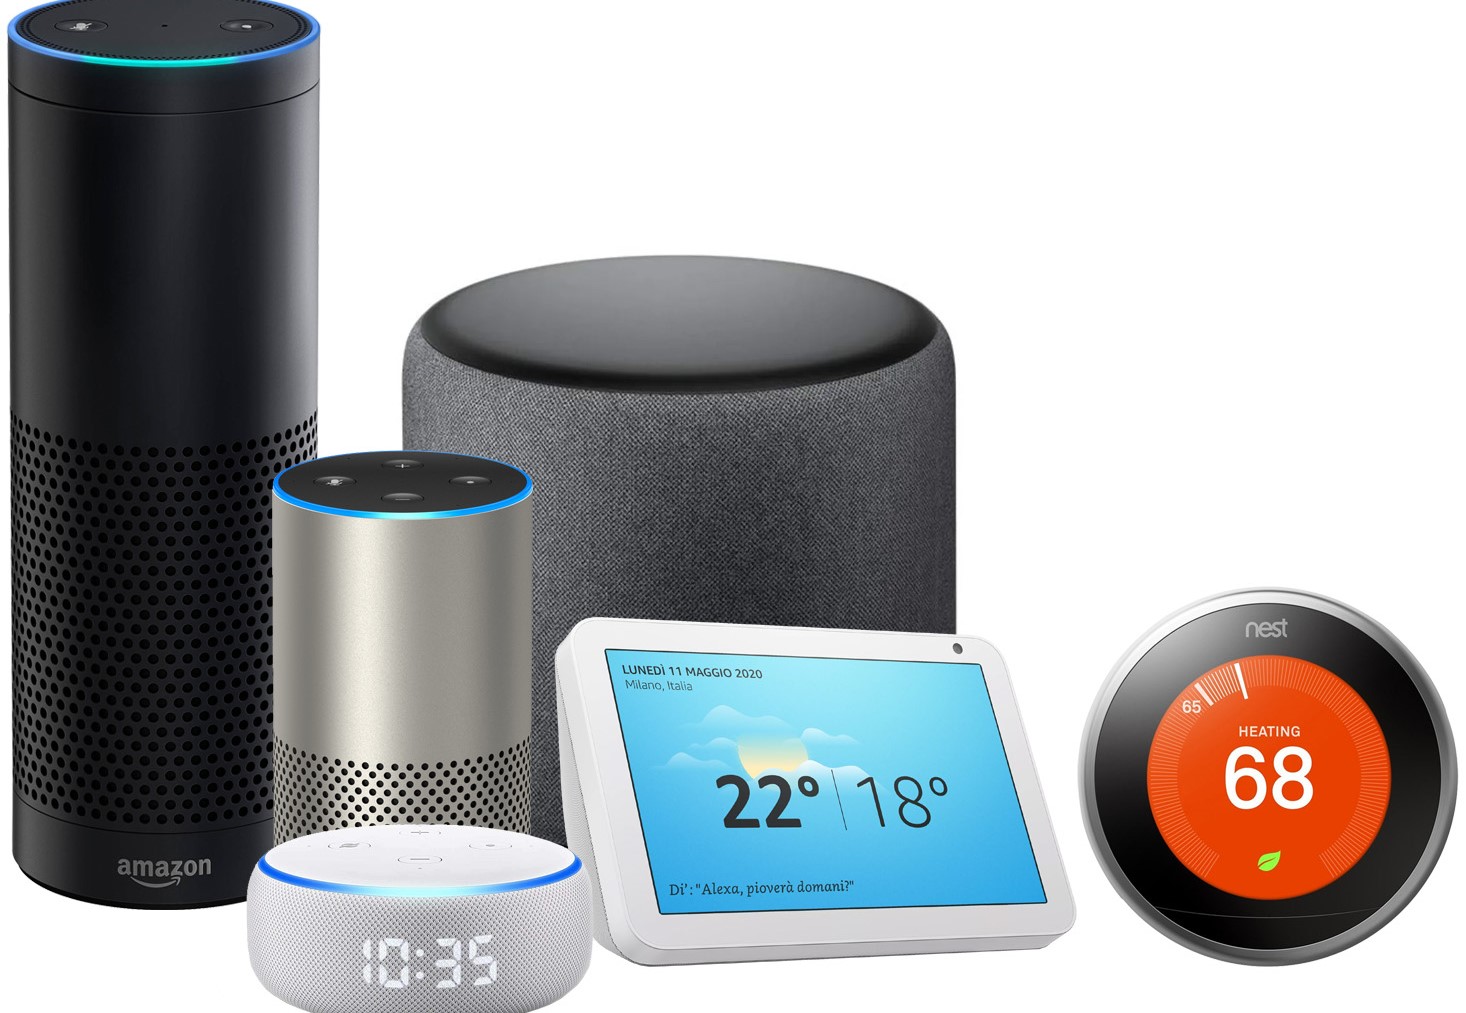
Additionally, it is crucial to have an Alexa-enabled device. This could be an Amazon Echo smart speaker, Echo Dot, Echo Show, or any other Alexa-compatible device. Ensure that your Alexa device is set up and connected to your Wi-Fi network.
Once you have verified the compatibility of your Nest Thermostat and Alexa device, you can proceed with the integration process confidently. In the next steps, we will guide you through the setup process to connect your Nest Thermostat and Alexa, enabling seamless voice control and management of your thermostat.
Remember that compatibility requirements and setup processes may vary slightly depending on specific Nest Thermostat models and firmware versions. It is always recommended to refer to the official Nest and Amazon support documentation for the most accurate and up-to-date instructions.
Step 2: Enable Skills
Once you have confirmed the compatibility of your Nest Thermostat and Alexa device, the next step is to enable the necessary skills within the Alexa app. Enabling the Nest skill allows Alexa to communicate with your Nest Thermostat and control its settings through voice commands.
Start by opening the Alexa app on your smartphone or tablet. Ensure that you are logged in to your Amazon account that is associated with your Alexa device. Navigate to the Skills & Games section, typically accessed through the main menu or the main screen of the app.
In the search bar, enter “Nest” or “Nest Thermostat” and browse the results for the official Nest skill. Select the skill that is provided by Nest Labs or labeled as the official integration. Tap on it to access the skill details page.
On the skill details page, you will find an “Enable” button. Tap on it to initiate the enablement process. Alexa will prompt you to sign in to your Nest account or link your Nest account with Alexa. Follow the on-screen instructions to complete the linking process.
Once the linking is successful, you will receive a confirmation message. The Nest skill is now enabled in your Alexa app, allowing Alexa to access and control your Nest Thermostat.
It’s important to note that during the enabling process, you may be requested to grant permissions for the Nest skill to access certain information from your Nest account. Read and review the permissions carefully, ensuring that you are comfortable with the access you are granting.
Enabling the Nest skill is essential for establishing a connection between your Nest Thermostat and Alexa. It enables voice control of your thermostat, allowing you to adjust temperature, set schedules, and perform other thermostat-related tasks using just your voice.
Step 3: Connect Devices
After enabling the Nest skill in Alexa, the next step is to connect your Nest Thermostat and Alexa device. This process will allow Alexa to discover and communicate with your Nest Thermostat, enabling voice control and management.
Start by ensuring that your Nest Thermostat is connected to your Wi-Fi network. This connection is crucial for Alexa to communicate with the thermostat and make adjustments remotely. Refer to the Nest Thermostat documentation for instructions on connecting it to your Wi-Fi network if you haven’t done so already.
Once your Nest Thermostat is connected to the Wi-Fi network, open the Alexa app on your smartphone or tablet. Navigate to the Smart Home section, usually found in the main menu or on the main screen of the app.
In the Smart Home section, look for the “Devices” option or a similar category that manages connected devices. Tap on it to access the device management screen.
Using the device management screen, select the option to “Discover Devices” or “Add Device”. The Alexa app will start scanning your network for compatible devices.
Alexa should automatically detect your Nest Thermostat during the scanning process. It will display the thermostat as a discovered device. Tap on the Nest Thermostat to proceed with the device setup.
In some cases, Alexa may not automatically detect the Nest Thermostat. If this happens, look for an option to manually enter the device information. You may need to input the device name or a specific identifier provided by the Nest app or documentation.
Follow the on-screen instructions in the Alexa app to complete the device setup. This may involve confirming the device details, assigning a location or name to the thermostat, and finalizing the connection process.
Once the device setup is complete, Alexa and your Nest Thermostat are successfully connected. You can now use voice commands to control your thermostat, such as adjusting the temperature or changing thermostat modes.
It’s important to note that if you have multiple Nest Thermostats or other smart home devices, you may need to go through the device discovery and setup process for each individual device within the Alexa app.
Step 4: Complete Setup
Once you have connected your Nest Thermostat and Alexa, the final step is to complete the setup process. This involves assigning a specific name or location to your thermostat within the Alexa app for easy identification and control.
Open the Alexa app on your smartphone or tablet and navigate to the Smart Home section. Look for the list of connected devices or the specific category that manages your Nest Thermostat.
Locate your Nest Thermostat in the device list and select it. This will take you to the device details screen, where you can view and modify the settings of your thermostat.
On the device details screen, you should see an option to edit the device name or location. Tap on this option to customize the name or assign a location that makes it easier for you to identify the thermostat. For example, you can name it “Living Room Thermostat” or assign a location like “Bedroom”.
After entering the desired name or location, save the changes. The Alexa app will update the device information accordingly, making it easier for you to control the thermostat using voice commands.
As part of the setup, you can also specify the thermostat’s default set temperature or any other preferred settings. This ensures that when you give voice commands to Alexa without specifying a temperature, the thermostat will adjust to the default setting you have chosen.
Once you have completed the setup and customized the device details, your Nest Thermostat is fully integrated with Alexa. You can now control and manage your thermostat using simple voice commands directed towards Alexa, making it a convenient and hands-free experience.
Remember that you can always revisit the device settings within the Alexa app to make any necessary modifications, such as changing the device name or location, adjusting the default temperature, or managing other specific settings related to your Nest Thermostat.
Controlling Nest Thermostat with Alexa
Once you have successfully connected your Nest Thermostat to Alexa, you can easily control and manage your thermostat using voice commands. The integration allows for convenient and hands-free control of your home’s temperature.
To initiate a voice command, simply say “Alexa” followed by the desired action or instruction. For example, you can say “Alexa, set the temperature to 72 degrees” or “Alexa, increase the temperature by 2 degrees”.
Alexa will communicate with your Nest Thermostat and execute the requested action. You will receive confirmation from Alexa, either verbally through the connected device or visually on the Alexa app.
In addition to basic temperature adjustments, Alexa also provides the ability to control other thermostat features. You can ask Alexa to change thermostat modes, set schedules or timers, and even inquire about the current temperature or thermostat status.
For more control, you can explore the additional features and capabilities offered by the Nest Thermostat skill in the Alexa app. Depending on the specific skill implementation, you may be able to access advanced settings, enable or disable energy-saving modes, or perform specific functions unique to your Nest Thermostat model.
It’s worth noting that Alexa’s voice commands are flexible and intuitive. You can use natural language and conversational phrases when interacting with Alexa and your Nest Thermostat. This means you don’t have to memorize specific commands and can speak to Alexa in a way that feels most natural to you.
Keep in mind that Alexa’s voice control extends beyond just your Nest Thermostat. If you have other smart home devices integrated with Alexa, such as smart lights or smart plugs, you can include them in your voice commands as well. This allows for comprehensive control over your home’s environment with a single voice command.
Remember to familiarize yourself with the specific voice commands and capabilities supported by your Nest Thermostat model, as they may vary slightly depending on the version and features of your particular device.
Enjoy the seamless integration of Nest Thermostat with Alexa, transforming your home into a smart environment that caters to your comfort and convenience through the power of your voice.
Adjusting Temperature with Voice Commands
One of the key benefits of integrating your Nest Thermostat with Alexa is the ability to adjust the temperature using simple voice commands. This allows for a hands-free and convenient way to control the climate of your home. With just a few words, you can easily make your living space warmer or cooler.
To adjust the temperature, start by saying “Alexa” to activate the voice assistant. Follow it with the desired temperature and unit of measurement. For example, you can say “Alexa, set the temperature to 72 degrees” or “Alexa, increase the temperature by 2 degrees”.
Alexa will communicate with your Nest Thermostat and execute the requested temperature adjustment. You will receive confirmation from Alexa, confirming the new temperature setting or acknowledging the temperature change.
If you don’t specify the temperature, Alexa will use the default set temperature on your Nest Thermostat. However, if you prefer a different default temperature, you can customize it within the Nest app or through the Alexa settings for your thermostat.
In addition to adjusting the temperature, you can also instruct Alexa to change the thermostat mode. For instance, you can say “Alexa, set the thermostat to Cool mode” or “Alexa, switch the thermostat to Eco mode”. This gives you control over maintaining the desired comfort level in your home throughout the day.
Voice commands to adjust the temperature with Alexa can be given from anywhere within the range of your Alexa-enabled device. This means you don’t have to be physically near the Nest Thermostat to make changes. Whether you’re in the living room, kitchen, or even upstairs, Alexa will help you control the temperature effortlessly.
It’s worth noting that the voice commands to adjust the temperature are flexible and intuitive. You can use conversational phrases and natural language when interacting with Alexa and your Nest Thermostat. This provides a more personalized and user-friendly experience.
By utilizing voice commands to adjust the temperature, you can easily create a comfortable environment in your home without lifting a finger. Whether you’re feeling too warm, too cool, or just want to make a quick adjustment, Alexa and your Nest Thermostat work together to provide convenient and efficient temperature control through the power of your voice.
Creating Routines for Smart Home Automation
Integrating your Nest Thermostat with Alexa not only allows you to adjust the temperature with voice commands but also opens up opportunities for creating routines and automating your smart home. Routines enable you to streamline your daily activities, save energy, and enhance the overall functionality of your smart devices.
To create a routine using your Nest Thermostat and Alexa, start by opening the Alexa app on your smartphone or tablet. Navigate to the Routines section, typically located in the main menu or on the main screen of the app.
Within the Routines section, you can create customized routines by selecting the “+” or “Add” button. Follow the on-screen prompts to set up your routine. Start by choosing the trigger for the routine, which could be a specific time, a voice command, or a specific event.
Once you have selected the trigger, you can specify the actions you want to happen when the routine is activated. This is where you can incorporate your Nest Thermostat and Alexa. For example, you can set the routine to turn off the thermostat when you leave the house or adjust the temperature when you say a specific phrase.
Take advantage of other smart devices you have connected to Alexa and Nest. You can include actions like turning off lights, locking doors, or starting the coffee maker. By combining multiple devices, you can create powerful automation routines that streamline your daily routines and add convenience to your life.
Additionally, you can set up routines based on your location or specific conditions. For instance, you can create a routine that adjusts the temperature when the sun sets or when the outdoor temperature reaches a certain level.
Routines enable you to automate your smart home environment, making it more personalized and efficient. They can help create a seamless experience by automatically adjusting the temperature based on your preferences or specific triggers without you having to manually intervene.
Remember to regularly review and modify your routines based on your changing needs and preferences. You can easily edit or delete existing routines and create new ones as your smart home ecosystem evolves.
With the ability to create routines, you can achieve a higher level of convenience and efficiency by automating your smart home devices. By incorporating your Nest Thermostat and Alexa into routines, you can enhance the comfort of your home while saving energy and simplifying your daily routines.
Troubleshooting Common Issues
While integrating your Nest Thermostat with Alexa should be a smooth process, you may encounter some common issues along the way. Here are some troubleshooting steps to help you resolve these issues and ensure a seamless experience:
1. Connectivity issues: If you’re having trouble connecting your Nest Thermostat to Alexa, make sure both devices are connected to the same Wi-Fi network. Check your network settings and ensure that you have a stable internet connection.
2. Compatibility check: Double-check the compatibility of your Nest Thermostat and Alexa device. Ensure that your Nest Thermostat model is compatible with Alexa integration. Refer to the official documentation or contact customer support if needed.
3. Skill enablement: If Alexa does not recognize or respond to your Nest Thermostat commands, ensure that the Nest skill is enabled in the Alexa app. Navigate to the Skills & Games section, search for the Nest skill, and enable it if necessary.
4. Device discovery: If Alexa is unable to discover your Nest Thermostat during the setup process, try manually entering the device information. Make sure you have the correct device name or identifier, which can be found in the Nest app or documentation.
5. Device naming: If you’re having trouble identifying your Nest Thermostat within the Alexa app, review and edit the device name or location to make it more recognizable and distinct. This will make it easier to control and manage the thermostat using voice commands.
6. Firmware updates: Ensure that both your Nest Thermostat and Alexa device have the latest firmware updates installed. Check for updates within the respective apps or settings, and follow the instructions to update if necessary.
7. Skill re-linking: If you’re experiencing ongoing issues with the integration, try unlinking and re-linking your Nest account in the Alexa app. This can help refresh the connection and resolve any communication issues between the devices.
8. Contact support: If you have followed all the troubleshooting steps and are still encountering issues, reach out to the respective customer support teams. Contact Nest customer support for Nest Thermostat issues and Amazon customer support for Alexa-related concerns.
Remember to consult the official documentation and support channels for Nest Thermostat and Alexa to find specific troubleshooting steps related to your devices. The support teams are there to assist you in resolving any technical issues and ensuring the successful integration of your Nest Thermostat with Alexa.