
Understanding the Nest Thermostat
The Nest Thermostat is a smart and programmable thermostat that allows you to control and customize the temperature settings in your home through easy-to-use controls and advanced technology. It is designed to learn your preferences and adjust the temperature accordingly, making it more convenient and energy-efficient.
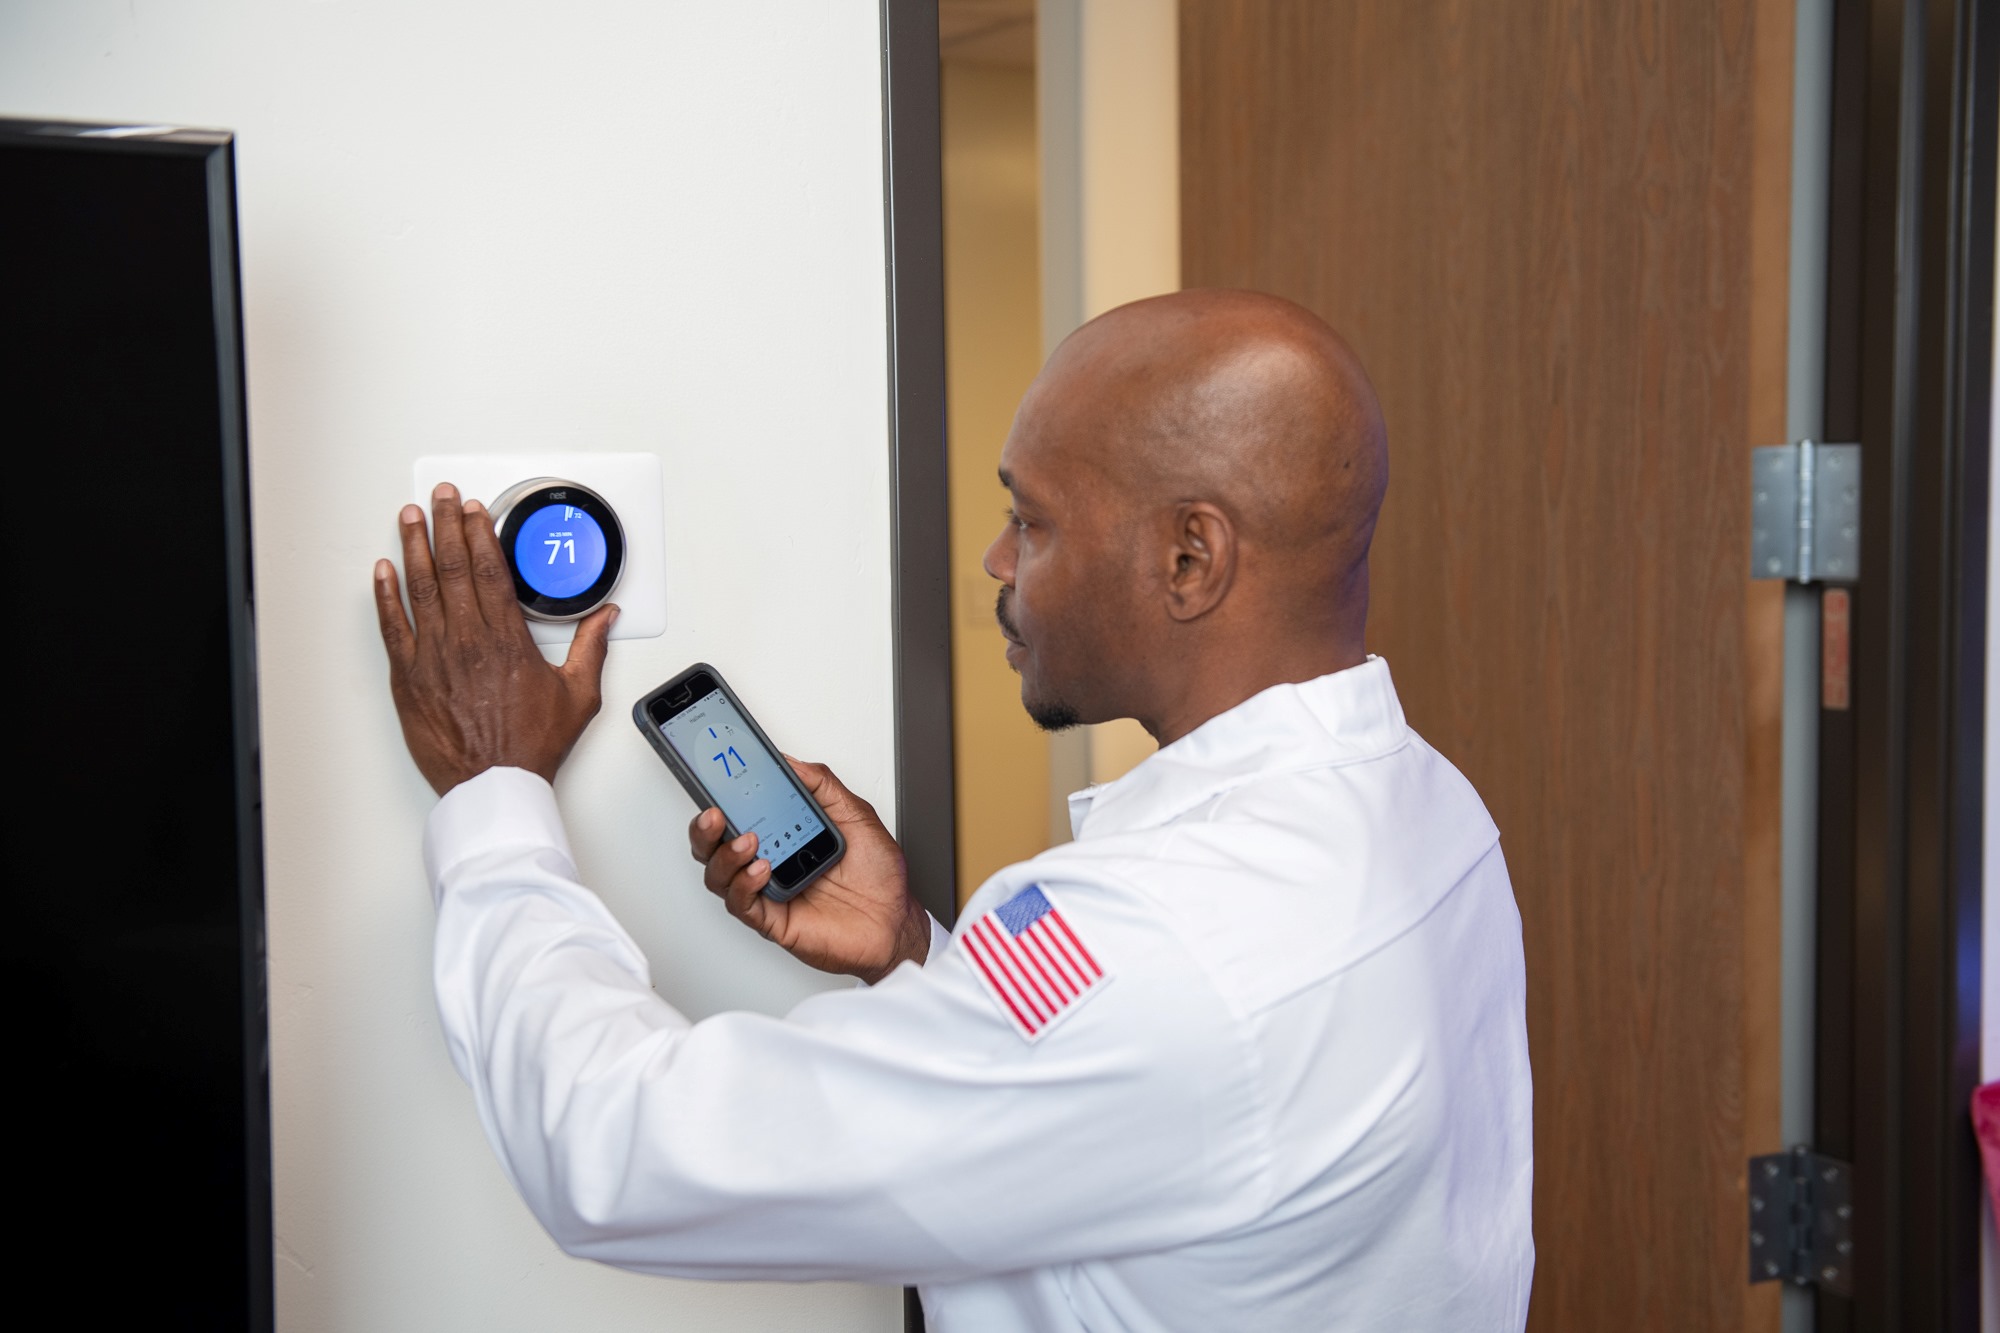
With its sleek design and intuitive interface, the Nest Thermostat provides a seamless user experience. It can be controlled manually using its display or remotely through the Nest app on your smartphone or tablet. The app also allows you to monitor and adjust the temperature when you’re away from home, ensuring optimal comfort and energy savings.
One of the key features of the Nest Thermostat is its ability to learn your schedule and preferences. It uses advanced algorithms to analyze your temperature adjustments over time and create a personalized heating and cooling schedule. It takes into account factors like your waking and sleeping patterns, as well as any specific temperature preferences you may have, to create a comfortable and energy-efficient environment.
In addition to its learning capabilities, the Nest Thermostat also benefits from a variety of sensors and technologies. It measures ambient temperature, humidity, and occupancy to further optimize energy usage. For example, if it detects that no one is home, it can automatically adjust the temperature to save energy until someone returns.
The Nest Thermostat also has the ability to integrate with other smart home devices, such as voice assistants like Google Assistant or Amazon Alexa. This allows you to control the temperature with voice commands, further enhancing the convenience and hands-free operation of your home heating and cooling system.
Overall, the Nest Thermostat offers a user-friendly and energy-efficient solution for controlling and customizing the temperature in your home. Whether you prefer manual control or rely on its learning capabilities, the Nest Thermostat provides the flexibility and convenience you need to maintain a comfortable living environment while saving on energy costs.
Checking the Current Temperature
Before proceeding with any adjustments or calibrations, it’s important to accurately determine the current temperature displayed on your Nest Thermostat. This will serve as the baseline for any temperature comparisons or changes you make.
To check the current temperature on your Nest Thermostat, follow these steps:
- Locate your Nest Thermostat on the wall.
- Look for the display screen on the front of the thermostat.
- The temperature reading will be prominently displayed on the screen.
Make sure to check the temperature reading at different times of the day to ensure consistency. If you notice any significant discrepancies between the displayed temperature and the actual room temperature, it may be necessary to calibrate the thermostat.
Keep in mind that the position of your Nest Thermostat can affect its temperature reading. It’s important to place the thermostat away from sources of heat or drafts, such as direct sunlight, air vents, or doorways. This will ensure that the temperature reading is accurate and reflects the true temperature of the room.
If you find that the current temperature reading on your Nest Thermostat is consistently inaccurate, you may need to adjust the temperature offset or recalibrate the temperature sensor. These steps will be discussed in the following sections.
By accurately checking the current temperature on your Nest Thermostat, you can ensure that any adjustments or calibrations you make are based on reliable information. This will help maintain comfort and energy efficiency in your home heating and cooling system.
Checking for Temperature Discrepancies
Temperature discrepancies can occur when the displayed temperature on your Nest Thermostat does not match the actual temperature in the room. This can be due to various factors, such as the thermostat’s placement, sensor accuracy, or environmental conditions. To ensure accurate temperature control, it is important to identify and address any discrepancies.
Here are some steps to help you check for temperature discrepancies with your Nest Thermostat:
- Compare the displayed temperature on your Nest Thermostat with a separate, reliable temperature measurement device, such as a calibrated thermometer or a digital temperature gauge. Place the measurement device near the thermostat and allow it to stabilize for a few minutes.
- If there is a significant difference between the temperature displayed on the Nest Thermostat and the measurement device, note the variance. A slight difference of a degree or two is usually acceptable, but larger gaps may indicate a calibration issue.
- Repeat the temperature comparison at different times of the day and in different areas of your home to ensure consistency. Temperature variations between rooms or floors are common, but significant variations within the same room may indicate thermostat or sensor problems.
If you notice consistent temperature discrepancies, you may need to calibrate or adjust the temperature settings on your Nest Thermostat. This will help ensure that the displayed temperature corresponds accurately to the actual room temperature.
It’s also important to consider external factors that can influence temperature readings, such as direct sunlight, drafts, or nearby heat sources. Take note of any environmental conditions that may affect the accuracy of the thermostat’s readings and take steps to mitigate their impact.
By regularly checking for temperature discrepancies and addressing any issues that arise, you can ensure that your Nest Thermostat provides accurate and reliable temperature control in your home. This will help maintain comfort, energy efficiency, and optimal performance of your heating and cooling system.
Adjusting the Temperature Offset
If you have identified a consistent temperature discrepancy on your Nest Thermostat, one possible solution is to adjust the temperature offset. This feature allows you to manually compensate for any variance between the displayed temperature and the actual room temperature.
Here’s how you can adjust the temperature offset on your Nest Thermostat:
- Access the main menu on your Nest Thermostat by pressing on the display and selecting the gear icon.
- Scroll and select “Settings” from the menu options.
- Within the settings menu, select “Temperature” or a similar option, depending on your specific thermostat model.
- Look for the “Temperature Offset” or “Adjust Temperature” option and select it.
- Follow the prompts to increase or decrease the temperature offset in small increments. Positive values will raise the displayed temperature, while negative values will lower it.
- Monitor the changes on your Nest Thermostat’s display and compare the adjusted displayed temperature with a reliable measurement device. Repeat the process until you achieve a closer alignment between the displayed temperature and the actual room temperature.
Remember that the temperature offset is a manual adjustment, so it may take some trial and error to find the optimal setting for your specific needs. Keep in mind that small adjustments are generally recommended to avoid overcompensation or creating new discrepancies.
By successfully adjusting the temperature offset on your Nest Thermostat, you can ensure that the displayed temperature aligns more closely with the actual room temperature, providing you with a more accurate representation of the indoor climate.
Calibrating the Nest Thermostat’s Temperature Sensor
If adjusting the temperature offset does not resolve the temperature discrepancies on your Nest Thermostat, you may need to calibrate the temperature sensor. The temperature sensor is responsible for measuring the ambient temperature and providing accurate readings to the thermostat.
To calibrate the temperature sensor on your Nest Thermostat, follow these steps:
- Access the main menu on your Nest Thermostat by pressing on the display and selecting the gear icon.
- Scroll and select “Settings” from the menu options.
- Within the settings menu, select “Technical Info” or a similar option, depending on your specific thermostat model.
- Look for the “Calibrate” or “Calibration” option and select it.
- Follow the prompts to enter the correct current room temperature as measured by a reliable measurement device. Make sure to place the measurement device near the Nest Thermostat for accurate comparison.
- Confirm the calibration and allow the Nest Thermostat to adjust its temperature readings accordingly.
It’s important to note that the calibration process may vary slightly depending on the model of your Nest Thermostat. Always refer to the manufacturer’s instructions or online resources for the specific steps applicable to your device.
After calibrating the temperature sensor, it’s advisable to monitor the readings on your Nest Thermostat and compare them with a reliable measurement device regularly. This will help you ensure that the newly calibrated temperature sensor provides more accurate temperature readings.
If the temperature discrepancies persist even after calibration, it may be necessary to contact Nest customer support for further assistance. They can help troubleshoot the issue and provide additional recommendations or solutions.
By calibrating the temperature sensor on your Nest Thermostat, you can improve the accuracy of the displayed temperature readings, ensuring a more precise control of your home’s heating and cooling system.
Resetting the Nest Thermostat
If you’re experiencing persistent issues with your Nest Thermostat, such as temperature discrepancies or connectivity problems, performing a reset may help resolve the issue. Resetting the thermostat will bring it back to its factory default settings, erasing any customized preferences or configurations.
To reset your Nest Thermostat, follow these steps:
- Access the main menu on your Nest Thermostat by pressing on the display and selecting the gear icon.
- Scroll and select “Settings” from the menu options.
- Within the settings menu, select “Reset” or a similar option, depending on your specific thermostat model.
- Choose the reset option that suits your needs. You may have the option to perform a full reset, which erases all settings and data, or a partial reset, which retains certain preferences.
- Follow the prompts to confirm the reset process.
It’s important to note that performing a reset will remove all customizations, schedules, and settings from your Nest Thermostat. After the reset, you will need to reconfigure the thermostat according to your preferences.
If possible, before performing the reset, make note of your current settings or take screenshots of important configurations to facilitate the reconfiguration process later on.
After the reset, you can set up your Nest Thermostat as if it were new. Follow the on-screen instructions to connect it to your home Wi-Fi network, customize settings, and create a new schedule if desired. Take the opportunity to ensure that the thermostat’s placement and environmental conditions are optimal for accurate temperature readings.
Performing a reset can often resolve software-related issues or restore proper functionality to your Nest Thermostat. However, if the problems persist after the reset, it may be necessary to consult Nest customer support for further assistance.
By resetting your Nest Thermostat when needed, you can troubleshoot and potentially resolve persistent issues, ensuring reliable and accurate temperature control in your home.
Testing the Calibration
After adjusting the temperature offset or calibrating the temperature sensor on your Nest Thermostat, it is essential to test the calibration to ensure that the displayed temperature now aligns more accurately with the actual room temperature.
Here are some steps to help you test the calibration of your Nest Thermostat:
- Allow the thermostat to stabilize for a reasonable period of time, ideally around 24 hours, after making the adjustments or calibration.
- Observe the displayed temperature on your Nest Thermostat and compare it to a reliable measurement device, such as a calibrated thermometer or a digital temperature gauge, placed near the thermostat.
- Take note of any differences between the displayed temperature and the measurement device. Ideally, the variance should now be reduced, indicating an improved calibration.
- Repeat the temperature comparison at different times of the day and in various areas of your home to ensure consistency. This will help determine if the calibration is accurate across different conditions and locations.
If you find that the displayed temperature on your Nest Thermostat consistently matches the measurements from the reliable device, it indicates a successful calibration. You can now have confidence in the accuracy of the temperature readings provided by your thermostat.
However, if there are still noticeable discrepancies after the calibration, you may need to refine the adjustments or consider contacting Nest customer support for further assistance. They can provide guidance on troubleshooting steps or offer additional suggestions to help achieve more accurate temperature readings.
Regularly testing the calibration of your Nest Thermostat ensures that you have reliable temperature control in your home. It allows you to confidently make adjustments to the settings or confirm the accuracy of the thermostat’s performance.
By testing the calibration and verifying the temperature readings, you can maintain a comfortable and consistent indoor environment while optimizing energy efficiency.
Fine-Tuning the Nest Thermostat
Once you have calibrated your Nest Thermostat and tested its accuracy, you may want to fine-tune its settings to further optimize its performance and personalize your home’s temperature control.
Here are some suggestions for fine-tuning your Nest Thermostat:
- Adjust the temperature schedule: Use the Nest app or the thermostat’s display to set up a temperature schedule that aligns with your daily routine. You can customize temperature settings for different times of the day to maximize comfort and energy efficiency.
- Utilize additional features: Explore other features provided by your Nest Thermostat, such as Eco Mode or Home/Away Assist. Eco Mode helps conserve energy by adjusting the temperature when you’re away, while Home/Away Assist uses occupancy sensors or location tracking to automatically adjust the temperature based on your presence.
- Monitor energy usage: Use the Nest app or online dashboard to track your energy usage over time. This can help you identify patterns and make informed decisions about your heating and cooling habits to reduce energy consumption and save on utility bills.
- Integrate with other smart home devices: If you have other smart home devices, such as smart lights or smart blinds, consider integrating them with your Nest Thermostat. This allows for a more cohesive and automated control of your home’s environment.
- Stay up to date: Check for firmware updates for your Nest Thermostat regularly. These updates can provide performance improvements, bug fixes, and additional features that enhance the overall functionality of your device.
It’s important to continuously monitor and fine-tune your Nest Thermostat’s settings to ensure it meets your specific comfort and efficiency goals. Experiment with different settings, observe their effects on your home’s temperature, and make adjustments as necessary. Fine-tuning allows you to create an environment that perfectly suits your preferences while maximizing energy savings.
Remember, every home and household is unique, so it may take some time and experimentation to find the optimal settings for your Nest Thermostat. Pay attention to your comfort levels, energy bills, and environmental considerations as you fine-tune the settings.
By fine-tuning your Nest Thermostat, you can enjoy a more personalized and efficient temperature control experience in your home. Take advantage of its features and customization options to create a comfortable and energy-conscious living environment.