
Reasons Why Your Nest Thermostat Keeps Changing the Temperature
Your Nest thermostat is designed to provide you with comfort and energy savings by automatically adjusting the temperature based on your preferences and schedule. However, there are times when you may notice that your Nest thermostat keeps changing the temperature unexpectedly. In this section, we will explore some of the potential reasons why this may be happening.
1. Incorrect Programming: One of the common reasons for temperature fluctuations is incorrect programming. Double-check your thermostat’s schedule and make sure it reflects your desired temperature settings throughout the day. Sometimes, small errors in the programming can result in sudden temperature changes.
2. Lack of Calibration: It is important to ensure that your Nest thermostat is calibrated correctly. If it is not calibrated properly, it may not accurately measure the ambient temperature, leading to incorrect temperature adjustments. Follow the manufacturer’s instructions to calibrate your thermostat and resolve any calibration issues.
3. Interference from Other Devices: Sometimes, other devices in your home can interfere with the signals of your Nest thermostat, causing it to behave erratically. Electronic devices like wireless routers, baby monitors, or even microwaves can disrupt the communication between your thermostat and the HVAC system. Keep your Nest thermostat away from such devices to minimize interference.
4. System Compatibility Issues: In some cases, compatibility issues between your Nest thermostat and your HVAC system can lead to temperature fluctuations. Make sure that your thermostat is compatible with your heating and cooling system. You can check the Nest website or consult with a professional to ensure compatibility.
5. Faulty Temperature Sensors: The temperature sensors in your Nest thermostat play a crucial role in accurately determining the ambient temperature. If the sensors are faulty or dirty, they may not provide accurate readings, causing your thermostat to make incorrect temperature adjustments. Clean the temperature sensors or contact Nest support for further assistance.
6. Wi-Fi Connection Problems: A disrupted or weak Wi-Fi connection can interfere with the operation of your Nest thermostat. In such cases, the thermostat may fail to receive temperature updates or may not be able to communicate with the Nest servers properly. Check your Wi-Fi signal strength, reset your network settings, or contact your internet service provider for assistance.
These are some of the possible reasons why your Nest thermostat keeps changing the temperature unexpectedly. It is important to identify the underlying cause and take appropriate steps to address the issue. In the following sections, we will explore specific features of the Nest Learning Thermostat, provide tips for adjusting your thermostat schedule, and offer troubleshooting steps to further assist you in resolving temperature fluctuations.
Incorrect Programming
One of the primary reasons why your Nest thermostat may keep changing the temperature unexpectedly is incorrect programming. The thermostat’s schedule is essentially a preset pattern that determines when your HVAC system should turn on or off, and at what temperature. If this schedule is not set correctly, it can cause temperature fluctuations throughout the day.
To ensure that your Nest thermostat is programmed correctly, start by accessing the settings menu on your thermostat or use the Nest mobile app. Verify that the temperature settings align with your desired preferences. Pay close attention to the heating and cooling temperature ranges for specific time periods, such as morning, afternoon, evening, and night. Any inconsistencies or errors in these settings can result in the thermostat making frequent temperature adjustments.
If you notice that your thermostat is changing temperatures at unexpected times, review the schedule for any overlapping or conflicting temperature settings. For example, if you have both a morning and an afternoon temperature setting, make sure there is no overlap where the thermostat may get confused about which temperature to maintain.
Additionally, ensure that your thermostat’s settings accurately reflect your daily routine. If your schedule has recently changed, or you have started working from home, make sure to update the thermostat’s programming accordingly. By aligning the schedule with your lifestyle, you can avoid unnecessary temperature fluctuations and enjoy a comfortable living environment.
If you are unsure about how to set or modify your Nest thermostat’s schedule, consult the manufacturer’s manual or visit the Nest website for detailed instructions. They provide helpful resources and guides to assist you in programming your thermostat accurately.
Remember, even with correct programming, it is normal for the Nest thermostat to make small adjustments throughout the day to maintain energy efficiency. However, if you notice frequent and drastic temperature changes that do not align with your desired settings, it is recommended to reassess and modify the schedule accordingly.
By programming your Nest thermostat with precision and accuracy, you can enjoy a consistent and comfortable indoor temperature while maximizing energy savings.
Lack of Calibration
A lack of calibration in your Nest thermostat can be another factor contributing to unexpected temperature changes. Calibration refers to the process of ensuring that the temperature readings from your thermostat accurately reflect the actual temperature in your home. If your thermostat is not properly calibrated, it may result in inaccurate temperature adjustments.
To calibrate your Nest thermostat, follow these steps:
- Go to the settings menu on your thermostat or use the Nest mobile app to access the calibration settings.
- Place a reliable and accurate thermometer near your thermostat.
- Compare the temperature reading on the thermometer with the reading displayed on your Nest thermostat.
- If there is a significant difference between the two readings, you may need to calibrate your thermostat.
- Enter the adjustment value based on the temperature difference. For example, if the thermometer reading is 2 degrees lower than the Nest thermostat reading, you should adjust the calibration by +2 degrees.
- Save the calibration settings and monitor the thermostat’s temperature adjustments for accuracy.
It is important to note that the calibration process may vary slightly depending on the model of your Nest thermostat. Consult the manufacturer’s guide or the Nest website for specific calibration instructions tailored to your device.
By calibrating your Nest thermostat, you can ensure that it accurately measures the temperature in your home and makes precise adjustments accordingly. This can help prevent sudden and unnecessary temperature changes, providing you with a more consistent and comfortable indoor environment.
Regularly checking and calibrating your Nest thermostat is especially important if you notice persistent temperature discrepancies or if your home’s temperature feels significantly different from what the thermostat indicates. In such cases, a calibration adjustment may help bring your thermostat’s readings and your home’s actual temperature into alignment.
If you are unsure about the calibration process or encounter any difficulties, don’t hesitate to reach out to Nest support for further assistance. They can provide guidance and troubleshoot any issues you may be experiencing with the calibration of your Nest thermostat.
Interference from Other Devices
Another possible reason for your Nest thermostat’s temperature fluctuations is interference from other devices in your home. While the Nest thermostat operates based on wireless communication with your HVAC system, certain electronic devices can disrupt the signals and cause erratic behavior.
Wireless routers, baby monitors, cordless phones, and even microwaves are common household devices that emit signals in the same frequency range as your Nest thermostat. When these signals interfere with the communication between your thermostat and the HVAC system, it can result in unexpected temperature changes.
To minimize interference from other devices:
- Ensure that your Nest thermostat is installed far away from electronic devices that commonly cause interference. Locate it in an area where it is least likely to be affected by signals from other devices.
- If possible, place your wireless router away from the thermostat or use a different channel for its WiFi signal.
- Move other devices known to cause interference, such as cordless phones or baby monitors, further away from your thermostat.
- If you suspect a specific device is causing interference, try temporarily disconnecting it or turning it off to see if the temperature fluctuations stop.
By minimizing interference from other devices, you can improve the communication between your Nest thermostat and the HVAC system, helping to maintain a more stable and consistent temperature.
If you have tried the above steps and are still experiencing interference-related temperature issues, it may be worth considering using a signal repeater or a range extender. These devices can boost your Wi-Fi signal strength, providing better connectivity and reducing the chances of interference.
Remember to consult the manufacturer’s instructions or reach out to Nest support for further guidance on reducing interference and improving the performance of your Nest thermostat.
By minimizing the impact of other devices on your Nest thermostat’s operation, you can enjoy a more reliable and consistent temperature control experience in your home.
System Compatibility Issues
If your Nest thermostat keeps changing the temperature unexpectedly, it is possible that there are compatibility issues between the thermostat and your HVAC (heating, ventilation, and air conditioning) system. This can occur when the thermostat and the HVAC system are not designed to work seamlessly together.
Before purchasing a Nest thermostat, it is essential to ensure that it is compatible with your specific HVAC system. You can check the Nest website or consult the manufacturer’s documentation to verify compatibility. Common compatibility factors to consider include the type of HVAC system you have, such as central heating or cooling, heat pumps, or multi-zone systems.
If you have already installed a Nest thermostat and are experiencing compatibility issues, there are a few troubleshooting steps you can take:
- Ensure that the thermostat’s wiring is correctly connected to your HVAC system. Misconfigured or loose wiring can cause communication problems between the thermostat and the system.
- Restart both your Nest thermostat and the HVAC system by turning off the power for a few minutes, then turning it back on.
- Update the firmware of your Nest thermostat to the latest version, as newer firmware releases often include compatibility improvements.
- Consult the Nest support website or contact their customer support team directly for further assistance with compatibility issues. They may be able to provide specific recommendations or solutions tailored to your situation.
In some cases, it might be necessary to consult with an HVAC professional to ensure proper system compatibility. They can assess your existing HVAC setup and offer guidance on compatibility or recommend any necessary modifications.
System compatibility issues can be frustrating, as they can lead to inconsistent temperature adjustments and unexpected temperature changes. However, by addressing these compatibility concerns, you can maximize the performance and effectiveness of your Nest thermostat.
Faulty Temperature Sensors
The temperature sensors in your Nest thermostat play a crucial role in accurately detecting and measuring the ambient temperature of your home. However, if these sensors become faulty or dirty, they can cause your thermostat to make incorrect temperature adjustments, resulting in unexpected temperature changes.
To determine if your Nest thermostat’s temperature sensors are causing the issue, follow these steps:
- Access the settings menu on your thermostat or use the Nest mobile app to view the current temperature readings.
- Compare these readings with an independent, reliable thermometer placed near the thermostat to check for any significant discrepancies.
- If the temperature readings on your Nest thermostat differ significantly from the independent thermometer, it may indicate a problem with the temperature sensors.
To address faulty temperature sensors, you can try the following troubleshooting steps:
- Clean the temperature sensors: Dust, dirt, or debris can accumulate over time and affect the accuracy of the sensors. Gently clean the sensors using a soft cloth or a cotton swab to remove any buildup.
- Check for sensor obstruction: Ensure that there are no objects or obstructions covering the temperature sensors. Anything blocking the sensors can interfere with their ability to measure the temperature accurately.
- Restart the thermostat: Try restarting your Nest thermostat to see if it resolves any software issues that may be affecting the temperature sensors.
- Contact Nest support: If the temperature readings continue to be inconsistent or if the issue persists, it is recommended to reach out to Nest support for further assistance. They can provide troubleshooting guidance and advise on any potential hardware-related issues.
Note that the troubleshooting steps provided above may vary slightly depending on the model and software version of your Nest thermostat. Consult the manufacturer’s guide or the Nest website for specific instructions tailored to your device.
By addressing faulty temperature sensors, you can restore the accuracy of your Nest thermostat’s temperature readings and prevent unexpected temperature changes. This will ensure a more comfortable and consistent indoor environment in your home.
Wi-Fi Connection Problems
A stable and reliable Wi-Fi connection is essential for the proper functioning of your Nest thermostat. If your thermostat keeps changing the temperature unexpectedly, it is possible that there are Wi-Fi connection issues disrupting the communication between your thermostat and the Nest servers.
Here are some troubleshooting steps you can take to resolve Wi-Fi connection problems:
- Check your Wi-Fi signal strength: Make sure that your Nest thermostat is within range of your Wi-Fi router. Weak signal strength can result in intermittent or failed connections. If your thermostat is far from the router, consider installing a Wi-Fi extender or moving the router closer to improve signal strength.
- Restart your thermostat and Wi-Fi router: Turn off the power to your thermostat and Wi-Fi router, wait for a few minutes, and then turn them back on. This simple step can help resolve temporary connectivity issues.
- Reset your network settings: If the connection problems persist, you can try resetting the network settings on your Nest thermostat. This will remove any stored Wi-Fi credentials and prompt you to reconnect to the network.
- Check for router firmware updates: Ensure that your Wi-Fi router is running the latest firmware version. Outdated firmware can cause compatibility issues and hinder the connection between your thermostat and the router.
- Consider changing your Wi-Fi channel: If you are experiencing interference from other nearby Wi-Fi networks, switching to a less crowded channel can improve signal quality and reduce interruptions.
If you have tried the above steps and are still experiencing Wi-Fi connection issues, consider contacting your internet service provider (ISP) for assistance. They can help diagnose any connectivity issues specific to your network setup.
Remember, a stable and reliable internet connection is crucial for the full functionality of your Nest thermostat. Any disruptions in the Wi-Fi connection can impact the thermostat’s ability to receive temperature updates and communicate with the Nest servers.
By troubleshooting and resolving Wi-Fi connection problems, you can ensure that your Nest thermostat operates smoothly, keeping your home at the desired temperature without unexpected fluctuations.
Nest Learning Thermostat Features
The Nest Learning Thermostat is packed with innovative features that go beyond basic temperature control. These features are designed to enhance your comfort, improve energy efficiency, and provide a seamless user experience. Understanding and utilizing these features can further optimize the performance of your thermostat.
1. Auto-Schedule: The Nest Learning Thermostat learns your schedule and preferences over time and creates a personalized temperature schedule for you. It automatically adjusts the temperature based on your patterns, ensuring that your home is comfortable when you need it to be while saving energy when you’re away.
2. Home/Away Assist: The Home/Away Assist feature detects when you are at home or away using sensors, your phone’s location, and the activity in your home. It then adjusts the temperature accordingly to conserve energy when you are not home and bring it back to your preferred settings when you return.
3. Energy History: With the Energy History feature, you can track your energy usage over time and gain insights into how your usage patterns affect your energy consumption. This information helps you make informed decisions about adjusting your temperature settings to optimize energy efficiency.
4. Nest Leaf: The Nest Leaf feature provides feedback and encouragement for energy-saving settings. When you choose temperature settings that save energy, the Nest Leaf appears on the thermostat display, indicating that you are using an energy-efficient setting.
5. Airwave: Airwave is a feature that optimizes cooling efficiency by using the cool air generated by the AC system to reduce humidity instead of continuously running the compressor. It can help save energy and improve overall comfort.
6. True Radiant: True Radiant is a feature designed for homes with radiant heating systems. The Nest thermostat learns how your system reacts and preheats the floors to reach your desired temperature at the scheduled time, providing more accurate and efficient heating.
7. Seasonal Savings: Seasonal Savings is an opt-in feature that uses machine learning to automatically adjust your schedule to save energy during the heating and cooling seasons. It analyzes patterns in your energy usage and makes subtle temperature adjustments to help you save even more without sacrificing comfort.
By utilizing these features, you can harness the full potential of your Nest Learning Thermostat, enjoying personalized comfort, energy savings, and a more intelligent and intuitive temperature control experience in your home.
Nest Thermostat Sensors and Their Functions
The Nest Thermostat is equipped with various sensors that play key roles in maintaining a comfortable and energy-efficient home environment. Understanding the functions of these sensors can help you make the most of your thermostat’s capabilities.
1. Temperature Sensor: The temperature sensor measures the ambient temperature in your home. It is essential for the thermostat to accurately detect the current temperature to make precise temperature adjustments and maintain optimal comfort.
2. Humidity Sensor: The humidity sensor measures the level of humidity in your home. It helps the thermostat determine the appropriate cooling or dehumidifying action required to maintain a comfortable humidity level.
3. Proximity Sensor: The proximity sensor detects the presence of people near the thermostat. When someone is close to the thermostat, it activates the display to show the current temperature and other relevant information. It also allows the thermostat to adjust the temperature settings based on occupancy.
4. Near Field Sensor: The near field sensor detects human presence within a close range of the thermostat. This sensor is responsible for activating the “Farsight” feature, which brings up temperature and other information on the display from a distance, making it easier to read.
5. Ambient Light Sensor: The ambient light sensor adjusts the brightness of the display based on the lighting conditions in the room. It ensures that the display is always visible and easy to read without being overly bright or distracting, enhancing the user experience.
6. Activity Sensors: The Nest Learning Thermostat utilizes activity sensors to detect motion and activity in your home. These sensors help the thermostat determine when your home is occupied or vacant, enabling it to auto-adjust the temperature and optimize energy savings accordingly.
By utilizing the data from these sensors, your Nest Thermostat can provide personalized comfort, energy efficiency, and convenience. The sensors work together to create an intelligent and responsive system that adapts to your needs and preferences, ensuring your home is always at the desired temperature.
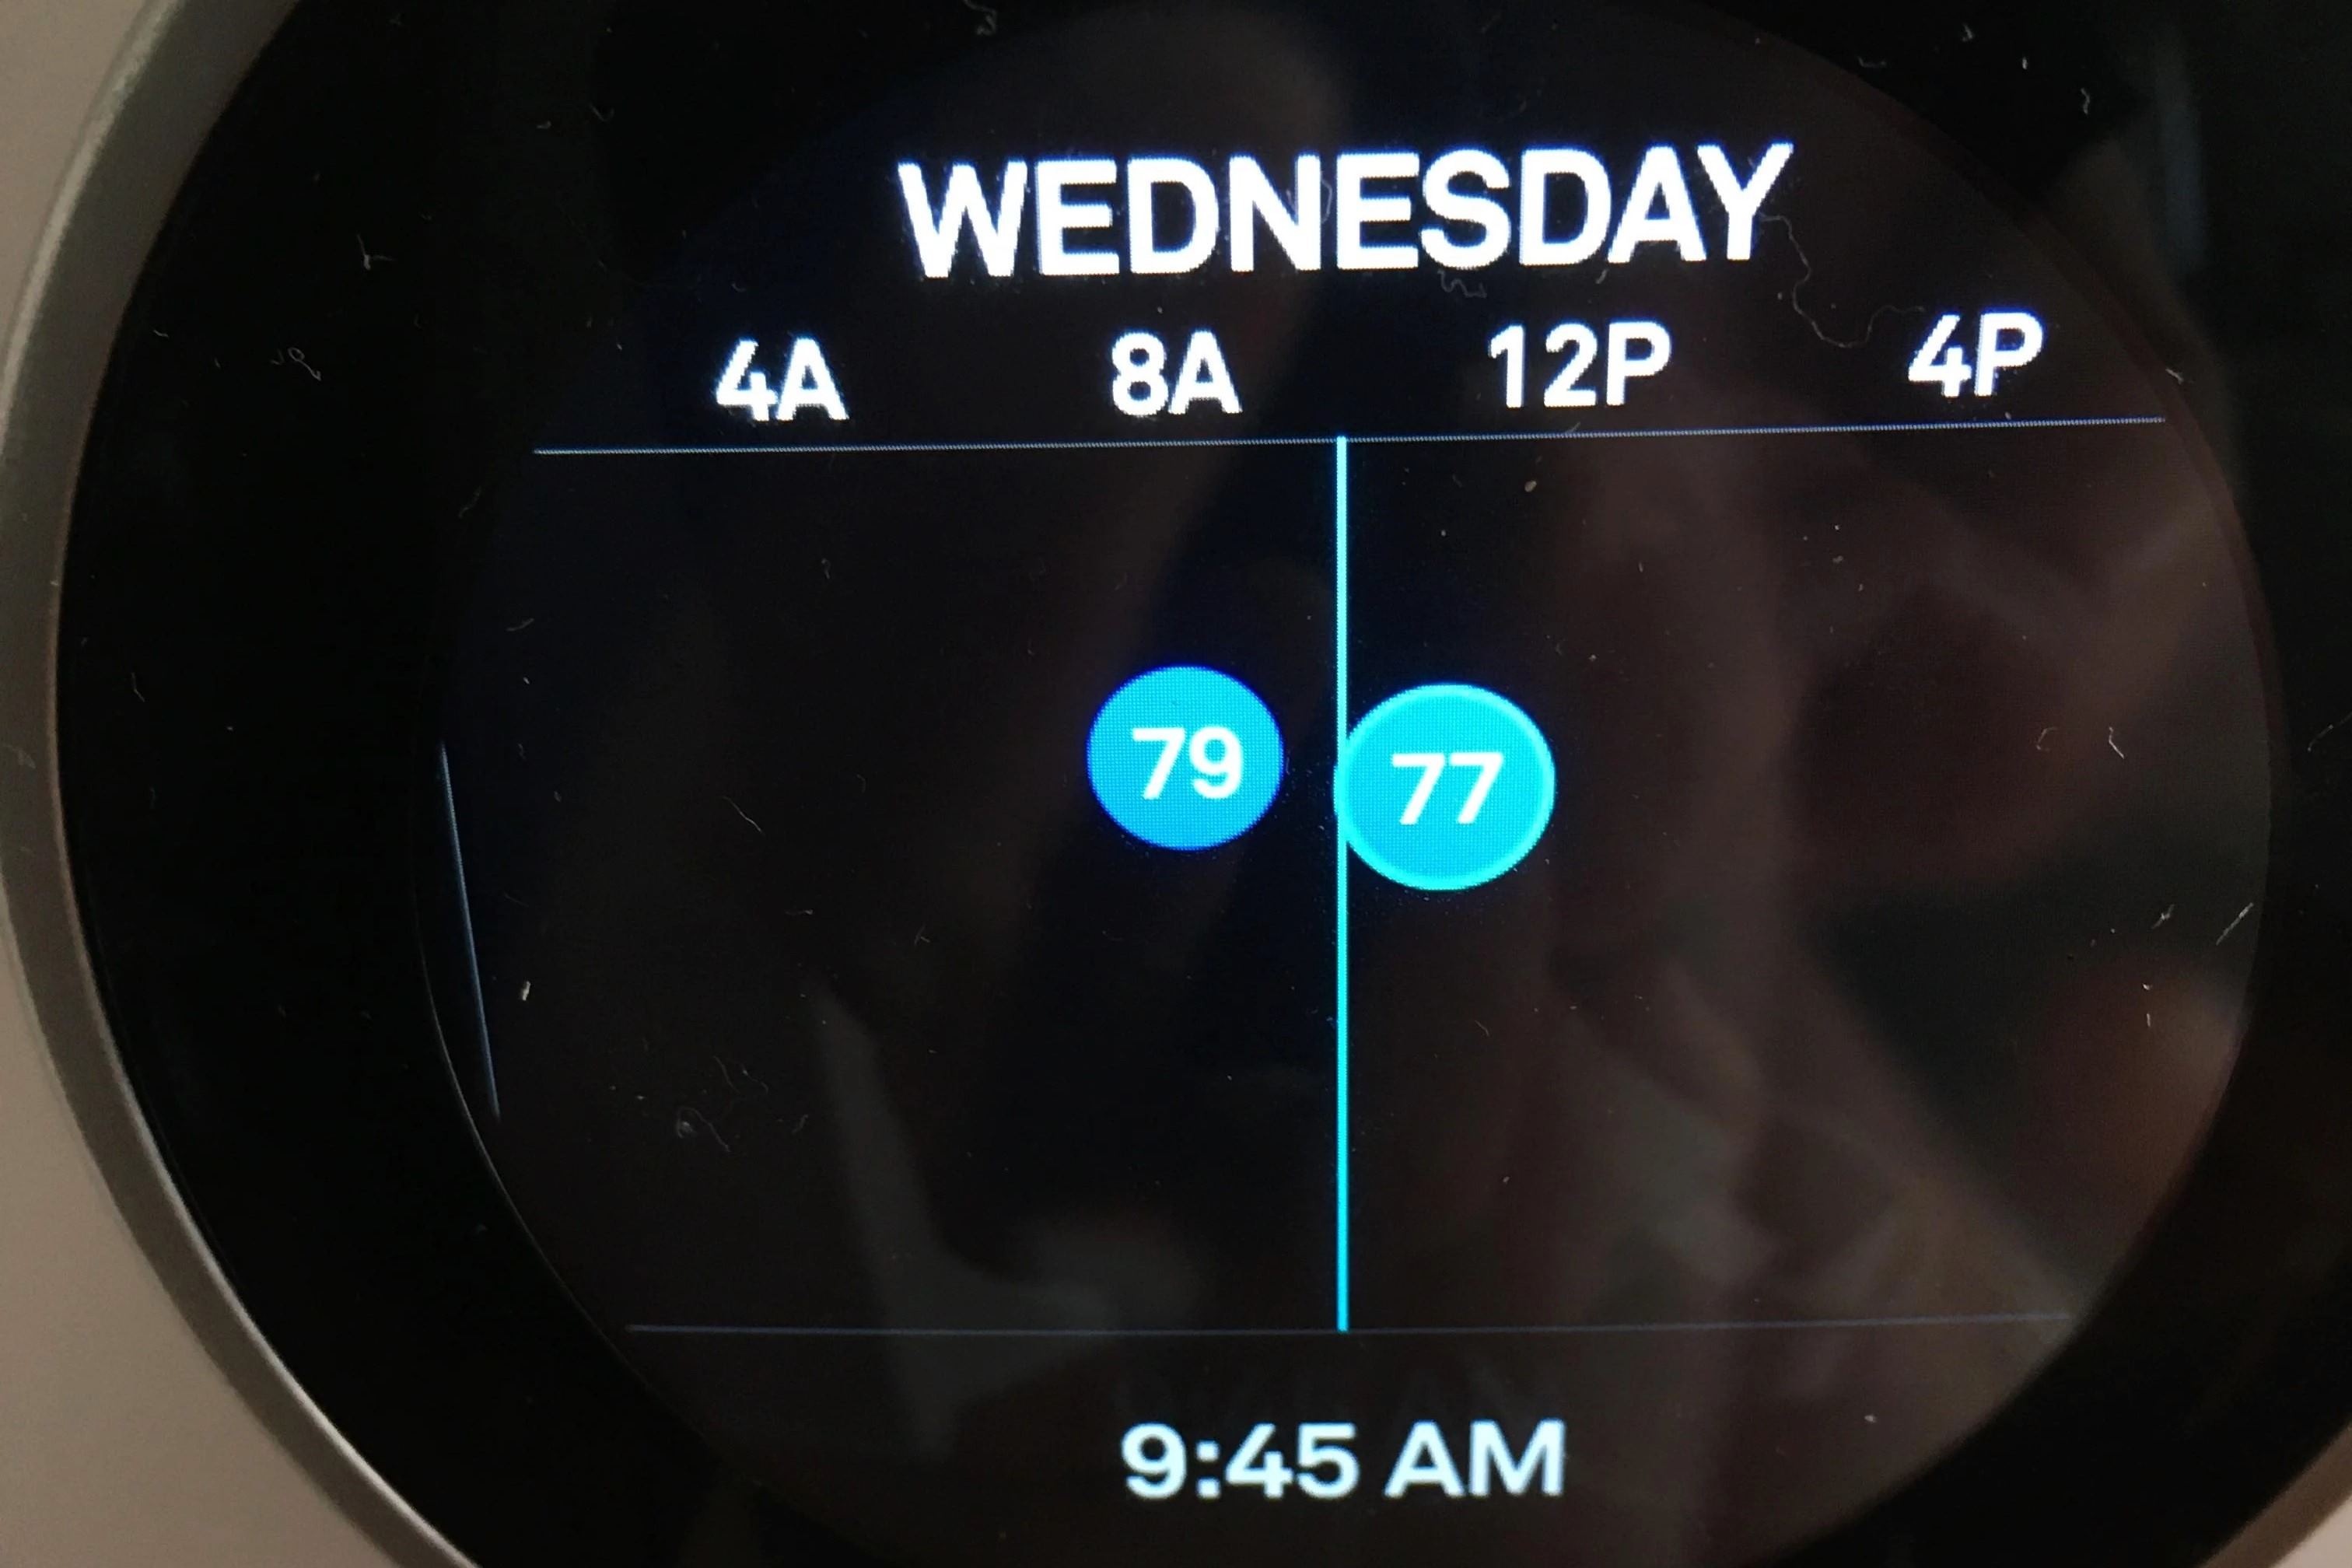
How to Check and Adjust the Nest Thermostat Schedule
The schedule of your Nest Thermostat determines when and at what temperature your HVAC system operates throughout the day. Checking and adjusting the schedule allows you to customize the temperature settings based on your preferences and daily routine. Here’s how you can check and adjust the schedule on your Nest Thermostat:
1. Access the Nest Thermostat menu: On the thermostat itself, swipe the display to the left to access the main menu. If you prefer to use the Nest mobile app, open the app and select your thermostat.
2. Navigate to the schedule settings: In the menu, select “Schedule” or “Settings” and then choose “Schedule” to enter the schedule settings.
3. Review the existing schedule: Take a moment to review the current schedule displayed on the screen. This will give you an overview of the temperature settings programmed for different times of the day.
4. Make adjustments as needed: To adjust the schedule, select the time period you want to modify. This could be morning, afternoon, evening, or night. Then, adjust the temperature by swiping up or down to increase or decrease it to your desired comfort level.
5. Create new temperature settings: If you want to create a new schedule, select the desired time period and adjust the temperature accordingly. You can set different temperature settings for each time period based on when you typically wake up, leave for work, return home, and go to bed.
6. Set a consistent schedule: To maintain a consistent schedule, set the same temperature settings for each day of the week. However, if your routine varies on specific days, you can create a custom schedule for those days individually.
7. Enable Auto-Schedule (optional): The Nest Thermostat has a feature called Auto-Schedule, which learns your preferences and creates a personalized temperature schedule for you. If you prefer, you can enable this feature to automate the schedule adjustment process based on your observed patterns.
8. Save the schedule: Once you have made the necessary adjustments, save the schedule by selecting the appropriate option on the thermostat or within the Nest app. This will ensure that your desired temperature settings are programmed and activated for the corresponding time periods.
Remember to periodically review and adjust your Nest Thermostat schedule to accommodate any changes in your routine or comfort preferences. By customizing the schedule, you can ensure that your home is always at the ideal temperature, saving energy when you’re away and keeping you comfortable when you’re at home.
Troubleshooting Steps for Temperature Fluctuations
If you are experiencing temperature fluctuations with your Nest Thermostat, there are several troubleshooting steps you can take to identify and resolve the issue. Follow these steps to help troubleshoot and address temperature fluctuations:
1. Check for firmware updates: Make sure your Nest Thermostat is running the latest firmware version. Updates often include bug fixes and improvements that can help resolve temperature-related issues.
2. Verify the wiring connections: Ensure that the wiring connections between your Nest Thermostat and your HVAC system are secure and properly connected. Loose or incorrect wiring can cause intermittent temperature fluctuations.
3. Clean the thermostat and surrounding area: Dust or debris on the thermostat or around its sensors can impact its functionality. Gently clean the thermostat and the surrounding area to remove any buildup that may affect temperature readings.
4. Check for system compatibility: Ensure that your HVAC system is compatible with your Nest Thermostat. Verify the compatibility by referring to the manufacturer’s documentation or consulting with an HVAC professional if necessary.
5. Calibrate the temperature sensors: Use an accurate thermometer placed near the thermostat to compare the temperature readings with those displayed on the Nest Thermostat. If there is a significant difference, recalibrate the thermostat to ensure accurate temperature adjustments.
6. Monitor Wi-Fi connectivity: Instability or disruptions in your Wi-Fi connection can affect the communication between your thermostat and the Nest servers, leading to temperature fluctuations. Check your Wi-Fi signal strength and consider resetting your network settings or contacting your internet service provider if needed.
7. Reset the thermostat: If you have completed the above steps and are still experiencing temperature fluctuations, try resetting your Nest Thermostat. This can help resolve any software issues or restore default settings that may be causing the problem.
8. Reach out to Nest support: If you have tried all the troubleshooting steps and are unable to resolve the temperature fluctuations, don’t hesitate to contact Nest support for further assistance. They have additional resources and expertise to help diagnose and resolve more complex issues.
By following these troubleshooting steps, you can identify and address the underlying causes of temperature fluctuations with your Nest Thermostat. This will help ensure a more consistent and comfortable indoor environment in your home.
How to Calibrate and Reset Your Nest Thermostat
If you are experiencing issues with temperature accuracy or erratic behavior from your Nest Thermostat, calibrating or resetting the device can often help resolve these problems. Here are the steps to calibrate and reset your Nest Thermostat:
Calibrating Your Nest Thermostat:
- Access the settings menu: Swipe left on the Nest Thermostat’s display to access the main menu.
- Select “Settings”: Scroll through the menu options and choose “Settings.”
- Choose “Temperature”: From the settings menu, select “Temperature.”
- Select “Calibration”: Look for the “Calibration” option and tap on it.
- Follow the on-screen instructions: Follow the prompts provided by the thermostat to calibrate the temperature sensors. Typically, you will be asked to compare the displayed temperature with an external thermometer and make any necessary adjustments.
- Save the calibration: Once you have completed the calibration process, save the changes. The thermostat should now provide more accurate temperature readings.
Resetting Your Nest Thermostat:
- Access the settings menu: In the main menu, select “Settings.”
- Choose “Reset”: Look for the “Reset” option and select it.
- Confirm the reset: The thermostat will prompt you to confirm the reset by selecting “Reset” or “Factory Reset.” This action will erase all settings and restore the thermostat to its default configuration.
- Follow the prompts: Once the reset process begins, follow any additional prompts or instructions displayed on the screen.
- Reconnect and reconfigure: After the reset is complete, you will need to reconnect your Nest Thermostat to your Wi-Fi network and reconfigure any desired settings and schedules.
Calibrating your Nest Thermostat can help ensure accurate temperature readings and enhance its overall performance. If calibration doesn’t address the issues you are experiencing, a reset can often resolve software-related problems and restore the thermostat to its default state.
It is important to note that both calibrating and resetting your Nest Thermostat may vary slightly depending on the model and software version. Consult the manufacturer’s guide or the Nest website for specific instructions tailored to your device.
If you are unsure about calibrating or resetting your Nest Thermostat or encounter any difficulties, do not hesitate to reach out to Nest support for further assistance. They can provide guidance and troubleshoot any issues you may be experiencing with calibrating or resetting your Nest Thermostat.
Contacting Nest Support for Further Assistance
If you have tried troubleshooting steps for your Nest Thermostat and are still experiencing issues or need additional guidance, contacting Nest support can provide you with expert assistance. The Nest support team is trained to help troubleshoot and resolve various technical issues that you may encounter. Here’s how you can reach out to Nest support:
1. Visit the Nest Support Website: The Nest support website is a valuable resource for troubleshooting guides, FAQs, and other helpful information. Start by visiting the support website to explore the available resources specific to your Nest Thermostat model.
2. Live Chat Option: The Nest support website often provides a live chat feature where you can connect with a support representative in real-time. This allows for immediate assistance and a convenient way to address your questions or concerns.
3. Phone Support: If you prefer to speak with a support representative directly, Nest offers phone support. Check the support website for the appropriate contact number based on your location, and a Nest representative will assist you with your Nest Thermostat-related issues.
4. Email Support: If your issue is less urgent or requires more detailed information, you can also reach out to Nest support via email. Submit a support ticket outlining your problem, and the Nest support team will respond with guidance or further instructions.
When contacting Nest support, be prepared to provide relevant details about your Nest Thermostat model, any error messages displayed, and a description of the issue you are facing. This information will help the support team better understand your problem and provide appropriate solutions or troubleshooting steps.
Remember, Nest support is there to assist you, so do not hesitate to reach out if you need additional help with your Nest Thermostat. They have the expertise and resources to address technical issues, offer guidance, and ensure that your Nest Thermostat functions optimally.