
Getting Started
Welcome to the world of Nest Thermostats! This innovative smart home device offers a range of features and benefits to make your life more comfortable and efficient. But before you dive into the world of thermostat overrides, it’s important to familiarize yourself with the basics.
Nest Thermostat is a smart, Wi-Fi-enabled thermostat that learns your heating and cooling preferences and adjusts accordingly. It not only helps you save energy but also gives you the flexibility to control your home’s temperature from anywhere using the Nest mobile app or through a web browser.
To get started with overriding your Nest Thermostat, you’ll need to make sure you have the following:
- A functioning Nest Thermostat installed in your home.
- A stable internet connection for the thermostat to connect to the Nest servers.
- The Nest mobile app installed on your smartphone or tablet.
- An online Nest account linked to your thermostat.
If you have all these prerequisites in place, then you’re ready to start overriding your Nest Thermostat. Whether you want to manually adjust the temperature, create a new schedule, or activate specific modes, Nest gives you the flexibility to do so in a variety of ways.
Now that you have an overview of what Nest Thermostat is and what you’ll need to get started, let’s explore the different methods you can use to override your thermostat and customize your home’s temperature settings.
Understanding Nest Thermostat
Before you begin overriding your Nest Thermostat, it’s important to have a solid understanding of its features and functionality. The Nest Thermostat is designed to learn your temperature preferences and create a personalized schedule based on your patterns and behaviors. It utilizes sensors and algorithms to optimize energy savings while keeping you comfortable.
The Nest Thermostat comes with a clear, easy-to-read display that shows the current temperature, weather conditions, and other relevant information. It can connect to your Wi-Fi network, allowing you to control it remotely through the Nest mobile app or a web browser.
One of the key features of the Nest Thermostat is its ability to learn. Over time, it will adapt to your temperature preferences and adjust the heating and cooling settings accordingly. For example, if you tend to turn down the heat at night, the thermostat will remember this pattern and do it for you automatically.
In addition to the learning feature, Nest Thermostat also offers a range of other functions. It includes energy-saving modes, such as Eco mode, which reduces energy usage when you’re away from home. It can also connect to other smart home devices, such as smart lights and security systems, allowing you to create a truly connected and automated home.
Understanding the various features and settings of the Nest Thermostat is crucial when it comes to overriding it. By learning how the thermostat works and familiarizing yourself with its interface, you’ll be able to make the most of its capabilities and customize your home’s temperature settings to suit your needs.
Now that you have a solid understanding of the Nest Thermostat, let’s explore why you might want to override its default settings and how you can do it effectively.
Why Override Nest Thermostat?
The Nest Thermostat is designed to create a comfortable and energy-efficient home environment by learning your temperature preferences and creating a personalized schedule. However, there may be times when you want to override its default settings. Here are some reasons why you might want to do so:
1. Temperature Adjustments: Sometimes, you may simply want to manually adjust the temperature to your liking. Whether it’s a particularly hot or cold day or you have specific comfort preferences, overriding the thermostat allows you to have immediate control over the temperature in your home.
2. Schedule Changes: Your daily routines may vary, and the Nest Thermostat’s learning feature may not always accurately predict your temperature needs. Overriding the thermostat allows you to make temporary schedule changes, such as ensuring that the temperature is comfortable when you arrive home early or stay up late.
3. Unexpected Events: Unexpected events can disrupt your regular schedule. For example, if you have guests staying over or are hosting a party, the usual temperature settings may not be suitable. Overriding the thermostat allows you to accommodate these situations and ensure everyone’s comfort.
4. Last-Minute Adjustments: Sometimes, you may simply forget to make changes to the thermostat schedule in advance. Instead of waiting for the next programmed temperature change, overriding the thermostat lets you quickly adjust the temperature when needed.
5. Occupancy Changes: If you have a vacation rental or Airbnb, you may have different guests with different temperature preferences. Overriding the thermostat allows you to accommodate the needs of each guest without having to manually adjust the schedule every time.
Remember, overriding the Nest Thermostat should be done consciously and with purpose. While deviation from the default settings is helpful in certain situations, the thermostat’s learning feature is designed to optimize energy efficiency and comfort based on your routines and preferences.
Now that you understand why you might want to override your Nest Thermostat, let’s explore the various methods you can use to do so effectively.
Method 1: Using the Nest App
The Nest Thermostat offers a user-friendly mobile app that allows you to control and override your thermostat settings from the convenience of your smartphone or tablet. Here’s how you can use the Nest app to override your Nest Thermostat:
1. Download and Install: Start by downloading and installing the Nest app from the App Store (for iOS) or Google Play Store (for Android). Make sure to sign in with your Nest account credentials or create a new account if you don’t have one.
2. Connect to Your Thermostat: Once the app is installed, open it and follow the prompts to connect to your Nest Thermostat. This typically involves scanning a QR code located on the thermostat or entering a unique entry key provided during setup.
3. Access the Temperature Controls: Once connected, you’ll be able to see the current temperature and other relevant information on the app’s main screen. To override the thermostat, tap on the temperature display or the gear icon to access the controls.
4. Adjust the Temperature: Within the temperature controls, you can manually adjust the temperature using the up and down arrows or by dragging the temperature slider. The app will show the new temperature setting, and the thermostat will adjust accordingly.
5. Create Custom Temperatures: If you want to create a custom temperature setting for a specific period, tap on the schedule icon in the app and select the desired time slot. Then, adjust the temperature for that period as desired.
6. Activate Special Modes: The Nest app also allows you to activate special modes, such as Eco mode or Away mode. These modes help conserve energy when you’re not at home or during certain hours of the day. Simply select the desired mode from the app’s main screen or the thermostat controls.
Using the Nest app to override your Nest Thermostat offers convenience and flexibility, allowing you to make real-time adjustments to your home’s temperature settings. It’s particularly useful when you’re away from home or prefer controlling your thermostat from your mobile device.
Now that you’re familiar with using the Nest app, let’s explore another method you can use to override your Nest Thermostat: using the thermostat itself.
Method 2: Using the Nest Thermostat
If you prefer a more hands-on approach, you can also override your Nest Thermostat directly on the device itself. The Nest Thermostat comes with a user-friendly interface that allows you to easily adjust temperature settings and make manual overrides. Here’s how you can do it:
1. Locate the Nest Thermostat: The Nest Thermostat is typically mounted on a wall in a central location within your home. Take note of its location so you can easily access it when needed.
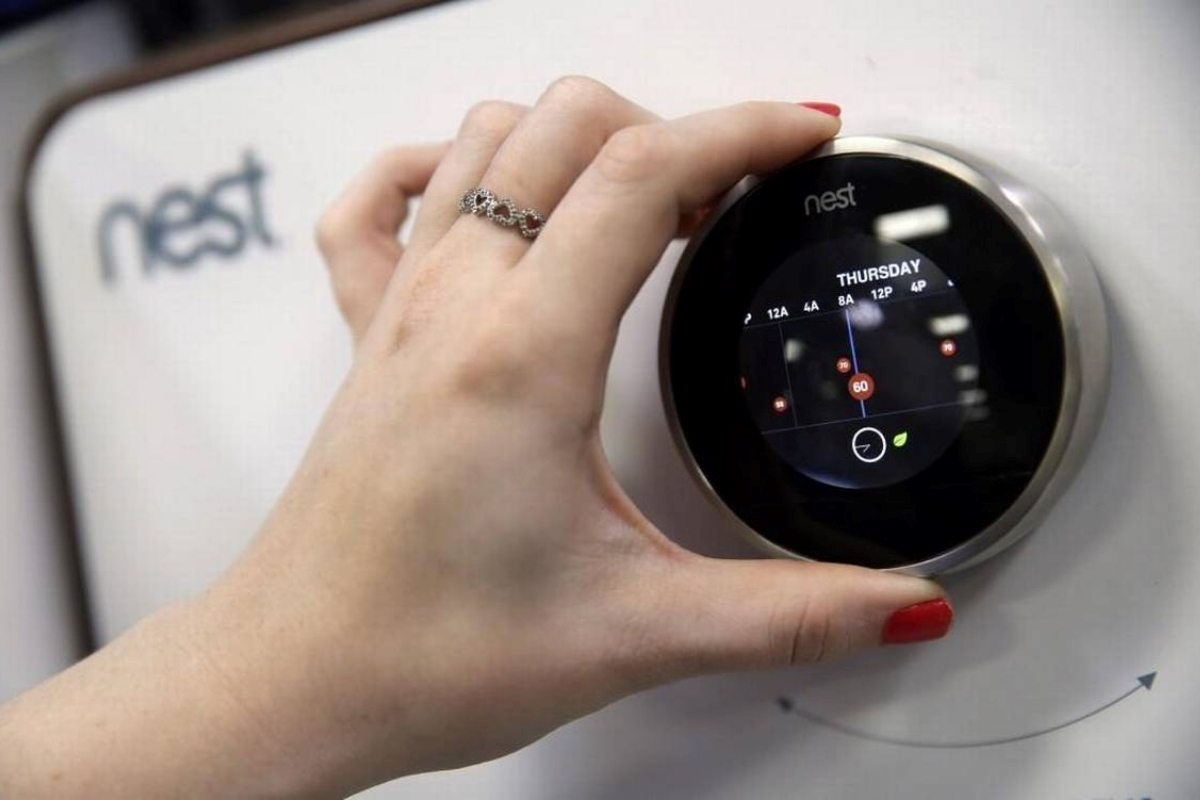
2. Wake Up the Thermostat: To wake up the thermostat, simply approach it or gently touch the outer ring. The display will come to life, showing the current temperature and other relevant information.
3. Select the Temperature: Once the thermostat is awake, you can adjust the temperature by turning the outer ring clockwise or counterclockwise. The display will show the new temperature setting as you make the adjustment.
4. Confirm and Save: To confirm the new temperature and save the override, press on the main display of the thermostat. It may take a few moments for the thermostat to update and reflect the new setting.
5. Create Temporary Overrides: If you want to create a temporary temperature override for a specific period, press the display twice. This will take you to the Quick View menu, where you can adjust the temperature for a set duration, such as an hour or two.
6. Restore Default Settings: To restore the default temperature settings and revert to the schedule programmed by the thermostat, press the display once to return to the main screen. The thermostat will resume following the pre-set schedule.
Using the Nest Thermostat itself to override the temperature settings gives you direct control and is especially useful when you’re in close proximity to the thermostat or prefer a tactile interface. Whether it’s making a temporary adjustment or restoring default settings, the thermostat provides a simple and intuitive user experience.
Now that you know how to use the Nest Thermostat, let’s explore another method you can use to override your Nest Thermostat: using the Online Nest Account.
Method 3: Using the Online Nest Account
In addition to the Nest app and the thermostat interface, you can also override your Nest Thermostat settings using the Online Nest Account. This method allows you to make changes to your thermostat’s settings and schedule using a web browser on your computer or mobile device. Here’s how you can do it:
1. Access the Online Nest Account: Open a web browser on your computer or mobile device and navigate to the Nest website (nest.com). Sign in to your Nest account using your credentials.
2. Select Your Thermostat: Once you’re logged in, you’ll see a list of your connected Nest devices. Select your thermostat from the list to access its settings and controls.
3. Adjust the Temperature: Within the thermostat settings, you’ll find options to adjust the temperature. Simply click or tap on the temperature display or the up and down arrows to increase or decrease the temperature as desired.
4. Create Custom Schedule: If you want to create a custom schedule override, navigate to the schedule settings in your Nest account. Here, you can specify different temperature settings for specific time periods and days of the week.
5. Activate Modes: Similar to the Nest app, you can also activate special modes, such as Eco mode or Away mode, from your online Nest account. These modes help you save energy and adjust your thermostat settings based on your occupancy.
6. Save and Apply Changes: Once you’ve made the desired adjustments to your Nest Thermostat settings, remember to save and apply the changes. The thermostat will update accordingly, and the new settings will be in effect.
Using the Online Nest Account to override your Nest Thermostat offers the convenience of accessing and controlling your thermostat settings from any internet-connected device. It’s particularly useful when you’re not at home and want to make adjustments or when you prefer a larger screen for managing your thermostat.
Now that you know how to use the Online Nest Account, let’s explore another method you can use to override your Nest Thermostat: using the Nest API.
Method 4: Using the Nest API
If you’re a tech-savvy user or a developer looking for more advanced ways to override your Nest Thermostat, you can utilize the Nest API (Application Programming Interface). The Nest API allows you to integrate your Nest Thermostat with other devices and services, giving you even greater control over your thermostat settings. Here’s how you can use the Nest API to override your Nest Thermostat:
1. Register and Authenticate: Start by registering and creating a developer account on the Nest Developer website. Once registered, you’ll need to authenticate your Nest Thermostat and obtain an API key to access and control it programmatically.
2. Use the Nest API: Once you have your API key, you can use it to interact with your Nest Thermostat programmatically. The Nest API provides a range of endpoints and methods that allow you to retrieve and update thermostat settings, including temperature overrides and schedule changes.
3. Develop and Implement: With the Nest API, you have the freedom to develop your own applications or integrations that interact with your Nest Thermostat. Whether it’s a custom home automation system or a smart device interface, you can implement the necessary code to override and control your thermostat settings.
4. Make Custom Overrides: Using the Nest API, you can create custom temperature overrides for specific time periods, days of the week, or events. This gives you fine-grained control over your thermostat and allows you to align it with your unique preferences and routines.
5. Integrate with Other Services: One of the major advantages of using the Nest API is the ability to integrate your Nest Thermostat with other services and devices. For example, you can create automation rules that adjust the temperature based on your location, weather conditions, or voice commands through voice assistants like Amazon Alexa or Google Assistant.
Using the Nest API offers advanced users and developers extensive control and customization options for overriding their Nest Thermostat. It requires technical expertise and programming knowledge, but it allows for seamless integration with other smart devices and services.
Now that you’re familiar with using the Nest API to override your Nest Thermostat, let’s explore some tips to enhance your overriding experience.
Tips for Overriding Nest Thermostat
When it comes to overriding your Nest Thermostat, here are some useful tips to enhance your experience and ensure optimal comfort and energy efficiency:
1. Plan Ahead: Before making any overrides, think about your desired temperature settings and schedule changes in advance. This helps you avoid frequent adjustments and allows for a smoother and more efficient operation of your Nest Thermostat.
2. Utilize Energy-Saving Modes: Take advantage of the energy-saving modes, such as Eco mode or Away mode, when you’re not at home or during specific hours of the day. These modes help conserve energy and adjust the temperature automatically based on occupancy.
3. Consider Weather Conditions: When overriding your thermostat, take into account the current weather conditions. For example, during hot summer days, you may want to lower the temperature a bit more to compensate for the heat, while in colder winter months, you may want to increase the temperature for added comfort.
4. Experiment and Learn: The Nest Thermostat’s learning feature adapts to your temperature preferences over time. Use the overrides as an opportunity to experiment with different temperature settings and observe the thermostat’s responses. This allows you to fine-tune the thermostat’s behavior and achieve the perfect balance of comfort and energy savings.
5. Monitor Energy Usage: Keep an eye on your energy usage to ensure that your overrides are aligned with your energy-saving goals. The Nest app and online account provide insights into your energy consumption, helping you make informed decisions when overriding your thermostat.
6. Stay Up to Date: Keep your Nest Thermostat and the associated app or online account updated with the latest software versions. This ensures that you have access to the newest features and enhancements, making your overriding experience more seamless and efficient.
By following these tips, you can make the most of your Nest Thermostat’s features while effectively overriding and customizing your temperature settings. Remember, the ultimate goal is to strike a balance between comfort, energy efficiency, and personal preferences.
Now that you have a good understanding of how to override your Nest Thermostat and some tips for optimizing the process, let’s address some frequently asked questions about Nest Thermostat overrides.
Frequently Asked Questions
Here are some frequently asked questions about overriding a Nest Thermostat:
1. Can I override my Nest Thermostat remotely?
Yes, you can override your Nest Thermostat remotely using the Nest mobile app or through the online Nest account. This allows you to adjust the temperature and make schedule changes even when you’re away from home.
2. Will manually overriding the thermostat affect the learning feature?
Manually overriding the thermostat may temporarily disrupt the learning feature, but it will not permanently impact it. The thermostat will continue to learn your temperature preferences and adjust accordingly over time.
3. Can I override the thermostat without interrupting the regular schedule?
Yes, you can override the thermostat without interrupting the regular schedule. Most overrides are temporary and will return to the programmed schedule once the override period is over, ensuring that your thermostat adapts to your routines and preferences.
4. Can I create different temperature overrides for specific zones in my home?
No, the Nest Thermostat does not support zoning. It controls the temperature for the entire home as a single unit. If you want to create different temperature settings for different areas, you would need multiple Nest Thermostats installed in each zone.
5. Are there any limitations to how often I can override the thermostat?
There are no specific limitations on how often you can override the thermostat. However, it’s important to use overrides judiciously and avoid frequent adjustments that may disrupt the thermostat’s learning feature or lead to inefficient energy usage.
6. Can I schedule overrides in advance?
Yes, you can schedule overrides in advance using the Nest mobile app or the online Nest account. This allows you to plan temperature adjustments and schedule changes ahead of time, ensuring comfort and energy efficiency.
7. Can I set different overrides for weekdays and weekends?
Yes, you can set different overrides for weekdays and weekends using the scheduling feature in the Nest app or online account. This allows you to customize the temperature settings to match your routines and preferences for different days of the week.
Remember, if you have any further questions or encounter any issues with overriding your Nest Thermostat, consulting the Nest support resources or contacting their customer service can provide you with the assistance you need.
Now that you have a better understanding of overriding a Nest Thermostat and some common questions answered, you’re equipped to confidently customize your home’s temperature settings to suit your needs.