
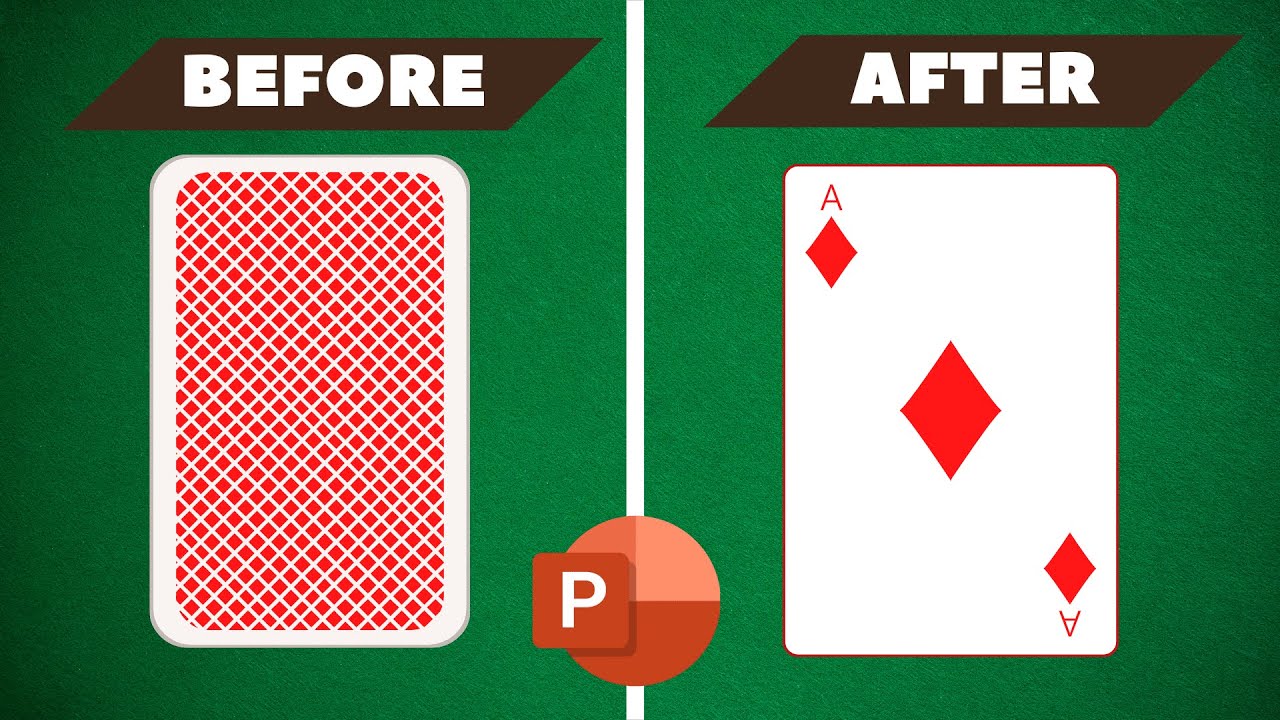
Overview of PowerPoint Flip Picture Feature
The PowerPoint Flip Picture feature is a powerful tool that allows you to easily adjust and manipulate images on your slides. With this feature, you can flip pictures horizontally or vertically, creating unique visual effects and enhancing the visual appeal of your presentation. Whether you want to create a mirror effect, showcase different perspectives, or simply add a touch of creativity to your slides, the Flip Picture feature in PowerPoint is the perfect solution.
One of the key advantages of the Flip Picture feature is its simplicity and ease of use. You don’t need any advanced design skills or technical expertise to utilize this feature effectively. Simply select the picture you want to flip, access the Flip Picture feature, and in a few simple steps, you can transform your image as desired. This feature is available in various versions of PowerPoint, ensuring that users across different platforms can utilize its capabilities.
By utilizing the Flip Picture feature, you can add a distinct visual element to your presentations. Flipping an image horizontally can create a mirror effect, allowing you to showcase reflections or create symmetrical compositions. On the other hand, flipping an image vertically can change the perspective, presenting a different viewpoint or creating an interesting visual contrast. These visual effects can capture the attention of your audience, making your presentation more engaging and memorable.
Moreover, the Flip Picture feature offers additional customization options that allow you to further enhance your images. You can adjust the size, position, and rotation of the flipped picture to achieve the desired effect. Additionally, PowerPoint allows you to layer multiple flipped pictures and apply other effects, such as transparency or shadows, to create more sophisticated visual compositions.
In summary, the PowerPoint Flip Picture feature is a valuable tool that empowers users to transform and manipulate images on slides. Whether you want to create mirror effects, change perspectives, or simply add visual interest to your presentations, the Flip Picture feature provides a user-friendly and efficient solution. By utilizing this feature effectively, you can elevate the visual appeal of your slides and captivate your audience with engaging and dynamic presentations.
Accessing the Flip Picture Feature in PowerPoint
In order to utilize the Flip Picture feature in PowerPoint, you need to follow a few simple steps. Whether you are using the latest version of PowerPoint or an older version, accessing this feature is relatively straightforward. Here’s how you can do it:
-
Open your PowerPoint presentation and navigate to the slide where you want to flip a picture. Click on the picture you want to modify to select it.
-
Once the picture is selected, a new tab named “Picture Tools” or “Format” should appear in the PowerPoint ribbon. Click on this tab to access additional picture formatting options.
-
Within the “Picture Tools” or “Format” tab, locate the “Rotate” or “Arrange” group. Depending on your version of PowerPoint, the Flip Picture feature may be located in different sections, but it is typically found in the same area as the rotation options.
-
Look for the “Flip Horizontal” and “Flip Vertical” icons, represented by two arrows pointing in opposite directions. Click on the respective icon to flip the picture horizontally or vertically.
-
After clicking on the desired flip option, the picture will instantly be flipped according to your selection. You can repeat this process as needed for other pictures in your presentation.
It’s important to remember that the availability and location of the Flip Picture feature may vary slightly depending on the PowerPoint version you are using. However, by exploring the “Picture Tools” or “Format” tab in your PowerPoint ribbon, you will be able to locate the necessary options to flip your pictures horizontally or vertically.
By becoming familiar with accessing the Flip Picture feature, you can easily incorporate visual effects into your PowerPoint presentations and make your slides more visually appealing and engaging. Experiment with different flip options to find the best fit for your content and enhance your overall presentation.
Flipping a Picture Horizontally on a PowerPoint Slide
Flipping a picture horizontally in PowerPoint can create a mirror effect or showcase reflections, adding a unique visual element to your slides. The Flip Picture feature in PowerPoint allows you to easily achieve this effect with just a few simple steps. Here’s how you can flip a picture horizontally on a PowerPoint slide:
-
Open the PowerPoint presentation and navigate to the slide containing the picture you want to flip horizontally. Select the picture by clicking on it.
-
Once the picture is selected, go to the “Picture Tools” or “Format” tab in the PowerPoint ribbon. Look for the “Rotate” or “Arrange” group.
-
In this group, you will find the “Flip Horizontal” icon, represented by two arrows pointing in opposite directions. Click on this icon to flip the picture horizontally.
-
After clicking on the “Flip Horizontal” icon, the picture will be instantly flipped horizontally, creating a mirror effect. You can see the changes in real-time and customize the image further if needed.
-
If you want to revert the picture back to its original orientation, simply click on the “Flip Horizontal” icon again, and the picture will return to its original state.
Flipping a picture horizontally can be particularly useful when you want to create symmetrical compositions or emphasize reflections in your presentation. It can also add a touch of creativity and visual interest to your slides, making them more engaging and memorable for your audience.
Remember to choose pictures that are suitable for horizontal flipping. Images with distinct shapes, patterns, or objects with reflection potential tend to yield the most striking results when flipped horizontally. Experiment with different pictures and adjustments to find the perfect combination that fits your presentation’s theme and content.
Flipping a Picture Vertically on a PowerPoint Slide
Flipping a picture vertically in PowerPoint can bring a different perspective and create interesting visual contrasts on your slides. By utilizing the Flip Picture feature, you can easily achieve this effect and enhance the visual appeal of your presentation. Here’s how you can flip a picture vertically on a PowerPoint slide:
-
Open your PowerPoint presentation and navigate to the slide that contains the picture you want to flip vertically. Select the picture by clicking on it.
-
Once the picture is selected, go to the “Picture Tools” or “Format” tab in the PowerPoint ribbon. Look for the “Rotate” or “Arrange” group.
-
Within this group, you will find the “Flip Vertical” icon, represented by two arrows pointing in opposite directions. Click on this icon to flip the picture vertically.
-
After clicking on the “Flip Vertical” icon, the picture will be instantly flipped vertically, changing its perspective on the slide. You can observe the changes in real-time and adjust the image further if necessary.
-
To revert the picture back to its original orientation, simply click on the “Flip Vertical” icon again, and the picture will return to its original state.
Flipping a picture vertically can offer a new viewpoint or create intriguing visual contrasts within your slides. This effect is particularly useful when you want to showcase different perspectives, highlight changes, or add depth to your presentation. By incorporating vertically flipped images, you can capture the attention of your audience and make your slides more visually captivating.
When selecting pictures to flip vertically, consider images that have distinctive elements or compositions that can be enhanced by the vertical flip. Experiment with various pictures and adjust the flip according to the content and theme of your presentation. Keep in mind that the flip can alter the overall aesthetic of the image, so it’s essential to review the visual impact and ensure it aligns with your intended message.
Additional Customizations for Flipped Pictures in PowerPoint
The Flip Picture feature in PowerPoint not only allows you to flip pictures horizontally or vertically but also offers additional customizations to further enhance your flipped images. By utilizing these options, you can create more visually appealing and impactful presentations. Here are some additional customizations you can make for flipped pictures in PowerPoint:
- Adjusting size and position: After flipping a picture, you can resize and reposition it to fit your slide’s layout or desired visual composition. Simply click and drag the picture’s corners to adjust its size, or use the alignment tools in the PowerPoint ribbon to precisely position the flipped picture.
- Applying rotation: In addition to flipping horizontally or vertically, you can also rotate the flipped picture to any desired angle in PowerPoint. Experiment with different rotations to create dynamic and engaging visuals that align with your presentation’s content.
- Layering and overlapping: PowerPoint allows you to layer multiple flipped pictures or overlay them with other objects, such as shapes, text boxes, or other images. By creatively combining flipped pictures with other elements, you can create unique visual effects and compositions that convey your message effectively.
- Applying effects: Use the PowerPoint formatting options to apply additional effects to your flipped pictures. You can adjust image transparency, add drop shadows, or apply other artistic effects to further enhance the visual impact of the flipped images.
- Grouping pictures: If you have multiple flipped pictures that you want to treat as a single unit, PowerPoint allows you to group them together. By grouping the pictures, you can easily move, resize, or apply effects to the entire group as one entity, simplifying the customization process.
By exploring these additional customizations, you can elevate the visual impact of your flipped pictures and create compelling presentations that captivate your audience. However, it’s important to use these customization options judiciously and ensure that they support and enhance your presentation’s overall message and content.
Take some time to experiment with different combinations of customization options to find the best fit for your specific presentation. By applying these additional customizations to your flipped pictures in PowerPoint, you can create visually stunning and engaging slides that leave a lasting impression on your audience.
Tips and Tricks for Using the Flip Picture Feature in PowerPoint
The Flip Picture feature in PowerPoint offers endless creative possibilities for enhancing your presentation slides. To make the most out of this feature and ensure a seamless experience, consider these tips and tricks when using the Flip Picture feature in PowerPoint:
- Save a copy of the original picture: Before flipping a picture, make sure to save a copy of the original image. This way, you can always revert to the original orientation or make additional adjustments without losing the original version.
- Use high-quality images: Flipping a low-resolution or pixelated image may result in a loss of image quality. Prioritize using high-resolution images to ensure that the flipped picture remains crisp and clear.
- Preview the changes: Always preview the flipped picture before finalizing the modifications. This allows you to assess the visual impact and make any necessary adjustments to achieve the desired result.
- Combine with other effects: Experiment with combining the Flip Picture feature with other image effects and animations in PowerPoint. The combination of various effects can significantly enhance the visual appeal of your presentation.
- Ensure consistency: If you are using flipped pictures in multiple slides, strive to maintain consistency in terms of orientation and positioning. This creates a sense of cohesion and professionalism throughout your presentation.
- Consider the content: When flipping pictures, keep the content and context of your presentation in mind. Ensure that the flipped images align with your message and complement the overall theme of the presentation.
- Test in different resolutions: Preview your presentation in different resolutions and screen sizes to ensure that the flipped pictures maintain their intended impact on various devices and display settings.
- Practice moderation: While the Flip Picture feature offers numerous possibilities, it’s essential to exercise moderation. Avoid overusing the feature and ensure that the flipped pictures serve a purpose and contribute to the overall value of your presentation.
By following these tips and tricks, you can effectively utilize the Flip Picture feature in PowerPoint to create visually stunning and impactful slides. Remember to experiment and explore different combinations to find the most compelling visuals that align with your presentation’s objectives.
With practice and attention to detail, you can master the art of using the Flip Picture feature and bring your presentations to life with engaging and visually appealing flipped images in PowerPoint.