
Choosing the Right Location for Your Outdoor Privacy Screen
When considering where to place your outdoor privacy screen, it’s essential to assess the layout of your outdoor space and identify the areas that require seclusion. Whether you seek to create a cozy nook for relaxation, shield an outdoor dining area from prying eyes, or carve out a private spot for yoga and meditation, the location of your privacy screen will significantly impact its functionality.
Begin by surveying your outdoor space and pinpointing the areas that could benefit from a touch of privacy. Take note of the surrounding landscape, architectural features, and existing structures, as these elements can influence the placement of your privacy screen. Additionally, consider the direction of sunlight throughout the day to ensure that your chosen location provides the desired level of shade and privacy.
Furthermore, it’s crucial to take into account the natural elements, such as wind and rain patterns, to determine the most suitable placement for your privacy screen. By strategically situating the screen, you can create a sheltered space that offers protection from the elements while maintaining a sense of openness and connection to nature.
Moreover, think about the functional aspects of the chosen location. Will the privacy screen serve as a barrier to block out street noise, neighboring properties, or unsightly views? By addressing these considerations, you can optimize the effectiveness of the privacy screen and tailor its placement to meet your specific needs.
Ultimately, the ideal location for your outdoor privacy screen should strike a balance between functionality and aesthetics, seamlessly integrating with the surrounding environment while fulfilling its intended purpose of providing seclusion and tranquility.
Selecting the Materials for Your DIY Outdoor Privacy Screen
Choosing the right materials for your DIY outdoor privacy screen is crucial in ensuring its durability, aesthetic appeal, and suitability for the outdoor environment. When selecting materials, consider factors such as weather resistance, maintenance requirements, and the overall design concept you wish to achieve.
One of the primary considerations when choosing materials is their ability to withstand the elements. Opt for weather-resistant materials such as cedar, redwood, or pressure-treated lumber, which are known for their durability and ability to withstand outdoor conditions. Additionally, consider incorporating composite materials or PVC for their low-maintenance properties, making them ideal for long-term use in outdoor settings.
Furthermore, the visual appeal of the materials should align with your desired aesthetic for the privacy screen. Whether you prefer a natural, rustic look or a modern, sleek design, selecting materials that complement the existing outdoor decor will contribute to a cohesive and harmonious appearance. Explore options such as lattice panels, bamboo screening, or decorative metal sheets to achieve the desired visual impact.
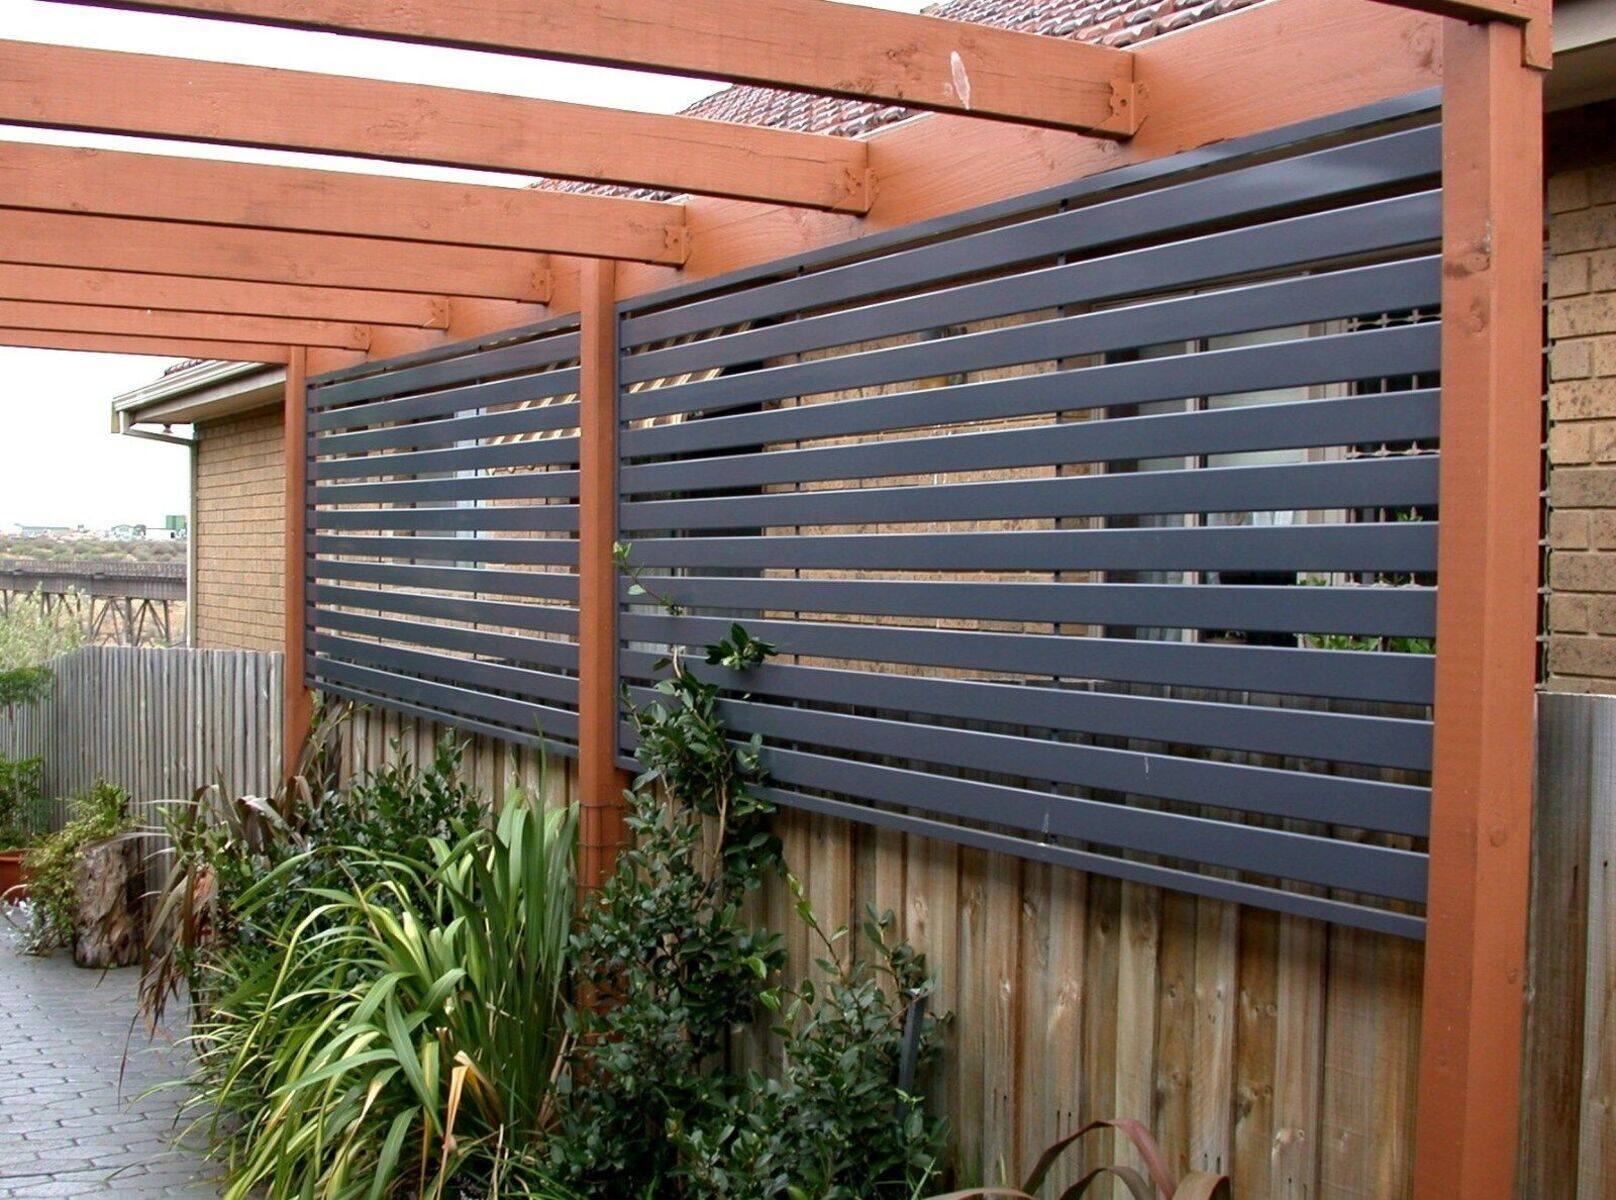
Another essential aspect to consider is the level of privacy and airflow provided by the materials. If you aim to create a secluded space without compromising ventilation, choose materials that offer a balance between privacy and airflow. This could include slatted wood panels, perforated metal screens, or fabric panels designed specifically for outdoor use.
Additionally, take into account the sustainability and eco-friendliness of the materials. Opting for sustainably sourced wood or recycled materials not only aligns with environmental consciousness but also adds a unique dimension to your DIY project.
By thoughtfully selecting materials that combine durability, aesthetic appeal, functionality, and sustainability, you can ensure that your DIY outdoor privacy screen not only serves its intended purpose but also enhances the overall ambiance of your outdoor space.
Measuring and Cutting the Materials
Accurate measurements and precise cutting are essential steps in the construction of your DIY outdoor privacy screen. Before diving into the cutting process, take the time to carefully measure the dimensions of the space where the screen will be installed. Use a tape measure to determine the height and width of the area, accounting for any irregularities in the terrain or existing structures.
Once you have obtained the precise measurements, transfer them to the selected materials, whether it be wood, metal, or composite panels. Use a straight edge, such as a level or carpenter’s square, to mark the cutting lines clearly and ensure straight, uniform cuts. If intricate designs or patterns are involved, consider creating a template on cardboard or paper to serve as a guide for accurate cutting.
When it comes to cutting the materials, employ the appropriate tools based on the chosen material. For wood, a circular saw, jigsaw, or miter saw may be utilized, while metal materials may require a specialized metal-cutting saw or shears. Always prioritize safety by wearing protective gear, such as goggles and gloves, and following the manufacturer’s guidelines for the specific cutting tools.
In instances where precise angles or intricate designs are necessary, take the time to make test cuts on scrap materials to ensure the accuracy of the final pieces. Additionally, consider the finishing touches, such as sanding the cut edges to achieve smoothness and uniformity, especially if the materials will be handled or come into contact with clothing or skin.
Remember that attention to detail during the measuring and cutting phase will contribute to the overall quality and professional finish of your DIY outdoor privacy screen. By meticulously following the measurements and executing precise cuts, you can ensure that the individual components fit together seamlessly, resulting in a polished and visually appealing final product.
Assembling Your Outdoor Privacy Screen
Assembling your DIY outdoor privacy screen is a gratifying phase that brings together the carefully measured and cut materials to form a functional and aesthetically pleasing structure. Begin by laying out the individual components in the designated installation area, ensuring that all necessary tools and hardware are readily available.
If your design incorporates multiple panels or sections, start by arranging the components in the desired configuration, taking into account the intended orientation and any decorative elements. This initial layout allows you to visualize the overall appearance of the privacy screen and make any necessary adjustments before securing the components in place.
Once the layout is finalized, proceed with the assembly process according to the predetermined design. Depending on the chosen materials, this may involve attaching the panels to support posts, connecting individual sections using hinges or fasteners, or securing the screen to an existing structure such as a fence or pergola.
When fastening the components together, ensure that the connections are secure and stable, especially if the privacy screen will be exposed to wind or other environmental factors. Use appropriate fasteners such as screws, nails, or brackets, and consider reinforcing the joints with construction adhesive for added strength and longevity.
Throughout the assembly process, periodically step back and assess the overall appearance and structural integrity of the privacy screen. This allows you to make any necessary adjustments and ensures that the final product meets your expectations in terms of both functionality and visual appeal.
Finally, once the assembly is complete, take the time to inspect the privacy screen from various angles to ensure that it fulfills its intended purpose of providing seclusion and enhancing the ambiance of the outdoor space. With careful attention to detail and a methodical approach to assembly, you can transform the individual components into a cohesive and striking outdoor privacy screen that enriches your outdoor environment.
Adding Finishing Touches to Your Outdoor Privacy Screen
Once the assembly of your DIY outdoor privacy screen is complete, adding finishing touches not only enhances its visual appeal but also contributes to its functionality and longevity. Consider incorporating elements that complement the overall design while addressing practical considerations such as maintenance and weather resistance.
One of the essential finishing touches is the application of a protective finish or sealant to the materials. This step is particularly crucial for wood-based screens to safeguard them against moisture, UV exposure, and general wear and tear. Choose a high-quality outdoor wood sealant or stain that aligns with your desired aesthetic and provides long-term protection against the elements.
Furthermore, if your privacy screen incorporates decorative elements such as lattice panels or ornamental features, consider adding embellishments that accentuate the design. This could involve attaching decorative trim, painting intricate patterns, or integrating outdoor-friendly accessories such as hanging planters or LED lighting to enhance the visual interest of the screen.
For added functionality, explore the option of incorporating features that expand the versatility of the privacy screen. This may include attaching hooks for hanging lightweight decor, installing a hinged section for easy access, or integrating a trellis for climbing plants to create a living privacy screen that evolves over time.
In addition to aesthetic and functional enhancements, prioritize the stability and longevity of the privacy screen by reinforcing critical connections and inspecting the overall structure for any potential weak points. Consider adding additional support posts or braces where necessary to ensure that the screen withstands environmental factors and retains its integrity over time.
Finally, once the finishing touches are in place, step back and admire the transformation of your outdoor space. The thoughtful integration of protective finishes, decorative elements, and functional enhancements elevates the privacy screen from a practical structure to a visually captivating and purposeful addition to your outdoor environment.