
Check Your Trash Folder
When it comes to managing the storage space on your iPhone 13, keeping an eye on the trash folders across various apps can make a significant difference. These digital repositories often harbor forgotten files, photos, and emails that continue to occupy valuable space on your device. Therefore, regularly checking and clearing the trash folders is a simple yet effective way to free up storage and optimize the performance of your iPhone 13.
To begin this process, navigate to the Photos app on your iPhone 13. Once there, tap on the "Albums" tab located at the bottom of the screen. Next, scroll down and select the "Recently Deleted" album. This is where all the photos and videos that you have deleted within the last 30 days are stored. By reviewing the contents of this folder, you can decide whether to permanently delete these items or restore them to your main photo library.
In addition to the Photos app, it's essential to check the trash folders in other native apps such as Notes, Mail, and Files. For instance, in the Notes app, deleted notes are moved to the "Recently Deleted" folder, where they remain for 30 days before being permanently removed. By accessing this folder, you can either recover specific notes or delete them permanently to free up space.
Similarly, the Mail app on your iPhone 13 contains a "Trash" folder where deleted emails are retained until they are manually removed. Regularly emptying this folder can help declutter your mailbox and create more room for new messages and attachments.
Furthermore, the Files app stores deleted items in the "Recently Deleted" folder, allowing users to recover accidentally deleted files or remove them permanently to free up storage space.
By routinely checking and clearing the trash folders in these apps, you can ensure that your iPhone 13 operates at its optimal capacity, with ample storage available for new content and improved overall performance.
Empty Trash from Photos App
When it comes to managing the storage space on your iPhone 13, the Photos app plays a pivotal role in storing and organizing your visual memories. However, as you delete photos and videos, they are not immediately removed from your device. Instead, they are moved to the "Recently Deleted" album within the Photos app, where they remain for 30 days before being permanently deleted. This safety net is designed to prevent accidental loss of precious memories, giving users a grace period to recover mistakenly deleted items. While this feature provides a sense of security, it also means that these deleted items continue to occupy storage space on your device until they are permanently removed.
To empty the trash from the Photos app and free up valuable storage space on your iPhone 13, follow these quick and straightforward steps:
-
Open the Photos App: Begin by launching the Photos app on your iPhone 13. This can be done by tapping on the Photos icon from your home screen or by accessing it through the App Library.
-
Access the "Recently Deleted" Album: Once inside the Photos app, navigate to the "Albums" tab located at the bottom of the screen. Scroll down and select the "Recently Deleted" album. Here, you will find all the photos and videos that you have deleted within the last 30 days.
-
Review and Select Items: Upon entering the "Recently Deleted" album, you will be presented with a collection of deleted photos and videos. Take a moment to review the contents of this folder. You can tap on individual items to preview them and decide whether you want to permanently delete them or restore them to your main photo library.
-
Permanently Delete Items: To permanently remove the deleted items and free up storage space on your iPhone 13, tap on the "Select" button located at the top right corner of the screen. Next, choose the photos and videos that you want to delete permanently by tapping on them. Once selected, a blue checkmark will appear on each chosen item.
-
Delete Permanently: After selecting the items you wish to remove permanently, tap on the "Delete" button at the bottom of the screen. A confirmation prompt will appear, asking if you want to delete the selected items. Confirm your decision by tapping "Delete [number] Items." This action will permanently erase the selected photos and videos from your device, instantly freeing up storage space.
By following these simple steps, you can efficiently empty the trash from the Photos app on your iPhone 13, reclaiming valuable storage space and ensuring that your device operates at its optimal capacity. Regularly clearing the "Recently Deleted" album in the Photos app is a proactive approach to managing your device's storage and maintaining peak performance.
Clear Recently Deleted Folder in Notes App
The Notes app on your iPhone 13 serves as a versatile tool for capturing ideas, making lists, and organizing thoughts. As you create and edit notes, the app provides a seamless experience, allowing you to store and manage a wide range of information. However, as with any digital workspace, it's essential to stay mindful of the storage space within the app. When notes are deleted, they are not immediately removed from the device. Instead, they are moved to the "Recently Deleted" folder within the Notes app, where they remain for 30 days before being permanently deleted. This safety net ensures that users have the opportunity to recover accidentally deleted notes, providing a sense of security and preventing the loss of important information. However, these deleted notes continue to occupy storage space until they are cleared from the "Recently Deleted" folder.
To clear the "Recently Deleted" folder in the Notes app and free up storage space on your iPhone 13, follow these straightforward steps:
-
Open the Notes App: Begin by accessing the Notes app on your iPhone 13. You can do this by tapping on the Notes icon from your home screen or by locating it through the App Library.
-
Access the "Recently Deleted" Folder: Once inside the Notes app, look for the "Recently Deleted" folder, which is typically located in the "Folders" or "Recently Deleted" section. Tap on this folder to view the notes that have been deleted and are awaiting permanent removal.
-
Review and Select Notes: Upon entering the "Recently Deleted" folder, you will see a list of deleted notes. Take a moment to review the contents of this folder. You can tap on individual notes to preview their content and decide which ones you want to permanently delete.
-
Permanently Delete Notes: To permanently remove the deleted notes and free up storage space on your iPhone 13, tap on the "Edit" or "Select" button, typically located at the top right corner of the screen. Next, choose the notes that you want to delete permanently by tapping on them. Once selected, a checkmark or similar indicator will appear next to each chosen note.
-
Delete Permanently: After selecting the notes you wish to remove permanently, look for the "Delete" or "Trash" icon, usually located at the bottom of the screen. Tap on this icon to initiate the permanent deletion process. A confirmation prompt will appear, asking if you want to delete the selected notes. Confirm your decision, and the notes will be permanently erased from the "Recently Deleted" folder, instantly freeing up storage space on your device.
By following these simple steps, you can efficiently clear the "Recently Deleted" folder in the Notes app on your iPhone 13, reclaiming valuable storage space and ensuring that your device operates at its optimal capacity. Regularly managing the contents of the "Recently Deleted" folder in the Notes app is a proactive approach to maintaining an organized and efficient digital workspace.
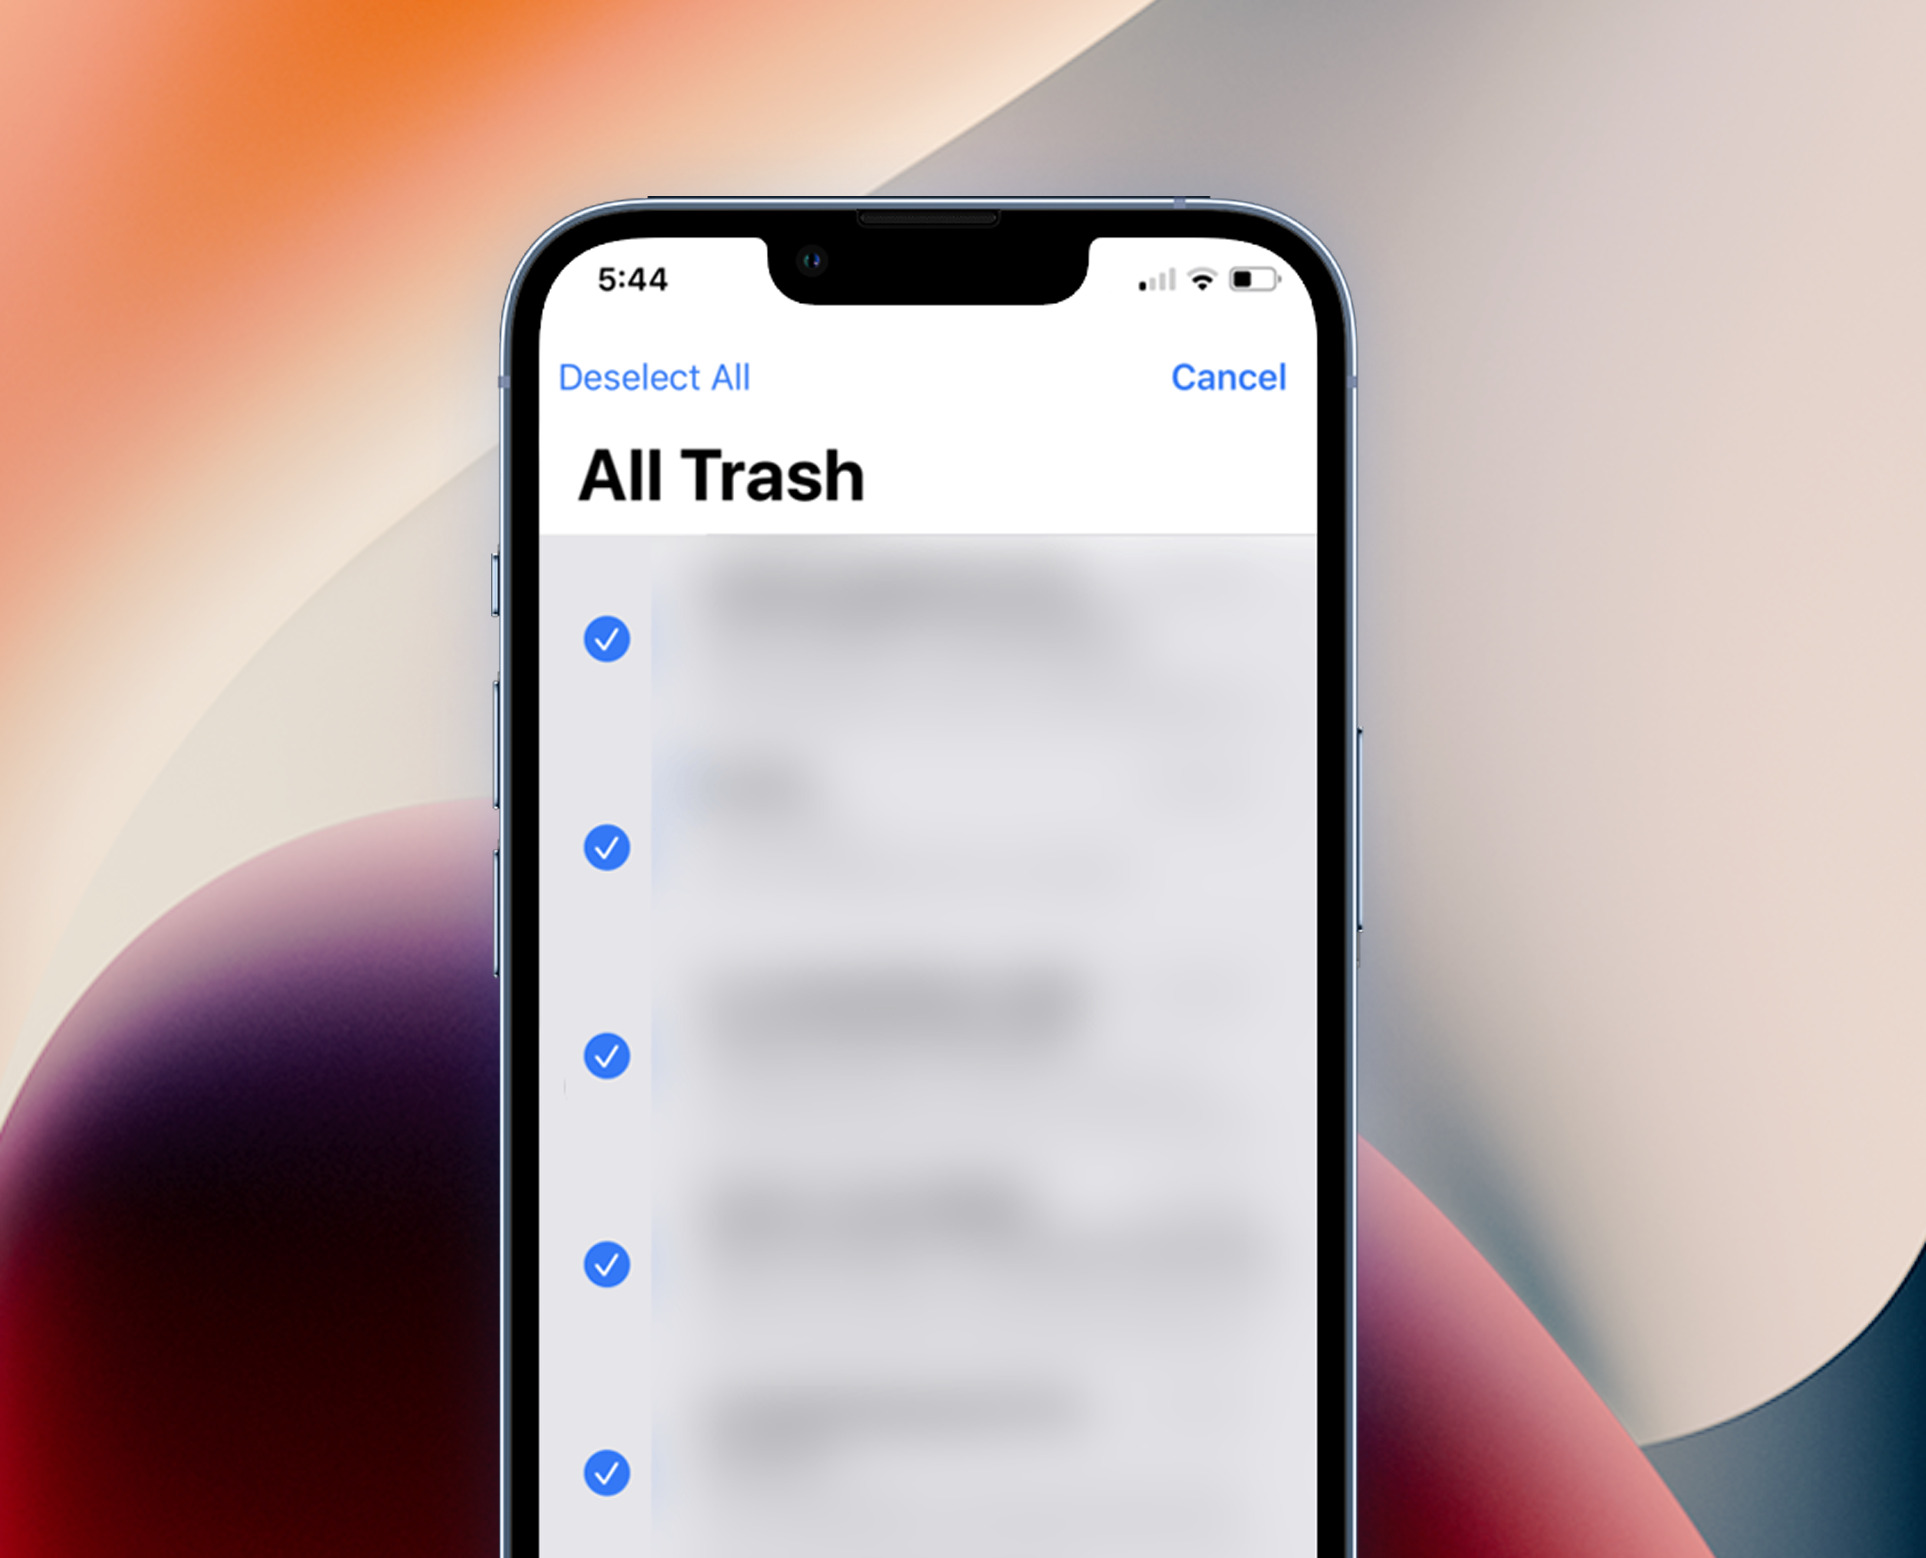
Delete Emails from Trash Folder in Mail App
Managing your email inbox is essential for keeping your digital communication organized and your device's storage optimized. When you delete emails on your iPhone 13, they are not immediately removed from the device. Instead, they are moved to the "Trash" folder within the Mail app, where they continue to occupy storage space until they are permanently deleted. Clearing out the contents of the Trash folder is a simple yet effective way to free up valuable storage space and ensure that your mailbox remains streamlined and efficient.
To delete emails from the Trash folder in the Mail app on your iPhone 13, follow these quick and straightforward steps:
-
Open the Mail App: Begin by launching the Mail app on your iPhone 13. You can access this app from your home screen or by locating it through the App Library.
-
Navigate to the Trash Folder: Once inside the Mail app, look for the "Trash" or "Deleted Items" folder, which contains the emails that you have previously deleted. Tap on this folder to view its contents.
-
Review and Select Emails: Upon entering the Trash folder, you will see a list of deleted emails. Take a moment to review the contents and decide which emails you want to permanently remove from your device.
-
Permanently Delete Emails: To permanently delete the emails and free up storage space on your iPhone 13, tap on the "Edit" or "Select" button, typically located at the top right corner of the screen. Next, choose the emails that you want to delete permanently by tapping on them. Once selected, a checkmark or similar indicator will appear next to each chosen email.
-
Delete Permanently: After selecting the emails you wish to remove permanently, look for the "Delete" or "Trash" icon, usually located at the bottom of the screen. Tap on this icon to initiate the permanent deletion process. A confirmation prompt will appear, asking if you want to delete the selected emails. Confirm your decision, and the emails will be permanently erased from the Trash folder, instantly freeing up storage space on your device.
By following these simple steps, you can efficiently delete emails from the Trash folder in the Mail app on your iPhone 13, reclaiming valuable storage space and ensuring that your device operates at its optimal capacity. Regularly clearing the Trash folder in the Mail app is a proactive approach to managing your mailbox and maintaining peak performance.
Remove Deleted Items from Recently Deleted Folder in Files App
The Files app on your iPhone 13 serves as a central hub for managing and organizing your documents, images, and other digital content. When files are deleted within the Files app, they are not immediately removed from your device. Instead, they are transferred to the "Recently Deleted" folder, where they remain for a designated period before being permanently deleted. This safety net provides users with the opportunity to recover accidentally deleted files, offering a sense of security and preventing the loss of important data. However, these deleted items continue to occupy storage space until they are cleared from the "Recently Deleted" folder.
To remove deleted items from the "Recently Deleted" folder in the Files app and free up storage space on your iPhone 13, follow these straightforward steps:
-
Open the Files App: Begin by accessing the Files app on your iPhone 13. You can do this by tapping on the Files icon from your home screen or by locating it through the App Library.
-
Navigate to the "Recently Deleted" Folder: Once inside the Files app, look for the "Recently Deleted" folder, which typically resides within the app's navigation panel. Tap on this folder to view the files that have been deleted and are awaiting permanent removal.
-
Review and Select Files: Upon entering the "Recently Deleted" folder, you will encounter a list of deleted files. Take a moment to review the contents of this folder. You can tap on individual files to preview their content and decide which ones you want to permanently delete.
-
Permanently Delete Files: To permanently remove the deleted files and free up storage space on your iPhone 13, tap on the "Select" or "Edit" button, usually located at the top right corner of the screen. Next, choose the files that you want to delete permanently by tapping on them. Once selected, a checkmark or similar indicator will appear next to each chosen file.
-
Delete Permanently: After selecting the files you wish to remove permanently, look for the "Delete" or "Trash" icon, typically located at the bottom of the screen. Tap on this icon to initiate the permanent deletion process. A confirmation prompt will appear, asking if you want to delete the selected files. Confirm your decision, and the files will be permanently erased from the "Recently Deleted" folder, instantly freeing up storage space on your device.
By following these simple steps, you can efficiently remove deleted items from the "Recently Deleted" folder in the Files app on your iPhone 13, reclaiming valuable storage space and ensuring that your device operates at its optimal capacity. Regularly managing the contents of the "Recently Deleted" folder in the Files app is a proactive approach to maintaining an organized and efficient digital workspace.