
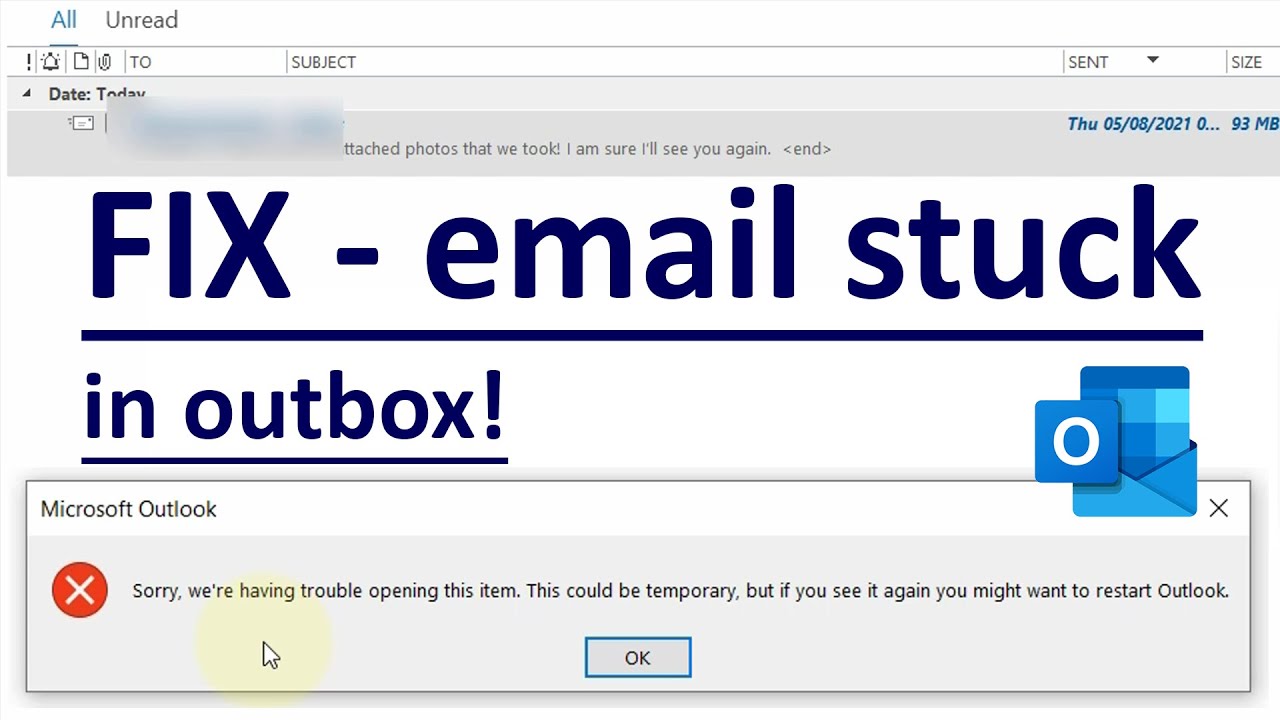
Understanding the Outbox in Windows Live Mail
The outbox in Windows Live Mail is a temporary holding area where your email messages are stored before they are sent. When you compose an email and click the “Send” button, the email is first placed in the outbox. From there, it is scheduled to be sent according to the settings in your email program.
It is important to note that the outbox is not the same as the sent items folder. While the sent items folder contains copies of the emails that have been successfully sent, the outbox is where pending or unsent messages reside.
There are several reasons why emails may get stuck in the outbox. One common cause is a poor internet connection. If your internet is slow or intermittent, the email may not be able to connect to the server to send. It is always a good idea to check your internet connection before attempting to troubleshoot the stuck emails.
Another reason for stuck emails could be incorrect server settings or authentication issues. Make sure that your email account settings are configured correctly in Windows Live Mail. Check the server addresses, ports, and authentication settings to ensure they match the requirements of your email service provider.
If you are experiencing issues with sending emails, it is worth trying to resend them from the outbox. Right-click on the stuck email and select the option to resend. This can often solve the problem, especially if the issue was temporary.
Alternatively, you can manually delete the stuck emails from the outbox. Right-click on the email and select the delete option. This will remove the email from the outbox, but keep in mind that the email will not be sent.
If the above steps don’t resolve the issue, you can try clearing the Windows Live Mail Outbox folder. Close Windows Live Mail, navigate to the location of the email storage folder, and delete the contents of the outbox folder. Restart Windows Live Mail and check if the issue is resolved.
If none of the above steps work, it may be necessary to repair your Windows Live Mail installation. Go to the Control Panel, select Programs and Features, find Windows Live Essentials, and choose the option to repair. This will fix any corrupted installation files that may be causing the problem.
In some cases, moving the stuck emails to a different folder can help resolve the issue. Create a new folder in Windows Live Mail and move the stuck emails to this folder. Try sending the emails again from this new location.
If all else fails, deleting and recreating your email account in Windows Live Mail may be necessary. Remove the email account from Windows Live Mail, restart the program, and add the account back using the correct server settings. This will create a fresh connection and may resolve any issues with the stuck emails.
If you have followed all of these steps and are still unable to resolve the issue, it is recommended to contact your email service provider or IT support for further assistance. They will be able to help you troubleshoot and resolve any underlying problems with your email account.
Checking your internet connection
One of the common reasons why emails get stuck in the outbox of Windows Live Mail is a poor internet connection. Before troubleshooting any other issues, it is important to ensure that your internet connection is stable and functioning properly.
To check your internet connection, start by opening a web browser and visiting a few websites. If the websites load quickly and without any errors, it indicates that your internet connection is working fine. However, if the websites take a long time to load or display errors, there might be an issue with your internet connection.
If you suspect a problem with your connection, try the following steps:
- Restart your modem and router by unplugging them from the power source, waiting for a few seconds, and then plugging them back in. This can help refresh the connection and resolve any temporary issues.
- Connect to a different Wi-Fi network if available, or try using a wired ethernet connection instead of Wi-Fi. This can help determine if the problem is specific to your current network.
- Disable any VPN (Virtual Private Network) or proxy settings that you might have enabled. These configurations can sometimes interfere with the proper functioning of your internet connection.
- Contact your internet service provider (ISP) if the problem persists. They can run diagnostic tests on your connection and assist with resolving any underlying network issues.
Remember, a stable and reliable internet connection is crucial for sending emails smoothly. Even a temporary disruption or intermittent connection can cause emails to get stuck in the outbox.
Once you have ensured that your internet connection is working properly, you can proceed to troubleshoot any other potential causes of stuck emails in the outbox of Windows Live Mail.
Resending stuck emails
If you have emails that are stuck in the outbox of Windows Live Mail and you’re unable to send them, one possible solution is to resend the stuck emails. Sometimes, a temporary glitch or network issue can prevent emails from being sent successfully. Resending can help overcome these obstacles and get your messages on their way.
To resend a stuck email, follow these steps:
- Open Windows Live Mail and navigate to the outbox folder.
- Identify the email that is stuck and needs to be resent.
- Right-click on the email and select “Resend” from the context menu. This action will attempt to send the email again.
Windows Live Mail will now try to send the email using the settings and configuration of your email account. If the previous issue was temporary, this resend action should help in getting the email delivered successfully.
If the stuck email was related to a temporary glitch in the network or a server issue, resending it usually resolves the problem. However, if the issue persists after multiple resend attempts, it may indicate a more significant problem that needs further troubleshooting.
Keep in mind that while resending the stuck email can help resolve the issue, it is essential to address the root cause to prevent future occurrences. Check your internet connection, verify email account settings, and ensure that there are no limitations or restrictions set by your email service provider that may be preventing the email from being sent.
If you continue to experience difficulties in sending emails even after attempting to resend them, it may be necessary to explore other troubleshooting techniques to resolve the issue. Let’s move on to the next section to learn how to manually delete stuck emails from the outbox.
Deleting stuck emails manually
In some cases, emails may get stuck in the outbox of Windows Live Mail and cannot be sent or resent. When this happens, manually deleting the stuck emails from the outbox can help resolve the issue.
To manually delete stuck emails, follow the steps below:
- Open Windows Live Mail and navigate to the outbox folder.
- Identify the email or emails that are stuck and need to be removed.
- Right-click on the stuck email and select “Delete” from the context menu.
Deleting the stuck email will remove it from the outbox, but it will not be sent to the recipient. It is essential to review the email and its contents before deleting to ensure that you don’t lose any important information.
If multiple emails are stuck in the outbox, you can select and delete them all at once by holding down the Ctrl key and clicking on the emails you want to delete.
If the emails are not removable through the right-click context menu, you can try another method to delete them. Select the email and press the Delete key on your keyboard. This should also remove the stuck email from the outbox.
Manually deleting stuck emails can be a quick and effective way to clear the outbox and resolve issues with sending emails. However, it is important to identify and address any underlying causes that may be leading to emails getting stuck, such as connectivity issues or incorrect settings.
If manually deleting the stuck emails doesn’t resolve the problem, there may be other techniques and troubleshooting steps to explore. Let’s move on to the next section to learn about clearing the Windows Live Mail outbox folder.
Clearing the Windows Live Mail Outbox folder
If you have emails stuck in the outbox of Windows Live Mail that cannot be sent or deleted, clearing the outbox folder can help resolve the issue. Sometimes, corrupted or stuck emails can prevent new messages from being sent successfully. Clearing the outbox folder removes all the emails stored within it, providing a fresh start.
To clear the Windows Live Mail Outbox folder, follow the steps below:
- Close Windows Live Mail to ensure that no processes are accessing the outbox folder.
- Open File Explorer and navigate to the location where Windows Live Mail stores email data. By default, it is located in the following directory: C:\Users\[Username]\AppData\Local\Microsoft\Windows Live Mail
- Once inside the Windows Live Mail folder, locate the “Outbox” folder.
- Delete all the contents of the Outbox folder. You can either select and delete individual emails or use the “Ctrl + A” shortcut to select all emails and then press the Delete key.
After clearing the outbox folder, relaunch Windows Live Mail. The outbox folder will now be empty, allowing you to start sending new emails without any obstruction.
Clearing the Windows Live Mail Outbox folder can be an effective way to resolve issues with stuck emails. However, keep in mind that this action will permanently delete the emails from the outbox, so ensure that you don’t have any important messages that you intended to send.
If clearing the outbox folder doesn’t solve the problem and emails continue to get stuck, it may be necessary to explore other troubleshooting methods. Let’s move on to the next section to learn about repairing Windows Live Mail installation.
Repairing Windows Live Mail
If you are experiencing issues with stuck emails in Windows Live Mail and other troubleshooting steps have not resolved the problem, you can try repairing the Windows Live Mail installation. This process can help fix any corrupted files or settings that might be causing the issue.
To repair Windows Live Mail, follow the steps below:
- Close Windows Live Mail to ensure that no processes are running in the background.
- Go to the Control Panel on your computer and select “Programs and Features.”
- In the list of installed programs, locate “Windows Live Essentials” or “Windows Essentials.”
- Right-click on “Windows Live Essentials” (or “Windows Essentials”) and choose the option to “Repair.”
- Follow the on-screen instructions to complete the repair process.
During the repair process, Windows Live Mail will scan and fix any corrupted or missing files that are related to the application. This can help restore the functionality of Windows Live Mail and potentially resolve the issue with stuck emails in the outbox.
After the repair is complete, relaunch Windows Live Mail and check if the problem has been resolved. Attempt to send a test email to confirm that emails are no longer getting stuck in the outbox.
If the repair process does not fix the problem, it may be necessary to look into alternative email clients or contact your email service provider for further assistance. They may be able to provide specific instructions or settings to ensure compatibility with their email servers.
Repairing Windows Live Mail is a straightforward process and can often resolve issues with stuck emails. However, keep in mind that the success of the repair depends on the nature and extent of the problem. In some cases, additional troubleshooting steps may be required to fully resolve the issue.
Now that we have explored repairing the Windows Live Mail installation, let’s move on to the next section to learn about moving emails to a different folder as a troubleshooting technique.
Moving emails to a different folder
If you’re facing issues with stuck emails in the outbox of Windows Live Mail, one troubleshooting technique is to move the affected emails to a different folder. This method can help bypass any potential obstacles in the outbox and allow you to send the emails successfully.
To move emails to a different folder in Windows Live Mail, follow these steps:
- Open Windows Live Mail and navigate to the outbox folder.
- Select the emails that are stuck and need to be moved.
- Right-click on the selected emails and choose the “Move to Folder” or “Copy to Folder” option.
- Select the desired destination folder where you want to move the emails. You can choose an existing folder or create a new one.
- Click on the “Move” or “Copy” button to complete the process and move the emails to the selected folder.
By moving the stuck emails to a different folder, you essentially bypass the outbox and its potential issues. This can give you a fresh start and allow you to send the emails from the new location without any obstacles.
After moving the emails, try sending them again from the new folder and observe if they get sent successfully. If the issue was related to the outbox, this method should help resolve it.
It is important to note that moving emails to a different folder is a troubleshooting technique and should not be considered a permanent solution. If the issue with stuck emails persists or occurs frequently, it may be necessary to further investigate and address any underlying causes such as connectivity problems or incorrect account settings.
Now that we have explored moving emails to a different folder, let’s move on to the next section to learn about the option of deleting and recreating your email account as a possible solution.
Deleting and recreating your email account
If you’re encountering persistent issues with stuck emails in Windows Live Mail and other troubleshooting methods have not resolved the problem, deleting and recreating your email account can be a potential solution. This process can help refresh the connection between Windows Live Mail and your email server, resolving any underlying configuration issues that may be causing the problem.
Before proceeding with deleting and recreating your email account, it’s important to note that this action will remove all emails associated with the account from Windows Live Mail. Make sure to backup any important emails or folders before proceeding.
To delete and recreate your email account in Windows Live Mail, follow these steps:
- Open Windows Live Mail and go to the Accounts tab.
- Select the email account that is experiencing issues and click on the “Remove” or “Delete” button.
- Confirm the deletion when prompted.
- Now, you will need to recreate your email account in Windows Live Mail. Go to the Accounts tab and click on the “Add” or “Add Email” button.
- Follow the on-screen instructions to enter the necessary account information, such as your email address, password, and server settings. Make sure to double-check the settings to ensure they are accurate.
- Once you have entered all the required information, click on the “Next” or “Finish” button to complete the account setup.
After recreating your email account, test sending an email to ensure that the issue with stuck emails in the outbox has been resolved. If the problem was related to an incorrect account configuration or corrupted settings, this process should rectify it.
It’s important to note that deleting and recreating your email account can have implications for other email clients or devices that are also accessing the account. Make sure to update the account settings on those devices as well.
If deleting and recreating your email account does not resolve the issue with stuck emails, it is recommended to reach out to your email service provider or IT support for further assistance. They will be able to provide specific guidance and troubleshoot any potential server-side issues.
Now that we have explored deleting and recreating your email account, let’s move on to the next section to learn about contacting your email service provider or IT support for assistance.
Contacting your email service provider or IT support
If you have exhausted all troubleshooting methods and are still experiencing issues with stuck emails in Windows Live Mail, it may be necessary to contact your email service provider or IT support for further assistance. They have the expertise and resources to help diagnose and resolve any underlying problems with your email account.
Before reaching out to your email service provider or IT support, make sure to gather relevant information about the issue, such as error messages received, specific emails affected, and any steps you have already taken to troubleshoot the problem. This information will help them better understand the situation and provide a more targeted solution.
To contact your email service provider or IT support, follow these steps:
- Identify the contact information for your email service provider or IT support. This can usually be found on their website, in the email account settings, or by contacting your organization’s IT department.
- Reach out to them using your preferred method of communication, such as email, phone, or online chat.
- Explain the issue you are facing with stuck emails in Windows Live Mail and provide any relevant information you have gathered.
- Follow any instructions or troubleshooting steps provided by your email service provider or IT support.
It’s important to remain patient and cooperative during the process, as troubleshooting email issues can sometimes involve complex technical steps or require coordination between different parties.
Your email service provider or IT support may be able to identify any server-side issues, advise on specific settings or configurations, or provide alternative solutions or recommendations. They will work with you to ensure that your email account functions smoothly and any issues with stuck emails are resolved.
If necessary, they may also suggest alternative email clients or provide guidance on migrating to a different platform that better suits your needs.
Remember, your email service provider or IT support is there to assist you and provide the necessary expertise to resolve any issues you may be facing. Don’t hesitate to reach out to them for help when needed.
Now that we have explored the option of contacting your email service provider or IT support, let’s conclude our discussion on troubleshooting stuck emails in Windows Live Mail.