
Why Use Parental Controls for Apple Music?
Music has a powerful impact on our lives, shaping our emotions and influencing our perspectives. As a parent, it’s natural to want to protect your children from exposure to explicit lyrics or inappropriate content in the music they listen to. This is where Apple Music’s parental controls come in handy.
Apple Music offers a wide variety of music, including songs with explicit lyrics and content. Parental controls allow you to set restrictions on the explicit content that your children can access, ensuring they listen to music that aligns with your family values. Here are a few reasons why you should consider using parental controls for Apple Music:
1. Age-appropriate content: By enabling parental controls, you can safeguard your children from explicit lyrics, violent themes, or other adult-oriented content that may not be suitable for their age.
2. Maintaining family values: As a parent, you have the ability to curate a collection of music that aligns with your family’s values and ensures that your children are exposed to positive and uplifting messages.
3. Peace of mind: With parental controls, you can have peace of mind knowing that your children will not accidentally stumble upon explicit or inappropriate content while browsing through Apple Music.
4. Encouraging responsible music consumption: Teaching your children about responsible music consumption from an early age can help them develop a discerning taste and promote healthy media habits as they grow older.
5. Customizable restrictions: Apple Music’s parental controls allow you to customize the level of restriction based on your child’s age and maturity level. You can block explicit songs entirely or allow access to clean versions of explicit tracks.
By utilizing Apple Music’s parental controls, you can create a safe and enjoyable music experience for your children. It gives you the power to guide their music choices, ensuring they listen to music that is suitable for their age and values. Let’s dive into how to enable and set up parental controls in Apple Music in the next section.
Enabling Parental Controls in Apple Music
To take advantage of the parental controls feature in Apple Music, you need to enable it on your iOS device or Mac. Here’s how you can do it:
1. On iOS devices:
– Open the “Settings” app on your iPhone or iPad.
– Scroll down and tap on “Screen Time.”
– Tap on “Content & Privacy Restrictions.”
– If you haven’t set up Screen Time before, tap on “Turn On Screen Time.” Otherwise, enter your passcode.
– Toggle on the “Content & Privacy Restrictions” option.
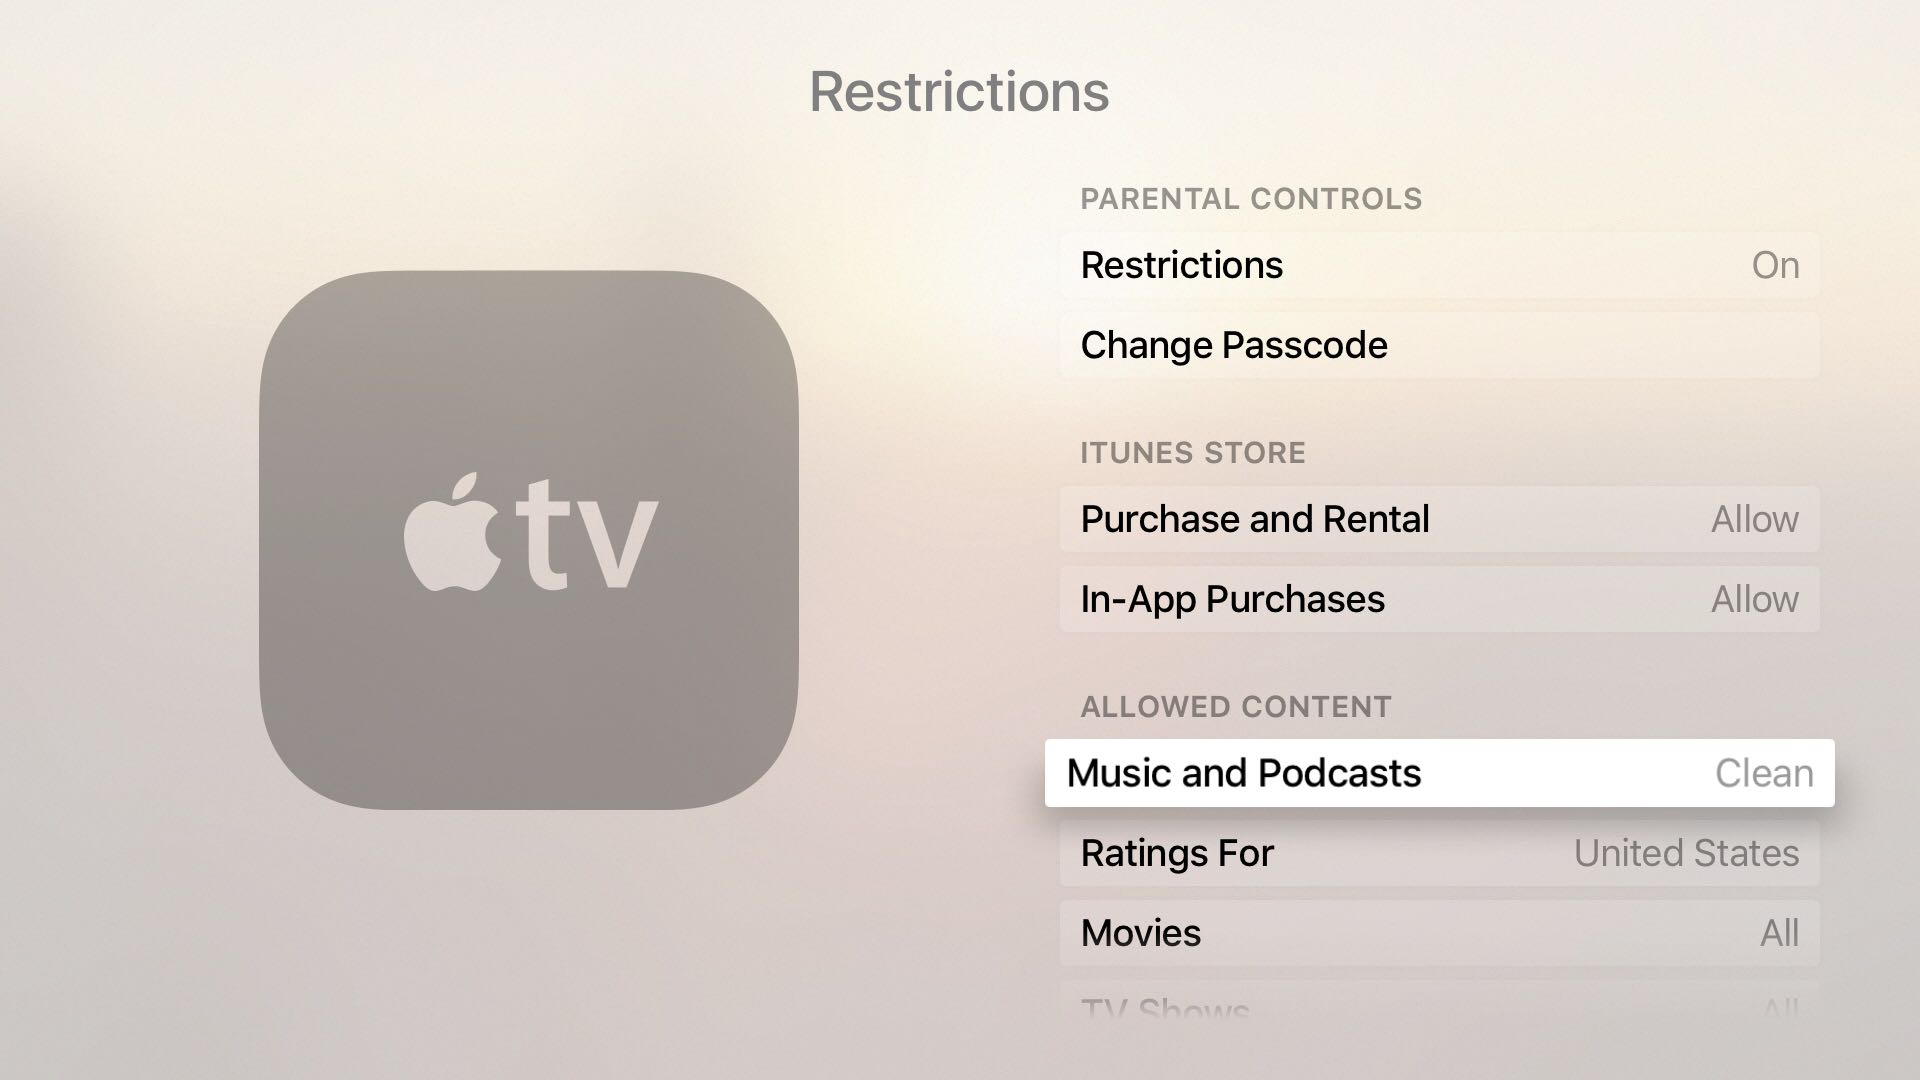
– Tap on “Content Restrictions” and then on “Music, Podcasts & News.”
– Under “Music,” you can choose to allow explicit content, clean versions of explicit songs, or block explicit content entirely.
2. On Mac:
– Open the Music app on your Mac.
– Click on “Music” in the top menu and select “Preferences.”
– Go to the “Restrictions” tab.
– Check the box next to “Restrict explicit content.”
– You can also choose to limit access to certain music services and restrict explicit lyrics in Apple Music radio.
By enabling parental controls, you gain control over the content your child can access in Apple Music. It allows you to filter out explicit songs and ensure a safer music listening experience for your children.
Next, let’s explore how to set up a restricted profile specifically for your child in Apple Music.
Setting up a Restricted Profile
To provide a more personalized and secure music experience for your child, you can set up a restricted profile in Apple Music. This will allow you to create a separate account with limited access to content. Here’s how you can set up a restricted profile for your child:
1. On iOS devices:
– Open the “Settings” app on your child’s iPhone or iPad.
– Tap on their Apple ID at the top of the screen.
– Select “Family Sharing” and then “Apple ID for your child’s name.”
– Follow the on-screen instructions to set up your child’s Apple ID.
– Once their Apple ID is created, go back to the “Settings” app and tap on “Screen Time.”
– Tap on “Content & Privacy Restrictions” and enter your passcode if prompted.
– Toggle on the “Content & Privacy Restrictions” option.
– Customize the restrictions based on your child’s age and preferences, including music, apps, and other content categories.
2. On Mac:
– Open the Apple Music app on your computer.
– Click on “Account” in the top menu and choose “View My Account.”
– Sign in with your Apple ID if necessary.
– Under “Settings,” click on “Enable Parental Controls.”
– Create a four-digit passcode to secure the restricted profile.
– Customize the restrictions, including the ability to prevent your child from purchasing or downloading explicit content.
By setting up a restricted profile for your child, you can have peace of mind knowing that they can only access age-appropriate content within Apple Music. It also allows you to manage their music library and preferences more effectively.
Next, let’s discuss how you can enable the explicit content filter to further restrict access to explicit songs on Apple Music.
Enabling Explicit Content Filter
In addition to general parental controls, Apple Music provides an explicit content filter that allows you to further restrict access to explicit songs. Enabling this filter ensures that your child is unable to listen to music with explicit lyrics, even if it is part of their restricted profile. Here’s how you can enable the explicit content filter:
1. On iOS devices:
– Open the “Settings” app on your iPhone or iPad.
– Scroll down and tap on “Screen Time.”
– Tap on “Content & Privacy Restrictions.”
– If you haven’t set up Screen Time before, tap on “Turn On Screen Time.” Otherwise, enter your passcode.
– Toggle on the “Content & Privacy Restrictions” option.
– Tap on “Content Restrictions” and then on “Music, Podcasts & News.”
– Under “Music,” enable the toggle switch next to “Clean Content.”
2. On Mac:
– Open the Music app on your Mac.
– Click on “Music” in the top menu and select “Preferences.”
– Go to the “Restrictions” tab.
– Check the box next to “Restrict explicit content.”
Enabling the explicit content filter ensures that your child will only have access to clean versions of songs that may have explicit lyrics. This additional layer of filtering helps to create a more secure and age-appropriate music environment.
Next, let’s explore how you can block explicit songs specifically on Apple Music.
Blocking Explicit Songs on Apple Music
To provide a more comprehensive level of control over the content your child can access on Apple Music, you can block explicit songs entirely. This ensures that explicit content is completely restricted from their music library. Here’s how you can block explicit songs on Apple Music:
1. On iOS devices:
– Open the “Settings” app on your child’s iPhone or iPad.
– Tap on their Apple ID at the top of the screen.
– Select “Family Sharing” and then “Apple ID for your child’s name.”
– Follow the on-screen instructions to set up your child’s Apple ID if you haven’t already.
– Once their Apple ID is created, go back to the “Settings” app and tap on “Screen Time.”
– Tap on “Content & Privacy Restrictions” and enter your passcode if prompted.
– Toggle on the “Content & Privacy Restrictions” option.
– Tap on “Content Restrictions” and then on “Music, Podcasts & News.”
– Under “Music,” select “Explicit” and choose “Don’t Allow.”
2. On Mac:
– Open the Music app on your Mac.
– Click on “Music” in the top menu and select “Preferences.”
– Go to the “Restrictions” tab.
– Check the box next to “Restrict explicit content.”
– Choose the option to “Block explicit songs.”
By blocking explicit songs, you can ensure that your child’s music library remains free from any explicit content. This provides a safer and more age-appropriate music experience.
Now that you know how to block explicit songs on Apple Music, let’s move on to the next section to learn how to filter explicit content effectively.
How to Filter Explicit Content on Apple Music
Filtering explicit content on Apple Music allows you to customize the level of restriction based on your preferences. Whether you want to completely block explicit songs, allow only clean versions of explicit tracks, or simply filter out explicit songs from playlists and recommendations, Apple Music provides options to tailor the content to your liking. Here’s how you can filter explicit content on Apple Music:
1. On iOS devices:
– Open the Apple Music app on your iPhone or iPad.
– Tap on “Library” at the bottom of the screen.
– Tap on the profile icon in the top right corner.
– Scroll down and tap on “Settings.”
– Under “Content Restrictions,” tap on “Explicit Content.”
– Choose one of the following options:
– “Block Explicit Songs” to prevent explicit content from appearing in search results, playlists, and recommendations.
– “Allow Explicit Content” to enable the full range of content, including explicit songs.
– “Clean Tracks and Explicit Tracks” to only show clean versions of explicit songs.
2. On Mac:
– Open the Music app on your Mac.
– Click on “Music” in the top menu and select “Preferences.”
– Go to the “General” tab.
– Under “Playback,” choose one of the following options:
– “Restrict explicit content” to filter explicit songs from playlists, recommendations, and Apple Music radio.
– “Allow explicit content” to enable the full range of content, including explicit songs.
By filtering explicit content, you can ensure that the music you and your family listen to aligns with your preferences. This provides a more customized and enjoyable music experience while maintaining control over the content that is accessible.
Next, let’s discuss how you can manage parental controls on Apple Music and make any necessary adjustments.
Managing Parental Controls on Apple Music
As a parent, it’s important to regularly monitor and adjust the parental controls on Apple Music to ensure they align with your child’s age and maturity level. Here are some tips for managing parental controls on Apple Music:
1. Regularly review and update restrictions: Periodically check the content restrictions you have set up for your child’s Apple Music account. As your child grows older or their preferences change, you may need to adjust the level of restriction accordingly.
2. Communicate with your child: Engage in open conversations with your child about the importance of responsible music consumption. Make them aware of the reasons behind the parental controls and educate them about the potential impact of explicit content.
3. Monitor their music library: Take the time to review the music library of your child’s Apple Music account. This can help you identify any explicit songs that may have been inadvertently added and allow you to promptly remove them.
4. Adjust privacy settings: In addition to content restrictions, you can also manage privacy settings in Apple Music to control sharing and discoverability. This gives you the ability to protect your child’s personal information and limit their exposure to potentially harmful interactions.
5. Stay informed about new releases: Keep up with the latest music releases and trends to stay ahead of any content that may not be suitable for your child. This allows you to proactively address any concerns and update your parental controls as needed.
By actively managing parental controls on Apple Music, you can create a safe and enjoyable music environment for your child. Remember, parental controls should be seen as a tool to guide and shape your child’s music consumption rather than a one-time setup.
Now let’s move on to the final section on troubleshooting any issues you may encounter with parental controls on Apple Music.
Troubleshooting Parental Controls on Apple Music
While Apple Music’s parental controls are designed to provide a seamless and secure music experience, you may encounter a few issues along the way. Here are some common troubleshooting tips to help you resolve any problems with parental controls:
1. Check your settings: Double-check that the parental controls are enabled and properly configured on your device. Make sure the explicit content filter is turned on, and the content restrictions are set according to your preferences.
2. Update your software: Ensure that your device and Apple Music app are running the latest software version. Sometimes, updating your software can fix any compatibility issues and improve the functionality of parental controls.
3. Sign out and sign back in: If you’re experiencing issues with parental controls, try signing out of your Apple Music account and then signing back in. This can refresh the settings and resolve any temporary glitches.
4. Reset restrictions passcode: If you’ve forgotten the passcode for your parental controls, you can reset it. On iOS devices, go to “Settings” > “Screen Time” > “Change Screen Time Passcode.” On Mac, open the Music app, go to “Music” > “Preferences” > “Restrictions” > “Reset Passcode.”
5. Contact Apple Support: If you’ve tried the above troubleshooting steps and are still experiencing issues with parental controls on Apple Music, consider reaching out to Apple Support for further assistance. They can provide specific guidance tailored to your device and software.
Remember, while parental controls provide an added layer of protection, they are not foolproof. It’s important to have open communication with your child and educate them about responsible music consumption, even with the restrictions in place.
In this guide, we’ve covered the importance of using parental controls for Apple Music, how to enable and set them up, as well as tips for managing and troubleshooting. By utilizing these features effectively, you can create a safe and age-appropriate music environment for your child.
+