
Checking TextNow SIM Card Compatibility with iPhone
Checking TextNow SIM Card Compatibility with iPhone
Before activating a TextNow SIM card on an iPhone, it’s crucial to ensure that the SIM card is compatible with the device. Compatibility is essential to guarantee a seamless activation process and optimal functionality. Here’s how to check the compatibility of a TextNow SIM card with an iPhone:
-
Check iPhone Model Compatibility:
- Verify that the iPhone model is unlocked and compatible with the network frequencies supported by TextNow. Most modern iPhone models, including the iPhone 6s and later, are compatible with TextNow's SIM card.
-
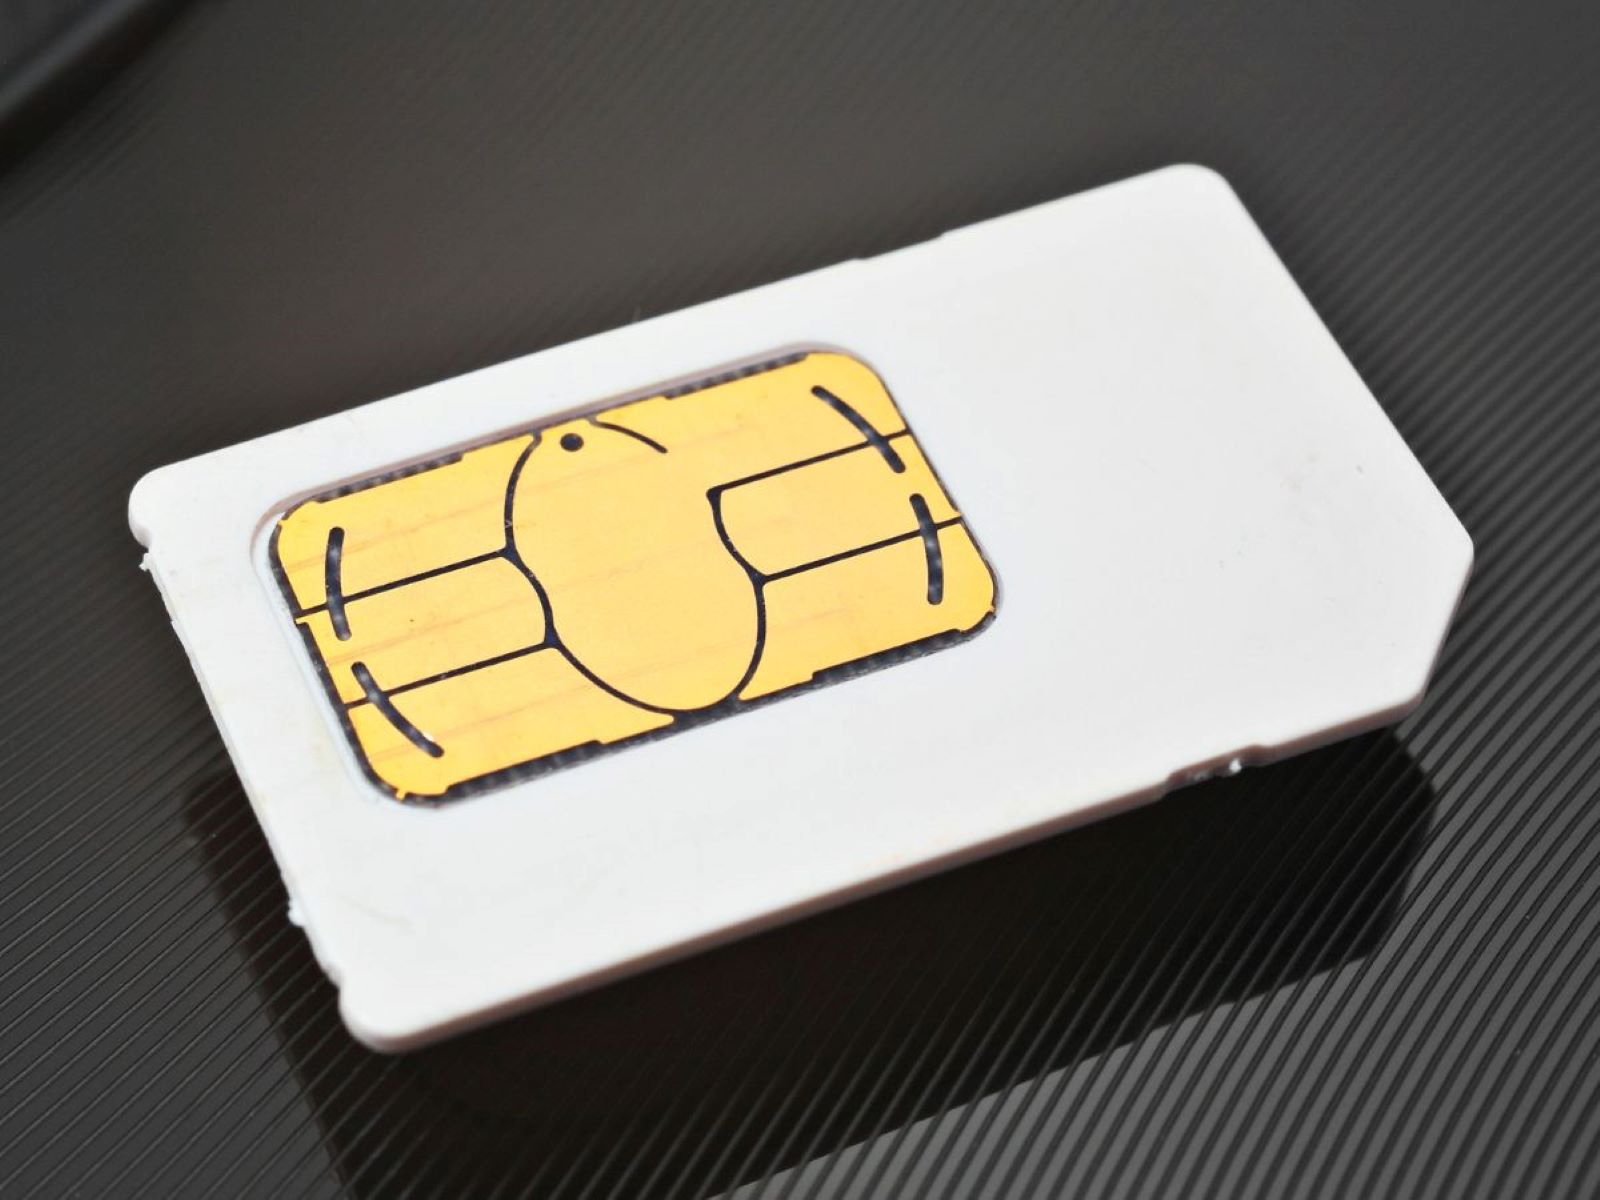
Confirm SIM Card Size:
- Determine if the TextNow SIM card matches the SIM card slot size of the iPhone. iPhones typically use Nano-SIM cards, so ensure that the TextNow SIM card is of the correct size.
-
Check Network Compatibility:
- Visit the TextNow website or contact their customer support to confirm that the SIM card is compatible with the iPhone and the network in your area. This step is crucial to avoid any potential connectivity issues after activation.
-
Verify Unlocked Status:
- Ensure that the iPhone is unlocked and not tied to any specific carrier. If the iPhone is locked to a particular carrier, it may not support the TextNow SIM card.
By following these steps, you can verify the compatibility of the TextNow SIM card with your iPhone, ensuring a smooth activation process without any compatibility-related issues.
Remember, ensuring compatibility before activation can save time and prevent potential complications, allowing you to enjoy uninterrupted service on your iPhone with the TextNow SIM card.
Activating TextNow SIM Card
Activating a TextNow SIM card is a straightforward process that enables users to enjoy the benefits of TextNow’s wireless service on their iPhone. Here’s a step-by-step guide to activating a TextNow SIM card:
- Prepare the SIM Card: Carefully remove the TextNow SIM card from its packaging, ensuring not to damage the card or the chip. Handle the SIM card gently to avoid any physical harm that may hinder the activation process.
- Insert the SIM Card: Power off the iPhone and locate the SIM card tray. Using the SIM card eject tool or a paperclip, gently insert it into the small hole on the side of the iPhone to open the SIM card tray. Place the TextNow SIM card into the tray, ensuring it fits securely and aligns with the designated slot.
- Power On the iPhone: After inserting the SIM card, power on the iPhone. The device will prompt for the SIM card’s activation, and users will need to follow the on-screen instructions to proceed with the activation process.
- Activation Process: Users will be guided through the activation process, which typically involves entering the SIM card’s unique identification number (ICCID) and following the prompts to complete the activation. It’s essential to have a stable internet connection during this process to ensure seamless activation.
- Confirmation: Once the activation process is complete, users will receive a confirmation message indicating that the TextNow SIM card is successfully activated and ready for use on the iPhone.
By following these steps, users can effortlessly activate their TextNow SIM card, allowing them to harness the full potential of TextNow’s wireless service on their iPhone. Activating the SIM card promptly and accurately ensures a smooth transition to TextNow’s network, providing access to essential communication services on the iPhone.
Setting Up TextNow SIM Card on iPhone
After successfully activating the TextNow SIM card, the next step is to set it up on the iPhone. This involves configuring the device to utilize the TextNow network for calls, texts, and data. Here’s a comprehensive guide to setting up a TextNow SIM card on an iPhone:
- Network Settings: Access the iPhone’s settings and navigate to the “Cellular” or “Mobile Data” section. Here, select “Cellular Data Network” and input the TextNow APN settings provided by the carrier. These settings are crucial for establishing a proper data connection on the TextNow network.
- Test Connectivity: After saving the APN settings, it’s essential to test the connectivity by accessing the internet and sending a text message. Verifying that the data connection and messaging services are functional ensures that the SIM card is properly set up and integrated with the iPhone.
- Make Test Calls: Place a test call to ensure that the calling functionality is operational. Testing both incoming and outgoing calls can confirm that the TextNow SIM card is fully functional and capable of handling voice communication seamlessly.
- Configure TextNow App (Optional): If utilizing the TextNow app for calling and texting, ensure that it is installed and configured to use the TextNow SIM card. This step may involve logging in to the TextNow app with the associated account and verifying that the SIM card is linked to the app for communication services.
By following these steps, users can effectively set up their TextNow SIM card on the iPhone, enabling seamless communication and data services through TextNow’s network. Ensuring that the SIM card is properly integrated with the device guarantees a smooth and uninterrupted user experience, allowing individuals to leverage the benefits of TextNow’s wireless service on their iPhone.
Troubleshooting Common Activation Issues
While activating a TextNow SIM card on an iPhone is typically a smooth process, users may encounter common activation issues that can hinder the setup. Understanding and addressing these issues is essential to ensure a successful activation. Here are some common activation issues and troubleshooting steps:
- Incorrect SIM Card Size: If the TextNow SIM card does not fit the iPhone’s SIM card slot, it may indicate an incorrect SIM card size. In this case, users should verify the SIM card size and exchange it for the correct size compatible with their iPhone.
- Network Connection Problems: Inadequate network connectivity during activation can lead to issues. Users should ensure a stable internet connection, either through Wi-Fi or cellular data, to facilitate the activation process without interruptions.
- Locked iPhone: If the iPhone is locked to a specific carrier, it may not support the TextNow SIM card. Users should contact their previous carrier to unlock the iPhone or consider using a compatible unlocked device for the TextNow SIM card.
- Incorrect APN Settings: Improper APN settings can result in connectivity issues. Users should double-check and input the correct TextNow APN settings in the iPhone’s cellular network settings to establish a proper data connection.
- Activation Server Delays: At times, delays in the activation server’s response can prolong the activation process. Users should wait for a reasonable duration and attempt the activation process again if the delay persists.
By identifying and addressing these common activation issues, users can overcome potential hurdles and ensure a successful activation of their TextNow SIM card on the iPhone. Troubleshooting these issues promptly can lead to a seamless activation experience, allowing users to harness the full potential of TextNow’s wireless service on their iPhone.