
Choosing the Right Round Brush
Finding the perfect round brush for your hair type and desired style is essential to achieve salon-worthy results. With various sizes, materials, and bristle types available, it can be overwhelming to make the right choice. However, by considering a few key factors, you can select the ideal round brush for your needs.
Firstly, take your hair length and thickness into account when choosing the brush diameter. If you have short or fine hair, opt for a smaller round brush, such as a 1-inch diameter. For longer and thicker hair, a larger barrel, like a 2-inch diameter, will provide better control and volume.
Next, consider the bristle type. Natural bristles are ideal for fine hair as they are gentle and help distribute natural oils. On the other hand, synthetic bristles are suitable for thick and coarse hair as they provide more tension and control while minimizing frizz.
The brush material is another factor to consider. Ceramic or tourmaline-coated brushes are great for frizz control and heat retention, promoting a smoother finish. If you’re looking to add extra shine to your hair, a boar bristle brush can help distribute natural oils and create a healthier appearance.
In addition to the brush size, bristle type, and material, it’s essential to consider the handle design for comfortable grip and control during styling. Look for a round brush with an ergonomic handle to prevent discomfort or strain on your wrist.
To summarize, choosing the right round brush involves considering your hair length, thickness, bristle type, material, and handle design. By selecting a brush that suits your specific needs, you’ll be able to achieve salon-worthy results at home. Experiment with different brushes to find the one that works best for you and take your hair styling to the next level.
Prepping Your Hair
Properly prepping your hair before using a round brush can make a significant difference in the overall result. Here are some essential steps to follow for optimal styling:
1. Start by washing your hair with a volumizing or smoothing shampoo and conditioner, depending on your desired style. Towel dry your hair gently to remove excess moisture.
2. Apply a heat protectant spray or cream to shield your hair from the damaging effects of heat styling tools. This step is crucial in preventing heat damage and maintaining the health of your hair.
3. Next, detangle your hair using a wide-tooth comb or brush. This will help distribute the product evenly and minimize any knots or tangles that may hinder the brushing process.
4. If you want to add extra volume to your hair, apply a volumizing mousse or root lifter to the roots. Work the product through your hair, focusing on the roots and mid-lengths.
5. For smooth and sleek styles, apply a frizz control serum or smoothing cream to tame any flyaways and create a polished finish. Remember to distribute the product evenly and avoid applying it directly to the roots to prevent weighing down the hair.
6. Lastly, ensure that your hair is completely dry before using a round brush and blow dryer. Using a round brush on damp hair can lead to frizz and heat damage. Use a blow dryer on low to medium heat settings and consistently move the dryer along the hair shaft for even drying.
By following these prepping steps, you’ll create the perfect foundation for using a round brush. Your hair will be nourished, protected, and primed for optimal styling results. Remember to adjust your prepping routine based on your hair type and desired style, and don’t forget to have fun experimenting with different products and techniques to achieve your desired look.
Sectioning Your Hair
Properly sectioning your hair before using a round brush is crucial to ensure even styling and better control over your hair strands. Here’s a step-by-step guide on how to section your hair effectively:
1. Start by dividing your hair into three main sections: the top, middle, and bottom sections. Use a comb or your fingers to create clean and precise partings.
2. Clip the top section of your hair out of the way using hair clips or hair ties. This will allow you to have better access to the lower sections without any interference.
3. Take a small section of hair from the bottom section and clip the rest of the hair back up again. The size of the section depends on the thickness of your hair – smaller sections for thicker hair and larger sections for thinner hair.
4. For each section, comb through the hair to remove any tangles or knots. This will ensure smooth and even styling with the round brush.
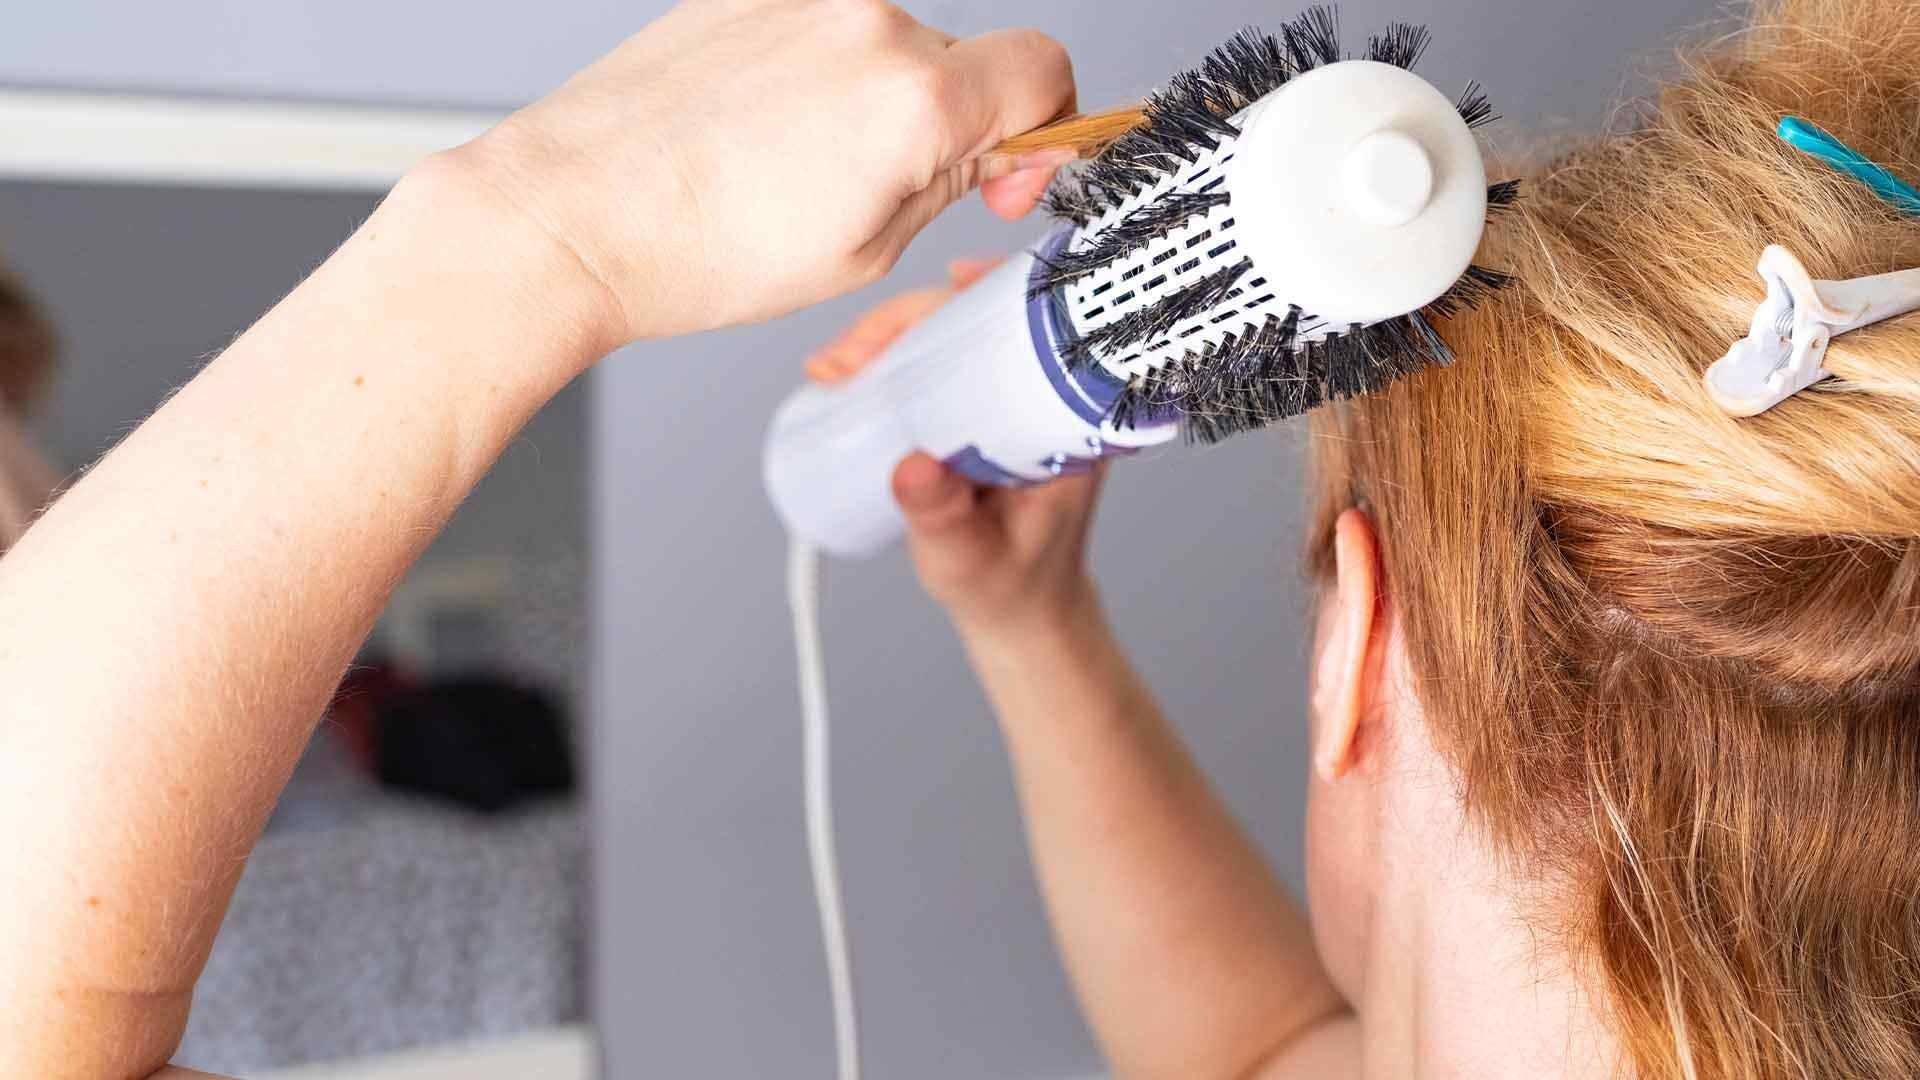
5. Hold the round brush at the root of the sectioned hair and roll it gently towards the ends. Use a blow dryer on medium heat to dry and shape the hair around the brush. Hold the brush in place for a few seconds to add volume and create the desired shape.
6. Repeat the process for each section, working your way up from the bottom to the top. Release and unclip the top section of hair, then divide it into smaller sections and style using the round brush technique.
7. Continue to brush and dry each section until your entire head of hair is styled to your liking. Don’t forget to adjust the heat and speed settings on the blow dryer as needed to avoid excessive heat exposure.
By sectioning your hair properly, you’ll have better control and ease of styling with a round brush. This technique allows you to focus on each section individually, resulting in a more polished and professional look. Practice this method and experiment with different sectioning techniques to find what works best for your hair type and desired style.
Blow-Drying Technique
Mastering the proper blow-drying technique is essential for achieving salon-like results when using a round brush. Here are some tips to help you blow-dry your hair effectively:
1. Before starting, ensure that your hair is at least 70-80% dry to minimize heat damage and maximize control.
2. Begin by using a heat protectant spray or cream to shield your hair from the high temperatures of the blow dryer. Apply the product evenly throughout your damp hair, focusing on the mid-lengths to the ends.
3. Use your fingers or a wide-tooth comb to detangle your hair and remove any knots or tangles. This will make it easier to maneuver the round brush through your hair during the blow-drying process.
4. Start blow-drying your hair by flipping your head upside down. This technique adds volume and lift to the roots. Use your fingers to lift the roots and direct the airflow from the blow dryer to create lift and movement.
5. Once your hair is about 90% dry, divide it into sections according to your preferred styling technique. Take a small section of hair and wrap it around the round brush. Hold the brush at the root and gently pull it downwards while applying heat from the blow dryer. This technique smooths the hair shaft and adds shape and bounce to your locks.
6. While blow-drying each section, maneuver the brush and blow dryer simultaneously. Follow the brush with the blow dryer from root to tip, using a rolling motion to create tension and shape. Ensure that the heat is evenly distributed throughout the section for consistent results.
7. Once a section is dry and styled, move on to the next section until your entire head of hair is dried and styled to perfection.
8. To set your style and add extra hold, finish with a blast of cool air from the blow dryer. This will help to seal the cuticle and enhance shine.
By mastering the blow-drying technique, you’ll be able to achieve salon-like results with a round brush. Take your time, be patient, and practice until you feel comfortable and confident with the process. Remember, practice makes perfect, and with time, you’ll become a pro at blow-drying your hair with a round brush.
Creating Volume
If you’re looking to add volume to your hair, using a round brush during the blow-drying process can work wonders. Here are some techniques to help you create volume with a round brush:
1. Start by applying a volumizing mousse or spray to damp hair. Focus on the roots and distribute the product evenly throughout your hair. This will provide extra lift and hold as you blow-dry.
2. Flip your hair upside down and begin blow-drying from the roots. Use your fingers to lift the hair at the roots and direct the airflow from the blow dryer. This technique helps to create instant volume and lift.
3. As you work through different sections of your hair, use a round brush to pull the hair upwards at the roots while blow-drying. This technique adds even more lift and volume to the hair.
4. When using the round brush, roll the sections of hair away from your face. This technique creates more body and movement.
5. Another tip to add volume is to hold the round brush horizontally at the roots and blow-dry upward. This technique pushes the hair up, creating lift and volume at the root area.
6. While blow-drying, twist the brush slightly as you move it through the hair. This adds texture and body, contributing to a voluminous look.
7. Once you’ve finished blow-drying each section, allow the hair to cool before releasing it from the round brush. This helps to set the volume and hold in place for longer.
8. To enhance the volume further, use a texturizing spray or dry shampoo at the roots. Apply the product, then massage and fluff the hair with your fingers for added lift and volume.
By incorporating these techniques into your styling routine, you can achieve beautiful, voluminous hair with the help of a round brush. Play around with different methods and find what works best for your hair type and desired volume. With a little practice and experimentation, you’ll be able to create gorgeous, voluminous hairstyles that turn heads.
Smooth and Sleek Finish
For those looking to achieve a smooth and sleek look, using a round brush during the blow-drying process can help you achieve the desired result. Here are some techniques to help you achieve a smooth and sleek finish with a round brush:
1. Start by applying a smoothing serum or cream to damp hair. This will help reduce frizz and add shine to your locks. Be sure to distribute the product evenly from roots to ends.
2. Begin blow-drying your hair by using a paddle brush or your fingers to remove excess moisture. This will minimize frizz and create a smooth foundation for the round brush.
3. Once your hair is about 80% dry, divide it into sections and start using a round brush. Take a small section of hair and wrap it around the round brush, making sure each section is taut. Use the blow dryer to apply heat while gently pulling the brush and hair downwards. This technique helps to smooth the hair shaft and create a sleek finish.
4. Ensure that the heat from the blow dryer is evenly distributed and not concentrated in one area. Move the blow dryer and brush consistently along each section to avoid overheating or causing damage.
5. If you encounter stubborn frizz or flyaways, spritz some anti-frizz spray or apply a small amount of hair serum to your fingertips, then lightly run your fingers over the problem areas. This will help tame any unruly strands and create a polished, sleek look.
6. As you work through each section, focus on maintaining tension with the round brush. The tension combined with the heat from the blow dryer will help smooth out the hair and eliminate any kinks or waves.
7. Once you have fully blow-dried and styled your hair, finish with a blast of cool air from the blow dryer. This will help set the style and provide a smooth, shiny finish.
By incorporating these techniques into your blow-drying routine, you can achieve a smooth and sleek finish with the help of a round brush. Practice these techniques, experiment with different products, and adjust the heat settings on your blow dryer to find what works best for your hair type and desired style. With a little patience and effort, you’ll be able to achieve a salon-quality smooth and sleek look in no time.
Curling Your Hair
If you’re looking to add some curls or waves to your hair, a round brush can be a versatile tool for achieving the desired look. Here are some tips for curling your hair with a round brush:
1. Start with dry or slightly damp hair. Applying heat to wet hair can cause damage and won’t hold the curl as effectively.
2. Apply a heat protectant spray or cream to shield your hair from the heat of the curling iron and blow dryer. This will help prevent damage and maintain the health of your hair.
3. Divide your hair into manageable sections. Clip the rest of your hair out of the way, leaving only the section you are working on.
4. Take a small section of hair and comb through it to remove any tangles or knots. Hold the round brush horizontally and place it at the ends of your hair.
5. Roll the round brush upwards towards the roots, using the blow dryer to apply heat as you go. Hold the brush in place for a few seconds to create tension and set the curl.
6. Once the hair is curled around the round brush, carefully slide the brush out while holding the curl in place with your fingers. Allow the curl to cool down before releasing it to ensure it holds its shape.
7. Continue this technique, working through each section of your hair until all of your hair is curled to your liking.
8. If you want looser curls or waves, use a larger diameter round brush. For tighter curls, opt for a smaller diameter brush.
9. Once all of your hair is curled, gently run your fingers through the curls to separate and soften them, creating a more natural look.
10. Finish with a light-hold hairspray to help set the curls and keep them in place throughout the day.
By using a round brush to curl your hair, you can achieve beautiful, bouncy curls or soft waves. Remember to be patient, practice the technique, and adjust the size of the round brush to achieve your desired curl style. With time and experimentation, you’ll be able to create stunning, long-lasting curls with the help of a round brush.
Maintaining Your Round Brush
Proper maintenance of your round brush is essential to ensure its longevity and effectiveness in styling your hair. Here are some tips on how to maintain your round brush:
1. After each use, remove any trapped hair from the bristles. Use a comb or your fingers to gently loosen and remove the hair. This will prevent the build-up of hair and product residue, ensuring optimal performance.
2. Clean your round brush regularly to remove any dirt or product buildup. Fill a basin with warm water and a mild shampoo or dish soap. Swirl the brush in the soapy water, paying attention to the bristles and base. Rinse thoroughly with clean water and allow it to air dry.
3. If your round brush has heat-resistant or ceramic-coated bristles, avoid using harsh chemicals or high heat to clean it, as this can damage the bristles. Stick to gentle cleaning methods and avoid applying excessive pressure or force.
4. Store your round brush in a clean and dry place. Avoid storing it in a humid or damp environment, as this can promote the growth of mold or mildew. Additionally, avoid placing heavy objects on top of the brush, as this can cause the bristles to bend or break.
5. Check the condition of the bristles regularly. If you notice any bristles that are bent, damaged, or missing, it’s time to replace your round brush. Damaged bristles can snag or pull on your hair, leading to breakage or discomfort during styling.
6. Avoid using excessive heat on your round brush. While it is designed to withstand heat, prolonged exposure to high heat can damage the bristles and compromise their performance. Opt for moderate heat settings and avoid direct contact with heating elements.
7. Invest in a quality round brush made from durable materials. High-quality brushes tend to last longer and provide better results. Look for brushes with heat-resistant bristles and a sturdy handle for comfortable and effective styling.
By following these maintenance tips, you can ensure that your round brush remains in top condition, allowing you to style your hair effortlessly and with optimal results. Take care of your round brush, and it will continue to be a valuable tool in your hairstyling routine for years to come.