
Choosing and Preparing the Picture Frame
When it comes to creating captivating and visually appealing presentations in PowerPoint, the right picture frame can make a significant difference. By choosing a suitable picture frame and preparing it properly, you can enhance the overall impact of your slides. Here are some tips to help you in this process:
- Consider the theme: The picture frame should align with the theme and content of your presentation. For formal or professional settings, a clean and simple frame works well. Conversely, for creative or informal presentations, you can opt for more elaborate and decorative frames.
- Evaluate the picture: Before selecting a frame, assess the picture you intend to insert. Consider factors such as composition, colors, and the overall mood of the image. This evaluation will help you choose a frame that complements and enhances the picture.
- Match the frame to your branding: If you have established a consistent branding style for your presentations, try to select a picture frame that aligns with your brand colors and overall aesthetic. This will create a cohesive and professional look.
- Prepare the picture: Before inserting the picture into the frame, it is crucial to ensure that it is properly optimized. This includes resizing, cropping, and adjusting the brightness and contrast if necessary. By doing so, you can ensure that the picture fits well within the frame and appears visually appealing.
By considering these aspects and taking the time to choose and prepare the picture frame, you can set the stage for a visually stunning presentation. The right frame will help convey your message effectively and engage your audience. Now that you have selected the perfect frame, it’s time to learn how to insert it into your PowerPoint slide.
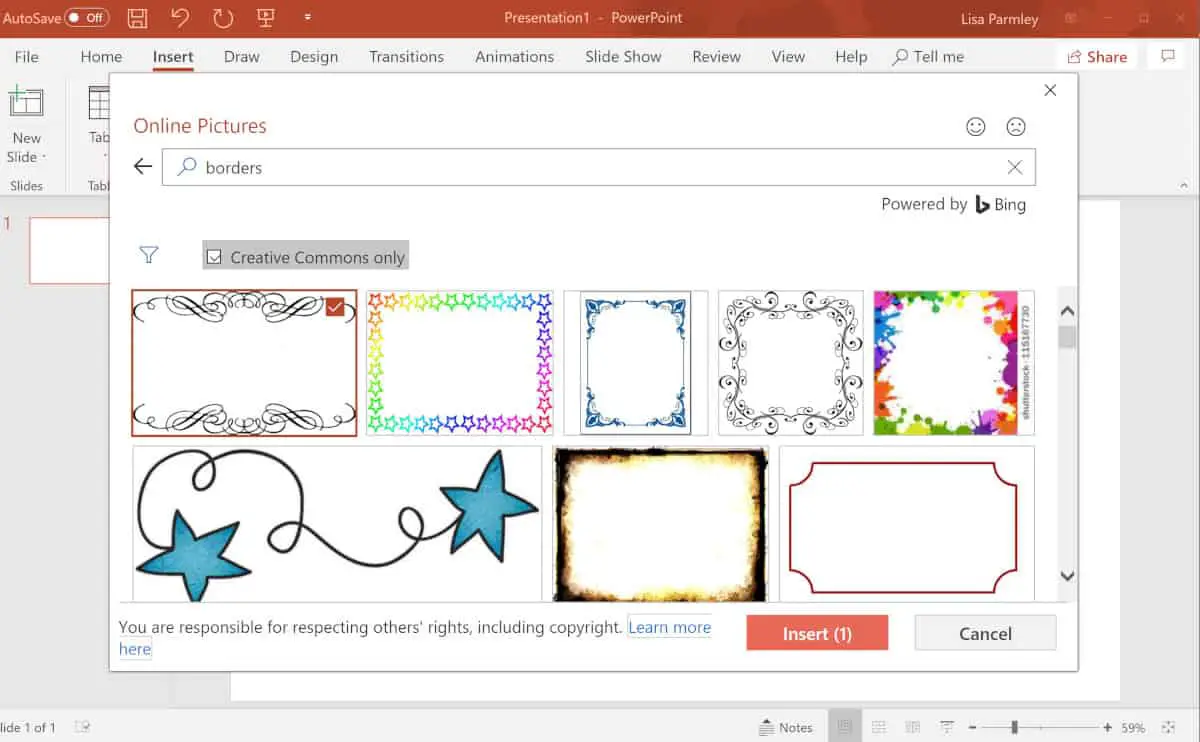
Inserting a Picture Frame using the Default Options
Once you have chosen and prepared the picture frame, it’s time to insert it into your PowerPoint slide. PowerPoint provides default options for inserting picture frames, making the process quick and straightforward. Follow these steps to insert a picture frame:
- Select the slide: Open the PowerPoint presentation and navigate to the slide where you want to insert the picture frame. Click on that slide to select it.
- Go to the “Insert” tab: At the top of the PowerPoint window, you’ll find a menu bar. Click on the “Insert” tab to access the various insert options.
- Click on “Pictures”: Within the “Images” section of the “Insert” tab, you’ll find the “Pictures” option. Click on it to open the file browser and locate the picture you want to insert into the frame.
- Choose the picture: Browse through your computer’s files and select the picture you want to insert. Once selected, click on the “Insert” button at the bottom-right corner of the window. The picture will now appear on the slide.
- Apply the default picture frame: With the picture selected, navigate to the “Format” tab. Within the “Picture Styles” group, you’ll find various pre-designed picture frames. Hover over each frame to see a live preview. Click on the desired frame to apply it to your picture.
By following these steps, you can quickly and effortlessly insert a picture frame using the default options in PowerPoint. The pre-designed frames offer a range of styles to choose from, allowing you to add a visually appealing touch to your slides. However, if you want to customize the shape of the picture frame or modify its size and position, continue reading the next section.
Customizing the Shape of the Picture Frame
PowerPoint provides a range of options to customize the shape of the picture frame, allowing you to add a unique and personalized touch to your presentation. Whether you want to create a frame with rounded corners or apply a specific shape to it, the customization possibilities are endless. Follow these steps to customize the shape of the picture frame:
- Select the picture frame: Open the PowerPoint presentation and navigate to the slide containing the picture frame you wish to customize. Click on the picture frame to select it.
- Go to the “Format” tab: At the top of the PowerPoint window, click on the “Format” tab. This tab contains various options for formatting and customizing objects, including picture frames.
- Access the “Picture Border” settings: Within the “Format” tab, you’ll find the “Picture Border” section. Click on the small arrow next to it to expand the options.
- Choose a shape for the picture frame: Within the “Picture Border” section, you’ll find the “Shape” dropdown menu. Click on it to see a wide selection of pre-defined shapes to choose from. Scroll through the options and click on the desired shape to apply it to the frame.
- Adjust the shape properties: After applying a shape, you can further customize its properties. Right-click on the picture frame and select “Format Picture” from the dropdown menu. In the Format Picture pane, navigate to the “Shape Options” tab to adjust properties like shape fill, outline, and effects.
By following these steps, you can easily customize the shape of the picture frame in PowerPoint. Experiment with different shapes, such as rounded rectangles, diamonds, or triangles, to create a unique and visually appealing frame that suits your presentation’s style. In the next section, we’ll explore how to adjust the size and position of the picture frame to ensure proper placement on your slide.
Adjusting the Size and Position of the Picture Frame
After customizing the shape of your picture frame, it’s important to ensure that it is properly sized and positioned on your PowerPoint slide. By adjusting these parameters, you can create a visually balanced and aesthetically pleasing composition. Follow these steps to adjust the size and position of the picture frame:
- Select the picture frame: Open your PowerPoint presentation and navigate to the slide containing the picture frame you want to modify. Click on the picture frame to select it.
- Go to the “Format” tab: At the top of the PowerPoint window, click on the “Format” tab. This tab provides a range of options for formatting and adjusting objects.
- Resize the picture frame: Within the “Size” group on the “Format” tab, you’ll find controls to adjust the size of the picture frame. You can manually enter specific width and height values or use the corner handles to resize the frame proportionally.
- Position the picture frame: Drag and drop the picture frame to the desired location on the slide. You can also fine-tune its position by using the arrow keys on your keyboard for precise adjustments.
When adjusting the size and position, keep in mind the overall layout of your slide and the surrounding elements. Strive for a balanced composition where the picture frame harmonizes with other objects and text on the slide. Additionally, ensure that the frame is not covering any crucial information or overshadowing the main content of your slide.
By following these steps, you can easily adjust the size and position of the picture frame in PowerPoint. Experiment with different sizes and positions to find the perfect placement that enhances your presentation and grabs your audience’s attention. In the next section, we’ll explore how to add effects and formatting to further enhance the visual appeal of the picture frame.
Adding Effects and Formatting to the Picture Frame
To make your picture frame stand out and add visual interest to your PowerPoint slide, you can apply various effects and formatting options. PowerPoint provides a range of customization features that allow you to enhance the appearance of the frame. Follow these steps to add effects and formatting to your picture frame:
- Select the picture frame: Open your PowerPoint presentation and navigate to the slide containing the picture frame you want to modify. Click on the picture frame to select it.
- Go to the “Format” tab: At the top of the PowerPoint window, click on the “Format” tab. This tab provides options for formatting and adjusting objects.
- Apply predefined styles: Within the “Picture Styles” group, you’ll find a collection of pre-designed picture styles. Hover over each style to see a live preview on your picture frame. Select the desired style by clicking on it to apply it instantly.
- Customize with additional effects: To further enhance the picture frame, you can apply additional formatting effects. In the “Picture Effects” group, you’ll find options to add shadows, reflections, glows, or bevels to the frame. Experiment with these effects to achieve the desired visual impact.
- Modify shape fill and outline: For more advanced customization, you can modify the fill and outline properties of the picture frame. Within the “Shape Styles” group, you’ll find options to change the fill color, gradient, or pattern, as well as the outline color, weight, and style.
- Adjust transparency and brightness: To further fine-tune the appearance of the picture frame, you can adjust its transparency or brightness. These options can be found within the “Format” tab, under the “Picture Styles” and “Picture Effects” groups respectively.
By applying effects and formatting to the picture frame, you can add a professional and polished touch to your PowerPoint slide. However, it’s important to use these enhancements sparingly and ensure that they align with the overall theme and content of your presentation. In the next section, we’ll explore how to edit and replace the picture within the frame.
Editing and Replacing the Picture in the Frame
At times, you may need to update or change the picture within the frame in your PowerPoint slide. Whether you want to edit the current image or replace it with a new one, PowerPoint provides simple and convenient options for making these adjustments. Follow these steps to edit or replace the picture in the frame:
- Select the picture frame: Open your PowerPoint presentation and navigate to the slide containing the picture frame you want to modify. Click on the picture frame to select it.
- Go to the “Format” tab: At the top of the PowerPoint window, click on the “Format” tab. This tab provides options for formatting and adjusting objects.
- Access the picture editing options: Within the “Format Picture” pane, navigate to the “Picture” tab. Here, you’ll find various editing options to modify the current image or replace it with a new one.
- Edit the current image: If you want to make changes to the existing picture, you can use the cropping, rotation, or brightness/contrast adjustments provided in the “Picture” tab. Experiment with these options to achieve the desired effect.
- Replace the image: To replace the current image with a new one, click on the “Change Picture” button within the “Picture” tab. A file browser will open, allowing you to locate and select the new image to insert into the frame.
- Adjust the new picture: Once you’ve replaced the image, you can use the resizing and positioning techniques mentioned earlier to fit it properly within the picture frame.
By following these steps, you can easily edit or replace the picture within the frame in your PowerPoint slide. This flexibility allows you to update your presentation with fresh, relevant visuals and ensure that your audience receives up-to-date information. In the next section, we’ll explore how to group multiple picture frames together for coordinated effects and adjustments.
Grouping Multiple Picture Frames Together
In certain situations, you may want to create visual impact by grouping multiple picture frames together in your PowerPoint slide. Grouping allows you to treat multiple frames as a single object, making it easier to move, resize, or apply formatting effects to them as a collective unit. Here’s how you can group multiple picture frames:
- Select the picture frames: Open your PowerPoint presentation and navigate to the slide containing the picture frames you want to group together. Hold down the Ctrl key on your keyboard and click on each picture frame to select them individually.
- Go to the “Format” tab: At the top of the PowerPoint window, click on the “Format” tab. This tab provides options for formatting and adjusting objects.
- Access the grouping options: Within the “Arrange” group on the “Format” tab, you’ll find the “Group” button. Click on it to access the grouping options.
- Group the selected picture frames: From the grouping options, choose “Group” to combine the selected picture frames into a single grouped object.
Once the picture frames are grouped together, you can treat them as a single entity. This means you can move, resize, or apply formatting effects to the entire group, ensuring consistency across the frames. It’s worth noting that you can also ungroup the frames later if needed by selecting the group, clicking on the “Group” button again, and choosing “Ungroup”.
By grouping multiple picture frames, you can create visually appealing arrangements and apply consistent formatting across them. This technique allows you to achieve coordinated effects and save time when making adjustments to multiple frames simultaneously. In the next section, we’ll explore how to lock and unlock the picture frame to prevent accidental changes.
Locking and Unlocking the Picture Frame
When working on a PowerPoint slide, it’s essential to prevent accidental changes to the picture frame once you have finalized its position and formatting. PowerPoint provides a lock feature that allows you to protect the picture frame from accidental modifications. Here’s how you can lock and unlock the picture frame:
- Select the picture frame: Open your PowerPoint presentation and navigate to the slide containing the picture frame you want to lock or unlock. Click on the picture frame to select it.
- Go to the “Format” tab: At the top of the PowerPoint window, click on the “Format” tab. This tab provides options for formatting and adjusting objects.
- Access the lock options: Within the “Arrange” group on the “Format” tab, you’ll find the “Selection Pane” button. Click on it to open the Selection Pane dialog box.
- Lock or unlock the picture frame: In the Selection Pane dialog box, you’ll see a list of objects on your slide, including the selected picture frame. Locate the picture frame in the list and click on the small padlock icon next to it to either lock or unlock the frame.
When you lock a picture frame, it becomes uneditable, preventing accidental movement, resizing, or formatting changes. This is particularly useful when you want to maintain the exact positioning and appearance of the picture frame. If you need to make changes to a locked frame, you can unlock it temporarily by following the same steps and clicking on the padlock icon again.
By utilizing the lock feature, you can ensure that your picture frame remains intact and preserves its intended design. This provides peace of mind and saves you from potential frustrations caused by accidental modifications. In the next section, we’ll explore how to duplicate and reuse the picture frame in your PowerPoint presentation.
Duplicating and Reusing the Picture Frame
When you have a picture frame design that you want to replicate throughout your PowerPoint presentation, duplicating and reusing the frame can save you time and effort. PowerPoint offers simple methods to duplicate and reuse picture frames, allowing you to maintain consistency and a cohesive visual style. Here’s how you can duplicate and reuse a picture frame:
- Select the picture frame: Open your PowerPoint presentation and navigate to the slide containing the picture frame you want to duplicate. Click on the picture frame to select it.
- Copy the picture frame: There are a few ways to copy the picture frame:
- Right-click on the selected picture frame, choose “Copy” from the context menu, and then right-click on the slide where you want to duplicate it and choose “Paste”.
- Press Ctrl+C on your keyboard to copy the picture frame and press Ctrl+V to paste it onto the desired slide.
- Hold down the Ctrl key on your keyboard and drag the picture frame to the new slide to create a duplicate.
- Modify the duplicated picture frame: After duplicating the picture frame, you can customize it as needed. This includes changing the image within the frame, modifying the formatting, or adjusting its position and size to fit the new slide.
- Repeat the process: To reuse the picture frame on multiple slides, repeat the copy and paste process for each slide where you want to include the frame.
By duplicating and reusing the picture frame, you can maintain consistent visuals throughout your PowerPoint presentation. This approach is especially useful when working with templates, creating a cohesive design flow, or highlighting specific content across different slides. It saves you from recreating the frame from scratch on each slide.
With these simple steps, you can efficiently duplicate and reuse picture frames in PowerPoint, ensuring a consistent and visually appealing presentation. In the next section, we’ll discuss common troubleshooting techniques for picture frames in PowerPoint.
Troubleshooting Common Issues with Picture Frames
While working with picture frames in PowerPoint, you may encounter various issues that can affect the appearance or functionality of your frames. Understanding how to troubleshoot these common issues will help you resolve them quickly and ensure that your picture frames work as intended. Here are some troubleshooting techniques for common issues with picture frames:
- Image not fitting inside the frame: If the inserted image is too large or small for the picture frame, select the frame, go to the “Format” tab, and use the resizing options to adjust the frame dimensions or choose a different image that better matches the frame size.
- Poor image quality: If the inserted image appears pixelated or blurry, check the resolution and quality of the original image file. Consider using higher-resolution images to ensure clarity when scaling or enlarging the picture frame.
- Picture frame covering slide content: If the picture frame is overlapping important slide elements, select the frame, right-click, and choose “Send to Back” or “Bring to Front” from the context menu. Alternatively, use the “Format” tab to adjust the order of the picture frame relative to other slide objects.
- Unable to select the picture frame: If you are having trouble selecting the picture frame, it may be located behind other objects on the slide. Use the “Selection Pane” on the “Format” tab to access and select the frame when it’s hidden under or within other elements.
- Inconsistent formatting across picture frames: If you have multiple picture frames that need consistent formatting, ensure that you copy and paste the picture frame styles along with the frame itself. Additionally, double-check individual formatting options and make adjustments as needed.
- Picture frame not displaying: If a picture frame is not appearing on your slide, double-check the visibility settings. It may be set to hidden or accidentally deleted. Use the “Selection Pane” or “Slide Master” to verify if the frame exists and adjust its visibility settings accordingly.
By employing these troubleshooting techniques, you can overcome common issues and glitches related to picture frames in PowerPoint. Remember to save your presentation regularly to avoid losing any progress or modifications. With a little troubleshooting, you can ensure that your picture frames function seamlessly and enhance your presentation’s visual impact.
