
Why cleaning your Clarisonic brush is important
Your Clarisonic brush is a valuable tool for maintaining a healthy and radiant complexion. However, in order for it to continue working effectively, it is crucial to clean it regularly. Proper cleaning ensures that the brush remains free from dirt, oil, and bacteria that can accumulate over time. Here are a few reasons why cleaning your Clarisonic brush is important:
- Preventing breakouts: As you use your Clarisonic brush, it collects oil, dead skin cells, and other impurities from your face. If left uncleansed, these build-ups can clog the brush bristles, promoting the growth of bacteria which can lead to breakouts and skin irritations.
- Preserving brush performance: Regular cleaning helps maintain the effectiveness of your Clarisonic brush. The accumulation of dirt and oils on the brush head can hinder its ability to effectively cleanse and exfoliate your skin. By keeping it clean, you can ensure that it continues to provide optimal results.
- Preventing bacteria growth: The moist environment of your Clarisonic brush provides an ideal breeding ground for bacteria. By cleaning it after each use, you can minimize the risk of bacterial growth, reducing the chances of skin infections and breakouts.
- Increasing brush longevity: Proper cleaning extends the lifespan of your Clarisonic brush. By removing debris and bacteria regularly, you can prevent premature wear and tear, ensuring your brush lasts longer and continues to deliver effective results.
- Preserving skin health: Your skin deserves the best care possible, and a clean Clarisonic brush plays a pivotal role in achieving that. Regular cleaning can help prevent the transfer of germs and impurities to your skin, keeping it healthy, radiant, and free from unnecessary contamination.
As you can see, cleaning your Clarisonic brush is not just a matter of hygiene, but also essential for maintaining healthy and clear skin. By incorporating regular cleaning into your skincare routine, you can optimize the performance and longevity of your brush while ensuring that your skin remains fresh and blemish-free.
Materials needed for cleaning
To effectively clean your Clarisonic brush, you will need a few simple materials. Before you begin, make sure you have the following items on hand:
- Mild soap or brush cleanser: Choose a gentle and non-abrasive soap or specially formulated brush cleanser. Avoid using harsh chemicals or abrasive cleaners, as they can damage the bristles of your brush.
- Warm water: Use lukewarm water for rinsing your brush head and cleaning the handle and charger. Avoid using hot water, as it can potentially damage the device.
- Clean towel or cloth: Have a clean towel or cloth ready to dry the brush head and other components after cleaning. Ensure that it is lint-free and designated for skincare purposes.
- Bowl or container: Prepare a small bowl or container to soak the brush head. Choose a container that is large enough to submerge the brush head completely.
- Cotton swabs: Cotton swabs are helpful for cleaning hard-to-reach areas, such as the brush handle and base. They can also be used to remove any excess dirt or buildup from the brush head.
- Optional: Clarisonic brush cleanser solution: If desired, you can use a Clarisonic brush cleanser solution specifically designed for deep cleaning and disinfecting your brush. Follow the instructions on the product label for best results.
Having these materials readily available will streamline the cleaning process and ensure that you have everything you need to effectively maintain your Clarisonic brush. It’s important to note that the specific materials required may vary depending on your personal preference and the cleaning method you choose. With the right materials and a little bit of time, you’ll have your Clarisonic brush looking and working as good as new.
Step 1: Removing the brush head
Before you begin cleaning your Clarisonic brush, the first step is to remove the brush head. Follow these simple instructions:
- Turn off your Clarisonic brush: Make sure the brush is turned off before proceeding with the removal of the brush head. This will prevent any accidental activation during the cleaning process.
- Gently grip the brush head: Hold the brush head firmly with one hand. Use a gentle but firm grip to ensure that it doesn’t slip out of your hand while removing it from the handle.
- Twist and detach the brush head: With a steady grip, twist the brush head counterclockwise to detach it from the handle. Continue twisting until the brush head comes off completely.
- Inspect the brush head: Once removed, inspect the brush head for any visible debris or product buildup. This is a good opportunity to check the condition of the bristles and assess if it needs replacement.
It’s important to handle the brush head with care, avoiding applying excessive force that could potentially damage the bristles or the connection mechanism. By following these steps, you can safely remove the brush head from your Clarisonic brush, setting the stage for thorough cleaning and maintenance.
Step 2: Soaking the brush head
Once you have successfully removed the brush head from your Clarisonic brush, the next step is to soak it. Soaking helps to loosen any dirt, oils, and impurities that may have accumulated in the bristles. Follow these steps to properly soak your brush head:
- Prepare a container: Fill a small bowl or container with lukewarm water. Ensure that the container is large enough to fully submerge the brush head.
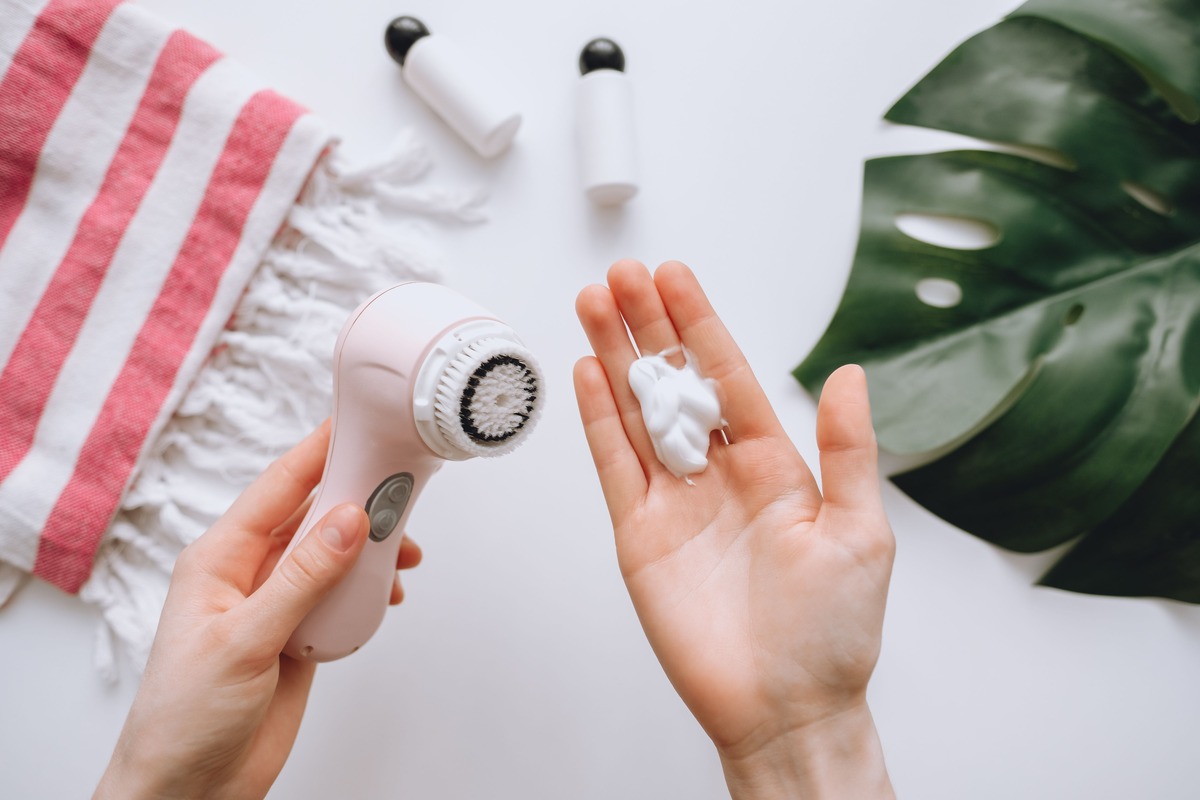
- Add a gentle cleanser: Add a small amount of mild soap or brush cleanser to the water. Gently swirl the water with your hand to create a soapy solution. If you prefer, you can also use a Clarisonic brush cleanser solution.
- Place the brush head in the solution: Submerge the brush head into the soapy water, making sure that the bristles are fully covered. Allow the brush head to soak for about 10-15 minutes. This will give enough time for the cleanser to penetrate and loosen any debris.
- Gently agitate the brush head: After the soaking period, take the brush head out of the water and gently agitate it with your fingers. This helps to further dislodge any dirt or residue trapped in the bristles. Be careful not to apply too much pressure to avoid damaging the bristles.
Soaking the brush head is an essential step in the cleaning process, as it helps to loosen and dissolve impurities. By following these steps, you can ensure that your brush head is properly soaked, setting the foundation for a thorough cleaning in the next steps.
Step 3: Washing the brush head
Now that you have soaked the brush head of your Clarisonic brush, it’s time to give it a thorough washing. Follow these steps to effectively clean the brush head:
- Rinse off the soap: Begin by rinsing the brush head under lukewarm water. Make sure to rinse off any soap residue and gently squeeze the bristles to remove any trapped debris. Repeat this process until the water runs clear.
- Apply cleanser (optional): If you wish to give your brush head an extra deep clean, you can apply a small amount of mild soap or Clarisonic brush cleanser directly to the bristles. Massage the cleanser into the bristles using your fingers, working it in gently to ensure all areas are covered.
- Gently scrub the brush head: Using your fingers or a soft toothbrush, gently scrub the brush head in circular motions to further loosen any impurities. Be careful not to apply too much pressure, as this can damage the bristles.
- Rinse thoroughly: Rinse the brush head under lukewarm water once again to remove any soap or cleanser residue. Ensure that all traces of cleanser are thoroughly rinsed out.
Properly washing the brush head is crucial to removing dirt, oils, and buildup that may have accumulated during use. Take your time to ensure that the bristles are thoroughly cleaned, as this will contribute to the effectiveness and longevity of your Clarisonic brush.
Step 4: Drying the brush head
After washing your Clarisonic brush head, it’s important to properly dry it to prevent the growth of bacteria and maintain its longevity. Follow these steps to effectively dry the brush head:
- Gently squeeze excess water: Use your fingers to gently squeeze out any excess water from the bristles. Be careful not to twist or pull on the bristles as this can cause damage.
- Pat dry with a towel: Place a clean towel or cloth on a flat surface and lay the brush head on top. Gently pat the bristles dry with the towel, absorbing any remaining moisture. Avoid rubbing the bristles vigorously, as this can cause them to fray or become misshapen.
- Air dry: Leave the brush head to air dry completely before reattaching it to the handle. Find a clean, well-ventilated area to allow the brush head to dry naturally. Ensure that it is completely dry before using or storing to prevent the growth of bacteria or mold.
- Avoid using heat: Avoid using heat to dry the brush head, as it can potentially damage the bristles. Do not expose the brush head to direct sunlight or use a hairdryer, as the excessive heat can distort the shape of the bristles.
It’s important to exercise patience during the drying process to ensure that the brush head is completely dry before its next use. By following these steps, you can effectively dry your Clarisonic brush head and maintain its cleanliness and performance for continued use.
Step 5: Cleaning the handle and charger
In addition to cleaning the brush head, it’s essential to keep the handle and charger of your Clarisonic brush clean as well. Follow these steps to effectively clean the handle and charger:
- Turn off and unplug your Clarisonic brush: Before cleaning the handle and charger, make sure your Clarisonic brush is turned off and unplugged from any power source. This ensures your safety during the cleaning process.
- Dampen a soft cloth or cotton swab: Moisten a soft cloth or cotton swab with lukewarm water. Ensure it is not dripping wet, as excessive moisture can damage the device.
- Gently wipe the handle: Use the damp cloth or cotton swab to gently wipe the handle of your Clarisonic brush. Pay attention to any areas with visible dirt or residue. Be cautious around buttons and openings to avoid getting water inside the device.
- Clean the charger: Wipe the charging cradle or connector using the same damp cloth or cotton swab. Be gentle but thorough, removing any dirt or debris that may have accumulated over time.
- Dry the handle and charger: After cleaning, use a clean, dry cloth to wipe the handle and charger of any moisture. Ensure they are completely dry before reconnecting the brush head or plugging in the device.
Regular cleaning of the handle and charger not only maintains the cleanliness of your Clarisonic brush but also helps to prevent the build-up of dirt and debris. By following these steps, you can keep your handle and charger in great condition, ensuring a hygienic and hassle-free experience with your Clarisonic brush.
Step 6: Cleaning the brush handle
While you have already cleaned the brush head, handle, and charger, it’s essential to pay special attention to the brush handle to maintain its cleanliness. Follow these steps to effectively clean the brush handle of your Clarisonic brush:
- Dampen a soft cloth or sponge: Moisten a soft cloth or sponge with lukewarm water. Ensure it is not too wet, as excessive moisture can damage the brush handle.
- Add soap or cleanser: Apply a small amount of mild soap or brush cleanser to the damp cloth or sponge. Gently lather the handle, ensuring that all sides and surfaces are covered.
- Clean the handle: Use the damp cloth or sponge to wipe and scrub the handle of your Clarisonic brush. Pay attention to any areas with visible dirt or residue, such as buttons or crevices. Take care not to submerge the handle in water or use excessive pressure that might affect the functionality of the device.
- Rinse the handle: Rinse the handle thoroughly with lukewarm water. This will help remove any soap or cleanser residue. Ensure that no water enters the openings or charging port of the device.
- Dry the handle: After rinsing, use a clean, dry cloth to wipe the handle of any moisture. Make sure it is completely dry before reconnecting the brush head or using the device again.
Regular cleaning of the brush handle helps maintain its cleanliness and hygiene, ensuring a pleasant and effective skincare experience with your Clarisonic brush. By following these steps, you can keep the handle clean and in excellent condition for extended use.
Step 7: Cleaning the brush base
In addition to cleaning the brush head and handle of your Clarisonic brush, it’s important to give attention to the brush base as well. Follow these steps to effectively clean the brush base:
- Disconnect the brush head: Before cleaning the brush base, make sure the brush head is removed from the handle. This will allow easier access to the base and prevent accidental activation of the device.
- Dampen a soft cloth or cotton swab: Moisten a soft cloth or cotton swab with lukewarm water. Make sure it is not dripping wet, as excessive moisture can cause damage to the device.
- Clean the brush base: Use the damp cloth or cotton swab to gently wipe the brush base. Pay attention to any areas with visible dirt or residue. Take care not to let any liquid enter the openings or buttons of the device.
- Remove stubborn residue (if necessary): If there are any stubborn residues on the brush base, you can use a mild soap or brush cleanser along with the cloth or cotton swab to gently scrub and remove the residue. Rinse off any soap or cleanser residue with lukewarm water.
- Dry the brush base: After cleaning, use a clean, dry cloth to wipe the brush base of any moisture. Make sure it is completely dry before reattaching the brush head or using the device again.
Cleaning the brush base helps maintain the overall cleanliness and performance of your Clarisonic brush. By following these steps, you can ensure that the brush base remains free from dirt and residue, allowing for a hygienic and effective skincare routine.
Step 8: Reassembling the brush
After thoroughly cleaning the brush head, handle, base, and charger of your Clarisonic brush, it’s time to reassemble the components for future use. Follow these steps to properly reassemble the brush:
- Ensure everything is dry: Before reassembling, double-check that all cleaned components, including the brush head, handle, and base, are completely dry. Any residual moisture may lead to bacterial growth or damage to the device.
- Hold the brush head: Take the dry brush head and hold it firmly but gently in your hand.
- Align and twist: Align the brush head with the opening on the handle. Slowly and carefully twist the brush head clockwise until it is securely attached to the handle. Make sure it is tight enough to avoid any accidental detachment during use.
- Attach the brush base (if applicable): If you removed the brush base for cleaning, align it with the handle connector and twist it securely in a clockwise direction. Ensure that it is firmly attached to provide a stable connection between the handle and the charger.
- Plug in the charger: If the brush charger was disconnected, plug it back into a power source. Make sure the charger is securely connected to the brush base or handle for proper charging functionality.
Reassembling the brush allows you to restore its functionality and ensures that the components work together effectively. By following these steps, you can safely and successfully reassemble your Clarisonic brush for future use in your skincare routine.
Tips and tricks for keeping your Clarisonic brush clean
In addition to following the cleaning steps, there are several tips and tricks you can incorporate into your skincare routine to keep your Clarisonic brush clean and high-performing. Consider implementing the following practices:
- Clean after each use: Make it a habit to clean your Clarisonic brush after every use. This prevents the buildup of dirt, oils, and bacteria and ensures that your brush remains hygienic and effective.
- Replace brush heads regularly: Over time, the bristles on your brush head will wear out and become less effective. It is recommended to replace the brush head every three months or as recommended by the manufacturer to maintain optimal performance and hygiene.
- Avoid sharing your brush: While it may be tempting to share your Clarisonic brush with someone else, it is best to avoid doing so. Sharing your brush can transfer bacteria and other impurities, compromising the cleanliness and effectiveness of the brush.
- Store your brush properly: Ensure that your Clarisonic brush is stored in a clean and dry area when not in use. Avoid leaving it in humid environments, such as the bathroom, as this can promote the growth of bacteria.
- Regularly disinfect your brush: To further maintain cleanliness, consider disinfecting your Clarisonic brush components occasionally. This can be done by soaking the brush head in a mixture of water and gentle antibacterial soap, or by using a cleaning solution specifically designed for disinfecting brushes.
- Keep the charger clean: Wipe the charging port and connector of your Clarisonic brush regularly with a dry cloth to remove any dust or debris. This helps maintain a reliable connection and prevents any potential charging issues.
- Be gentle: While using your Clarisonic brush, remember to be gentle and avoid applying excessive pressure. Applying too much force can damage the bristles or irritate the skin. Let the brush’s vibrating motion do the work for you.
By incorporating these tips and tricks into your routine, you can keep your Clarisonic brush clean, hygienic, and performing at its best. Consistent maintenance and good practices go a long way in ensuring the longevity and effectiveness of your beloved skincare tool.
How often should you clean your Clarisonic brush?
Regular cleaning is essential to keep your Clarisonic brush clean, hygienic, and performing optimally. The frequency at which you should clean your device depends on several factors, including your usage habits and personal preference. Here are some guidelines to help you determine how often you should clean your Clarisonic brush:
- After each use: It is highly recommended to clean your Clarisonic brush after every use. This ensures that any makeup residues, dirt, and oils accumulated during cleansing are thoroughly removed, preventing bacterial growth and maintaining the cleanliness of the brush.
- At least once a week: Even if you use your Clarisonic brush less frequently, it’s still important to give it a more thorough cleaning at least once a week. This involves removing the brush head, soaking it, washing it, and cleaning the handle and base to eliminate any build-up or bacteria that may have accumulated over time.
- Replace brush heads regularly: In addition to regular cleaning, it’s crucial to replace the brush head every three months or as recommended by the manufacturer. Over time, the bristles become worn out and less effective, and replacing the brush head ensures optimal performance and hygiene.
- Adjust based on usage: If you use your Clarisonic brush multiple times a day or have oily or acne-prone skin, you may need to clean it more frequently. Observing how quickly the brush head becomes dirty or the device starts to feel less effective can help you gauge when it’s time for a deep cleaning.
- Consider individual skin needs: Factors such as skin sensitivity, environmental conditions, and skincare product usage can also influence how often you should clean your Clarisonic brush. If you have sensitive or easily irritated skin, it may be beneficial to clean your brush more frequently to minimize the risk of potential skin irritation.
Ultimately, the frequency of cleaning your Clarisonic brush depends on personal preference and individual circumstances. The goal is to maintain cleanliness, prevent bacterial growth, and ensure optimal performance. By following these guidelines and adapting them to your specific needs, you can enjoy the benefits of a clean and effective Clarisonic brush as part of your skincare routine.