Identifying the Different Parts of the IKEA High Chair Tray
Before you embark on the task of removing the high chair tray, it’s crucial to familiarize yourself with its various components. The IKEA high chair tray consists of several parts that can be easily identified and detached when needed. Here’s a breakdown of the different elements you’ll encounter:
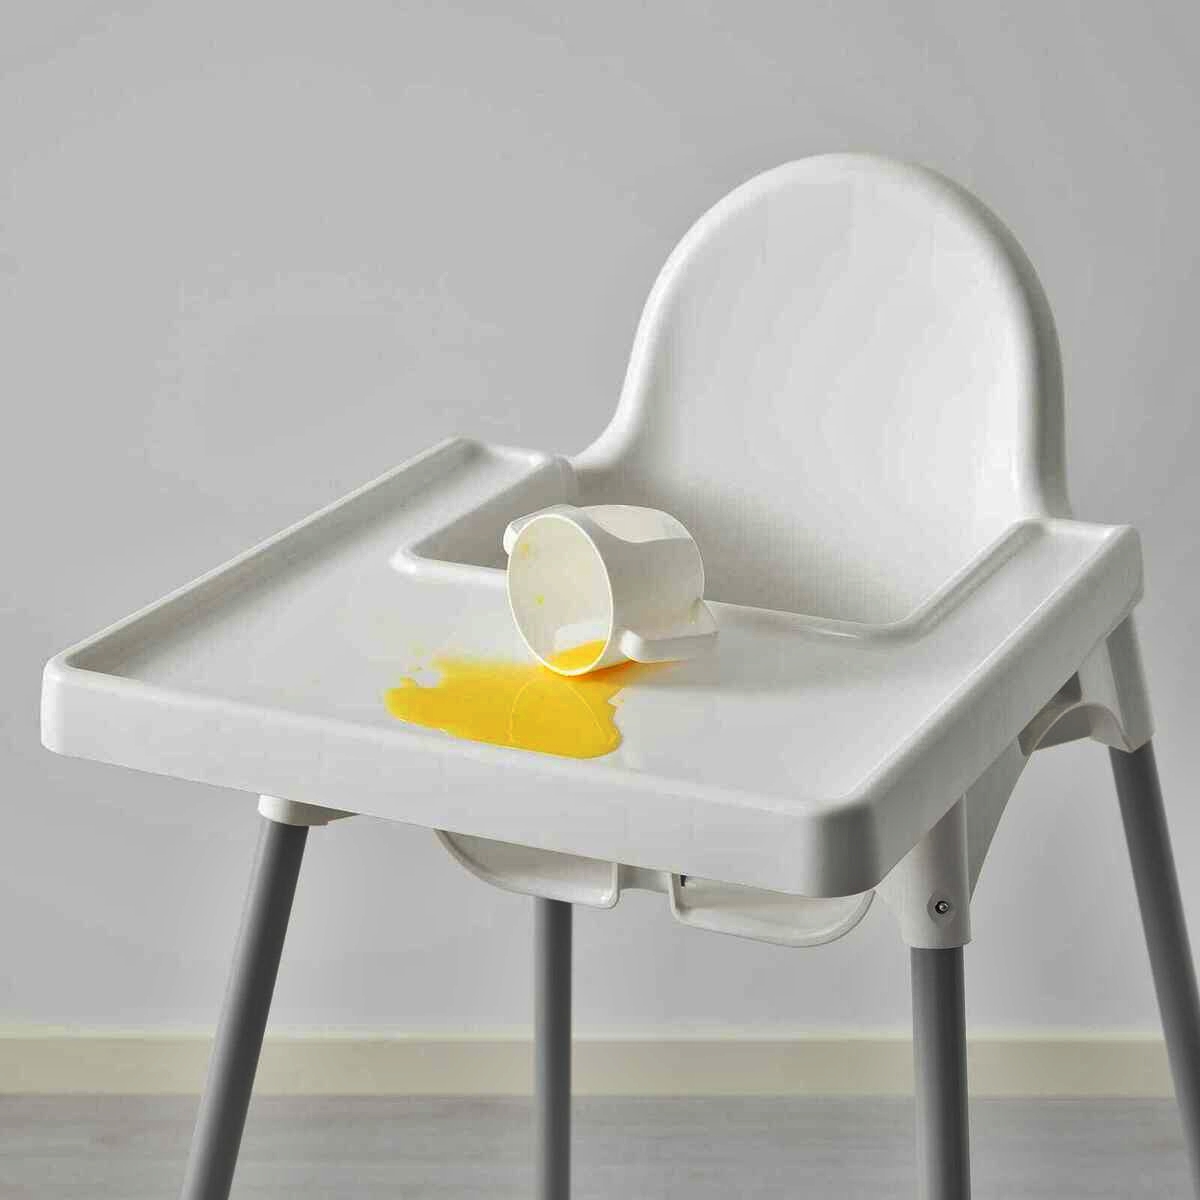
- Food Tray: The food tray is the main surface where your little one sits and eats. It’s usually made of durable plastic and comes with raised edges to prevent food from falling off the sides.
- Armrests: The armrests are attached to the sides of the food tray and provide additional support and comfort for your child while they’re seated. These armrests are typically made of the same sturdy plastic material as the food tray.
- Backrest: The backrest is the vertical piece that supports your child’s back when seated in the high chair. It is usually part of the tray assembly and may have adjustable features to accommodate your child’s comfort.
- Safety Belt: To ensure your child’s safety, the high chair tray is equipped with a safety belt. This belt is designed to secure your child in the chair and prevent them from wriggling or standing up while eating.
- Leg Rest: The leg rest is a feature found on some IKEA high chairs that provides additional support for your child’s legs and feet. This helps in promoting proper posture and comfort during mealtime.
Now that you have a clear understanding of the different parts of the IKEA high chair tray, you’re ready to move on to the next step—removing the food tray from the high chair.
Removing the Food Tray from the High Chair
The first step in disassembling the IKEA high chair tray is to remove the food tray itself. Follow these simple instructions to safely detach the food tray:
- Ensure that the high chair is securely positioned and stable on the floor.
- Gently place your hands on the sides of the food tray, near the front edge.
- Apply gentle pressure while simultaneously lifting the front of the food tray upwards.
- The food tray should start to detach from the high chair. Continue lifting until it is completely separated.
- Once the food tray is disconnected, carefully set it aside for cleaning or storage.
It’s important to note that some IKEA high chairs have a locking mechanism that securely holds the food tray in place. If your high chair has this feature, look for a button or lever located underneath the front edge of the tray. Press or slide this component to release the lock before attempting to remove the food tray.
Removing the food tray from the high chair allows for easier cleaning and maintenance. You can wash it with warm soapy water or place it in the dishwasher, depending on the manufacturer’s instructions.
Now that the food tray has been successfully removed, you can proceed to the next step of disassembling the IKEA high chair tray—taking off the armrests.
Taking Off the Armrests from the High Chair Tray
After removing the food tray, the next step in disassembling the IKEA high chair tray is to detach the armrests. Follow these simple instructions to remove the armrests:
- Flip the high chair tray over so that the underside is facing upwards.
- Locate the screws or fasteners that secure the armrests to the tray.
- Using a screwdriver or an appropriate tool, carefully remove the screws or fasteners by turning them counterclockwise.
- Once the screws or fasteners are removed, gently pull the armrests away from the tray until they are completely separated.
Depending on the model of your IKEA high chair, the armrests may be attached to the tray using different mechanisms. Some chairs may have snap-on armrests that can be easily detached by applying slight pressure and pulling them away from the tray.
If you encounter any difficulty in removing the armrests, consult the instruction manual provided by the manufacturer. The manual will provide specific guidance on the disassembly process for your particular high chair model.
Detaching the armrests allows for better cleaning and maintenance, as they can collect crumbs and food particles during mealtime. Once removed, you can clean the armrests separately with warm soapy water or according to the manufacturer’s instructions.
Now that the armrests have been successfully taken off, you can move on to the next step—detaching the backrest from the high chair tray.
Detaching the Backrest from the High Chair Tray
Once you have removed the armrests, the next step in disassembling the IKEA high chair tray is to detach the backrest. Follow these instructions to safely remove the backrest from the tray:
- Locate the screws or fasteners that connect the backrest to the tray.
- Using a screwdriver or suitable tool, carefully loosen and remove the screws or fasteners.
- Gently separate the backrest from the tray by pulling it away.
Depending on the model of your IKEA high chair, the attachment method may vary. Some high chairs may have snap-on backrests that can be easily removed by applying slight pressure and pulling them away from the tray.
If you encounter any difficulties during the process, refer to the instruction manual provided by the manufacturer. The manual will provide specific guidance on detaching the backrest for your particular high chair model.
Separating the backrest from the high chair tray allows for better cleaning and maintenance, as it can accumulate dirt and food residue over time. Once detached, you can clean the backrest separately using mild soapy water or follow the manufacturer’s cleaning instructions.
Now that the backrest is successfully removed, you can proceed to the next step—removing the safety belt from the high chair tray.
Removing the Safety Belt from the High Chair Tray
Ensuring the safety of your child is of utmost importance when using a high chair. As part of the disassembly process, it’s essential to remove the safety belt from the high chair tray. Follow these steps to detach the safety belt:
- Locate the buckles or fasteners that secure the safety belt to the tray.
- Depending on the type of buckle used, you may need to press and release a button or push a lever to unlock it.
- Once the buckle is released, carefully unthread the safety belt from the tray, ensuring you do not damage or tangle the straps.
It’s important to handle the safety belt with care to prevent any damage, as it plays a crucial role in securing your child in the high chair. Taking the time to properly remove the belt ensures it remains in good condition for future use.
If you encounter any difficulties or are unsure of how to detach the safety belt, consult the instruction manual provided by the manufacturer. The manual will provide specific guidance on removing the safety belt for your particular high chair model.
Once the safety belt is removed, you can clean it separately if needed. Follow the manufacturer’s instructions for cleaning and maintenance to ensure it remains in optimal condition.
With the safety belt successfully detached, you can move on to the next step—separating the leg rest from the high chair tray.
Separating the Leg Rest from the High Chair Tray
The leg rest is an optional feature found on some IKEA high chairs that provides additional support and comfort for your child’s legs and feet. If your high chair has a detachable leg rest, follow these steps to separate it from the tray:
- Inspect the leg rest and identify the mechanism that attaches it to the tray.
- Look for screws, fasteners, or buttons that may be securing the leg rest to the tray.
- Using an appropriate tool, such as a screwdriver, carefully remove any screws or fasteners by turning them counterclockwise or releasing any buttons or levers.
- Once the attachments are loosened or released, gently pull the leg rest away from the tray until it is completely detached.
It’s important to exercise caution to avoid any damage or injury while separating the leg rest from the tray. If you encounter any difficulties or are unsure of how to detach the leg rest, consult the instruction manual provided by the manufacturer.
Removing the leg rest allows for easier cleaning and maintenance of the high chair tray. With the leg rest removed, you can clean it separately using mild soapy water or according to the manufacturer’s recommended cleaning instructions.
Now that the leg rest is successfully separated from the high chair tray, you can proceed to the next step—unfastening the high chair tray from the legs.
Unfastening the High Chair Tray from the Legs
The final step in disassembling the IKEA high chair tray is to unfasten it from the legs. Follow these instructions to safely detach the tray from the legs:
- Inspect the underside of the high chair tray and locate the fasteners that secure it to the legs.
- Depending on the model of your high chair, the fasteners may be screws, latches, or other types of connectors.
- Using the appropriate tool, such as a screwdriver or wrench, carefully loosen and remove the fasteners.
- Once the fasteners are removed, lift the high chair tray upwards to separate it from the legs.
It’s important to handle the tray with care during this step to avoid any damage or injury. If you encounter any difficulties or are unsure of how to unfasten the tray from the legs, refer to the instruction manual provided by the manufacturer for specific guidance.
Removing the high chair tray from the legs allows for better cleaning, maintenance, and storage. Once detached, you can clean the tray using warm soapy water or according to the manufacturer’s cleaning instructions.
With the high chair tray successfully unfastened from the legs, you have now completed the disassembly process. You can clean and store the individual components separately or reassemble the tray once it’s clean and dry.
Following these steps ensures a thorough and efficient disassembly of the IKEA high chair tray, making it easier for cleaning, maintenance, or storage whenever required.
Tips for Easy Removal of the IKEA High Chair Tray
Removing the high chair tray may seem like a daunting task, but with the following tips, you can make the process much easier:
- Read the Instruction Manual: Before attempting to remove the tray, carefully read the instruction manual provided by the manufacturer. This will give you a clear understanding of the specific steps and precautions for your particular high chair model.
- Apply Gentle and Even Pressure: When removing the different components of the tray, such as the food tray, armrests, and backrest, apply gentle and even pressure to avoid causing any damage. Avoid excessive force or twisting motions.
- Take Note of Locking Mechanisms: Some high chair trays have locking mechanisms in place to ensure a secure fit. Take note of any buttons, levers, or screws that need to be released before attempting to remove the tray.
- Keep Components Organized: As you remove each part of the tray, keep them organized. Place screws in a container or bag to prevent them from getting lost. This will make reassembly much easier when the time comes.
- Clean Components Thoroughly: While the tray is disassembled, take the opportunity to clean each component thoroughly. Use warm soapy water or follow the manufacturer’s cleaning instructions to ensure proper hygiene.
- Check for Wear and Tear: As you remove the tray, inspect each part for any signs of wear and tear. If you notice any cracks, loose fittings, or damaged parts, contact the manufacturer for assistance or replacement.
By following these tips, you can make the removal process of the IKEA high chair tray a breeze. Remember to exercise caution and refer to the instruction manual for any specific guidelines pertaining to your high chair model.
FAQs about Removing the High Chair Tray
Removing the high chair tray can raise some questions and concerns. Here are some frequently asked questions to provide further clarity:
1. Can I remove the high chair tray for cleaning?
Yes, the high chair tray is designed to be removable for easy cleaning. Follow the manufacturer’s instructions for cleaning and maintenance to ensure proper hygiene.
2. Will I need any special tools to remove the tray?
In most cases, you will not need any special tools. A screwdriver or wrench may be necessary to loosen screws or fasteners, but these are commonly found in most households.
3. How often should I remove the tray for cleaning?
It is recommended to remove and clean the high chair tray after each use to prevent the buildup of food residue and bacteria. Regular cleaning promotes a clean and safe eating environment for your child.
4. Can I remove the tray on my own, or do I need assistance?
The disassembly process of the high chair tray is typically straightforward and can be done independently. However, if you have any concerns or difficulties during the process, it’s always a good idea to seek assistance for safety and ease of removal.
5. Can I reassemble the tray once I have removed it?
Yes, once you have finished cleaning or performing maintenance on the high chair tray, you can follow the reverse steps of the disassembly process to reattach the components securely.
If you have any other specific questions or concerns regarding the removal of the high chair tray, it’s recommended to consult the instruction manual provided by the manufacturer or contact their customer support for assistance.